
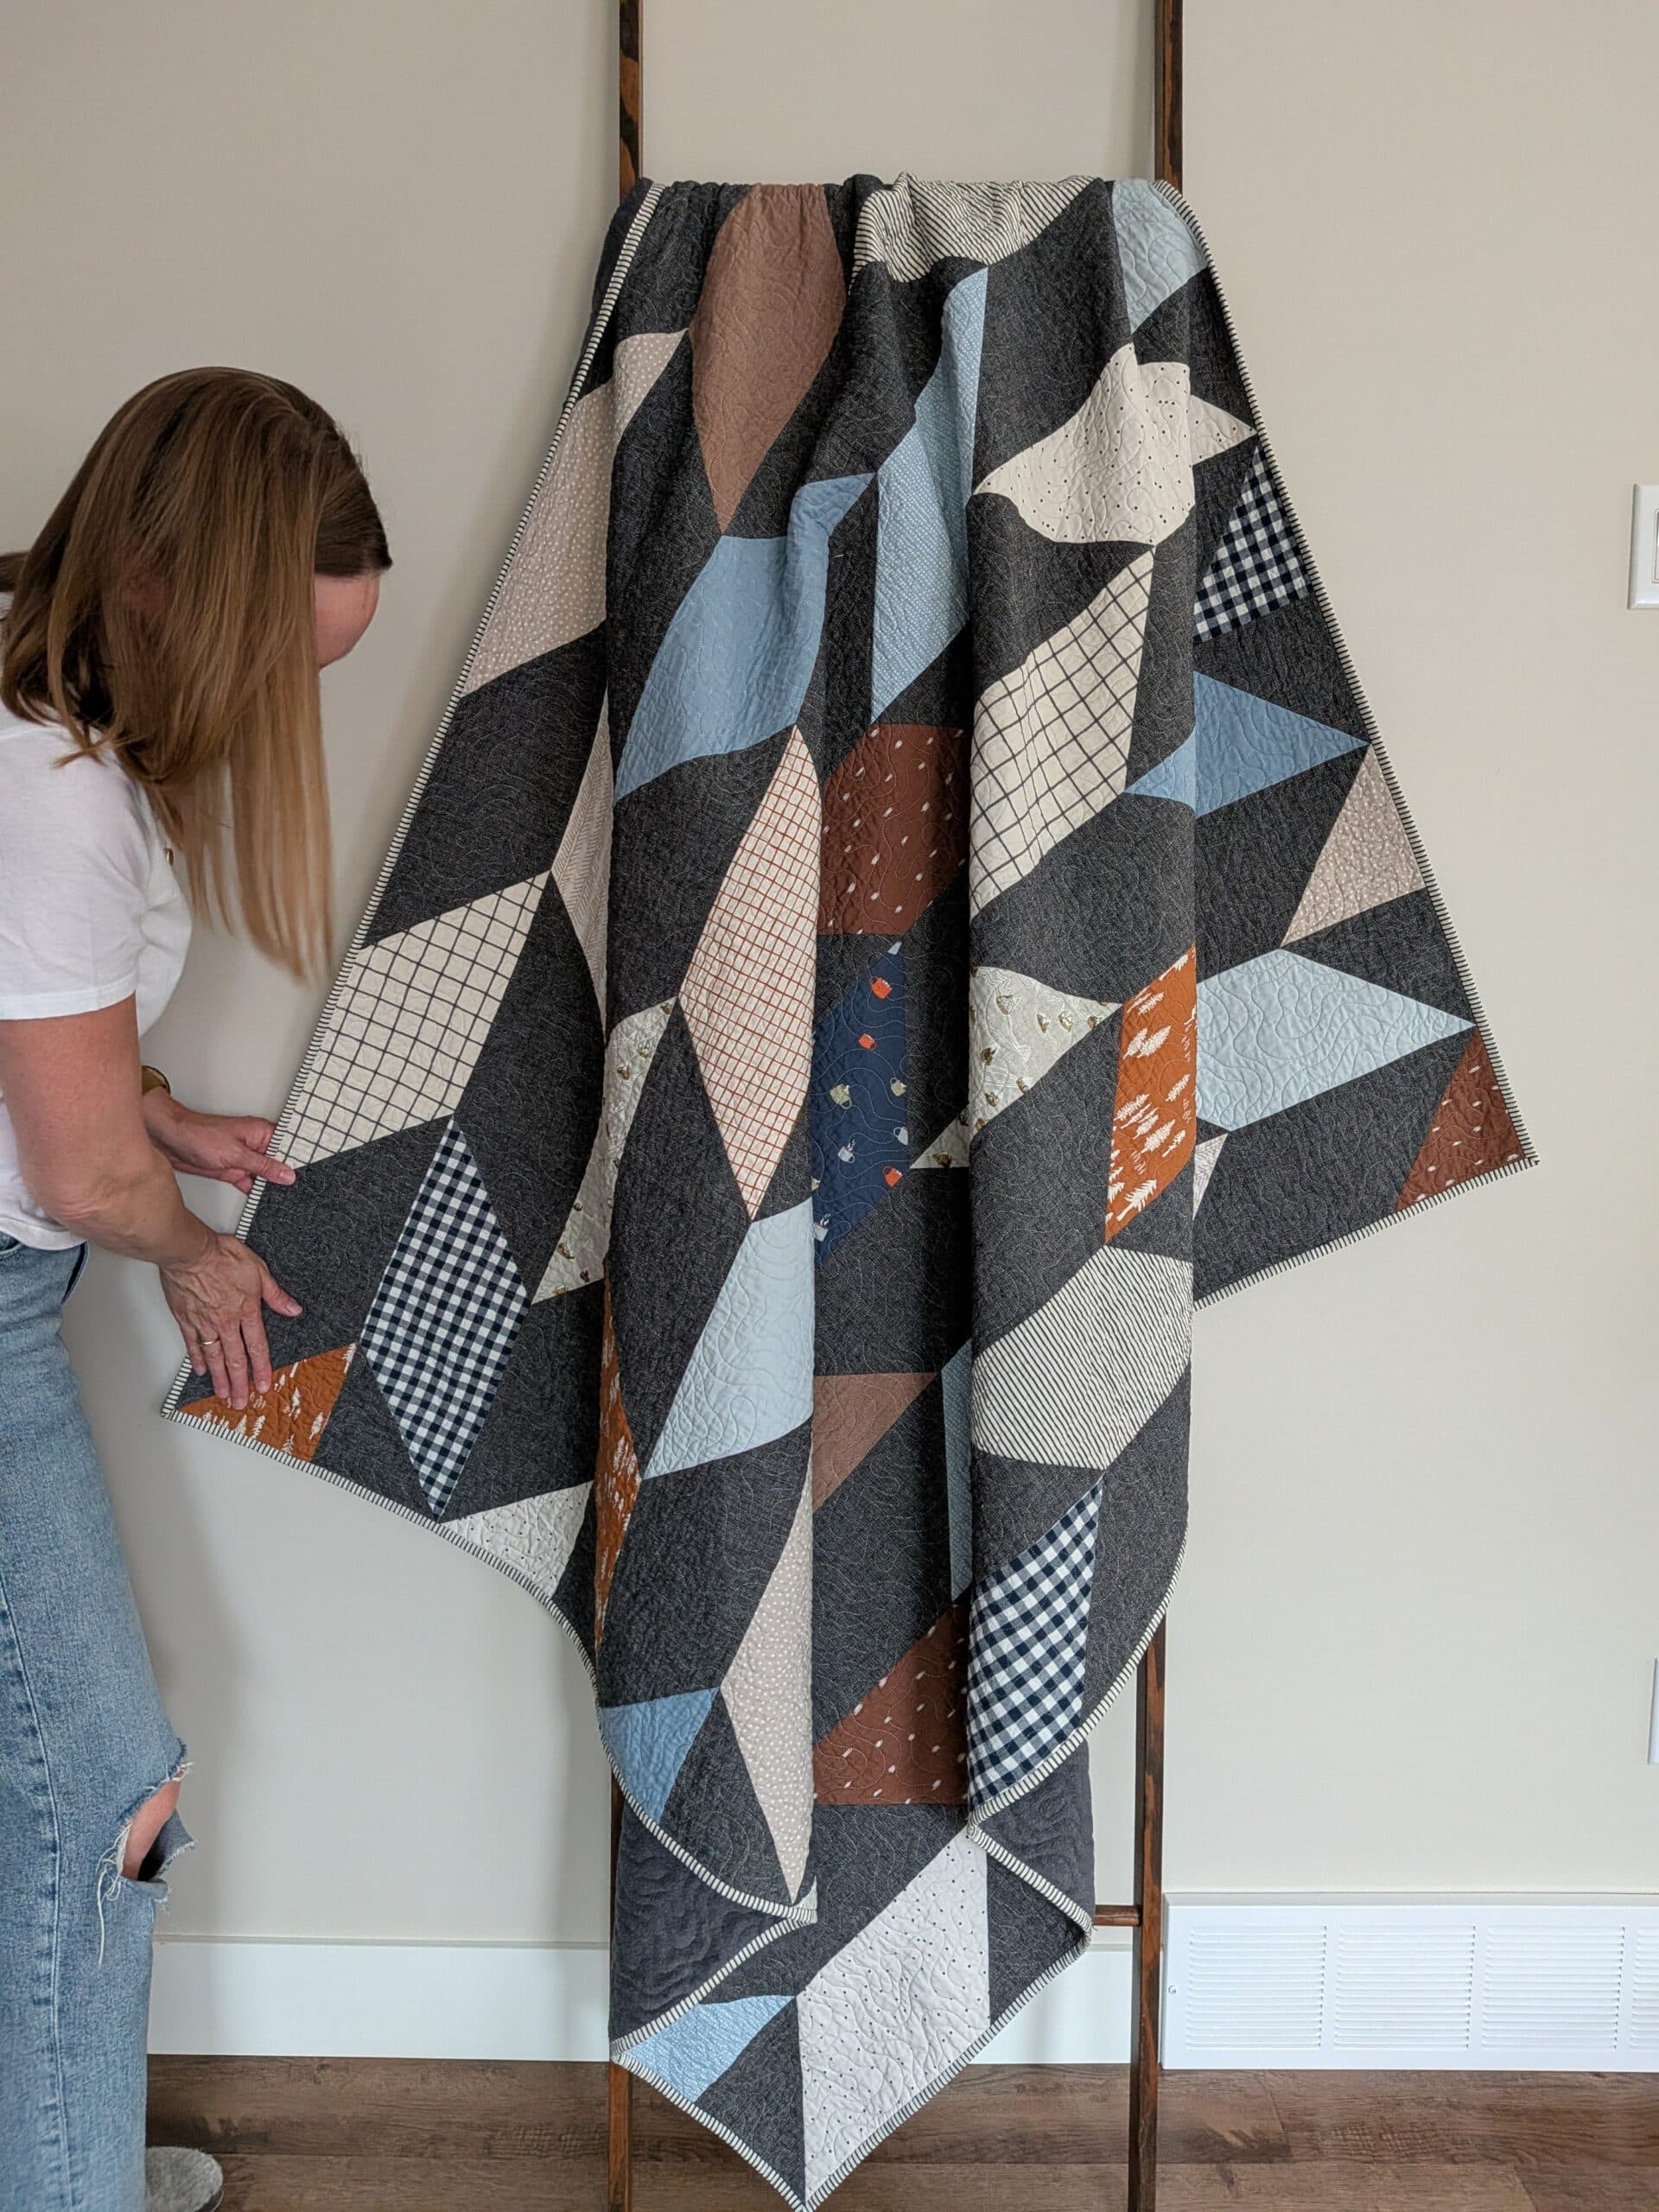
When it became apparent that Ian’s friend Troy could use a quilt, I jumped into action and whipped up a Fletcher quilt for him over a weekend.
Let me tell you why this was such a fun and easy project!
A big birthday
Troy is Ian’s oldest and closest friend, and I absolutely adore him. He’s kind and thoughtful, and has a dry sense of humour that makes both Ian and I laugh out loud. He also appreciates handmade items, as evidenced by the fact that he uses and enjoys the Doable Duffel I made him a few years ago.
When Troy’s 50th birthday came around, I asked Ian if I should maybe make him a quilt. We both thought he’d like it, so we set the project into motion.
Choosing the design
I didn’t suggest the quilt until a week before Troy’s birthday, so I didn’t have a lot of time to pull it together. Ian and I scoured the internet for a quilt design that both felt like it would appeal to Troy, and could be made quickly.
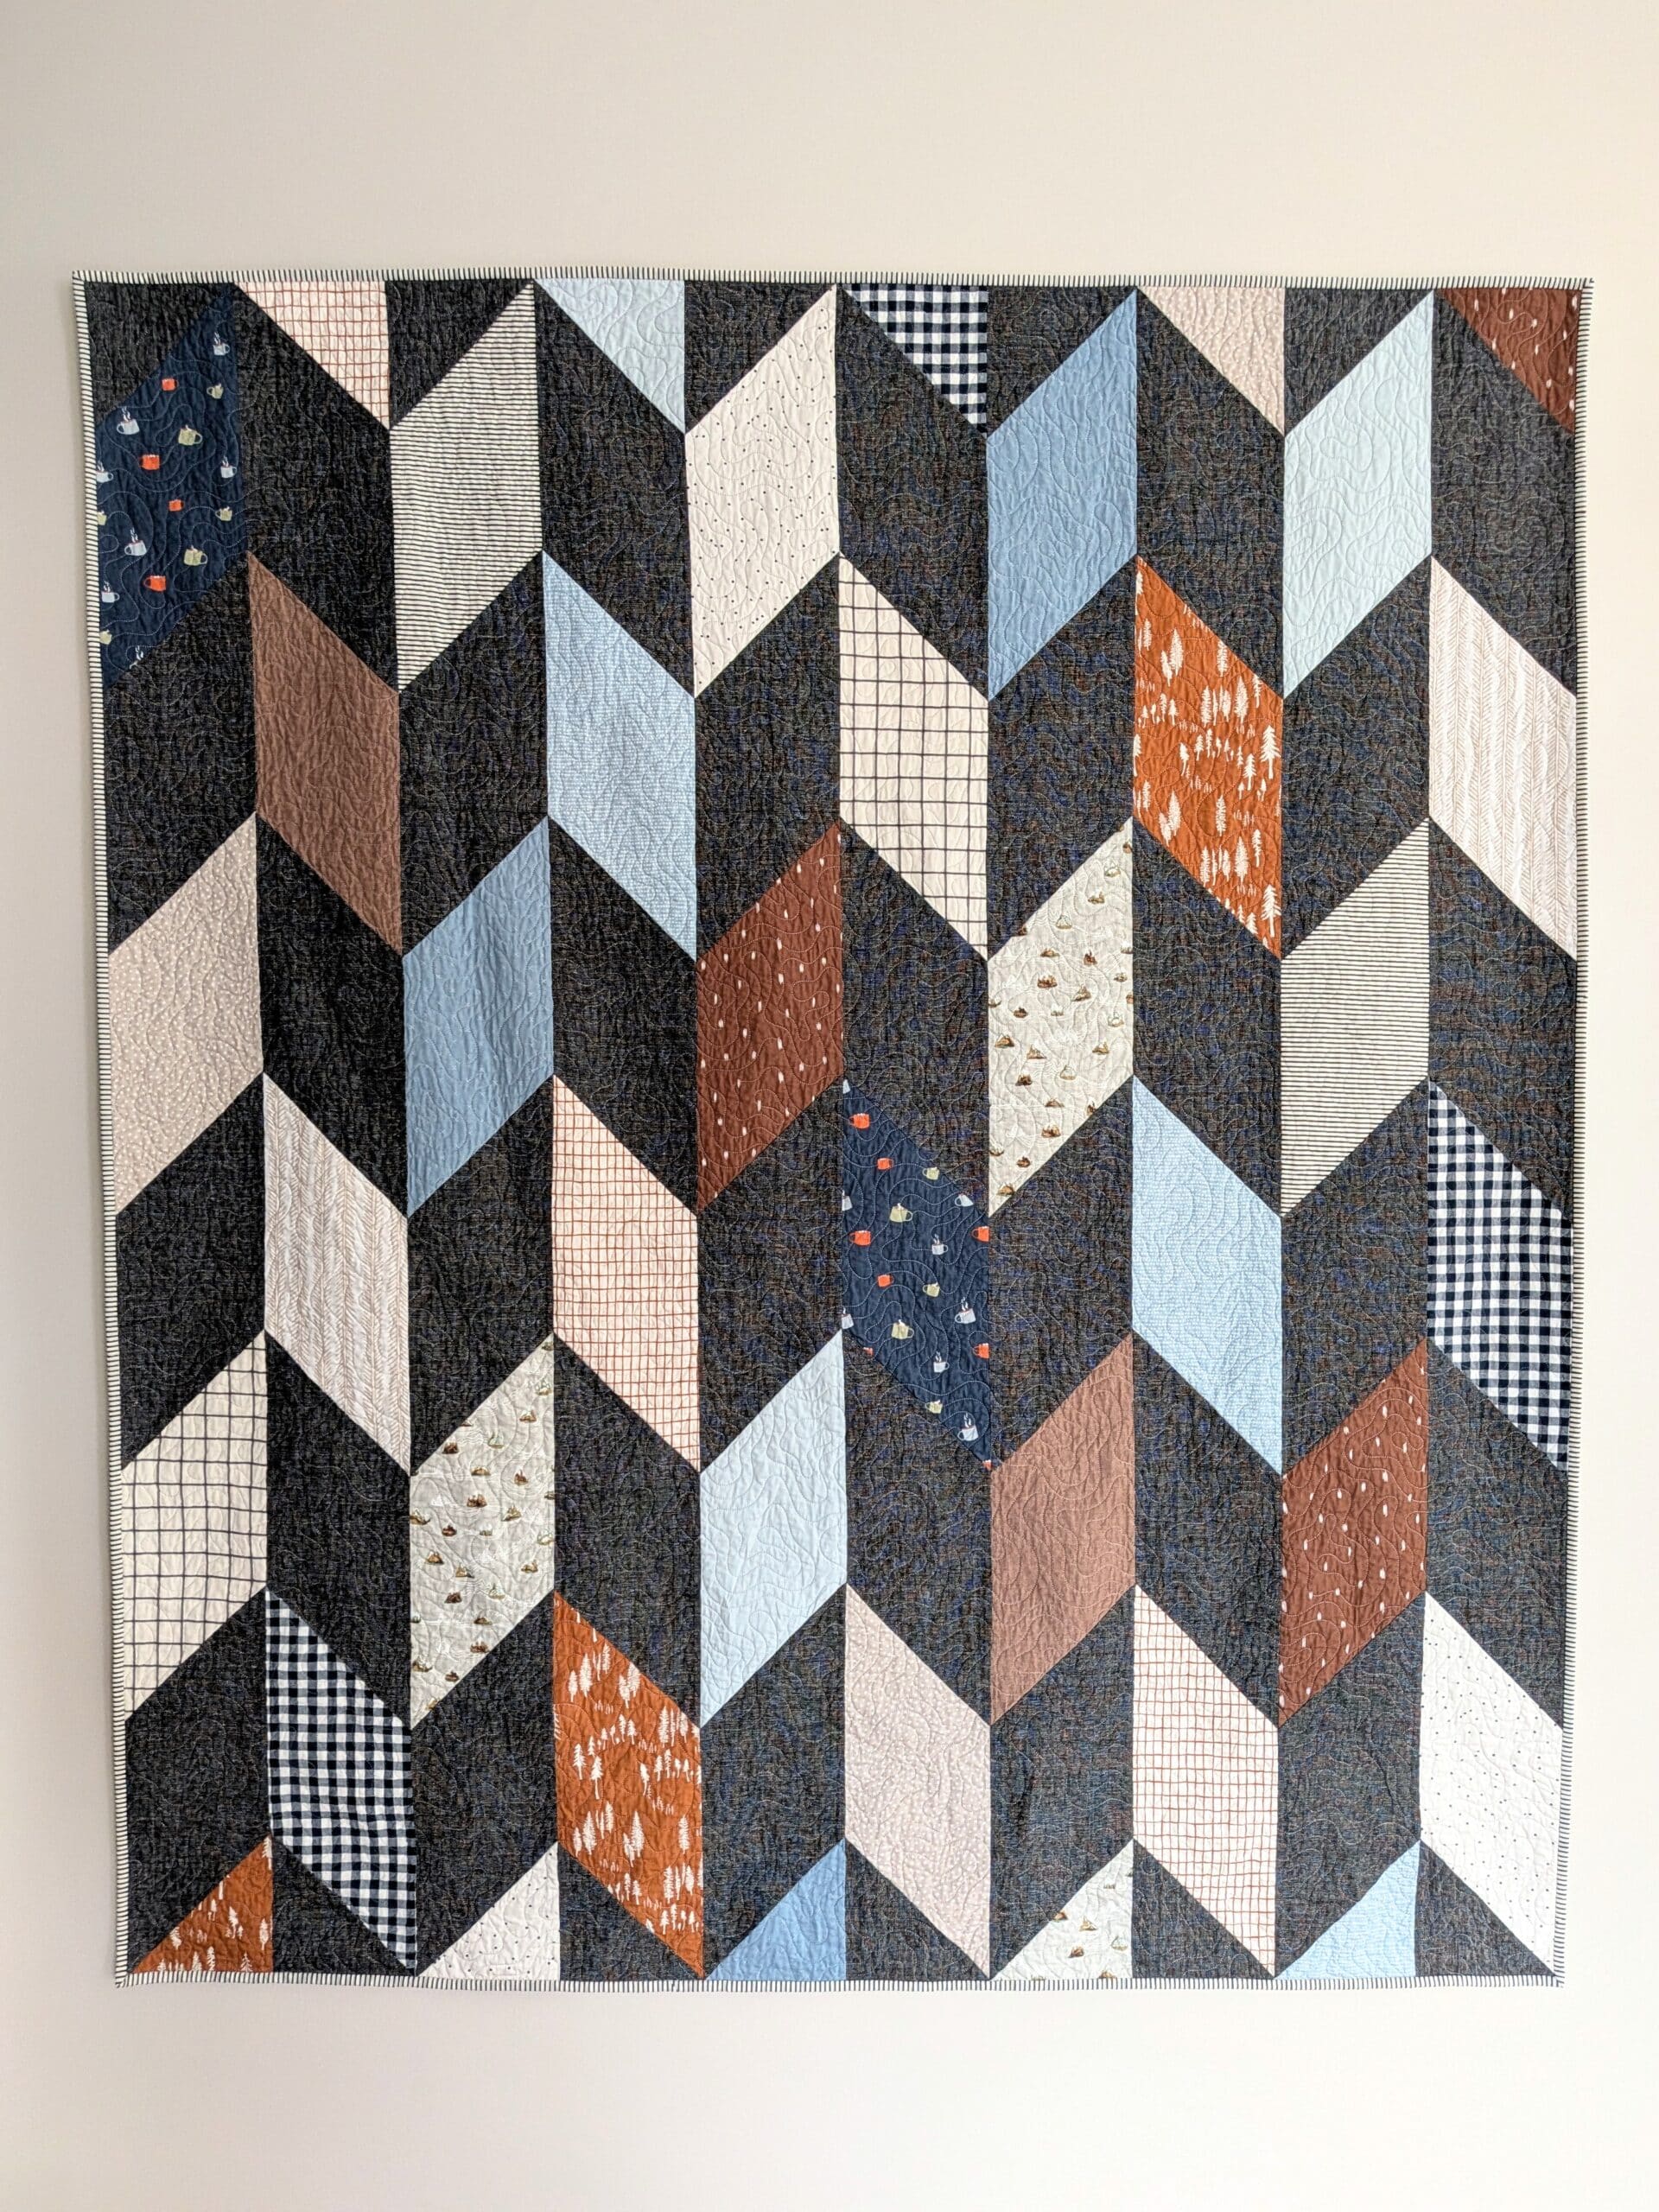
We considered a lot of different options, but eventually landed on the Fletcher quilt pattern. Bonus: it’s a free download!
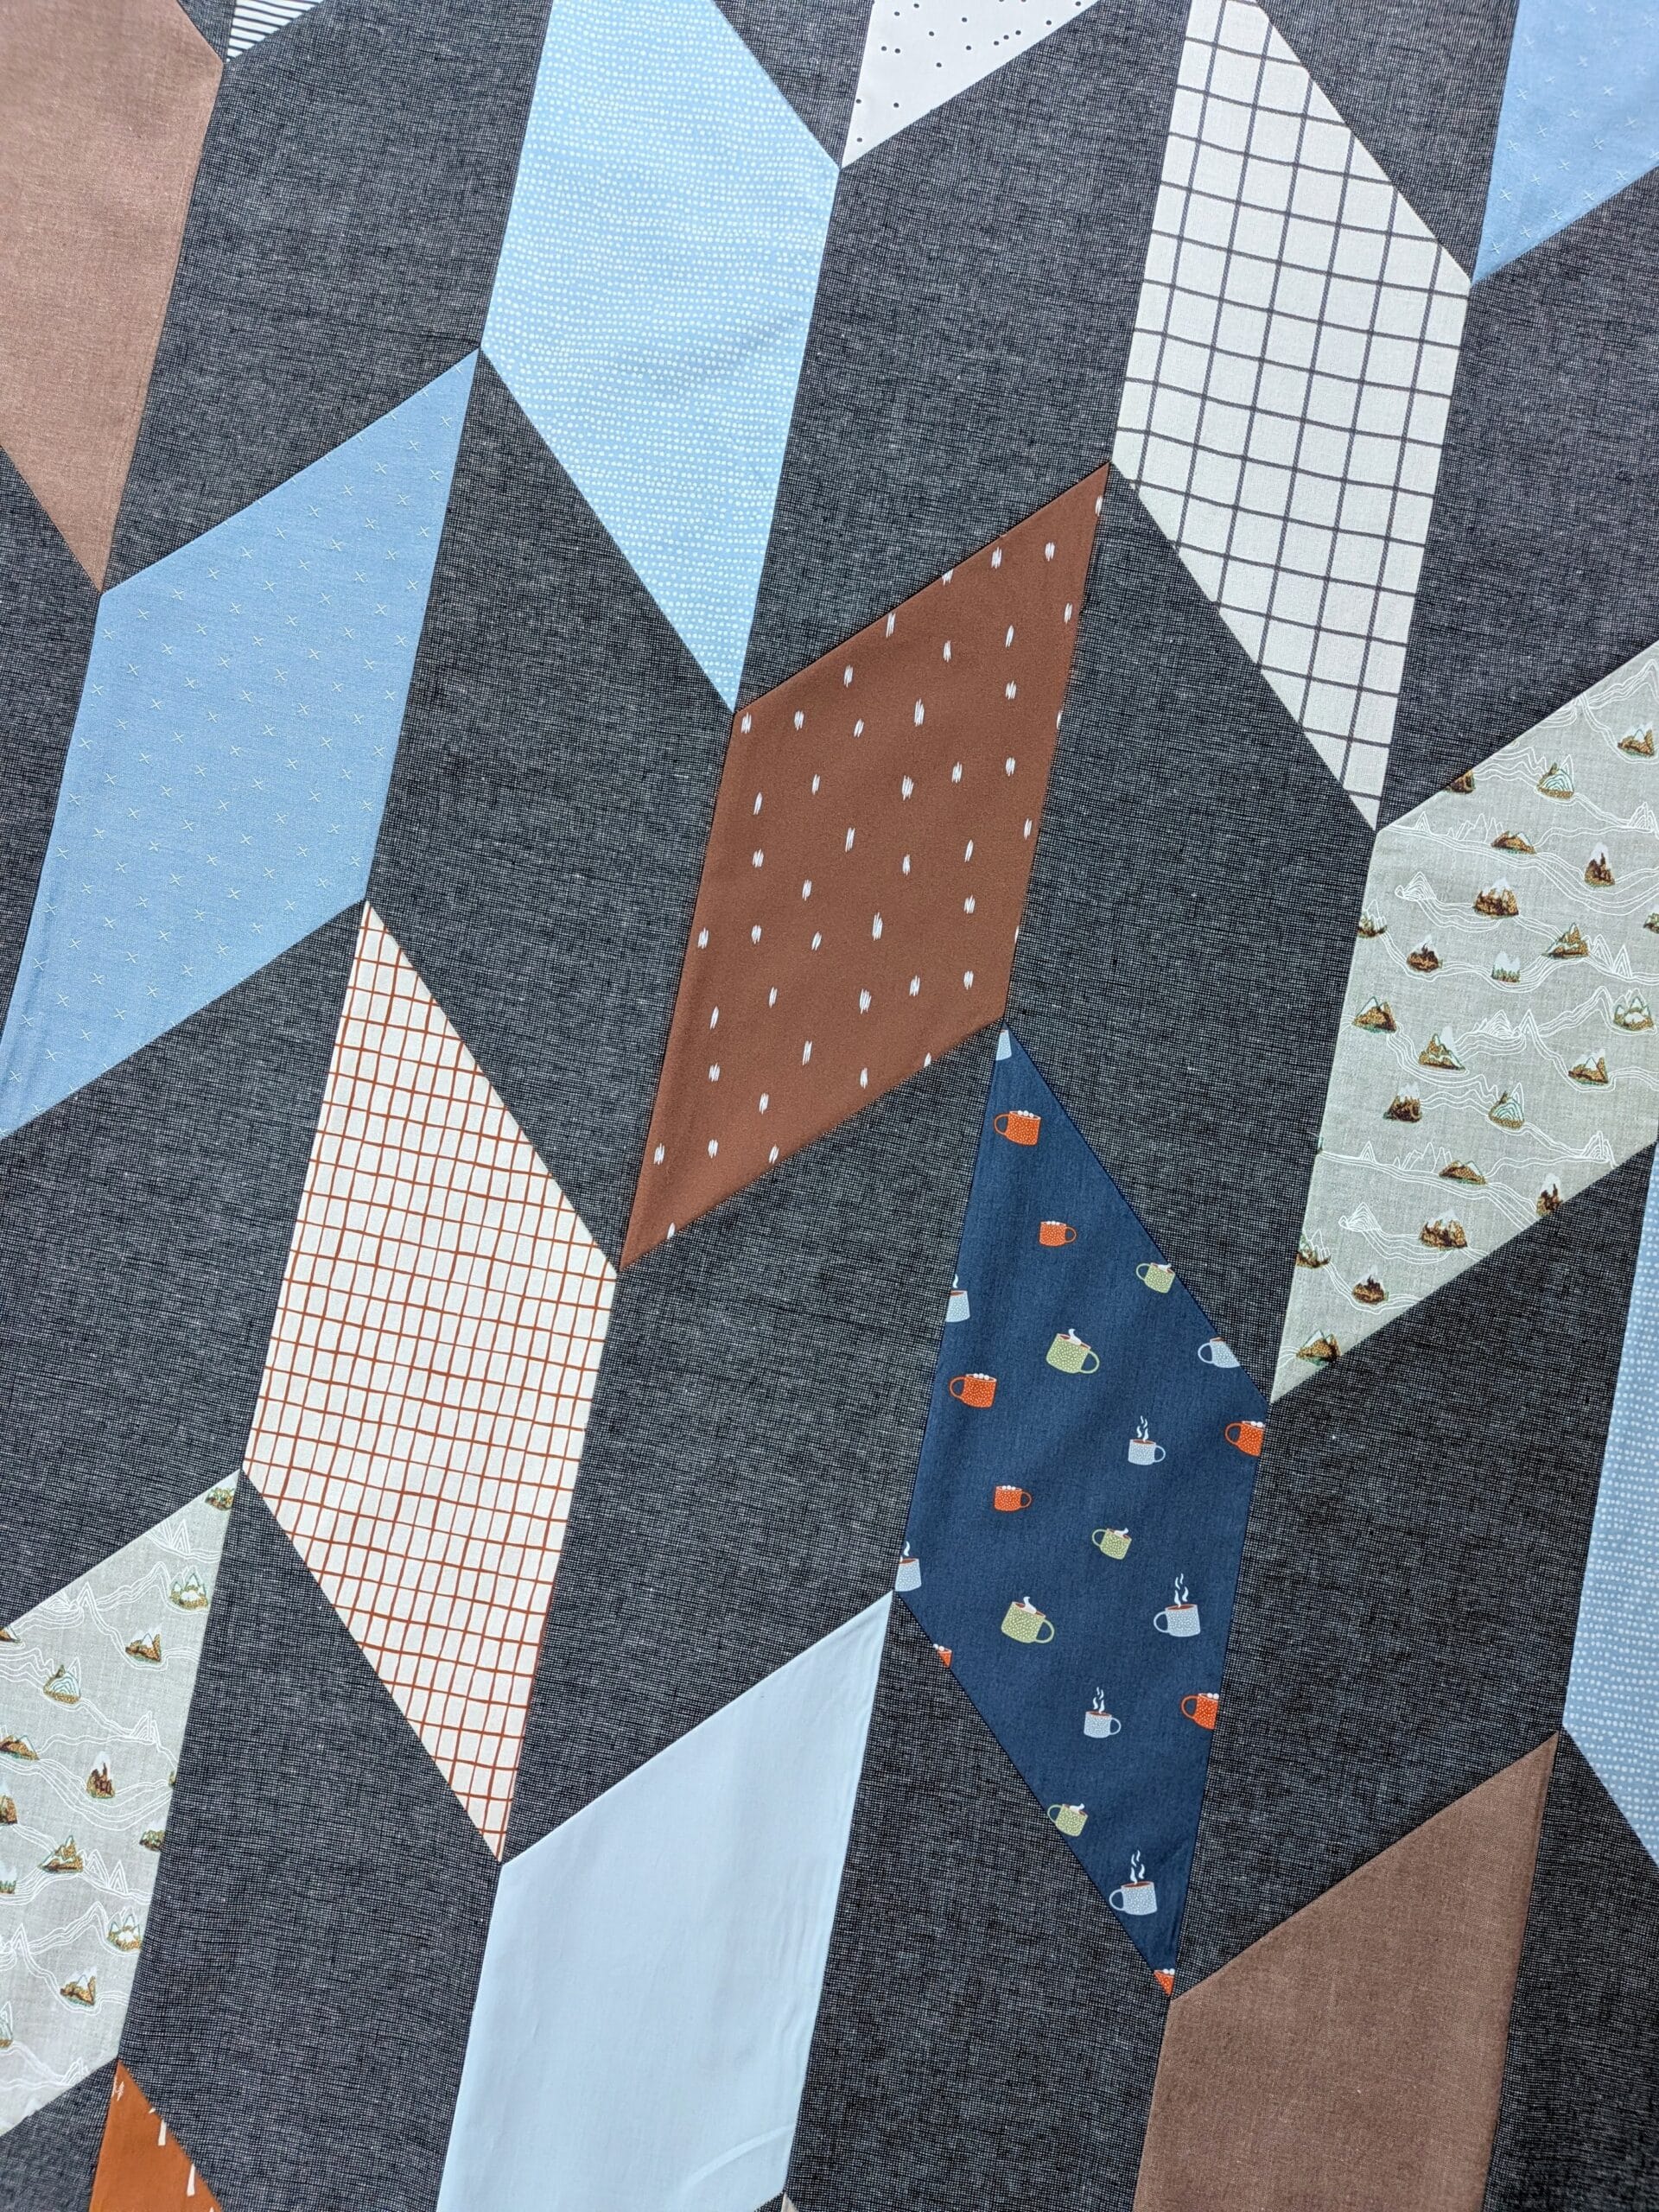
I liked the large blocks and simple design - a recipe for a speedy project. Plus, I figured that it would show off the fabric well, and would give me the flexibility of purchasing both large and small scale prints. I started making my shopping list right away!
Shopping for fabric
Ian and I both liked the look of the dark background fabric on the cover quilt, so we started there. I’m a big fan of texture in quilts, so I knew that I wanted to use some sort of linen or woven option for the background (Essex Linen Homespun in Pepper came to mind immediately), and mostly quilting cottons for the blocks.
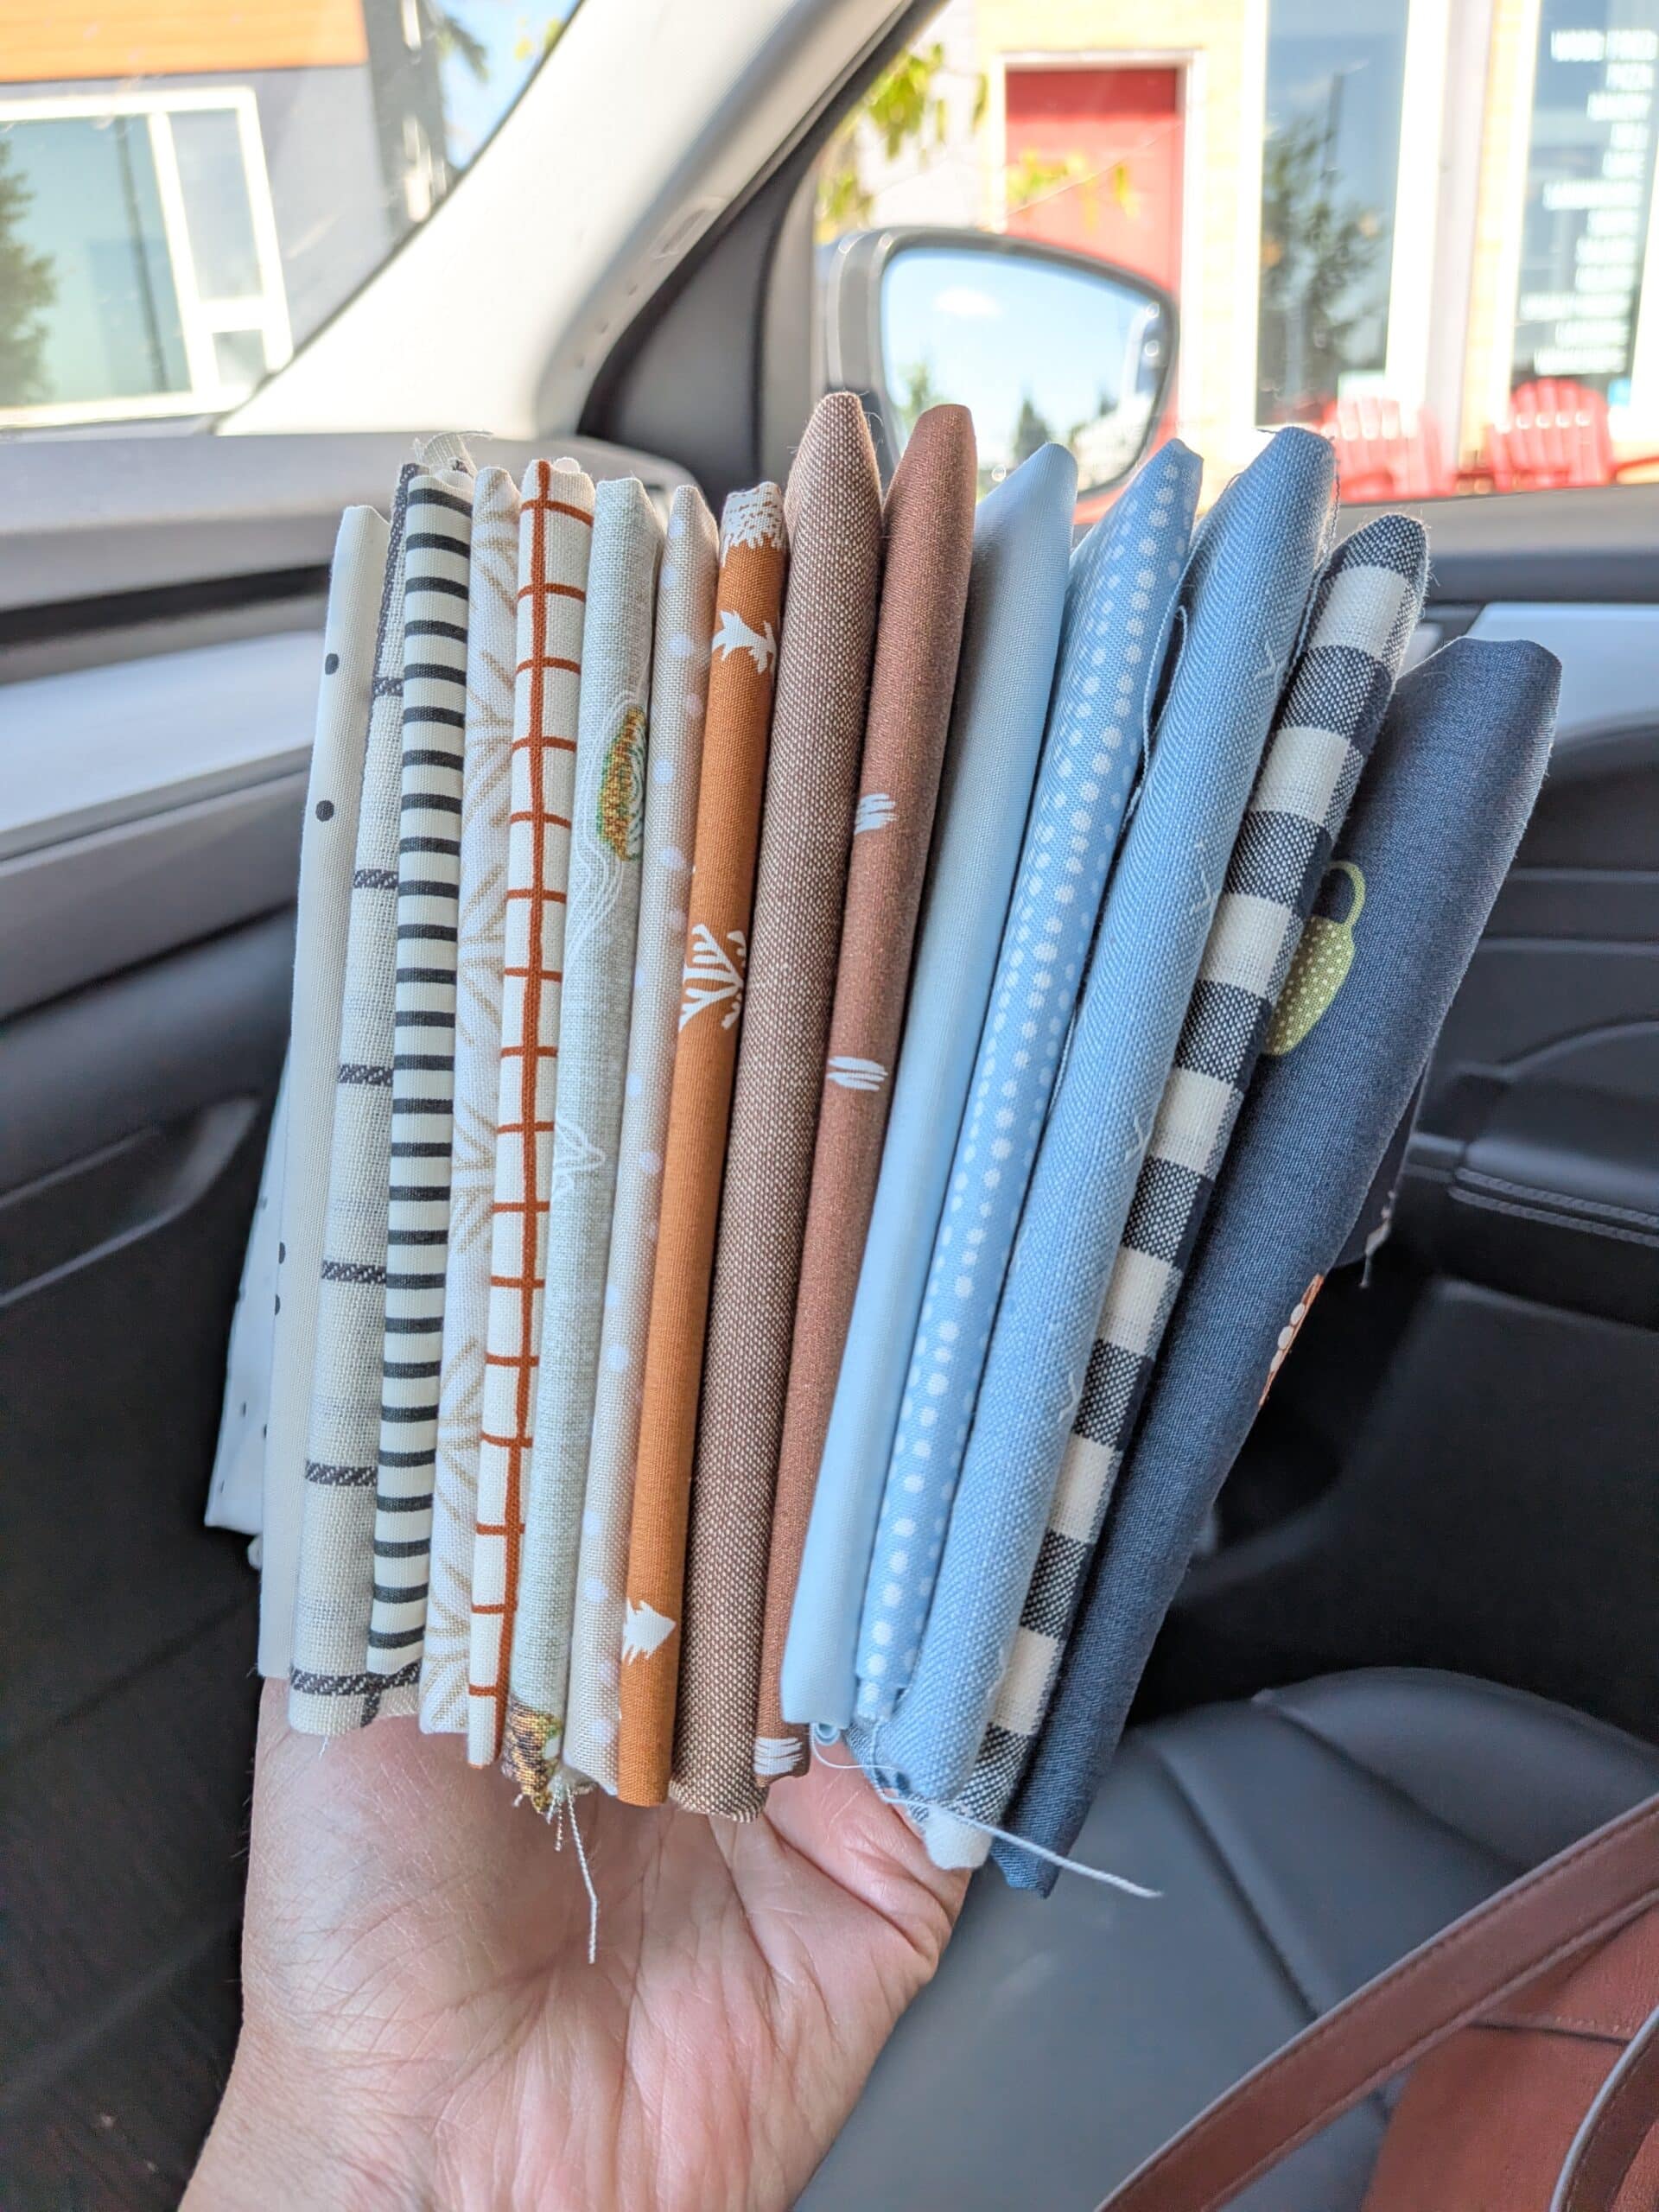
The closest shop that has a large selection of Essex linens is Thread Count Fabrics in Souris, MB - a quick one hour drive from our home. I headed down one afternoon and had a whale of a time pulling tonnes of bolts off the wall.
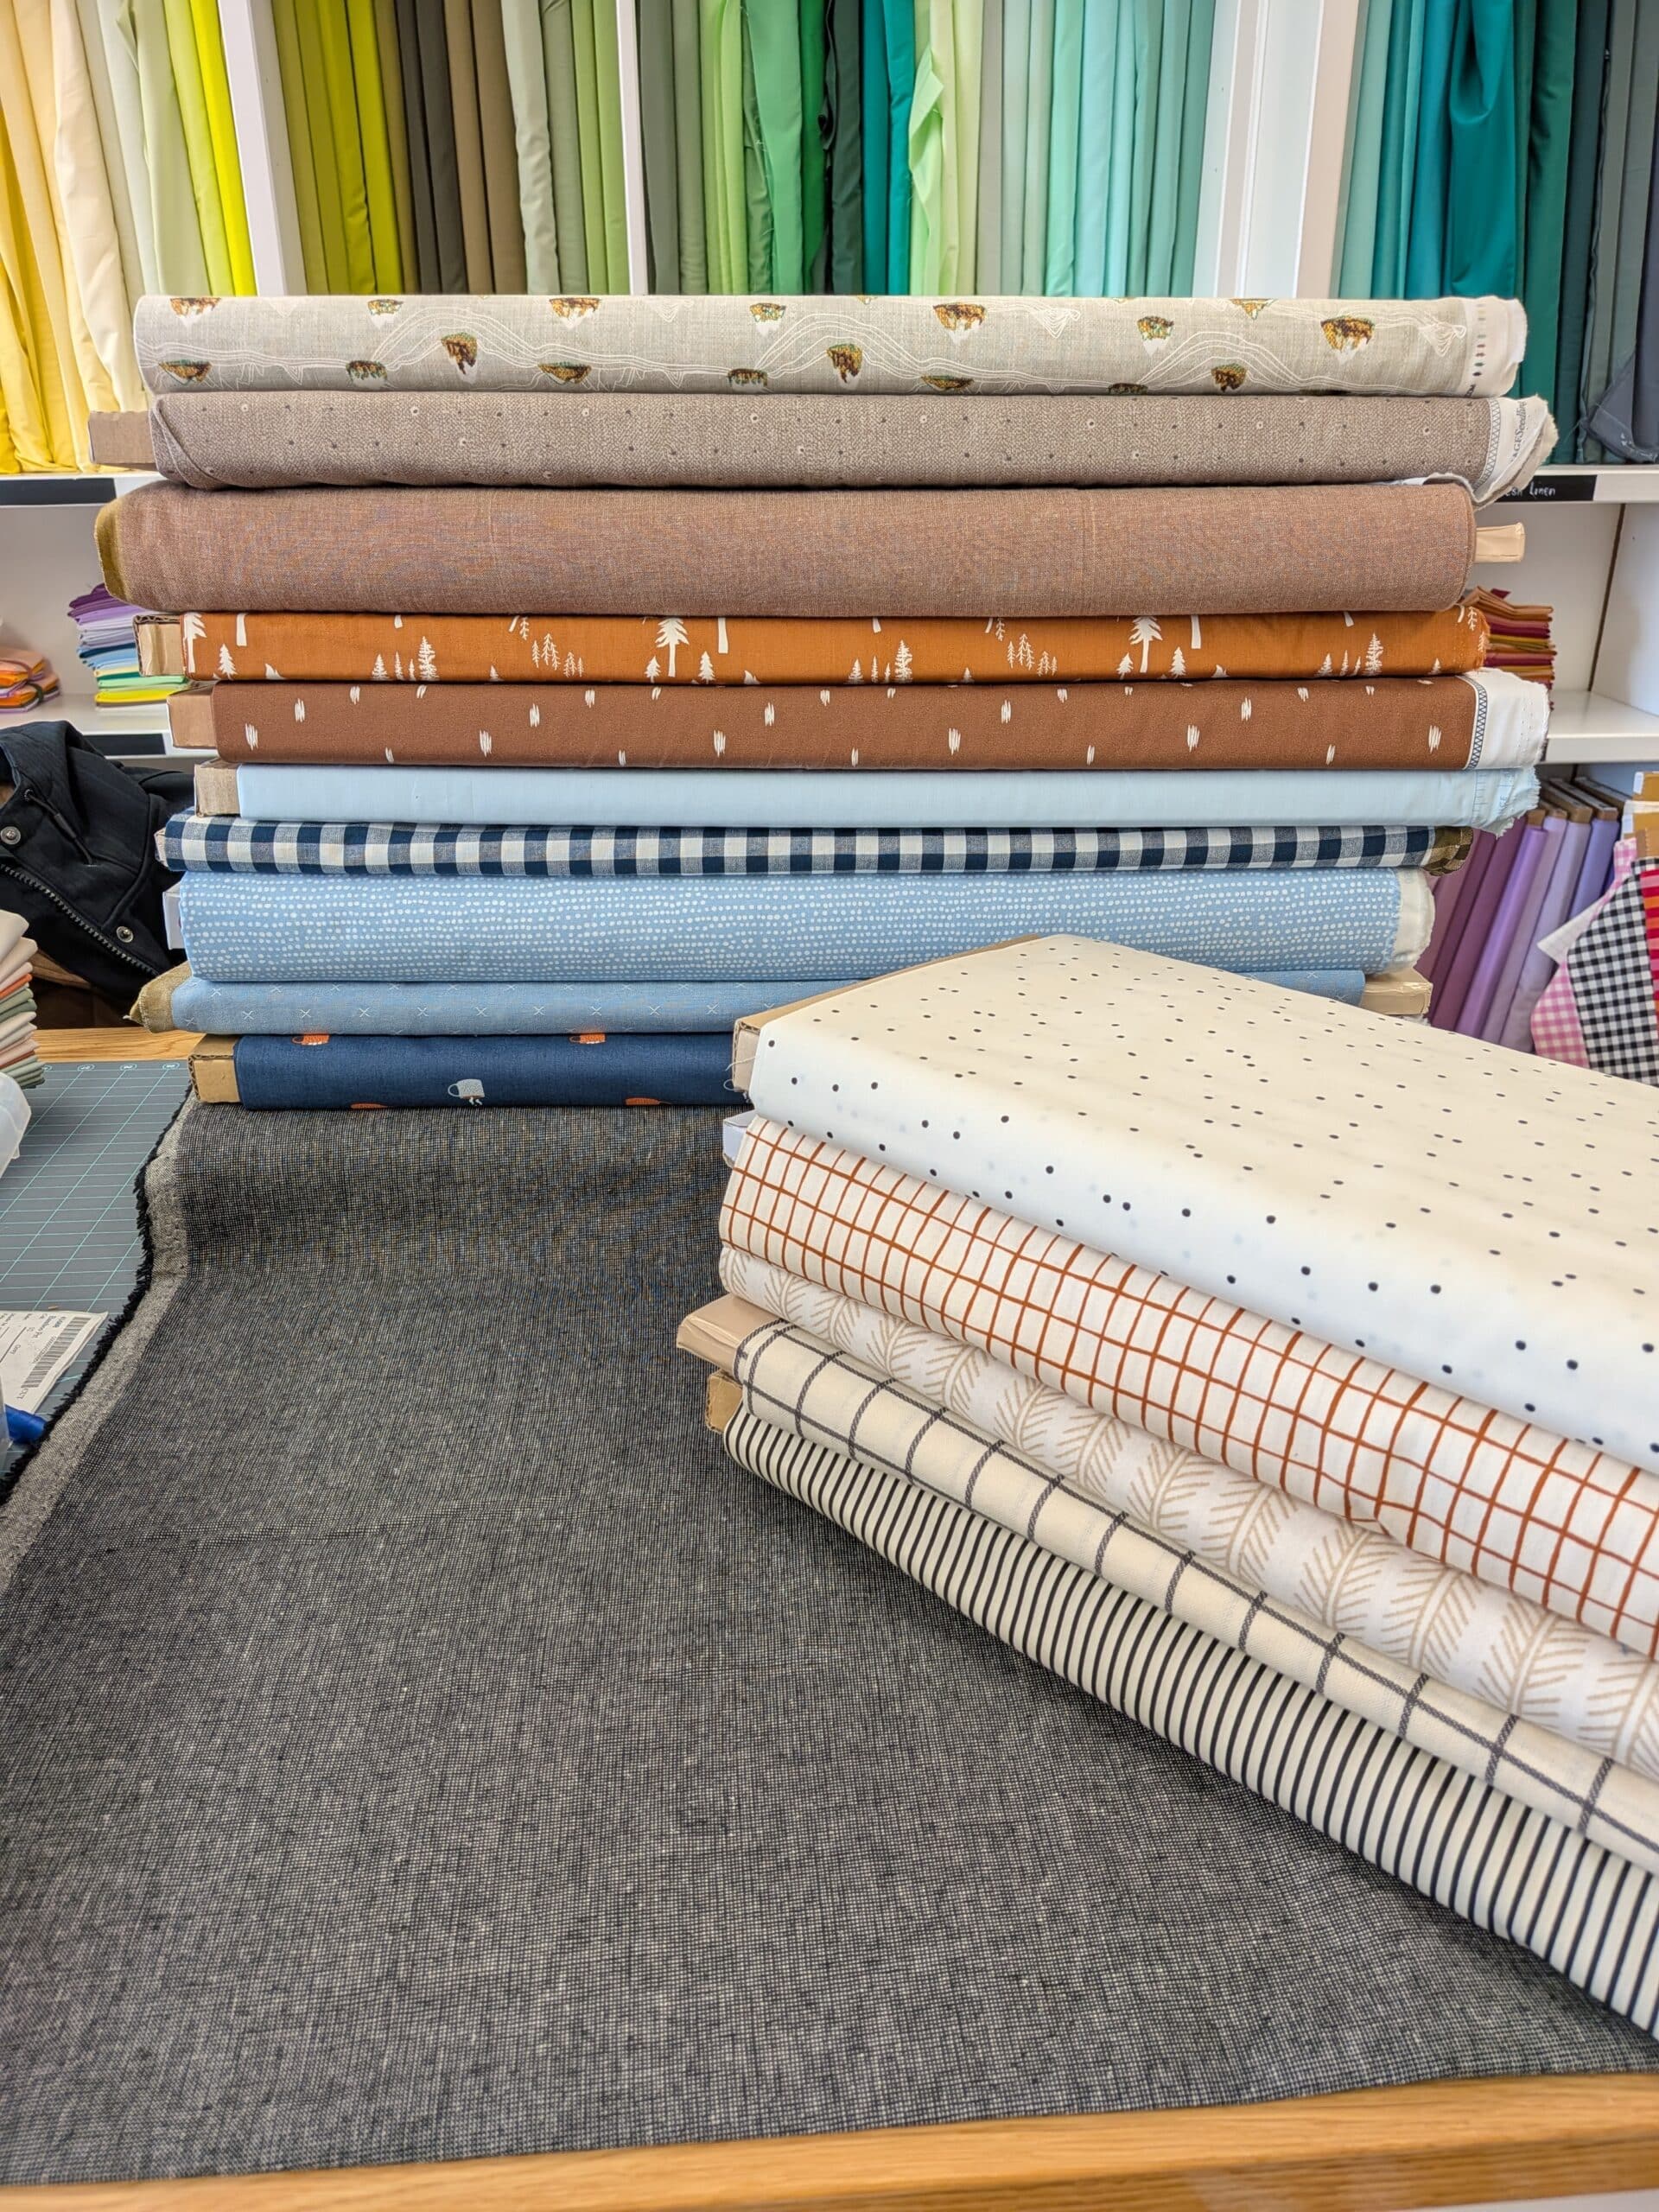
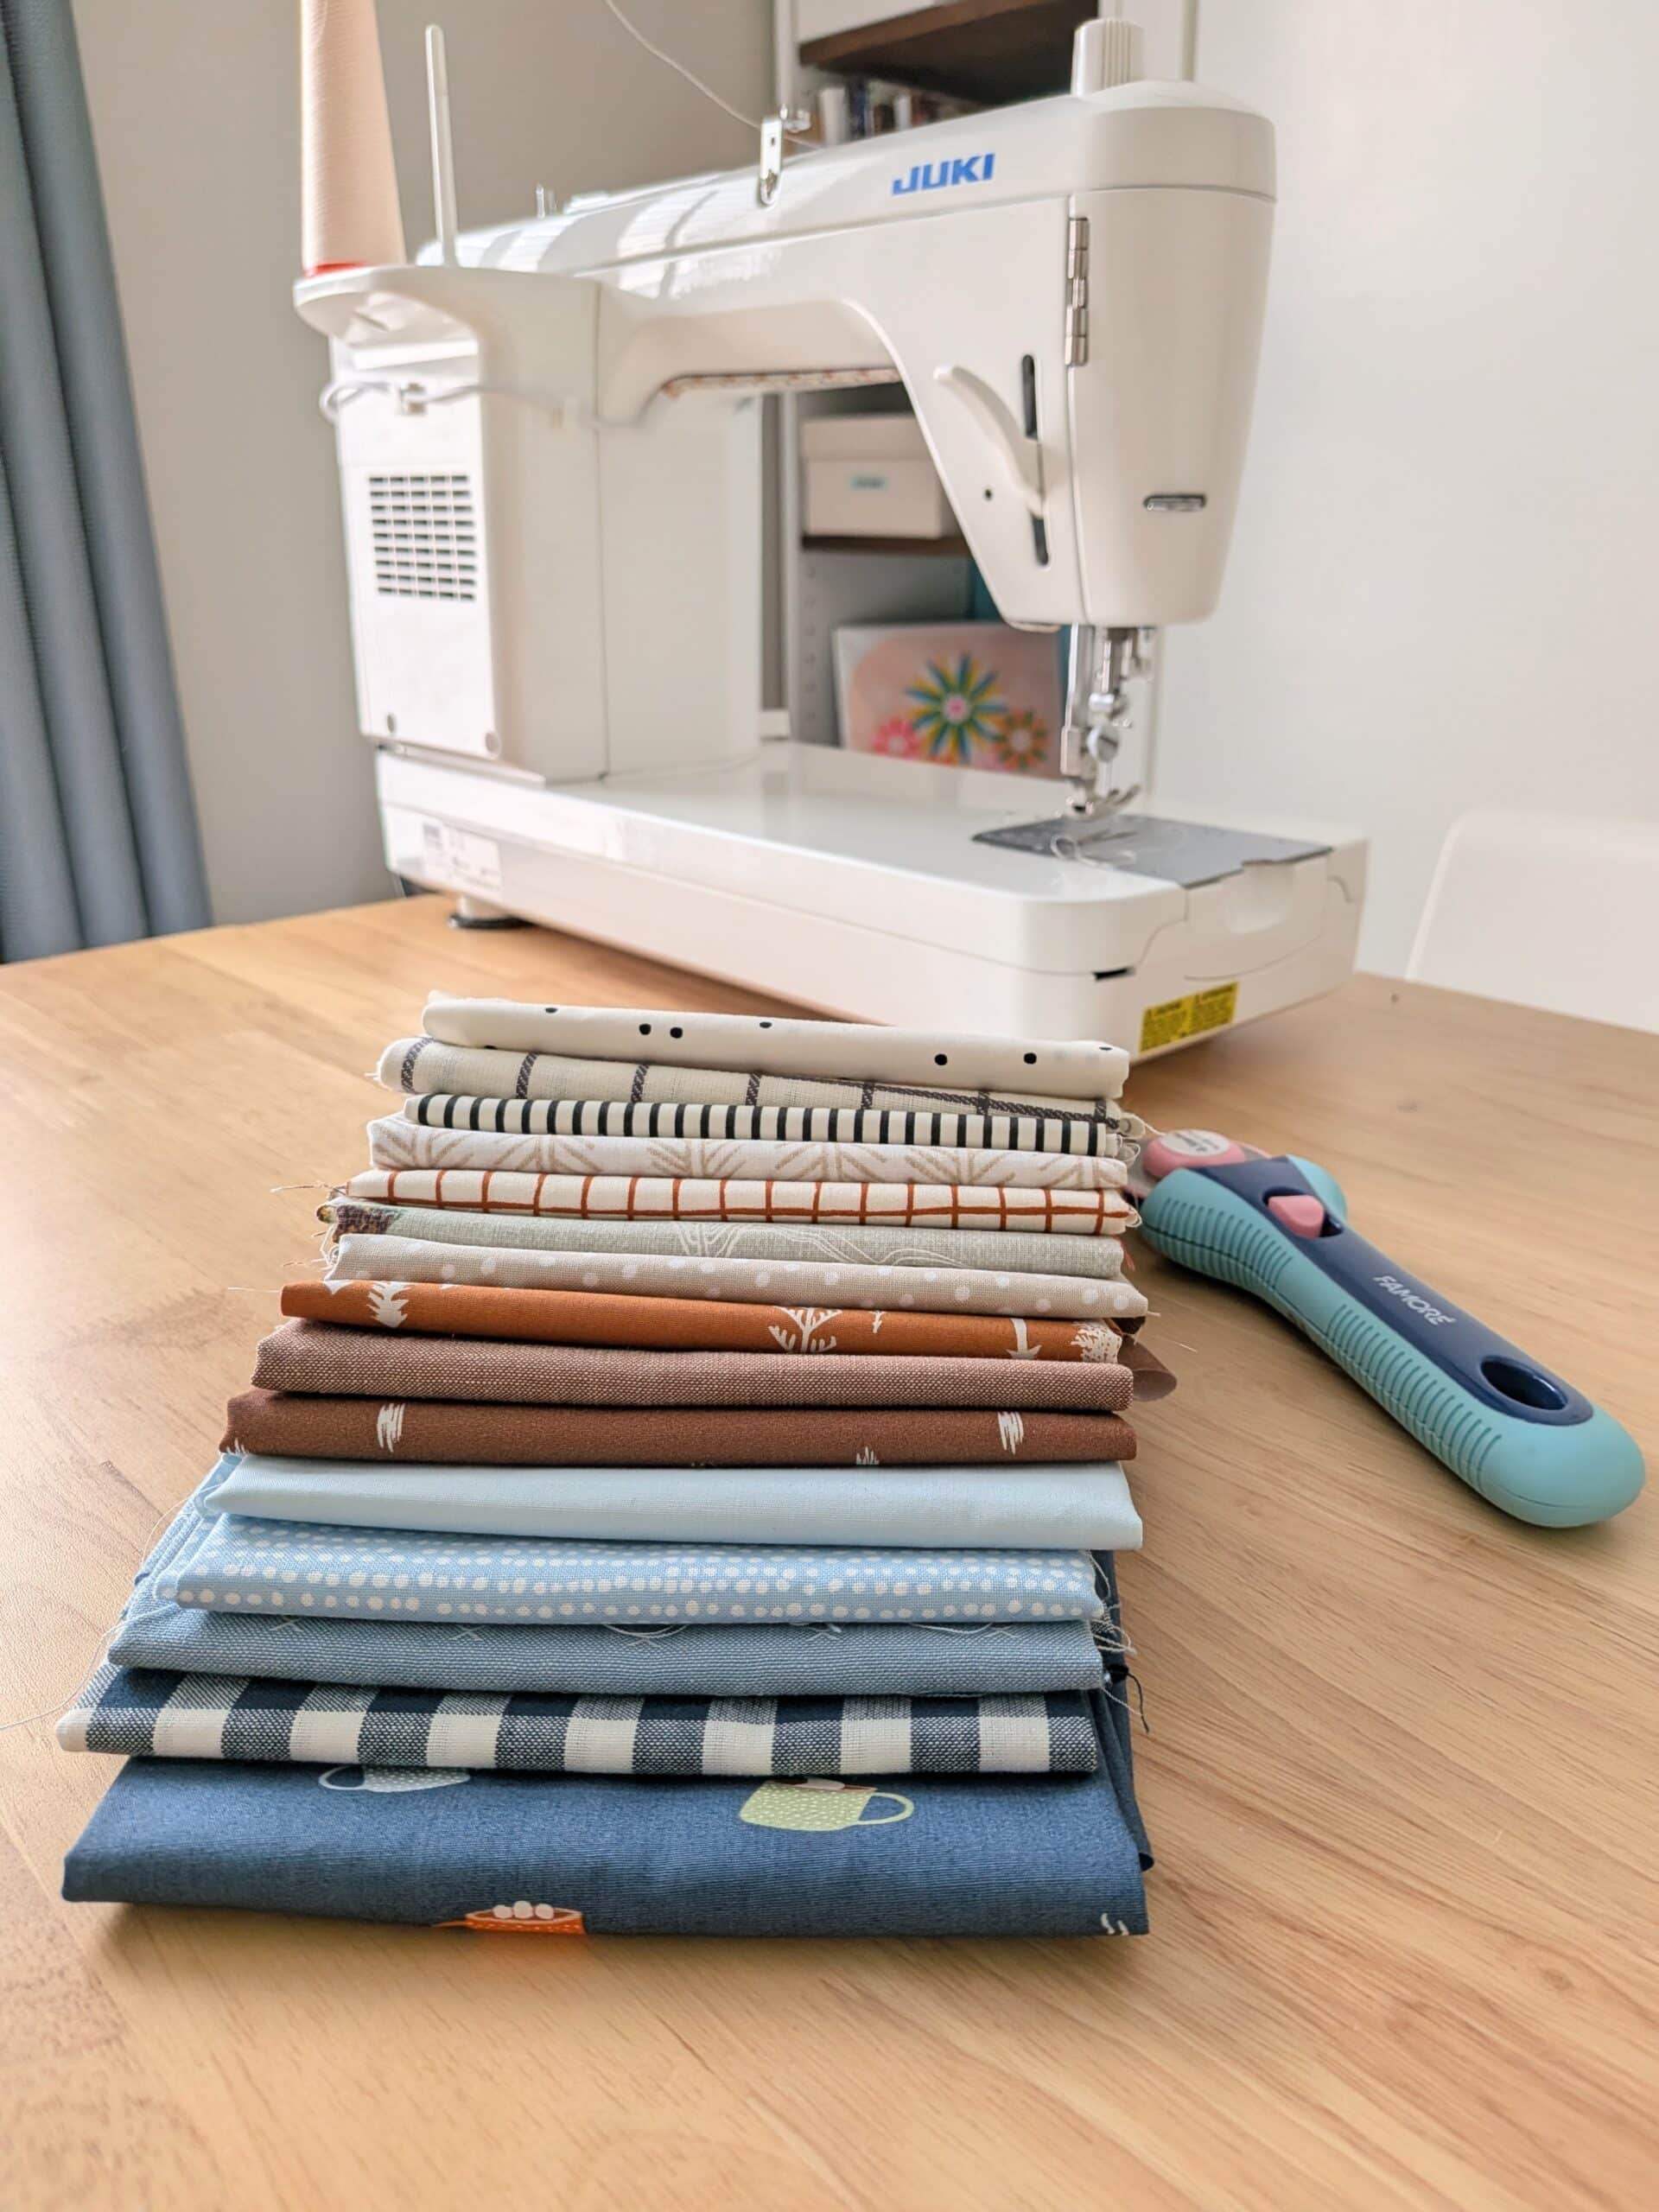
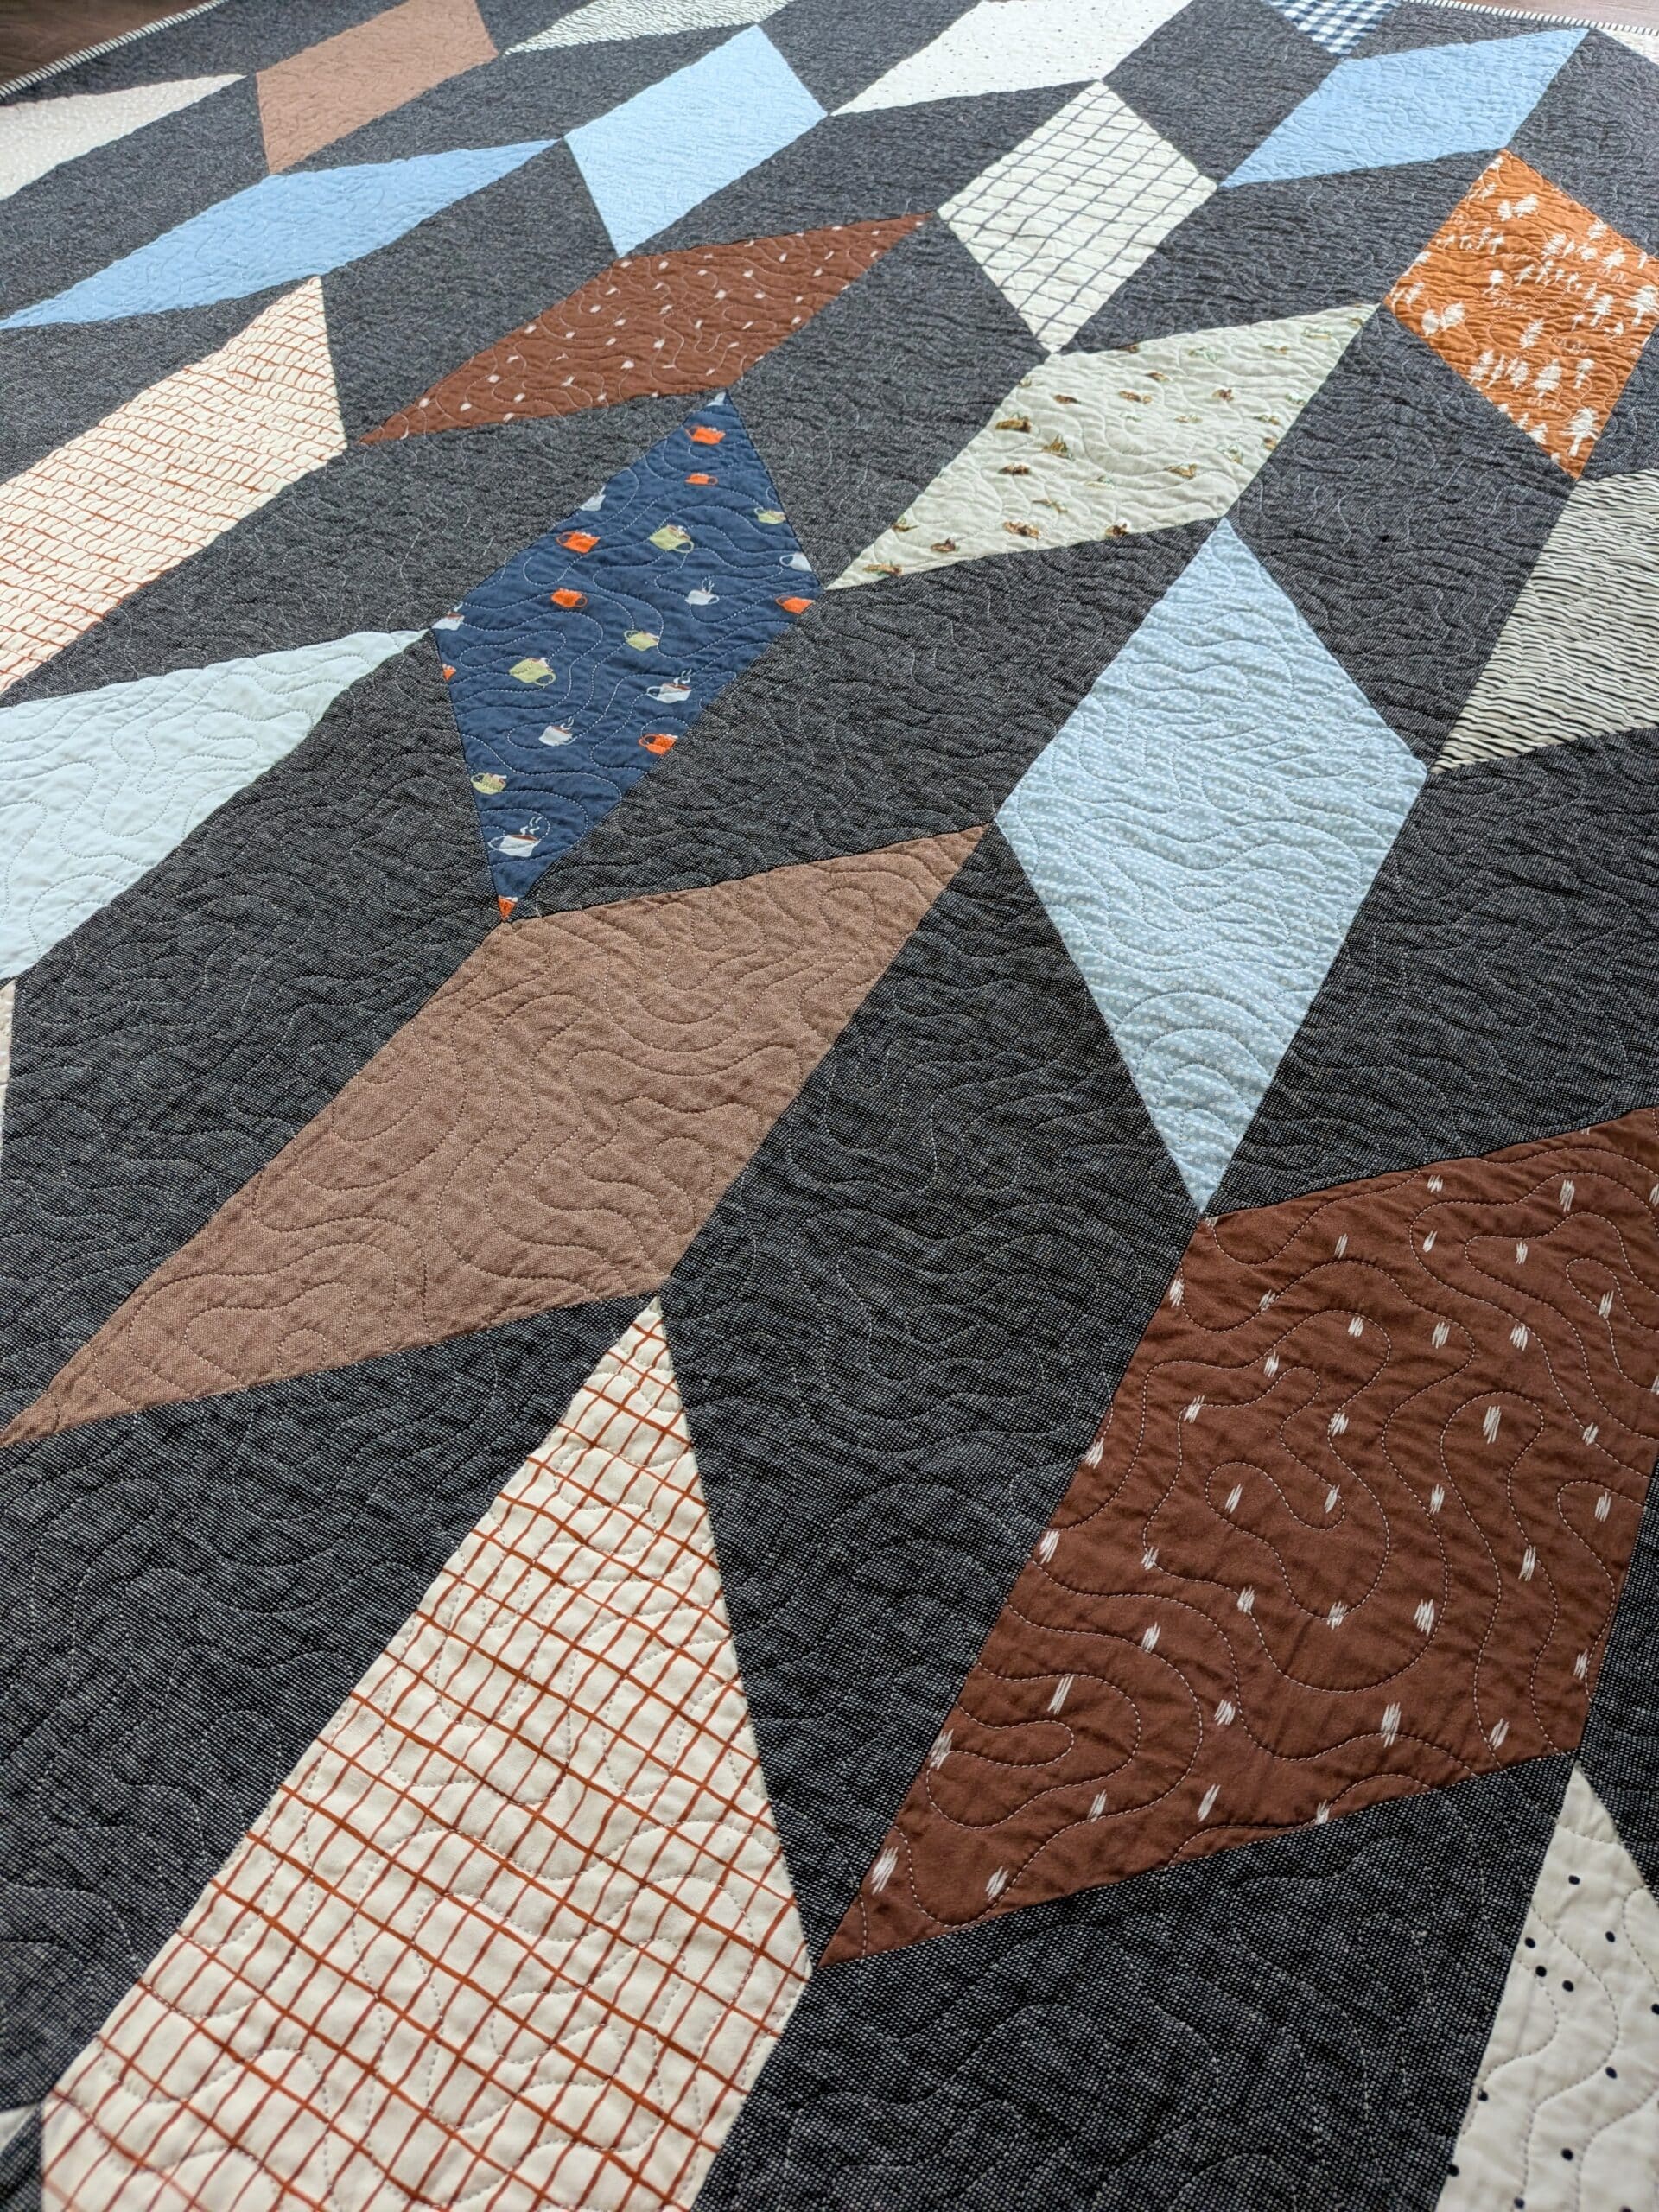
My math told me that I needed 15 fat quarters for the “napping size” version of the Fletcher quilt (the most perfect name I’ve ever heard), so I decided to break that down into three colourways: blues, browns, and low volumes.
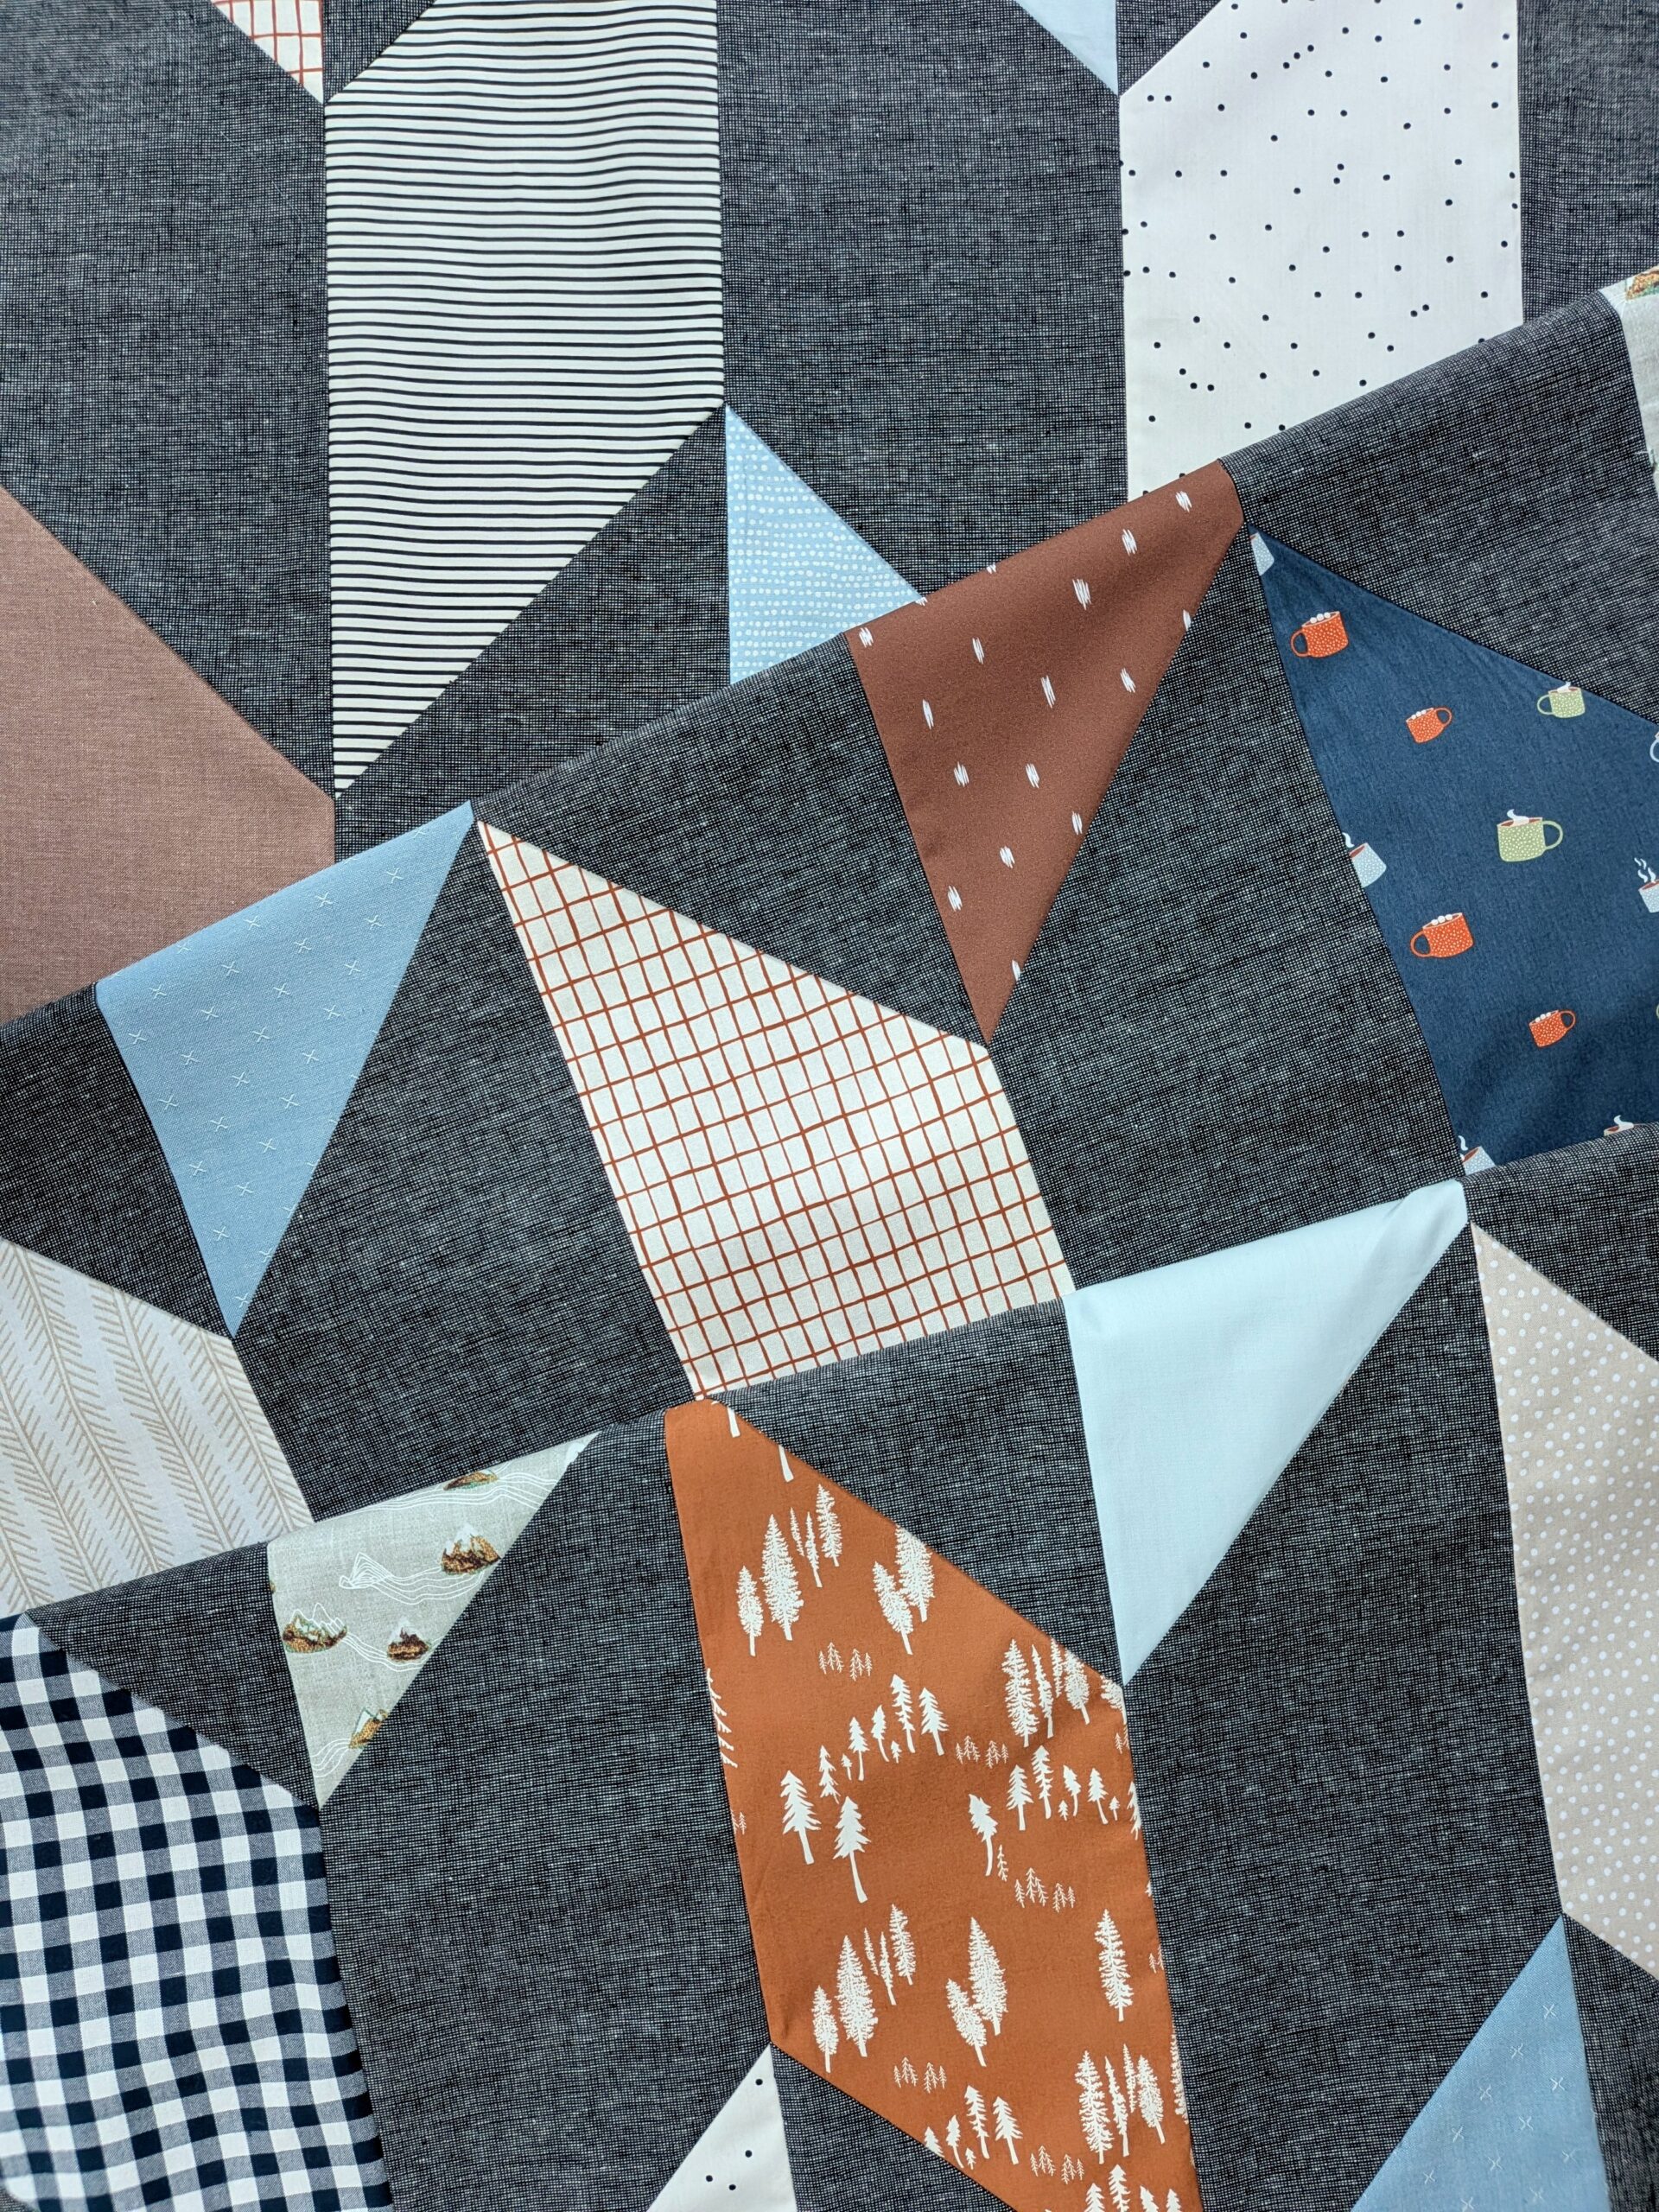
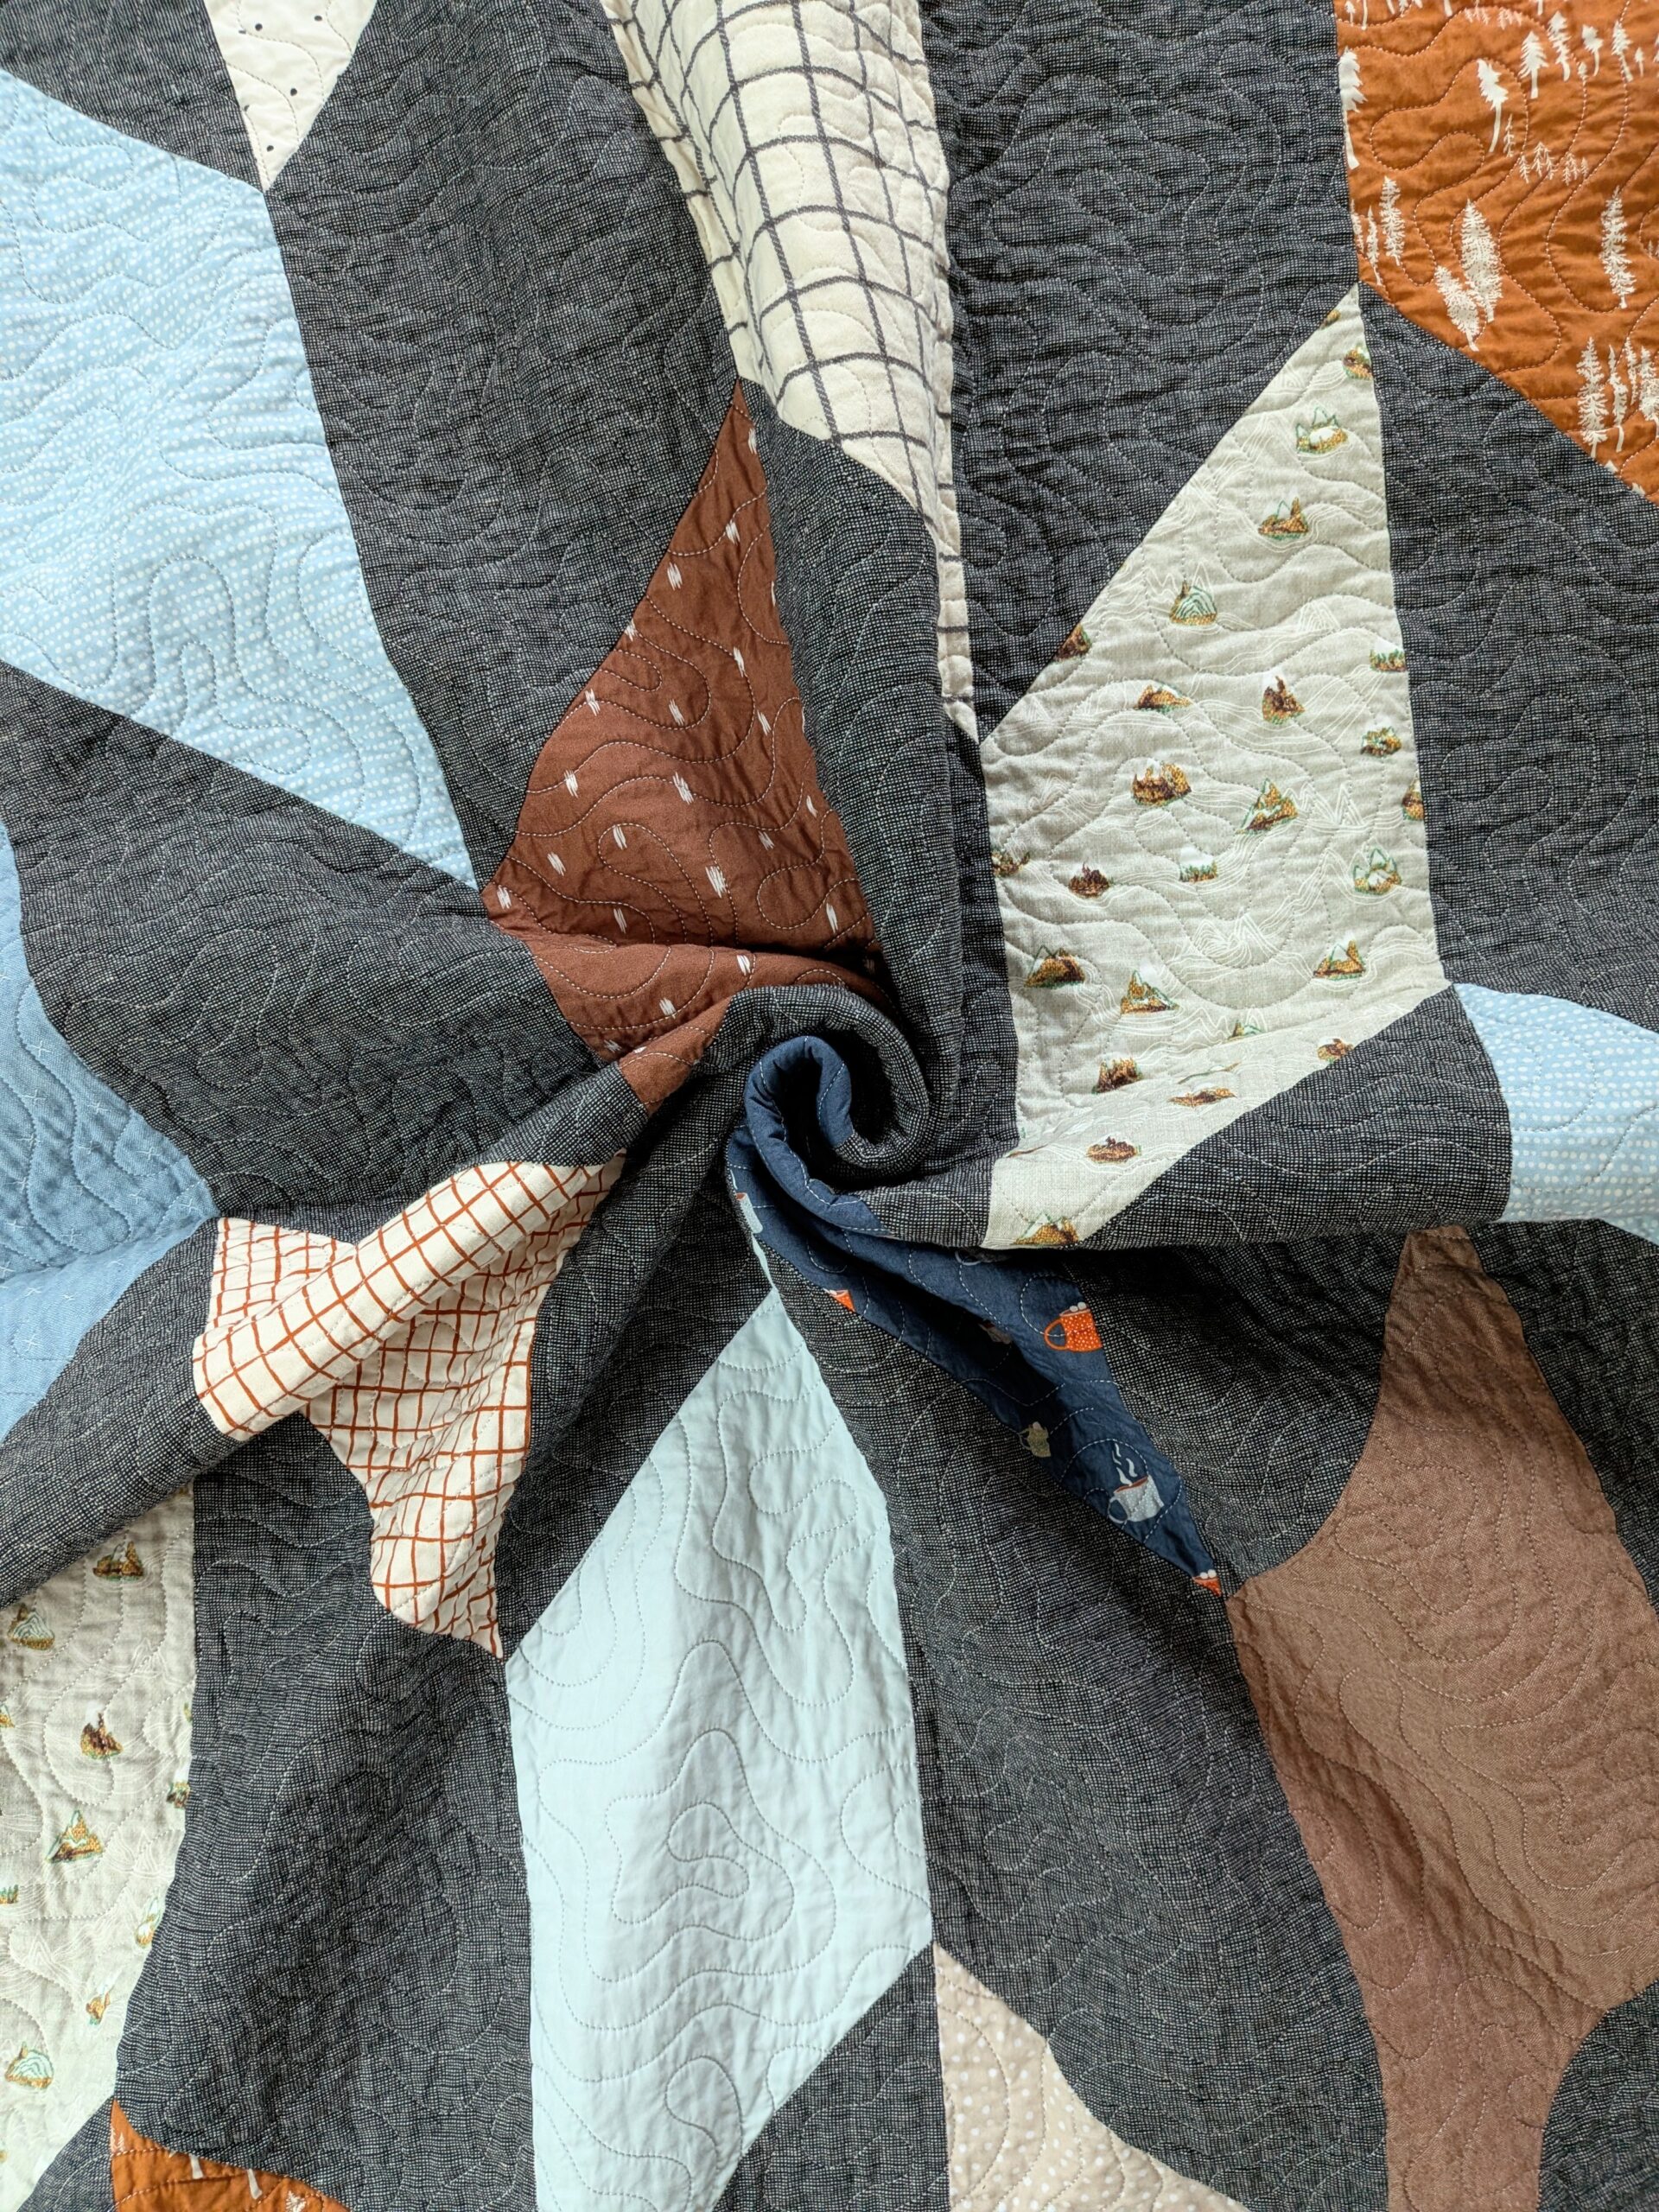
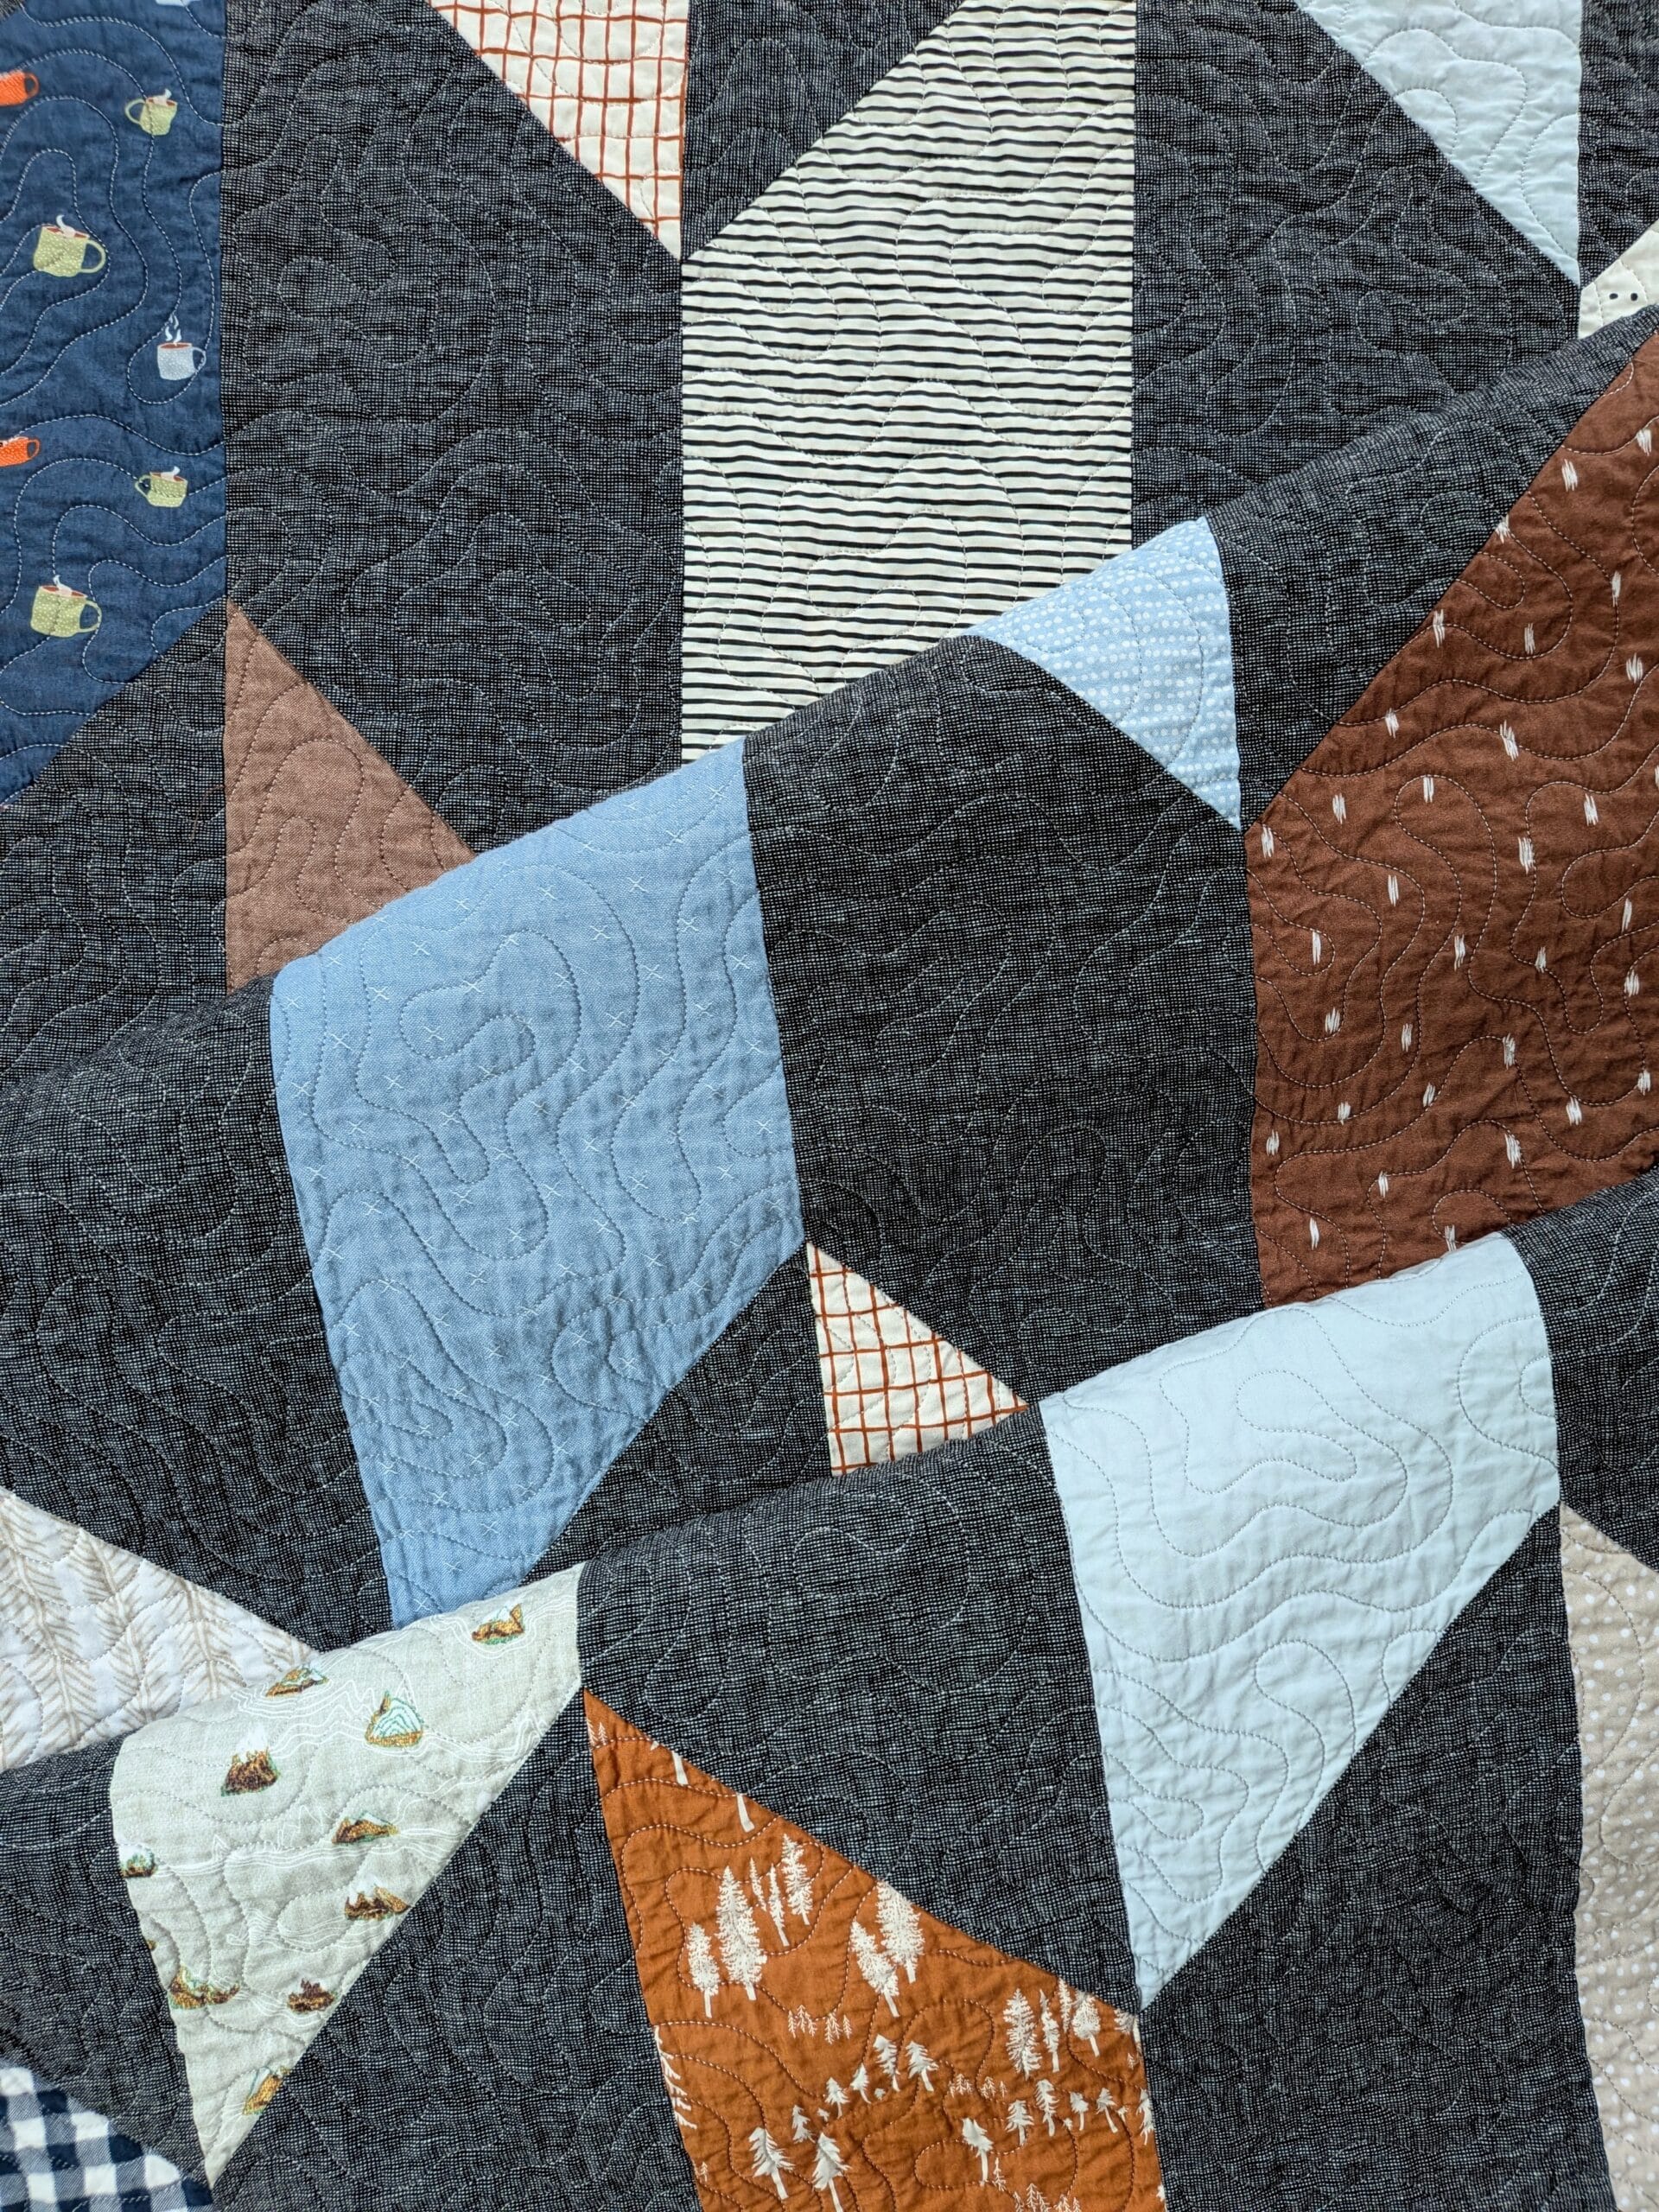
For each colourway, I tried to choose a variety of values (from light to dark). I found more than enough fabric to make my vision come to life. If anything, it was difficult to narrow it down to only 15 prints. Some of them made the cut right away (like the mountains and the coffee cups), and others took more deliberation.
I was delighted to find several of wovens to add to the mix, and knew that this would be one snuggly, cuddly quilt.
Cutting
As I knew it would be, the Fletcher quilt was FAST to cut out. It took me longer to press all of the fat quarters than it did to cut them into their components.
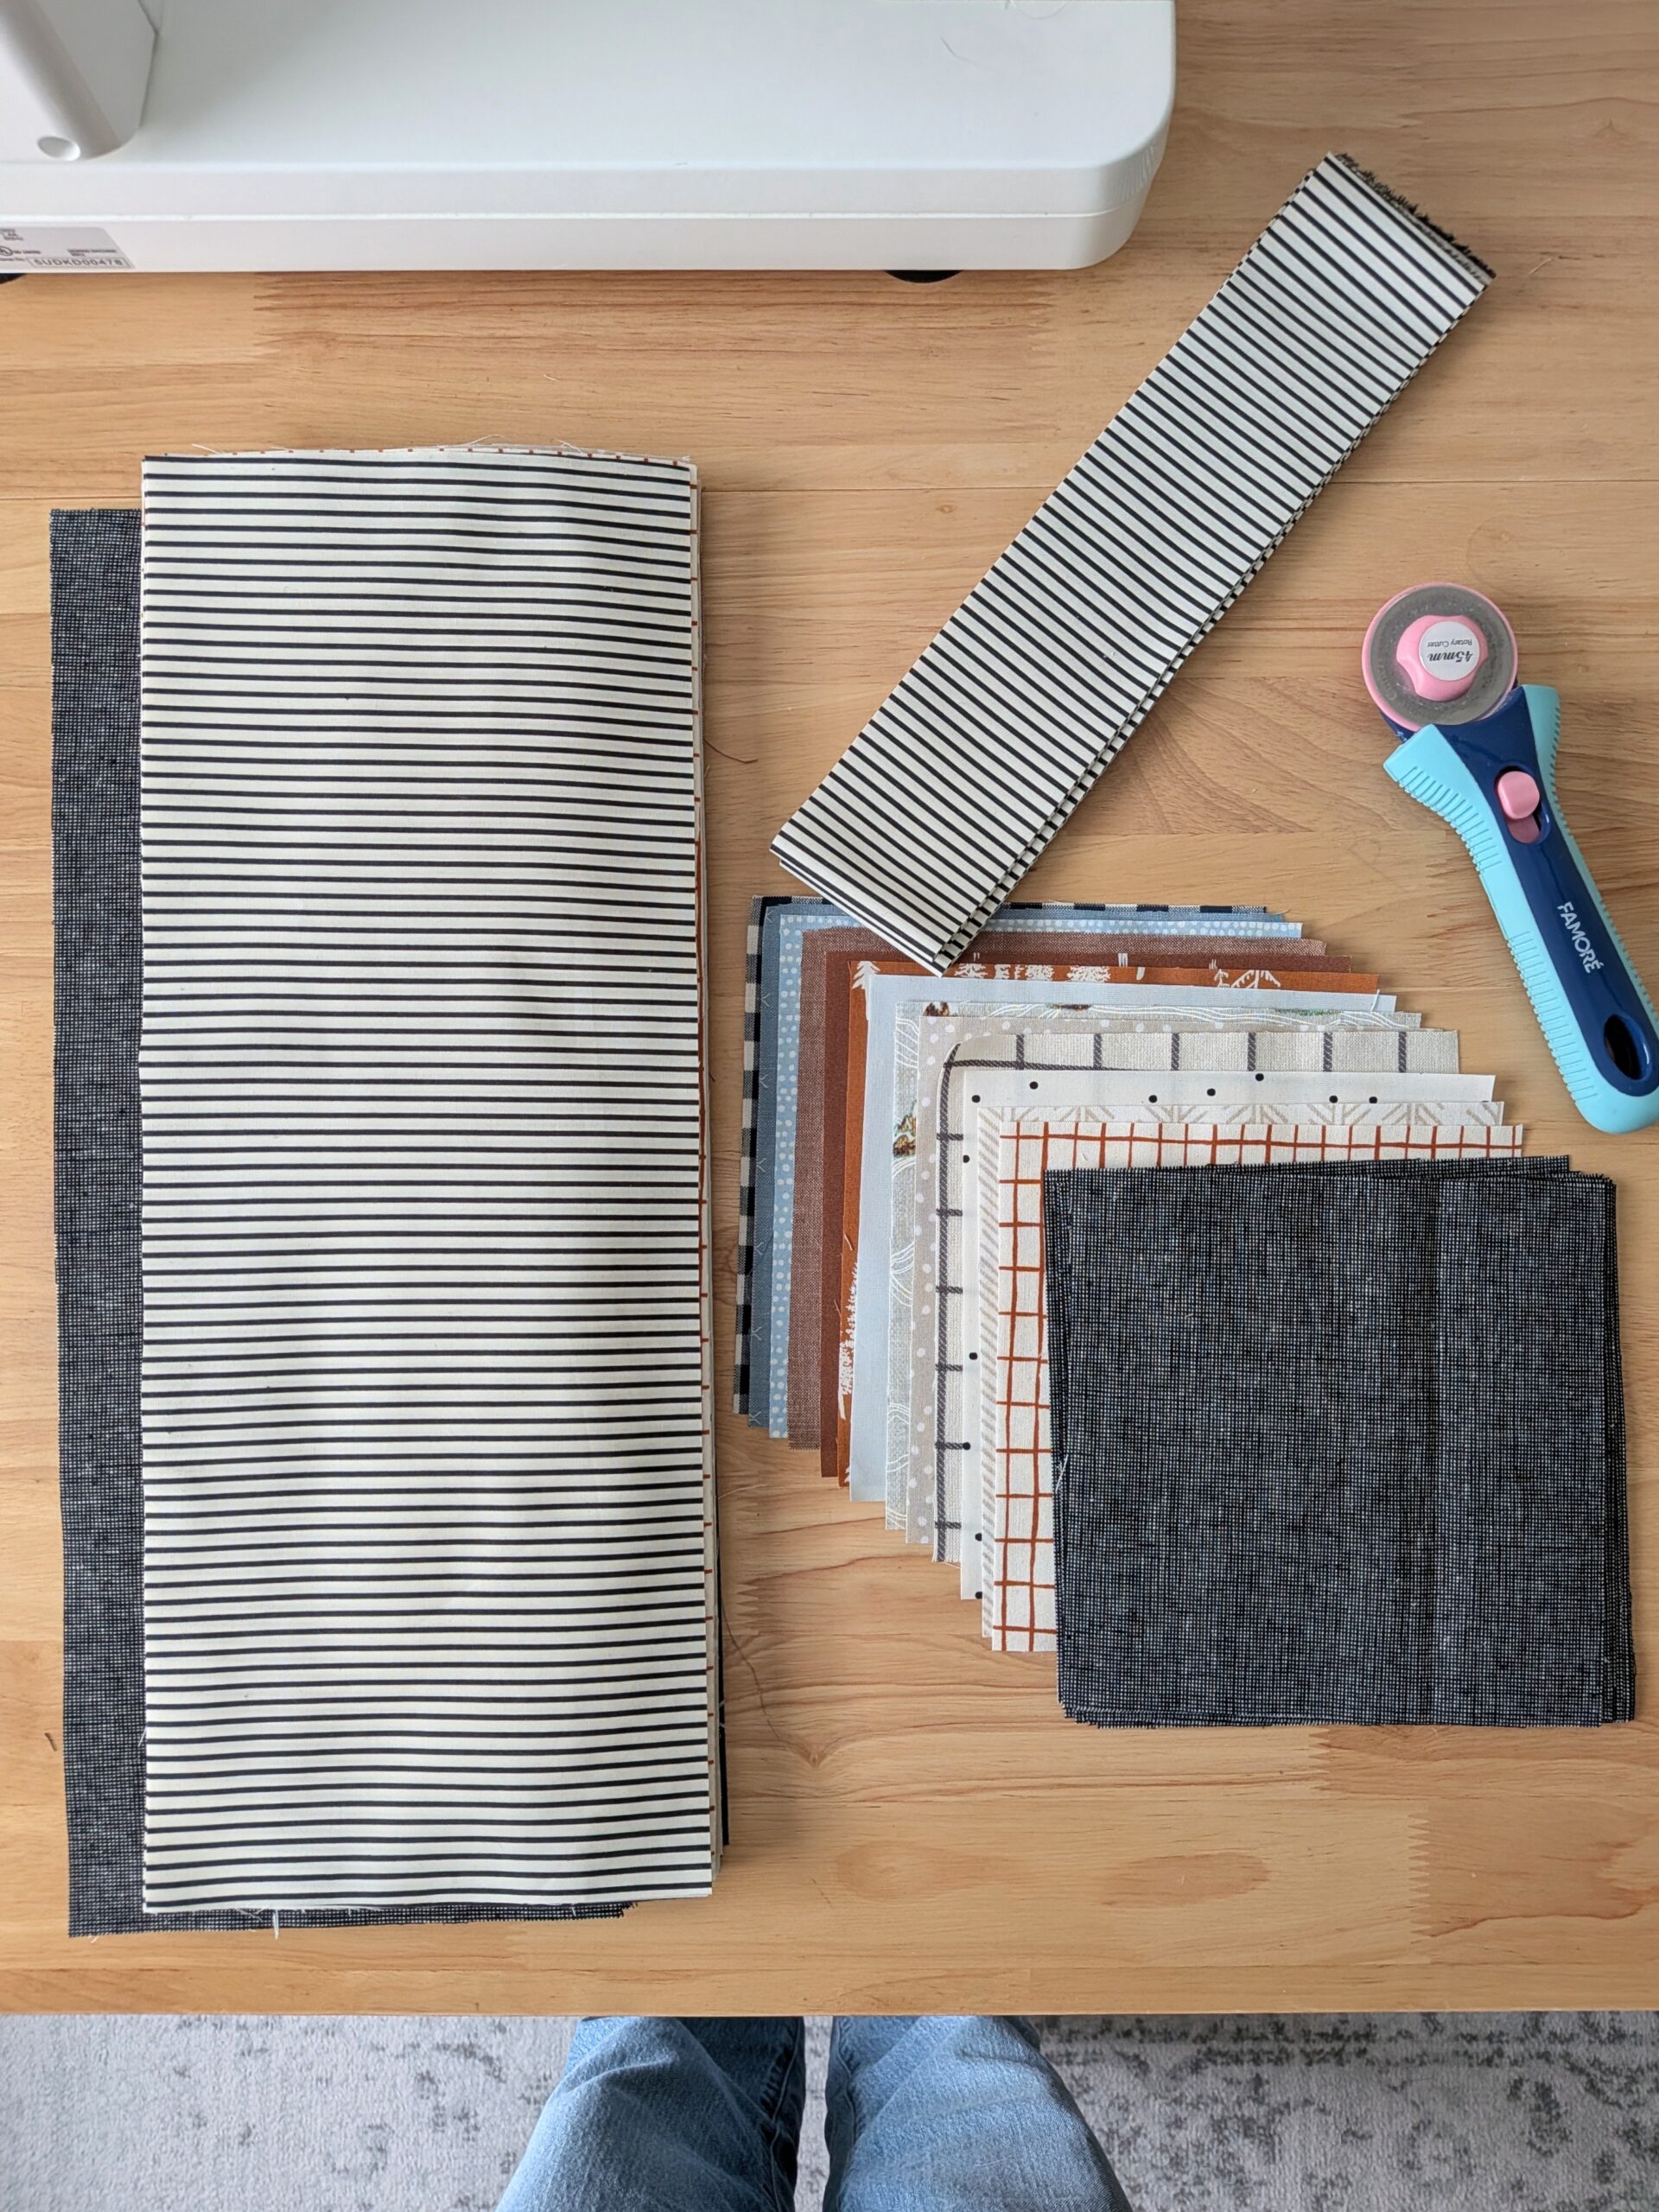
The pattern is made up entirely of (large!) rectangles and squares, and they’re all the same width. Slice, slice, slice went my trusty Famoré rotary cutter, and in no time I had a delightful stack of fabric waiting to be sewn into a quilt.
Layout
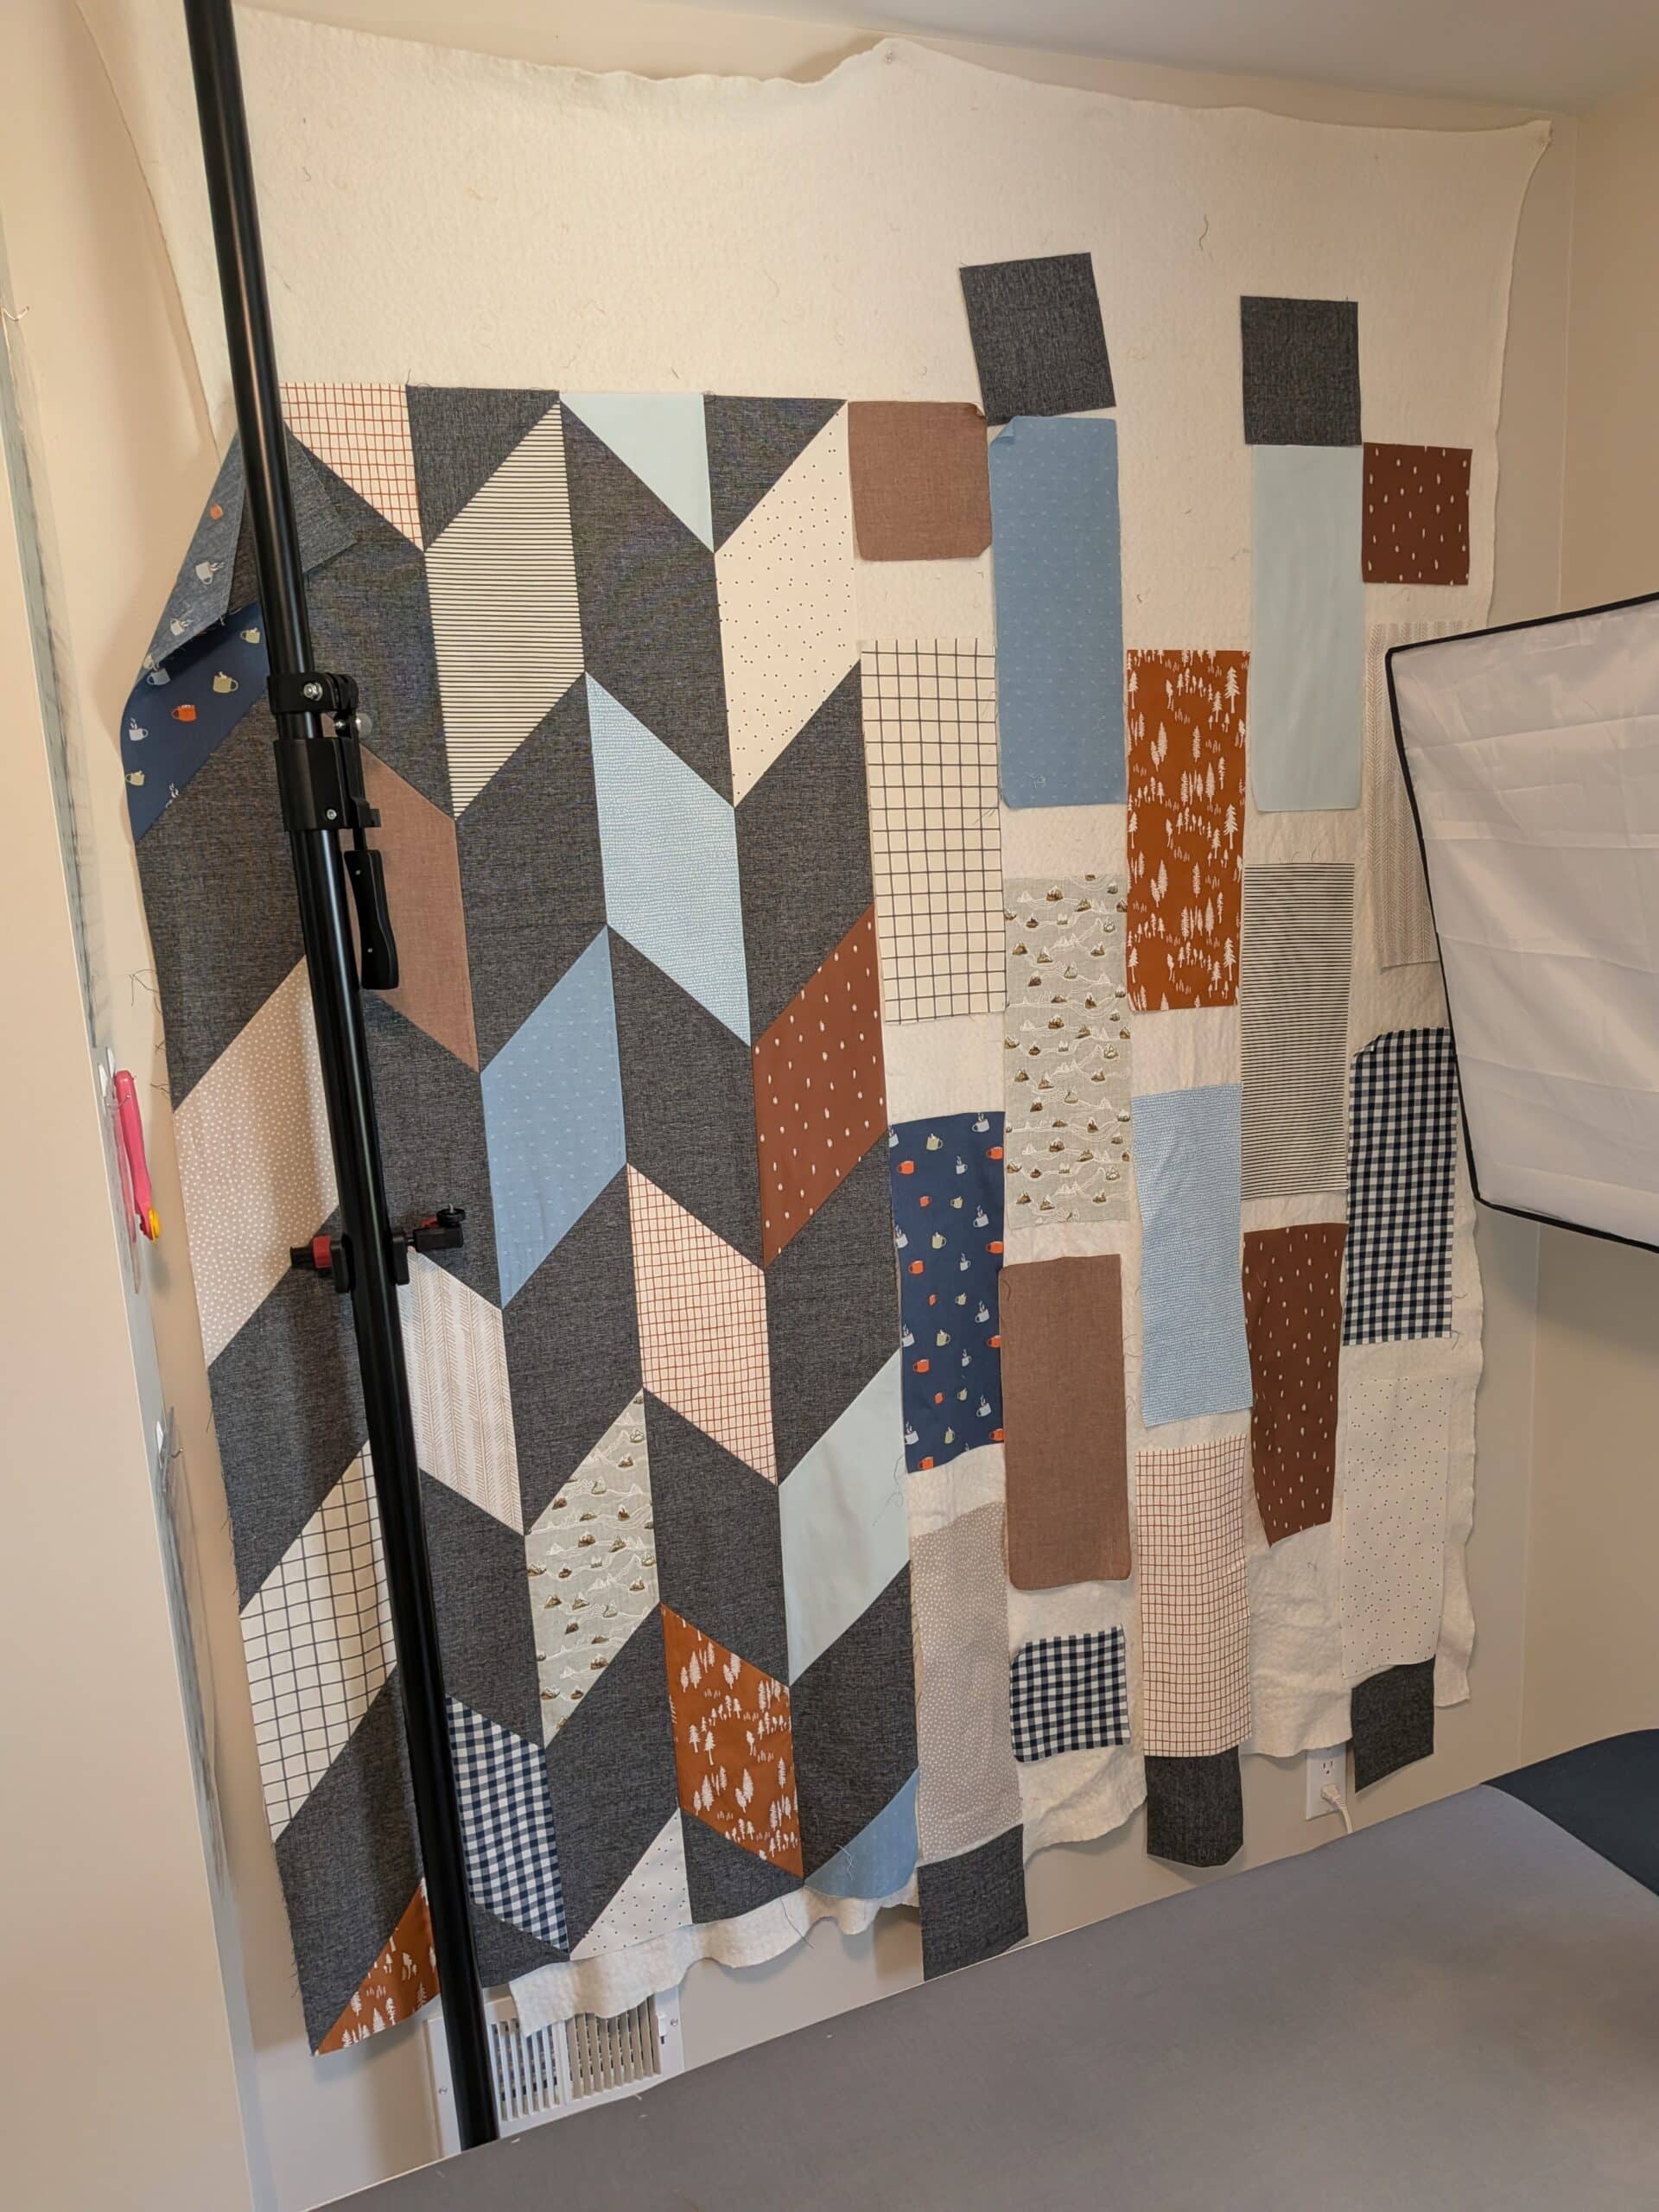
The Fletcher quilt is constructed in columns, and the napping size has ten in total. My “design wall” wasn’t big enough to fit all ten at once, so I broke the quilt down into halves, and laid out the location of exactly half of the prints.
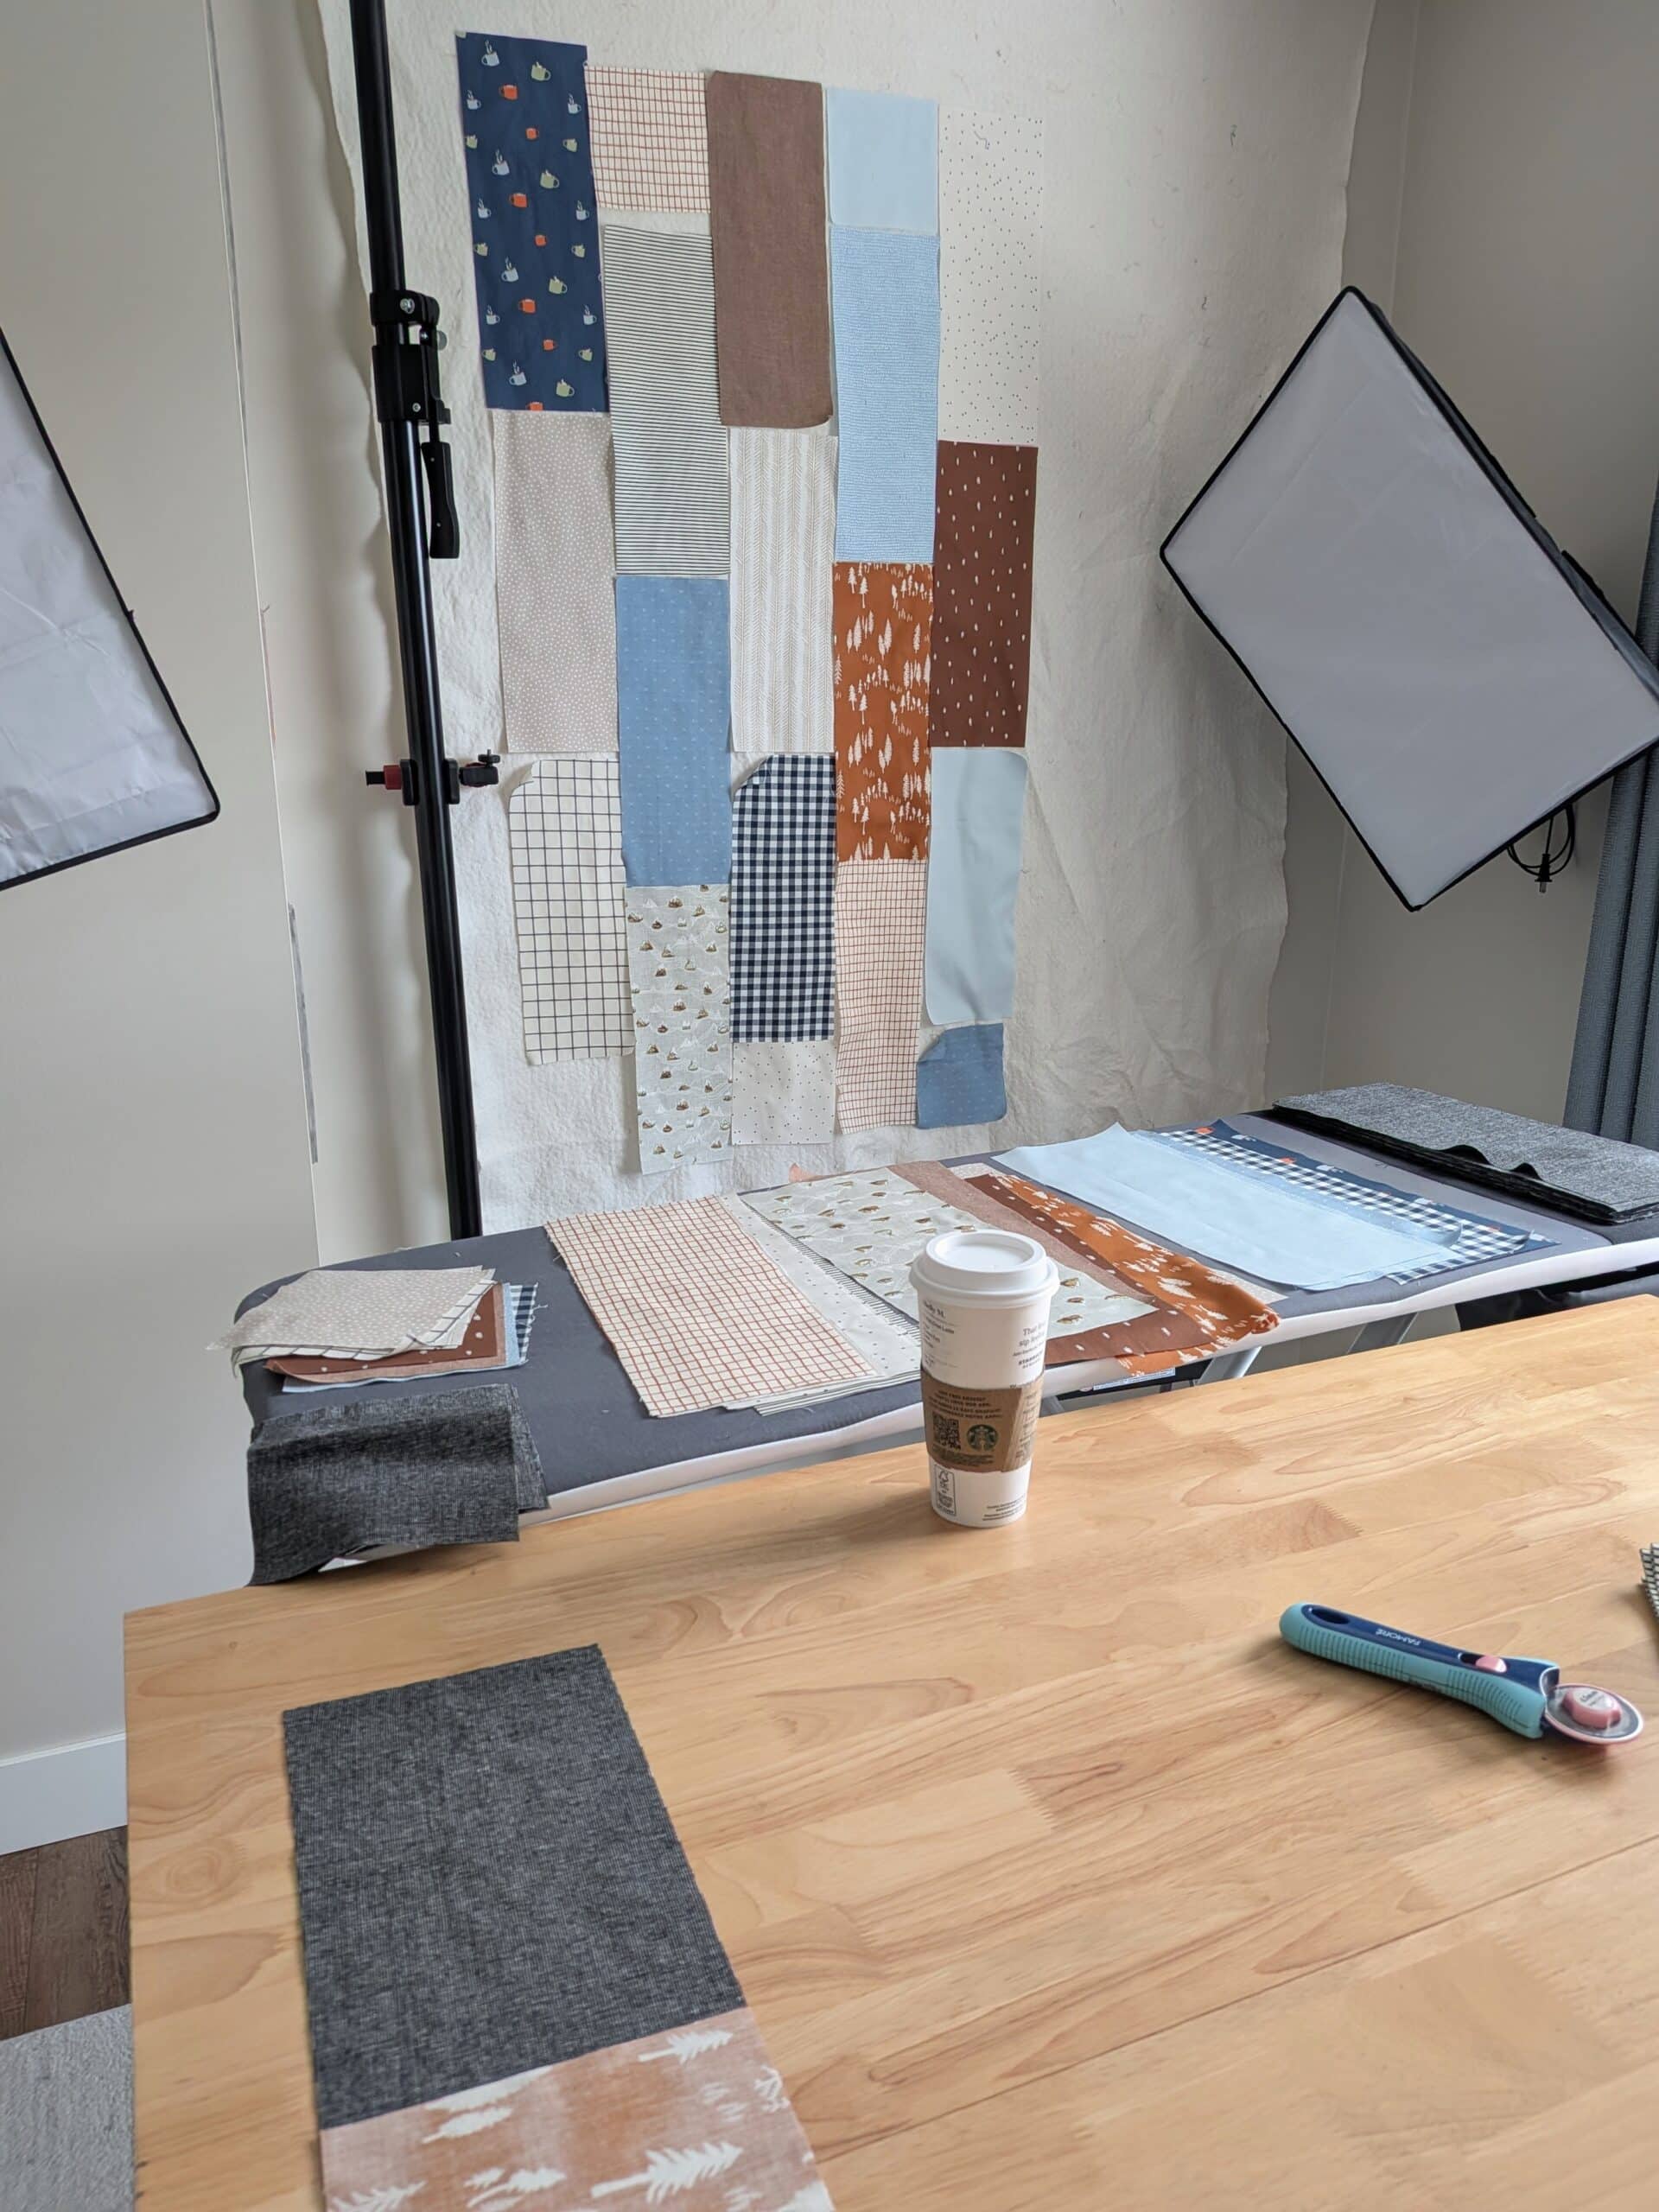
This gave me an imperfect view of how the fabric would look, but at least provided a general idea of how it might turn out. I sewed the entire first half of the quilt together before I laid out the fabric for the second half.
Block Construction
With the enormous blocks and simple construction, this quilt came together SUPER quickly.
Rather than creating smaller blocks and then sewing them together, the pattern instructs you to create one column at a time. You start with the bottom (or top - your choice!) and then lay the next piece of fabric on top of it at a right angle. Sew from corner to corner, trim the excess, press to the dark side, and repeat until the entire column is sewn together.
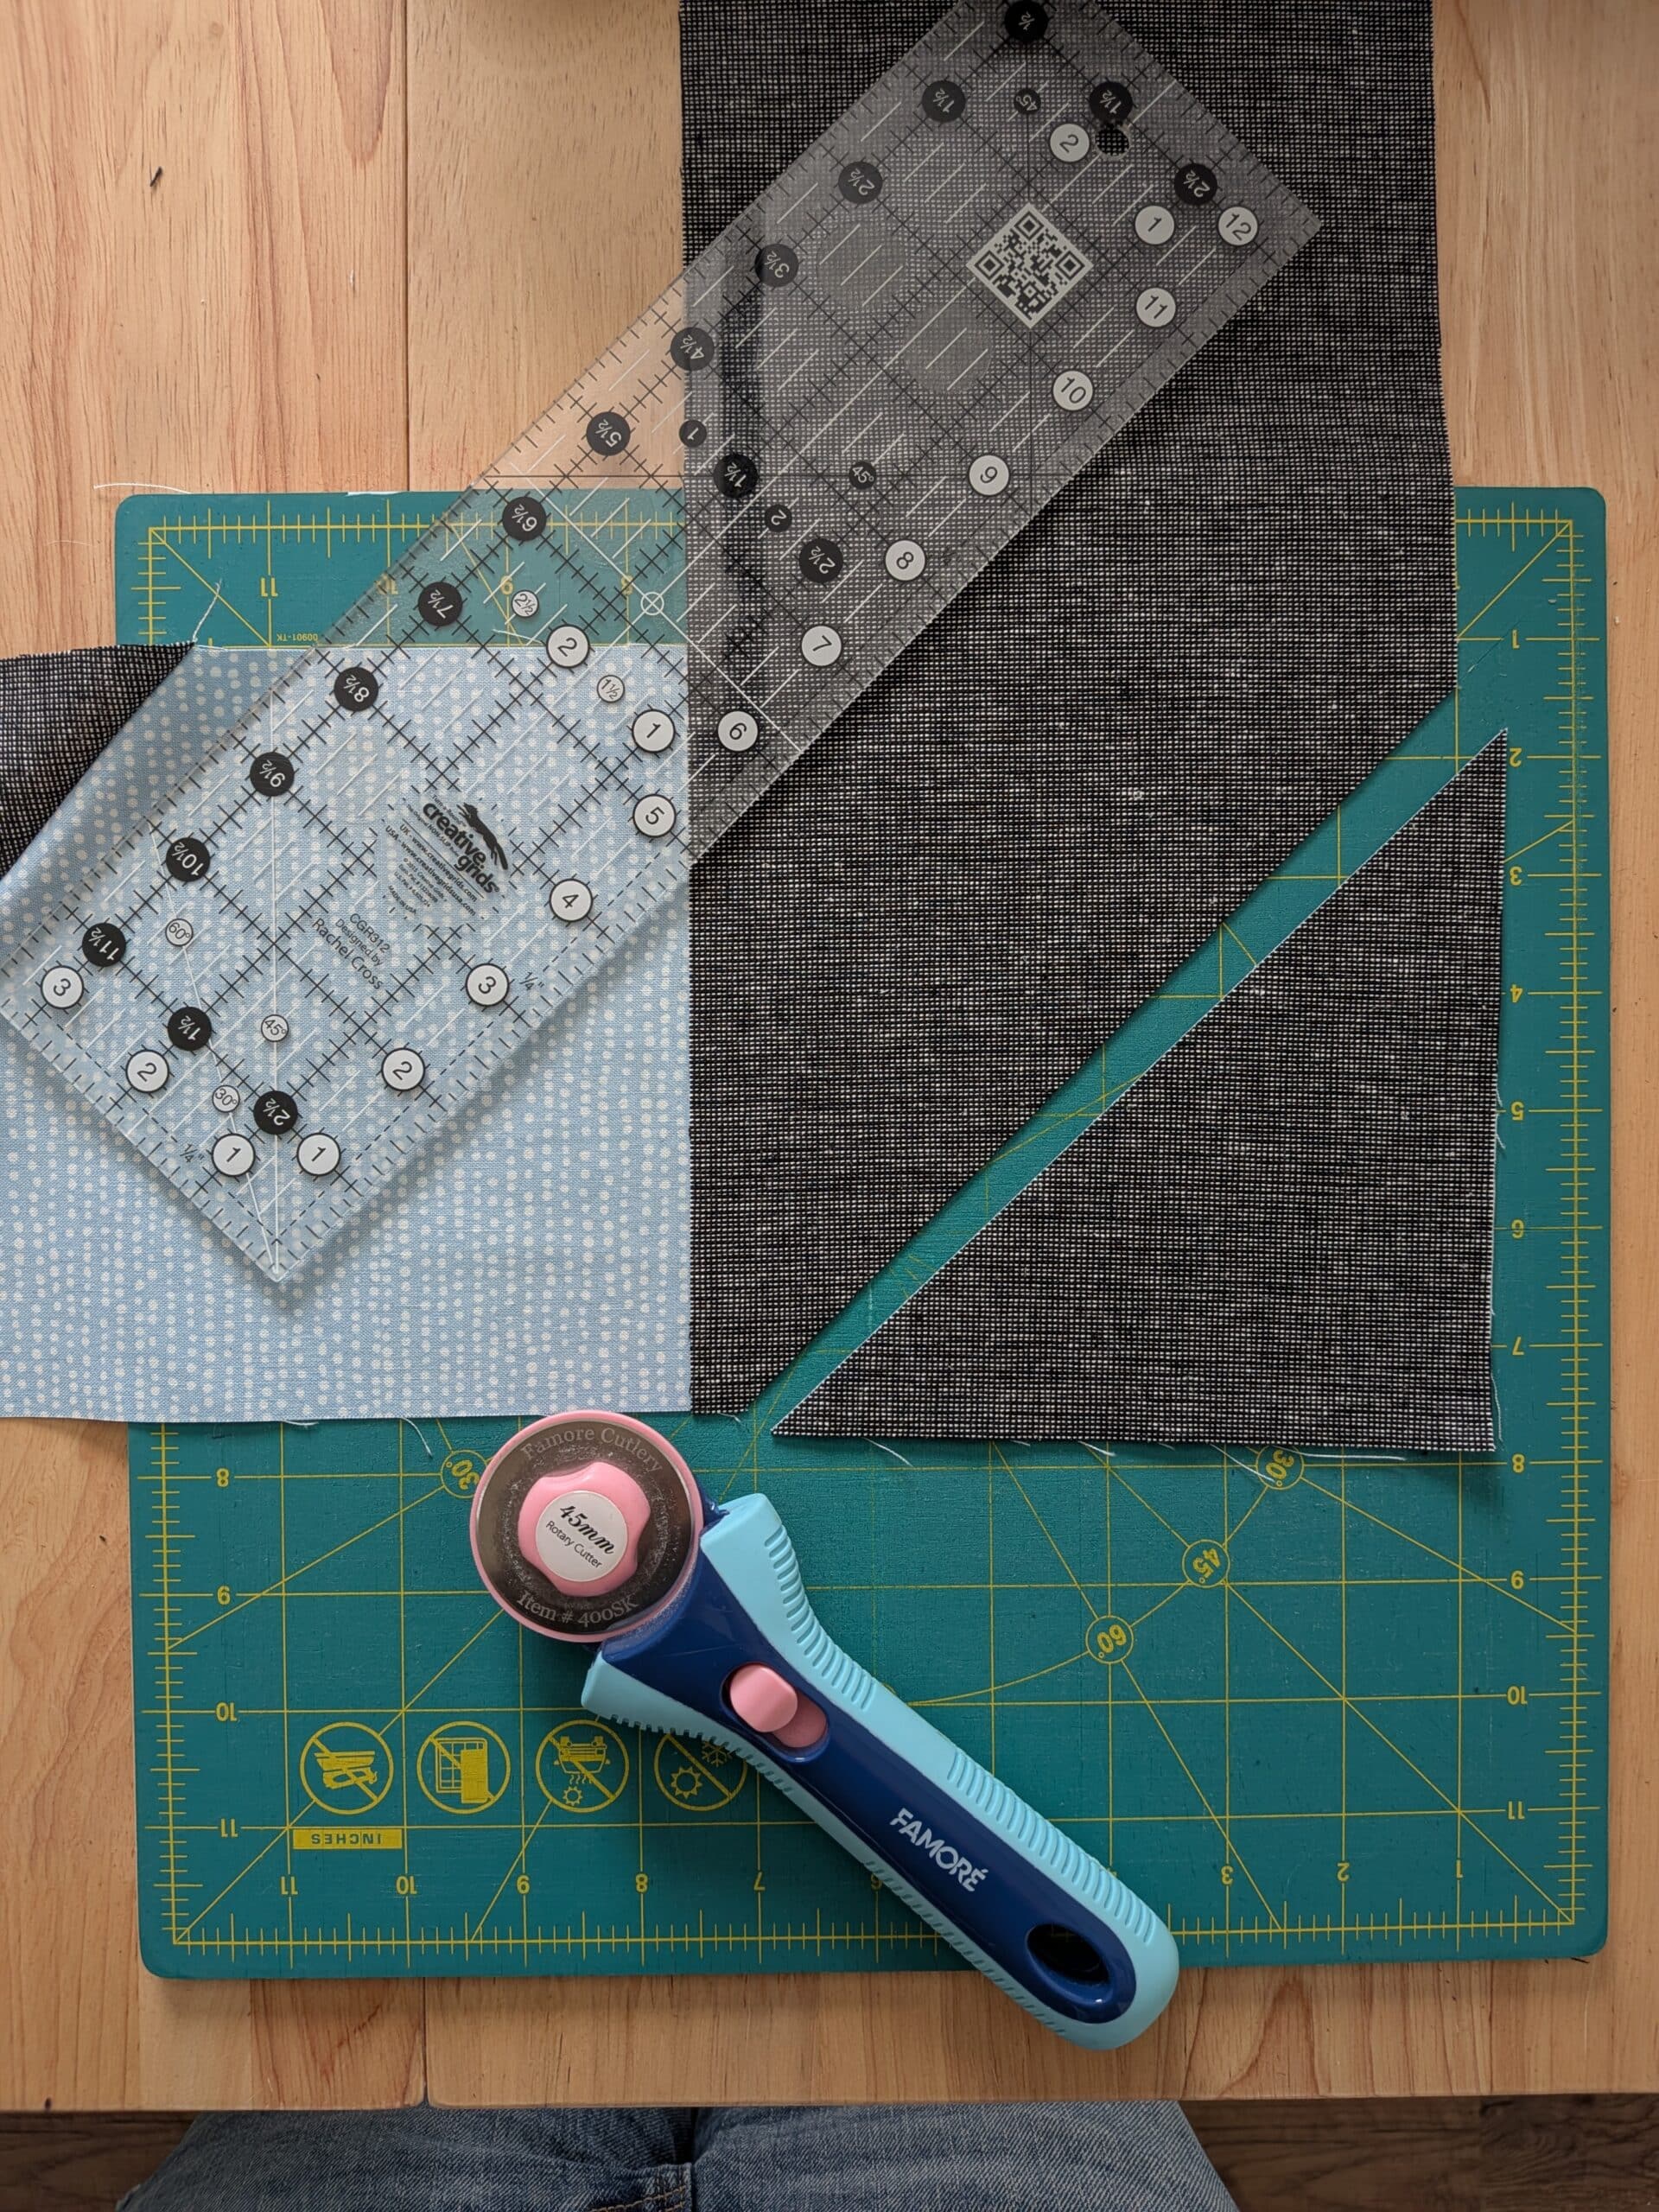
Since this is essentially the same technique as snowball corners, I referred to my own blog post where I shared the method that works well for *me*. I love it when Past Shelly leaves detailed instructions for Future Shelly!
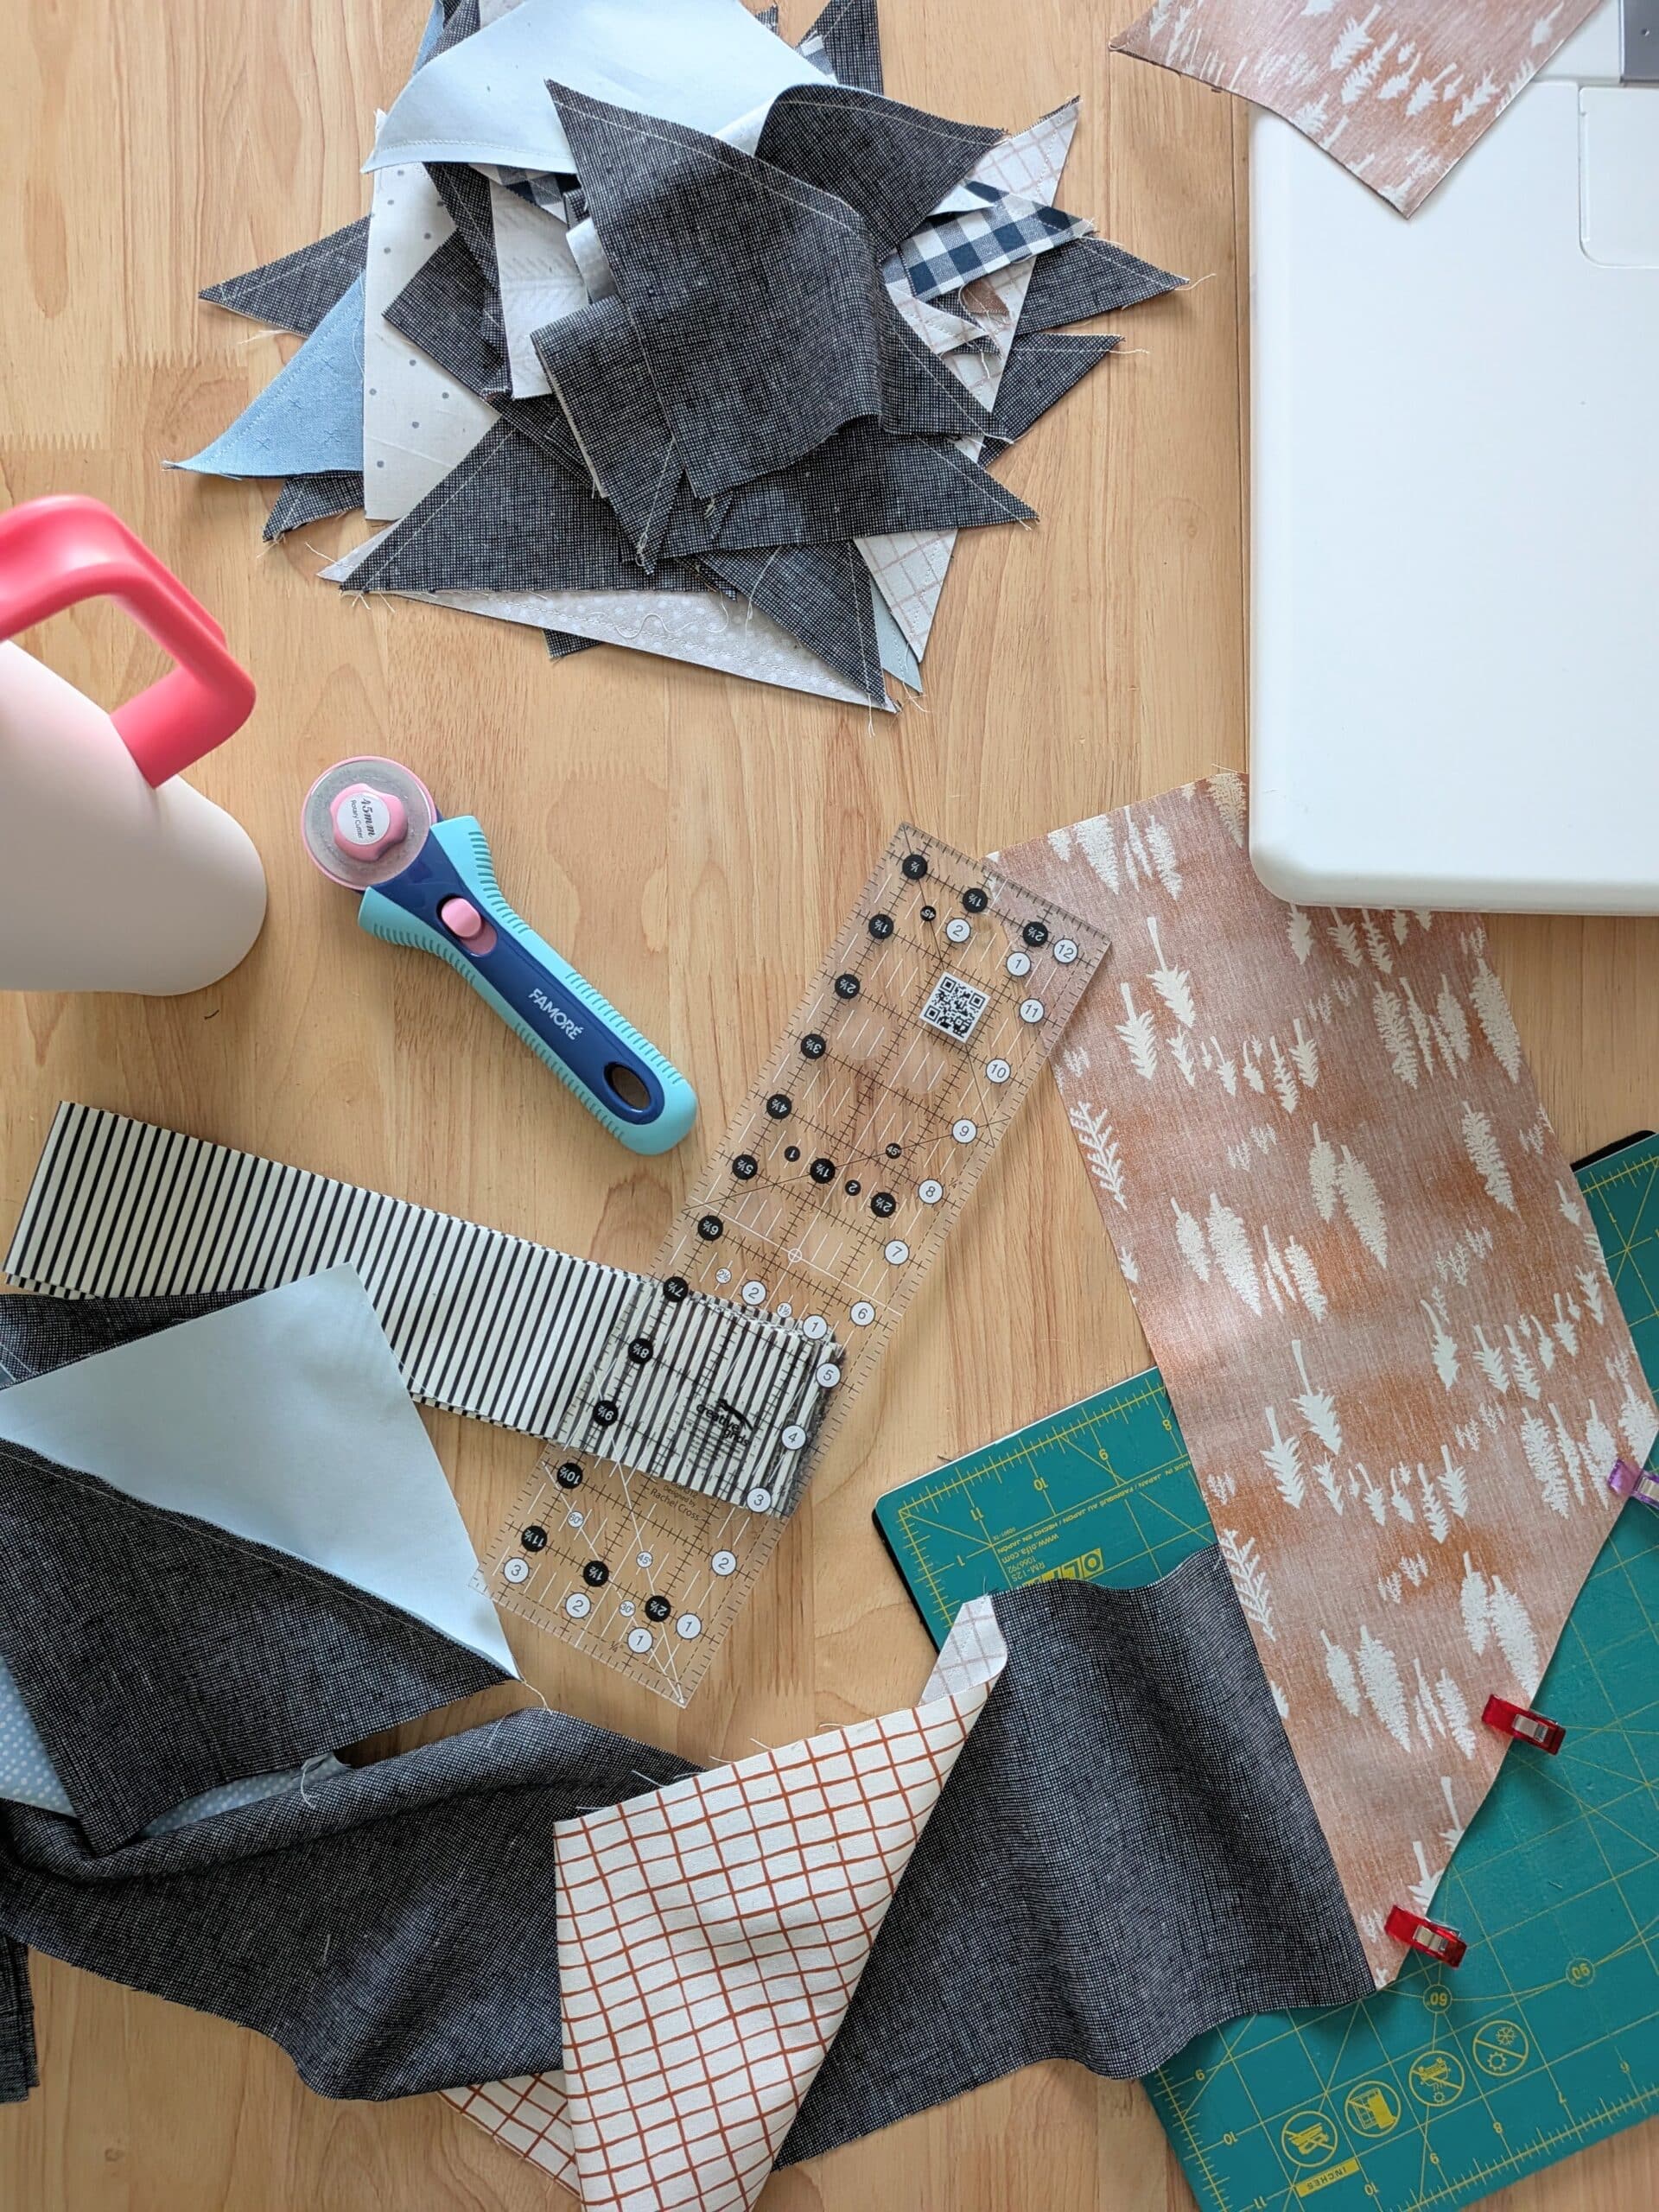
This pattern does create a pile of leftover triangles, but the designer provides instructions on how to turn them into HSTs and use them in the quilt backing. I didn’t have time for that, so these are currently sitting in my scrap bin.
Assembling the quilt top
I’ll admit that I didn’t take the most amount of care when sewing the blocks together. Although I can at times agonize over sewing a perfectly pieced quilt, I just kind of “went with the flow” with this one. I decided that the pattern was forgiving enough that the blocks would inevitably fit together, even if my sewing wasn’t award-winning.
And y’know what? I was right.
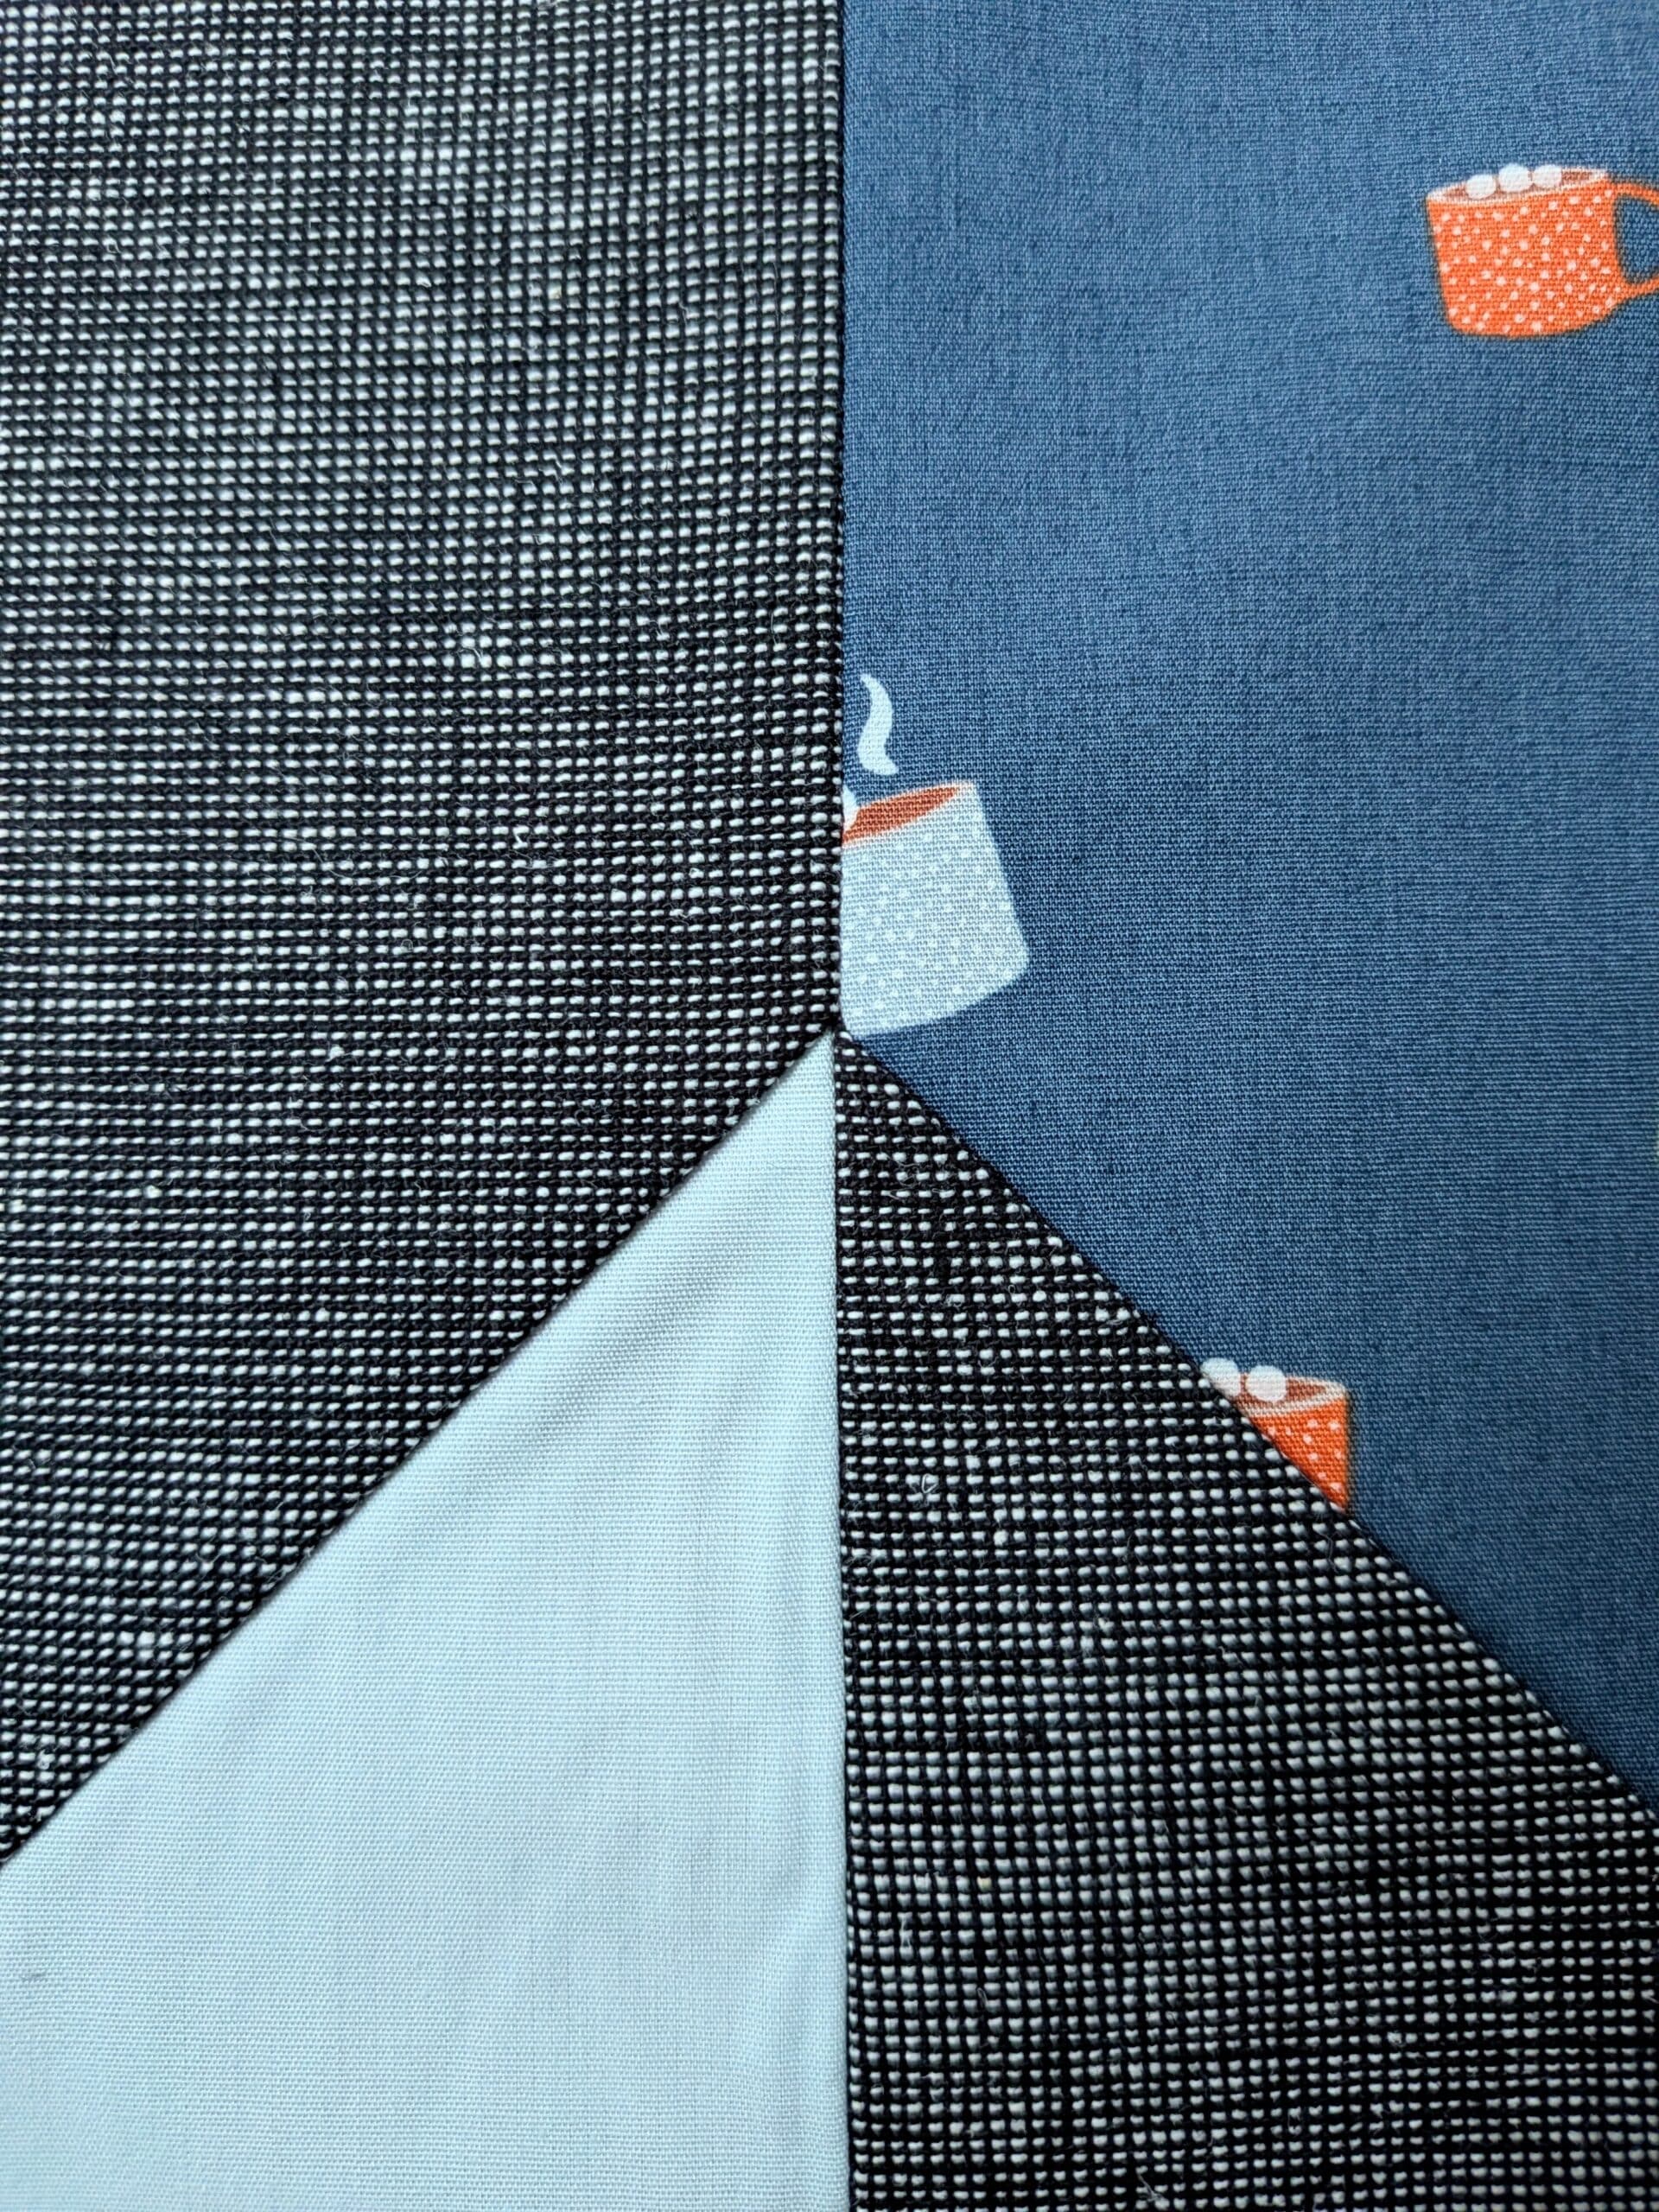
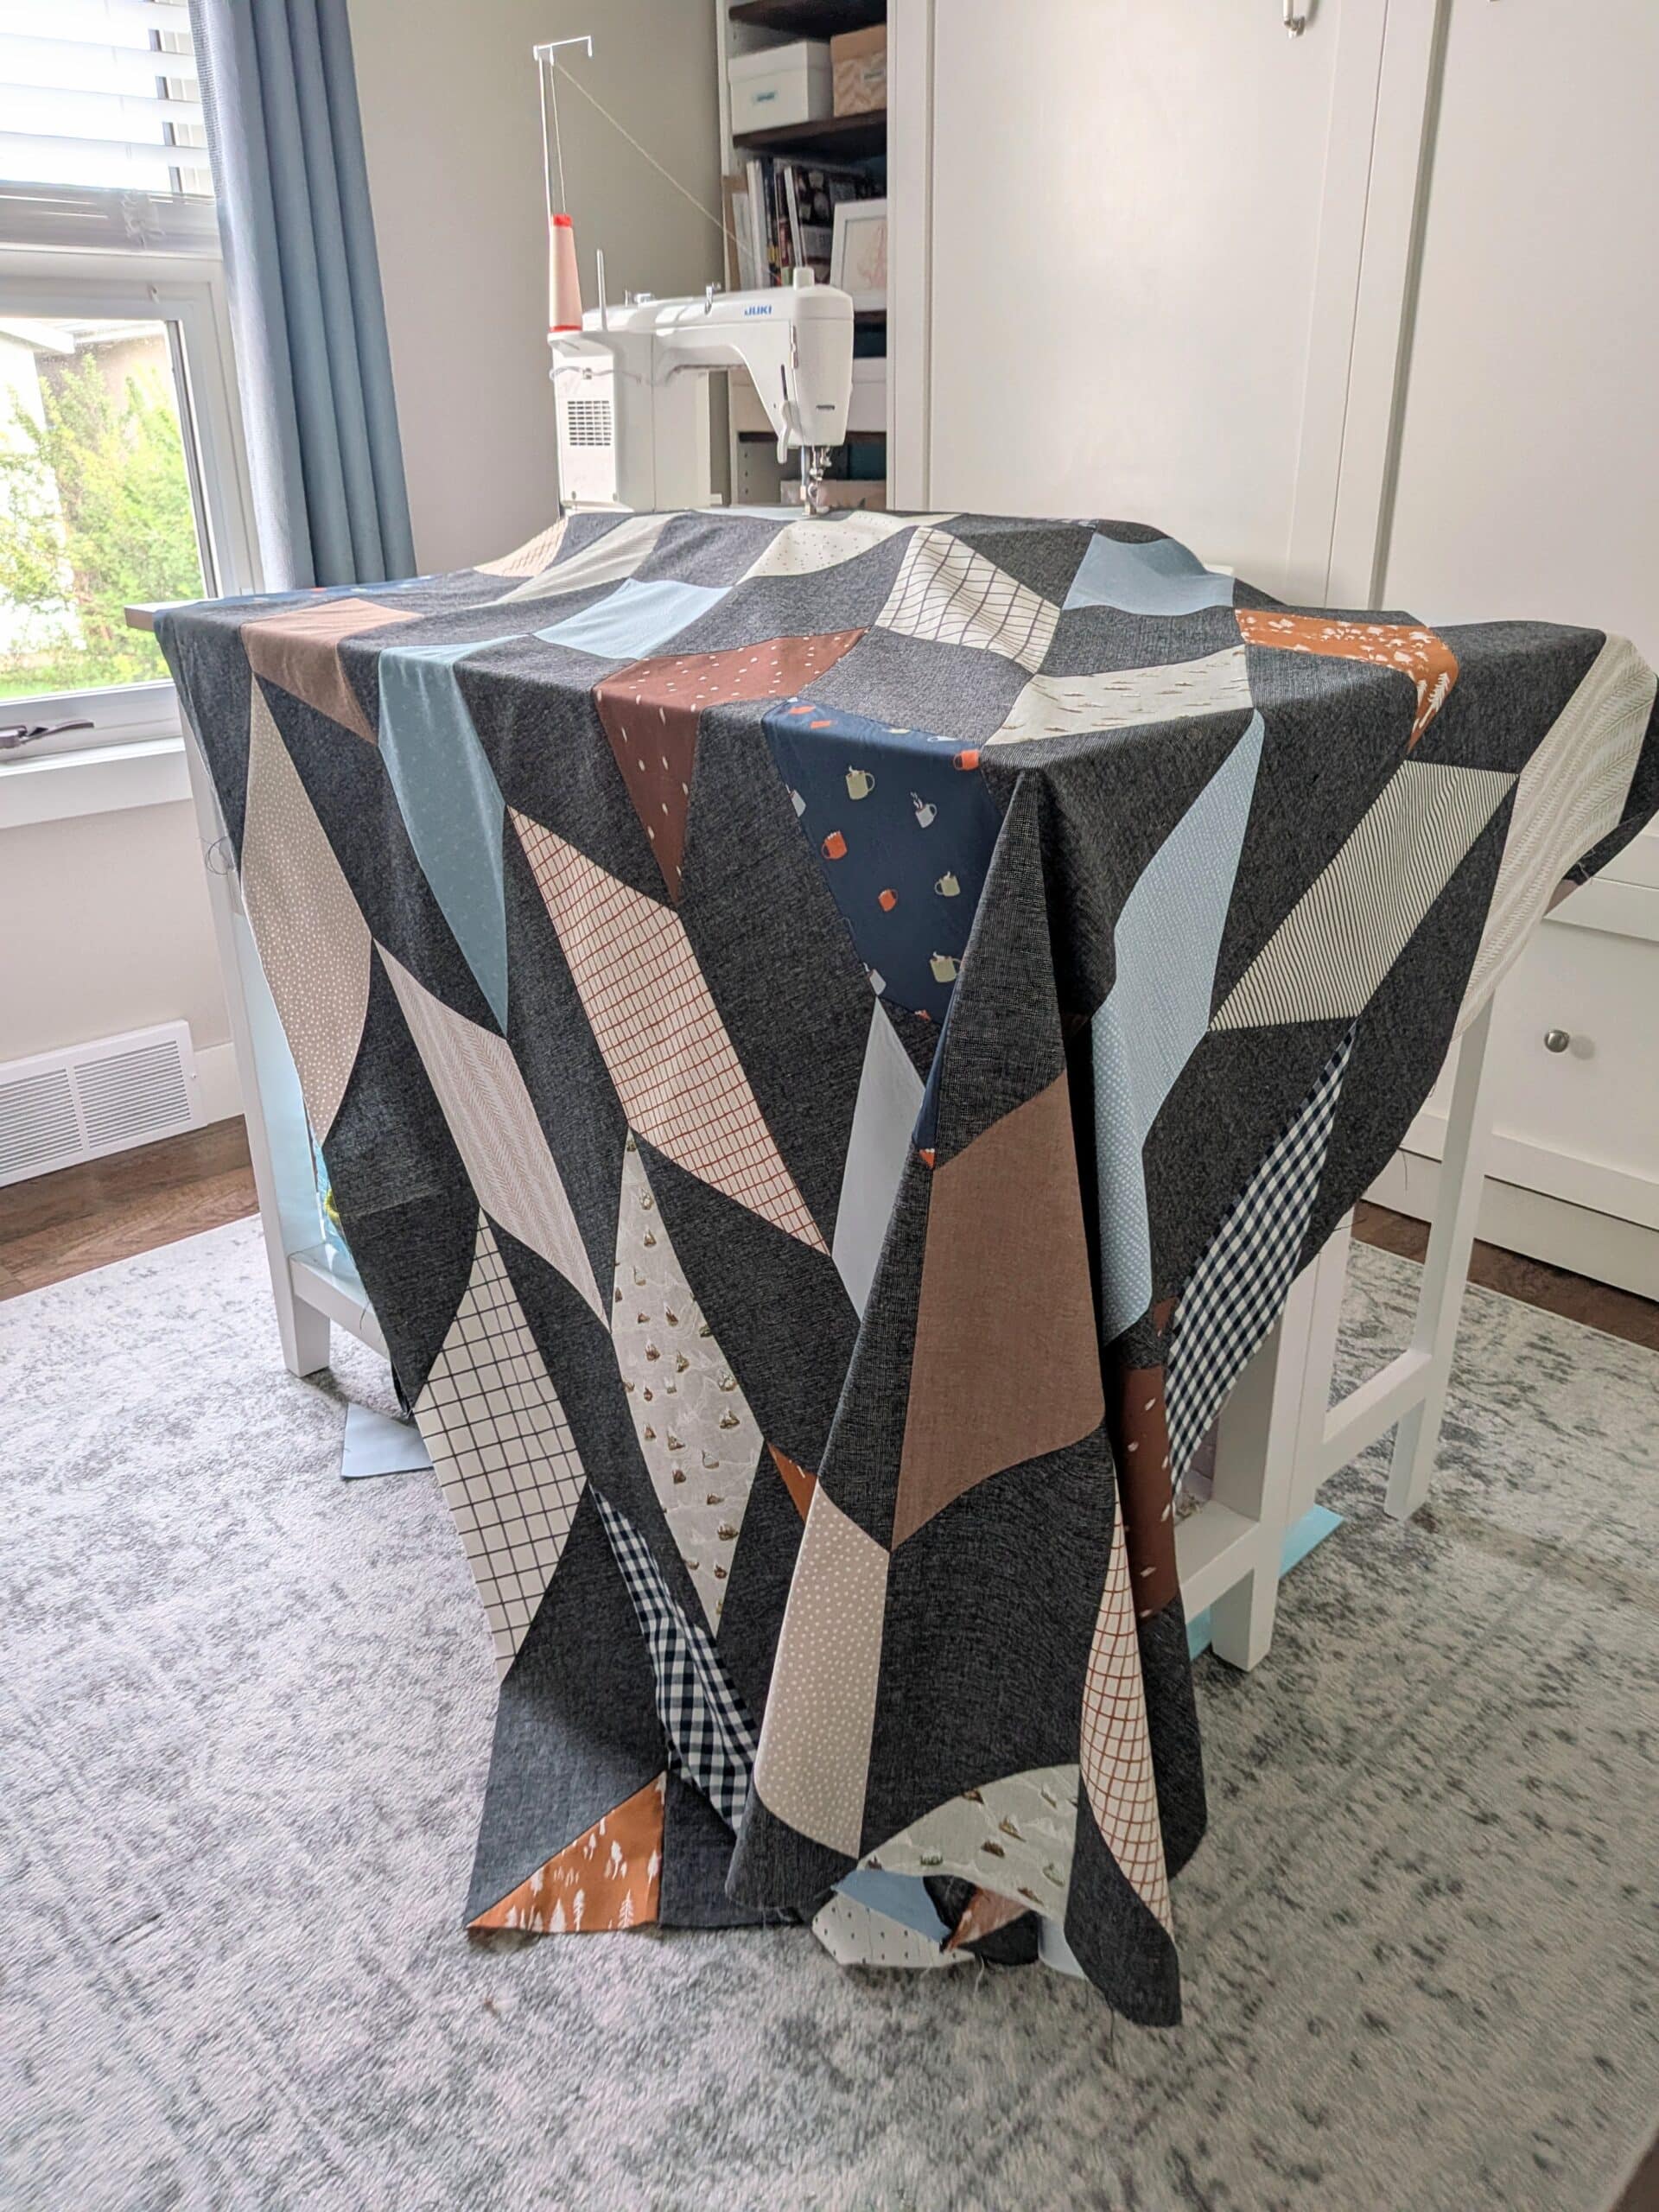
The columns slotted together perfectly thanks to the nested seams. As I sewed the columns together, I pressed the seams open, and in no time I had a flat top (or a flimsy, as I’ve heard some people call it).
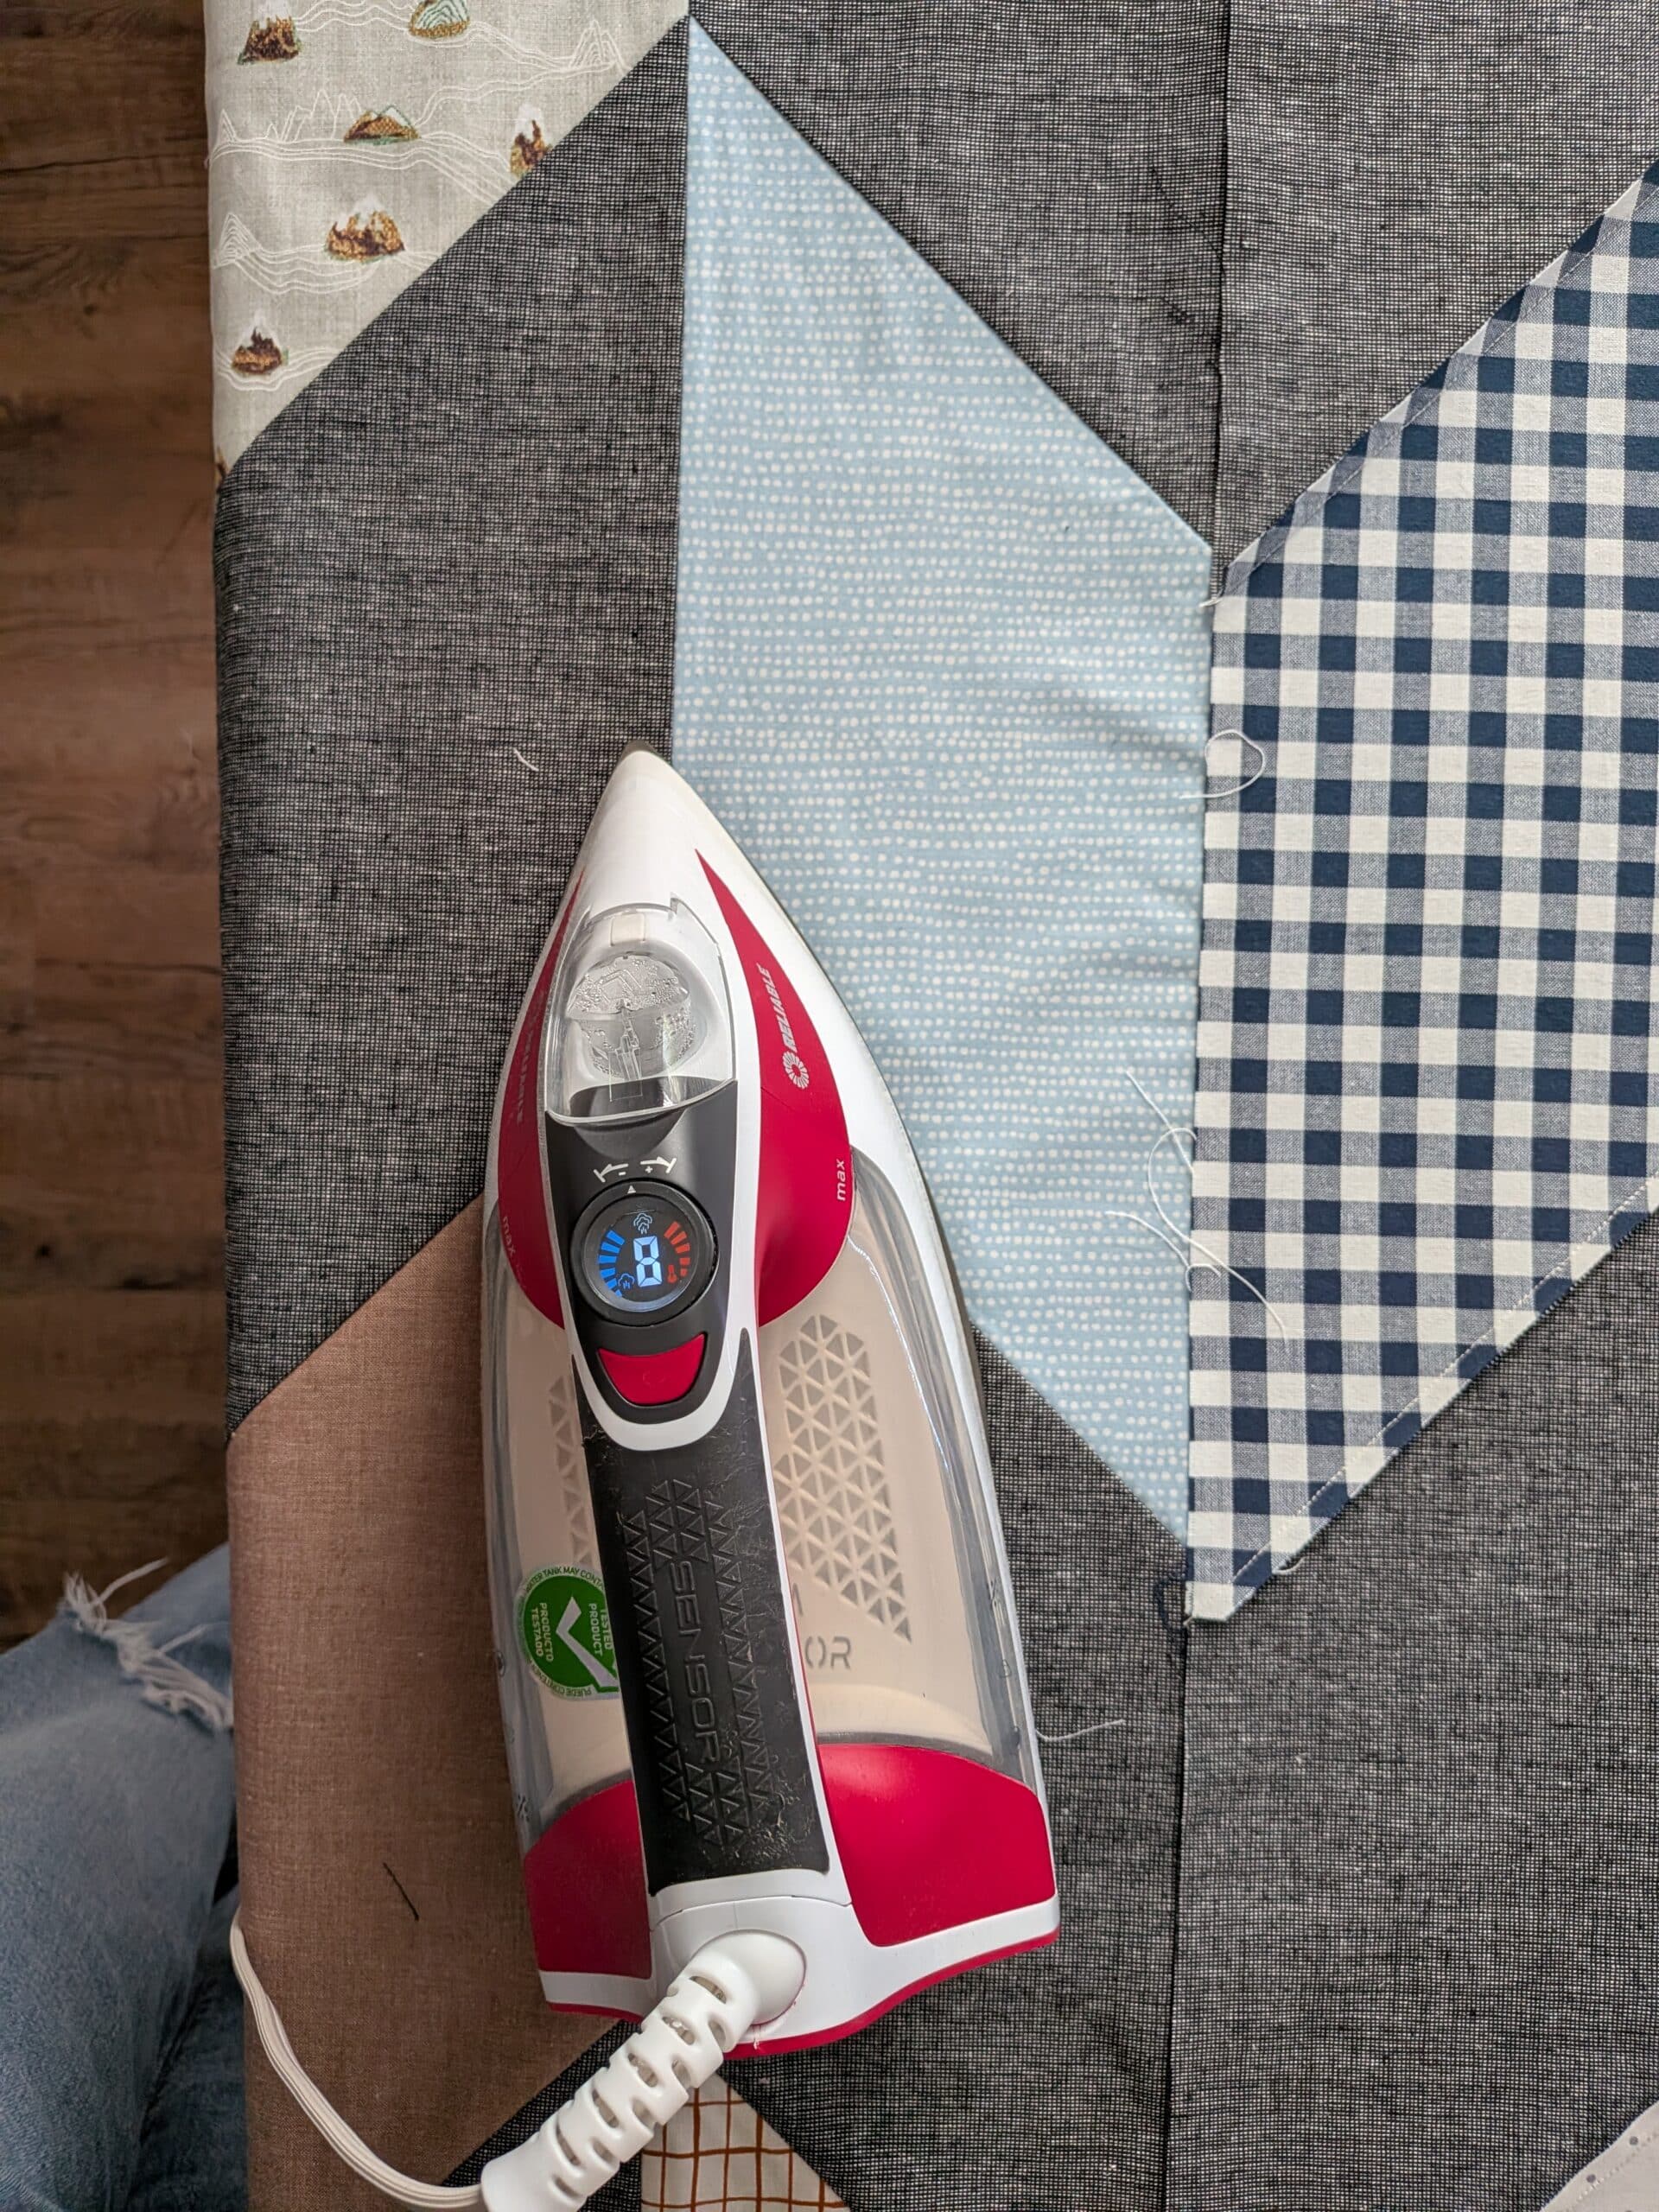
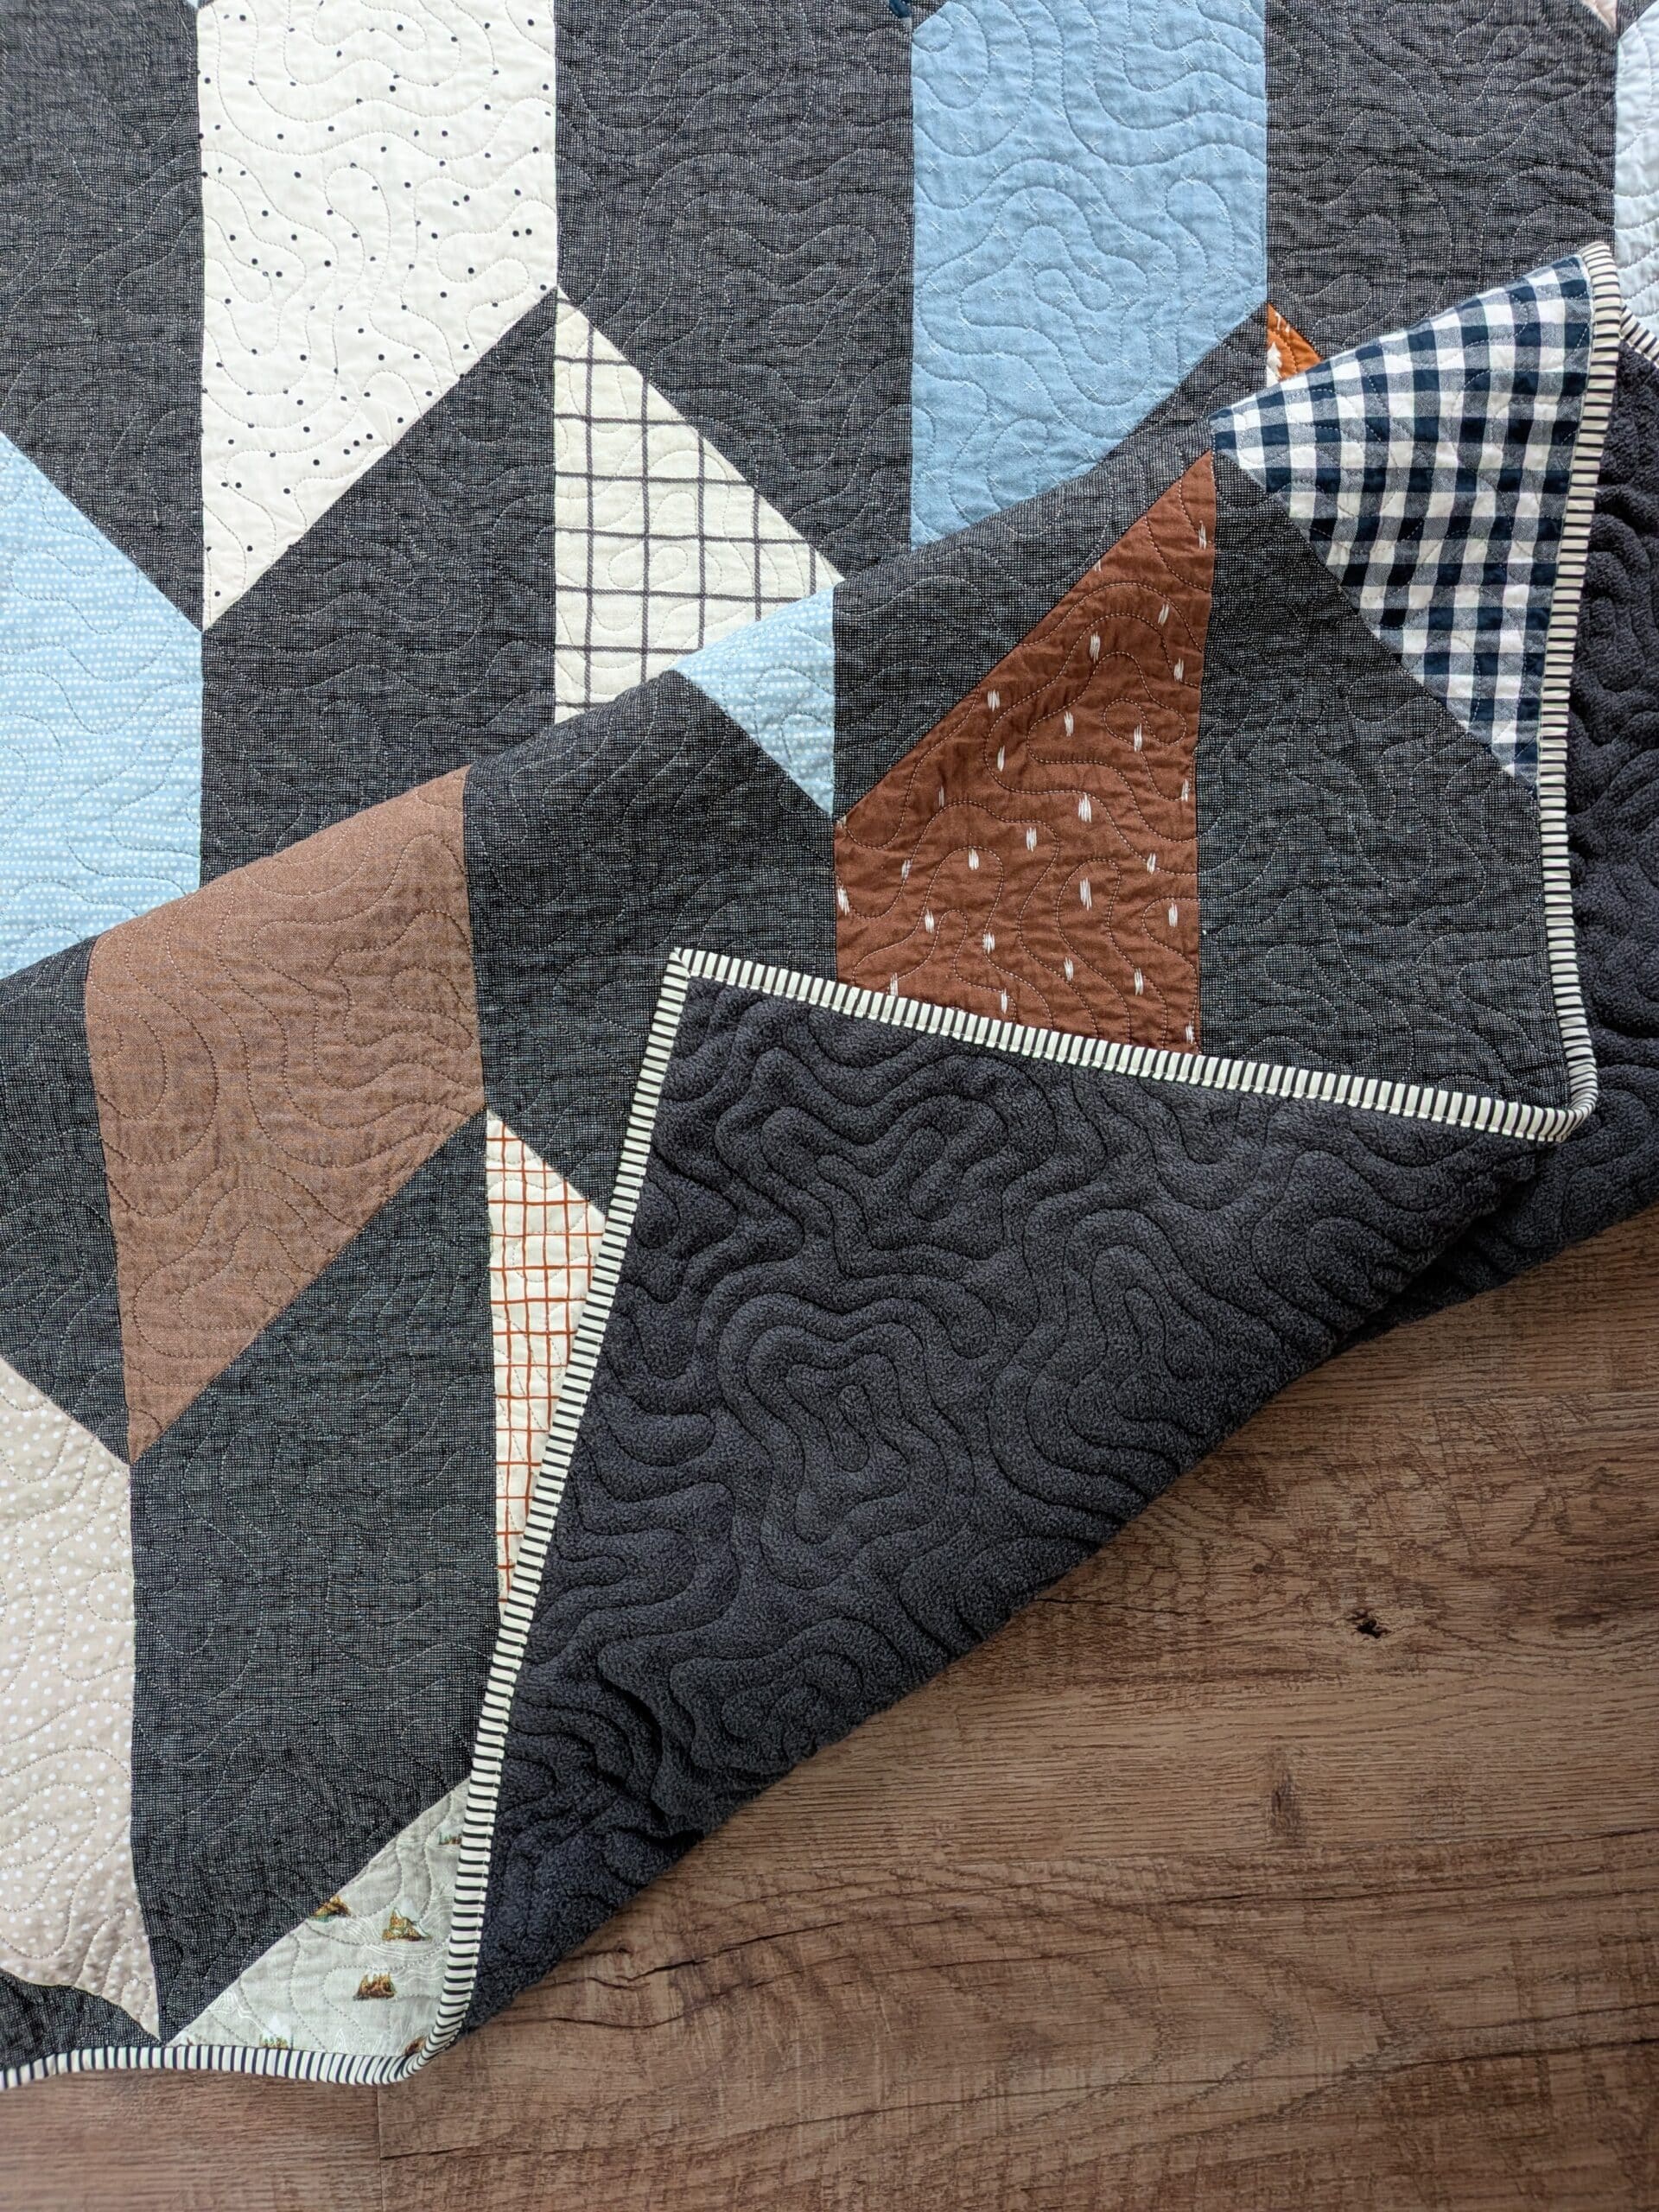
I REALLY liked the way the quilt top looked. No doubt some of it had to do with my colour choices and placement, but I think this pattern would look great in a wide variety of fabric.
Quilting
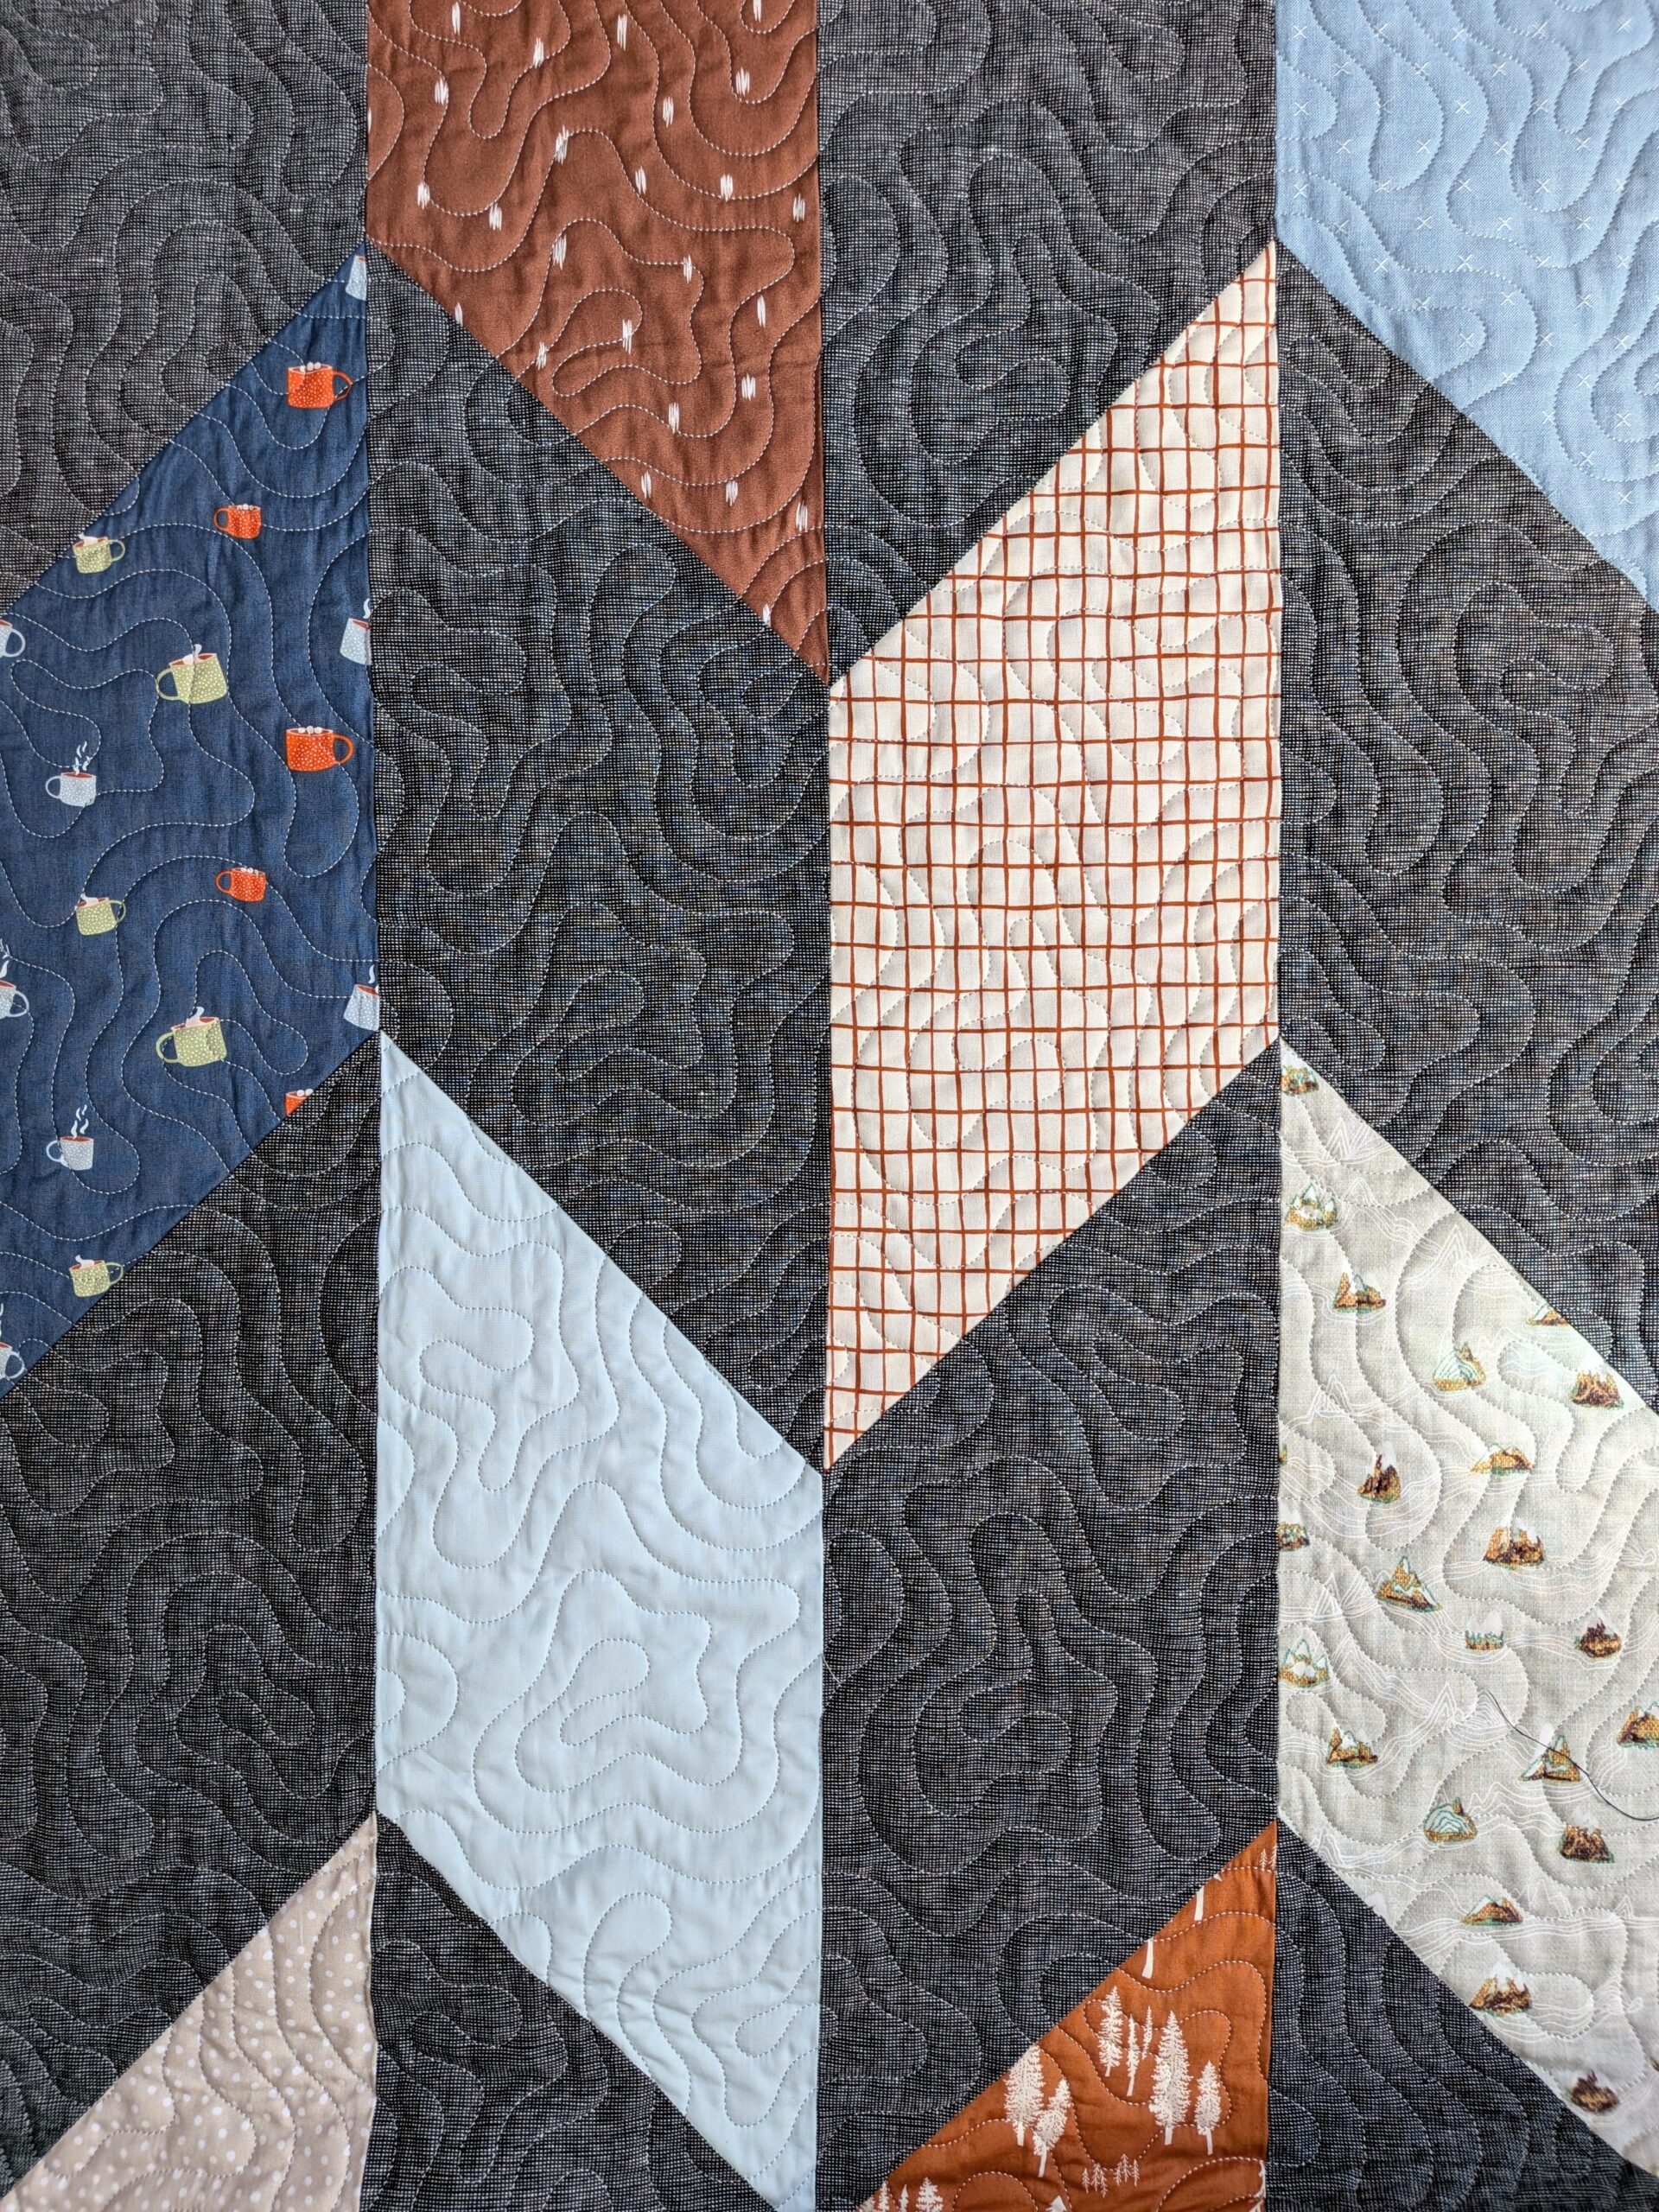
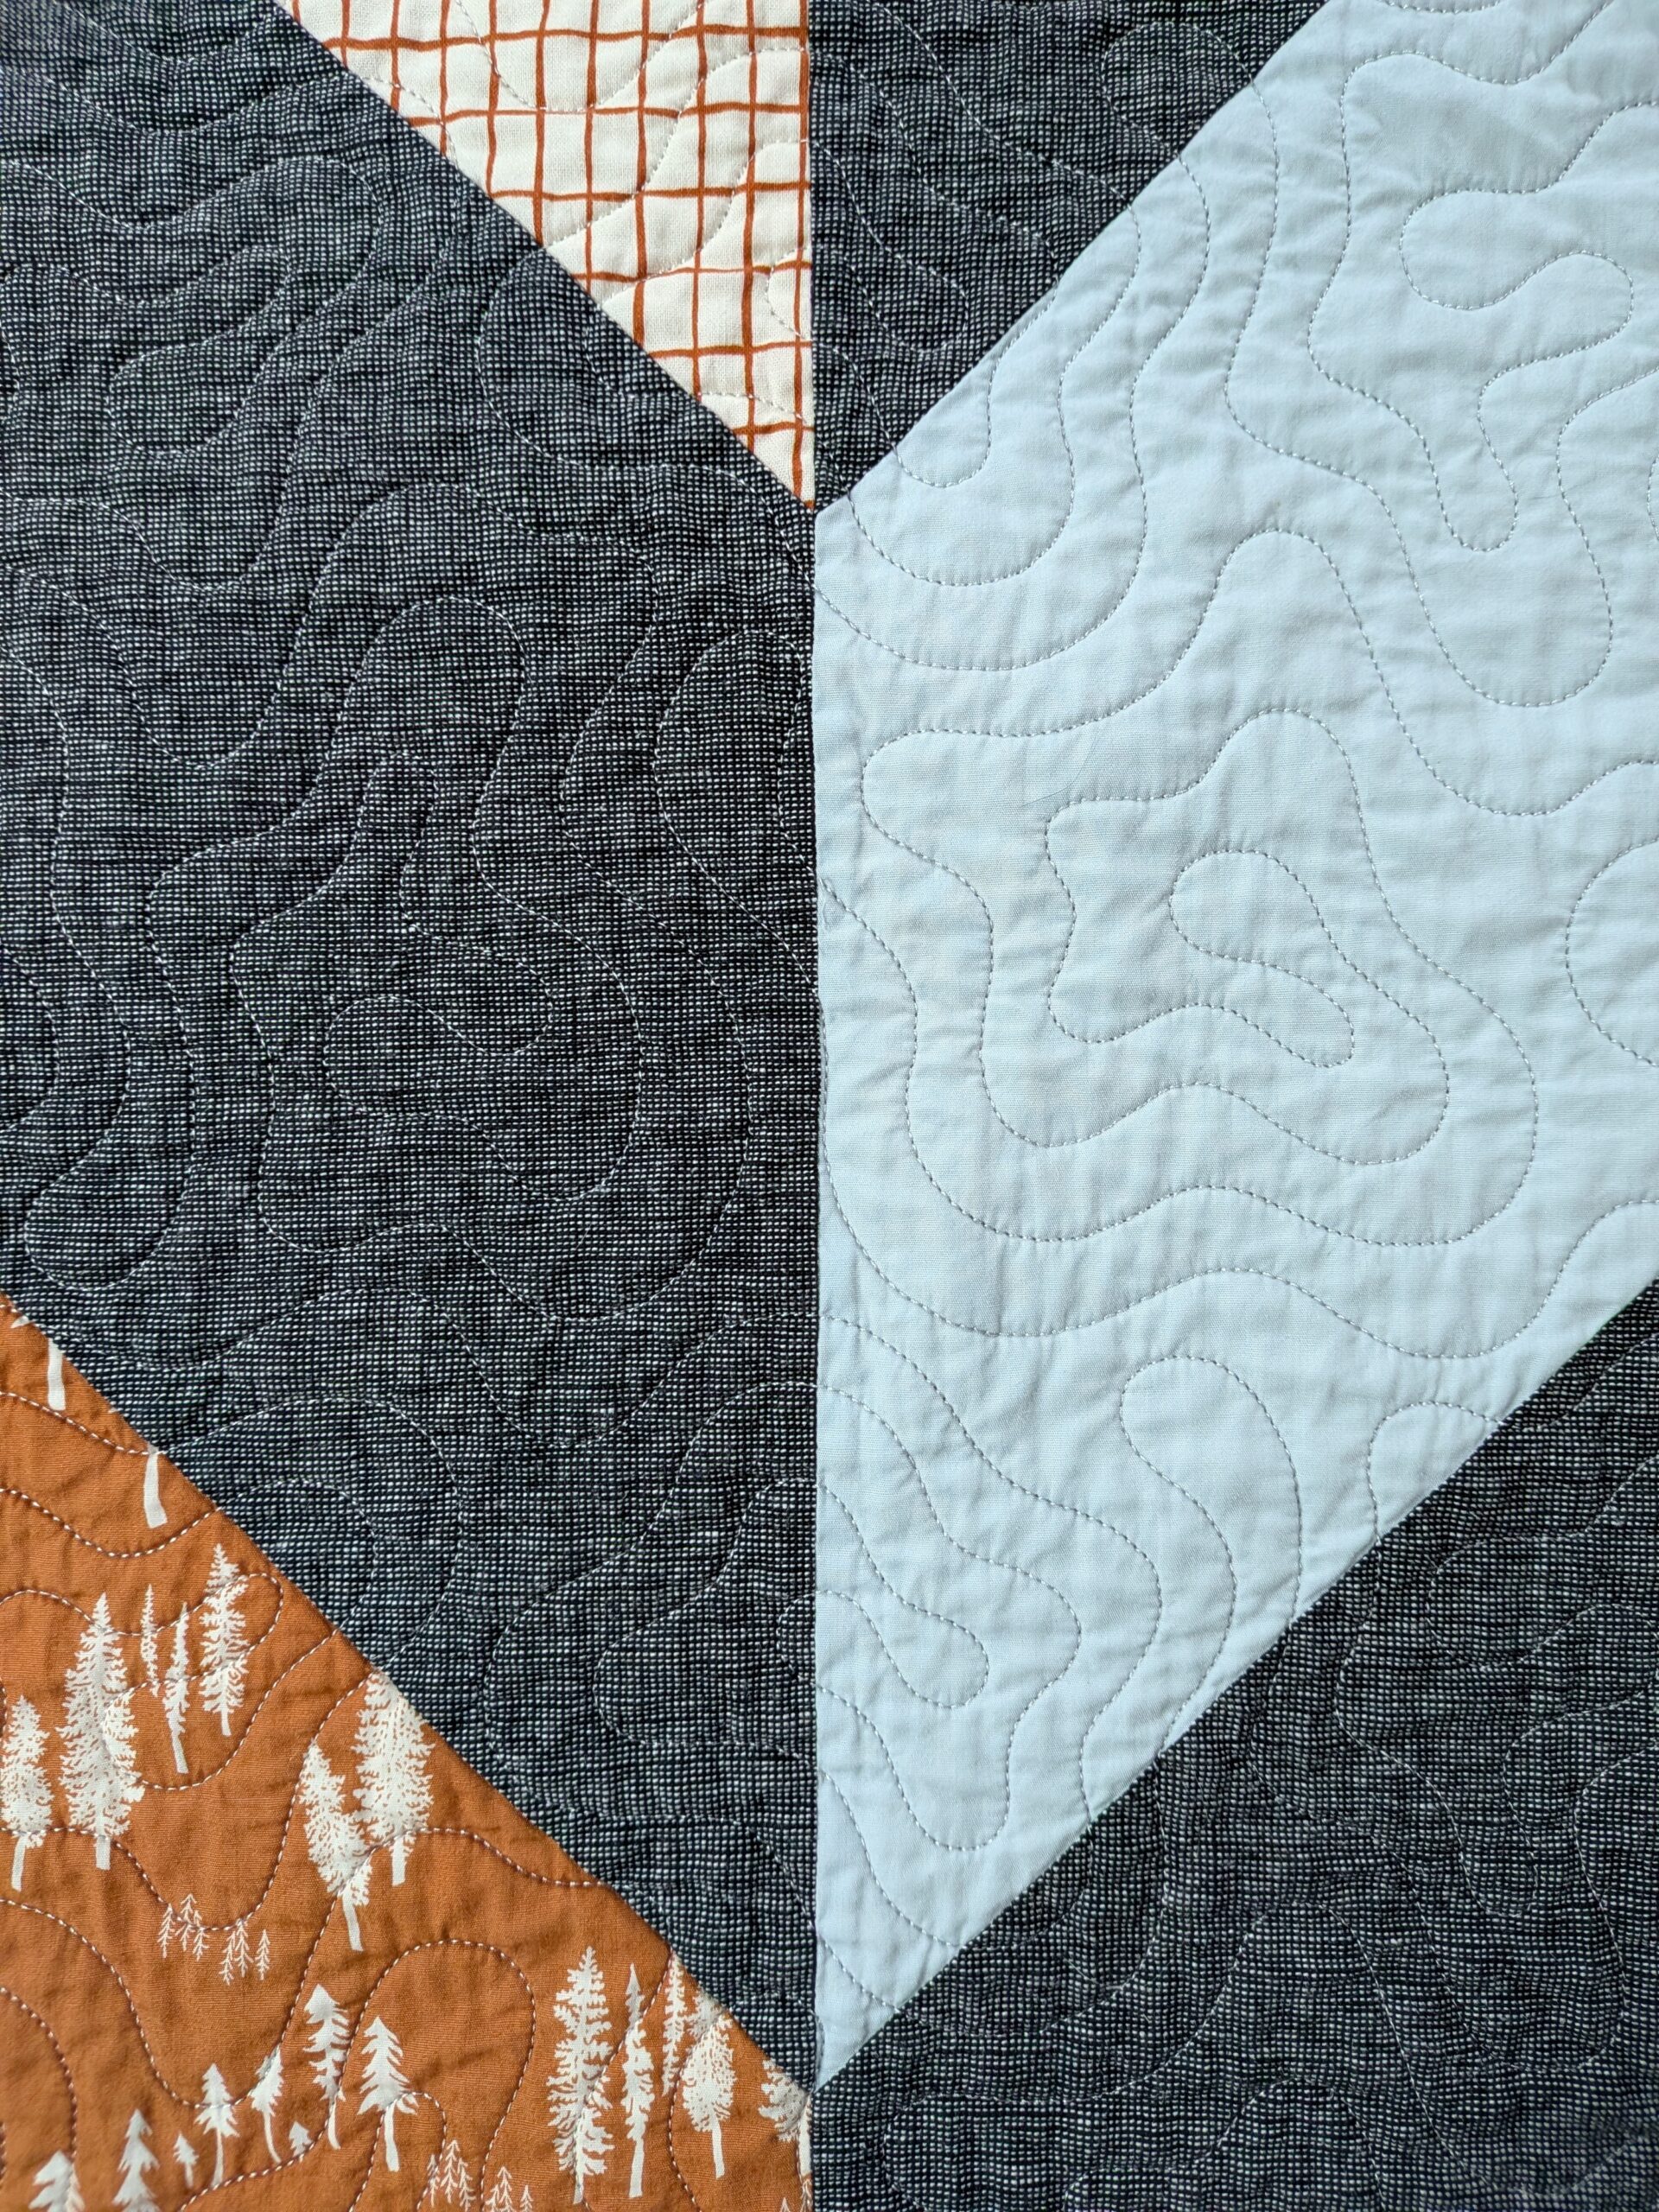
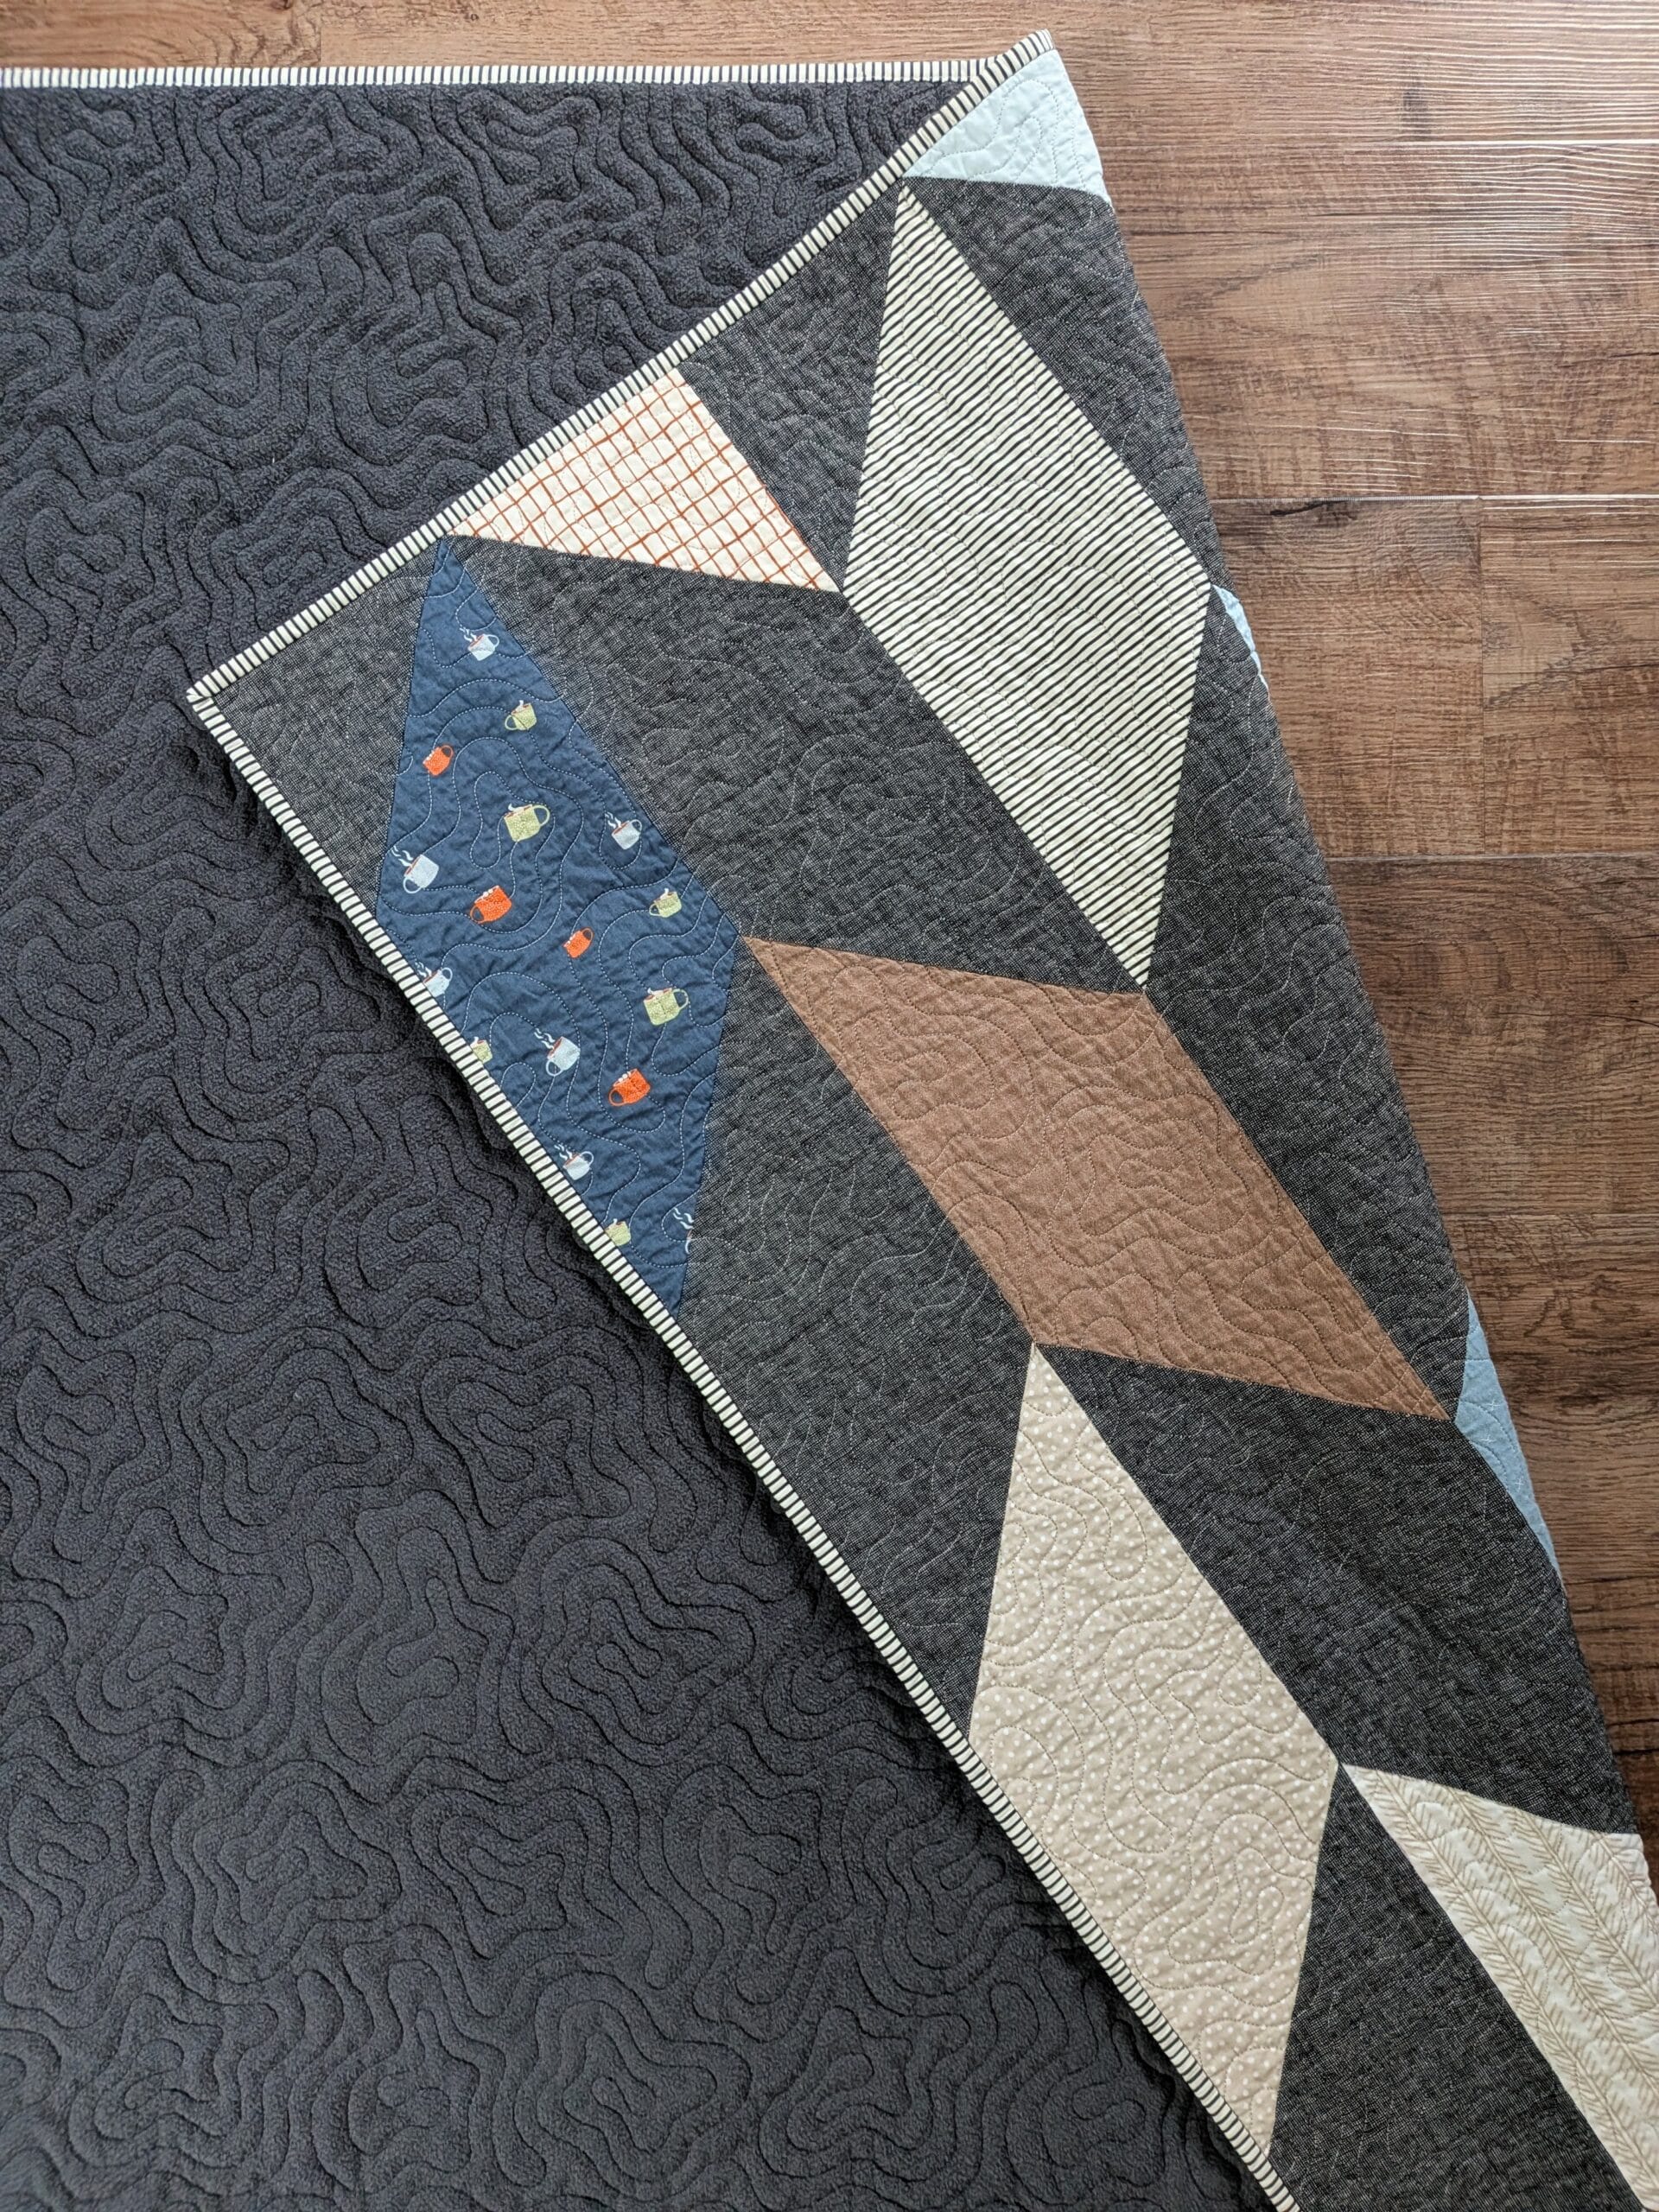
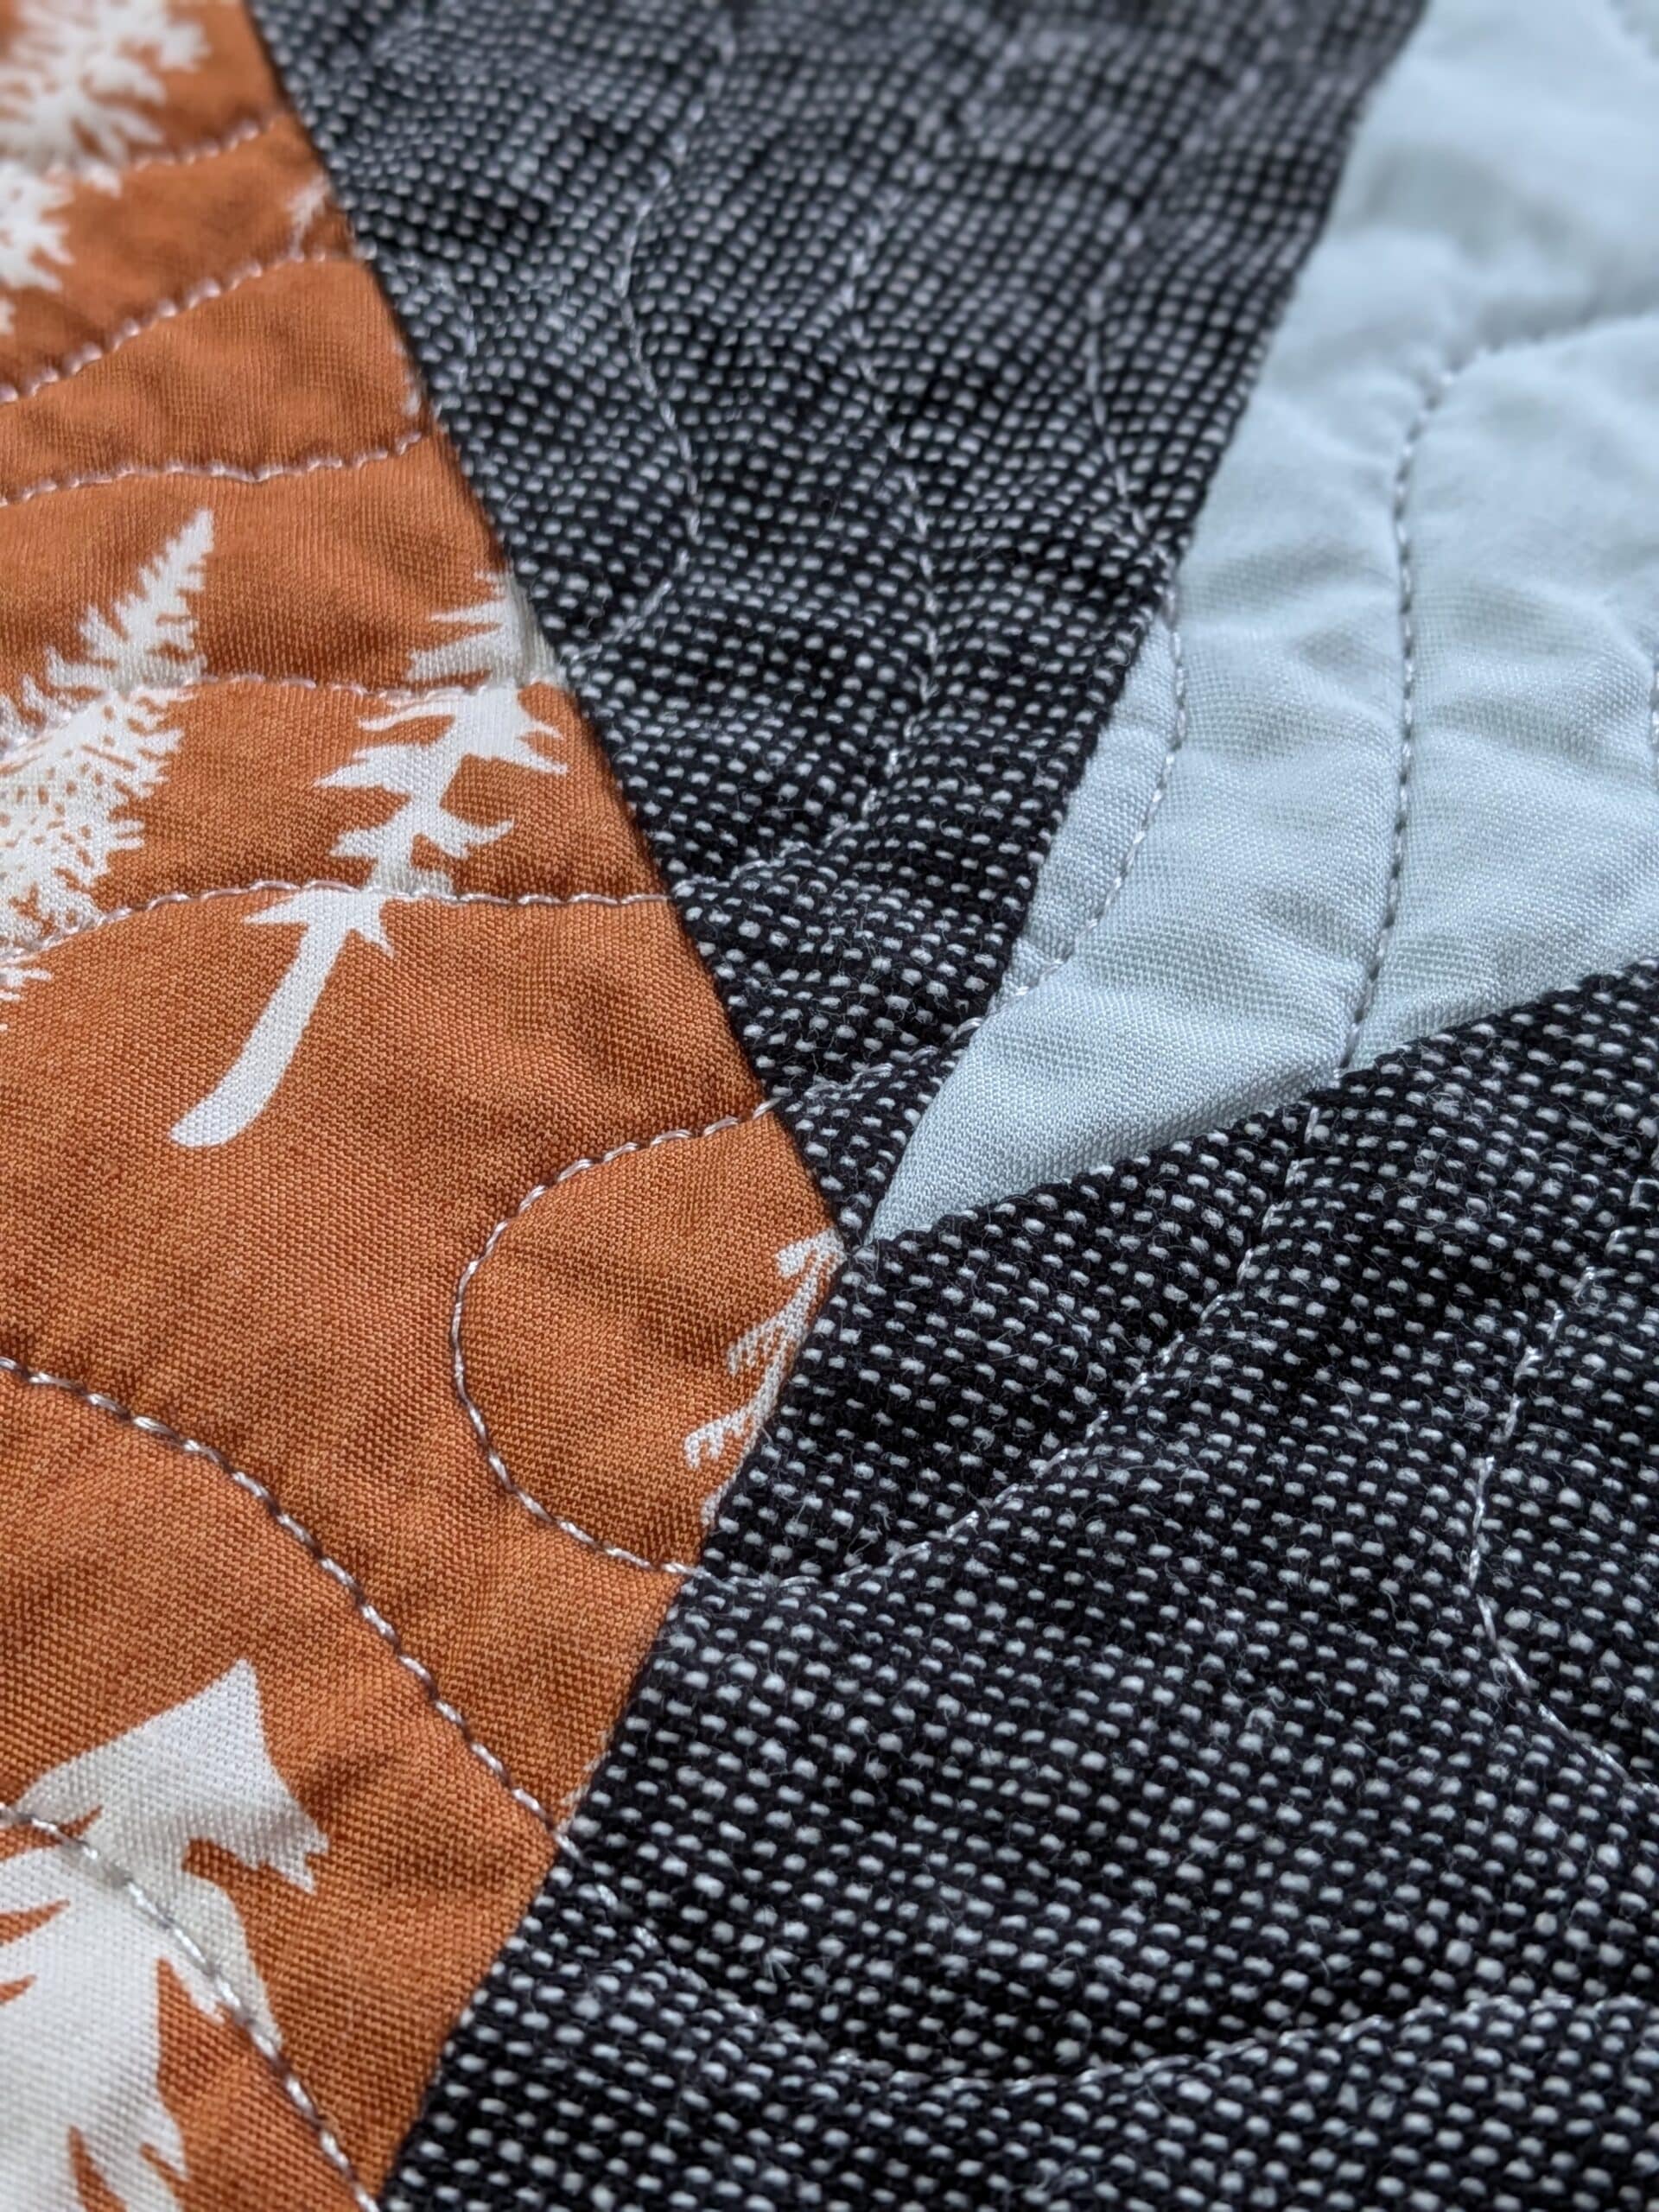
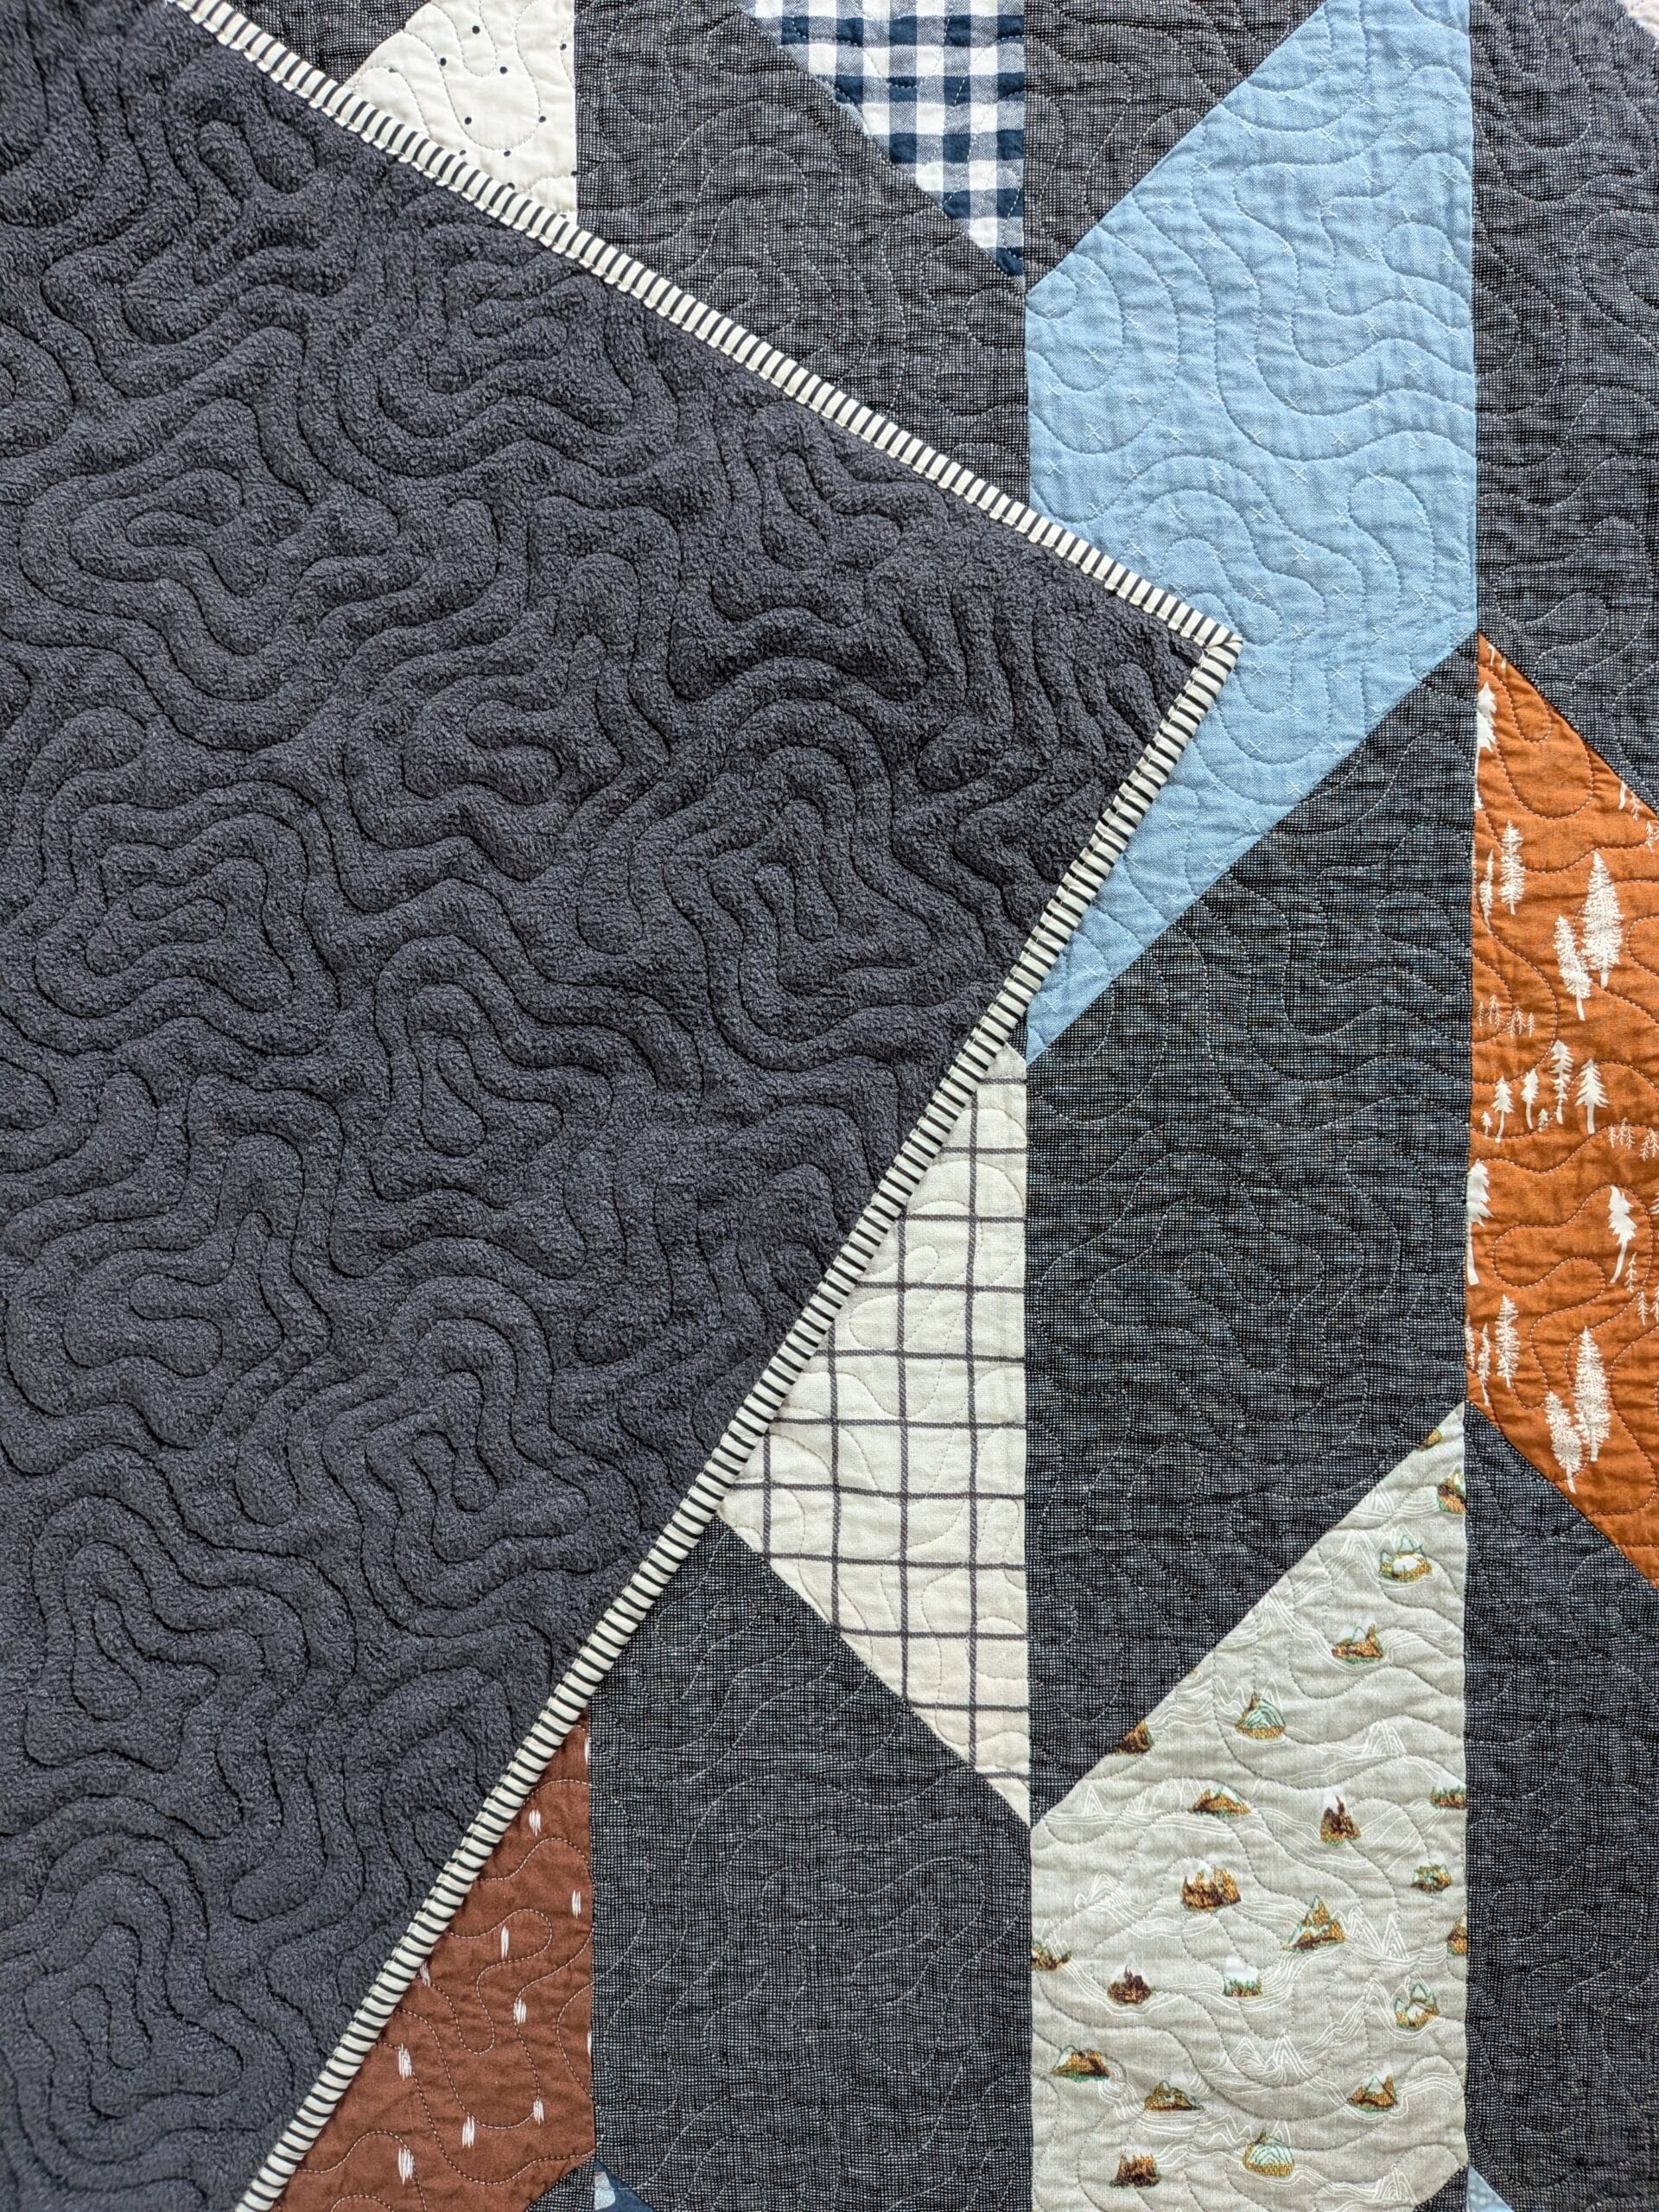
I loaded the backing (Fireside in dark gray), bamboo batting, and the quilt top on my longarm machine and stitched through all three layers using Malachite as the pantograph. It’s the panto I own which most closely resembles a topographic map, which I thought suited the theme of this project perfectly.
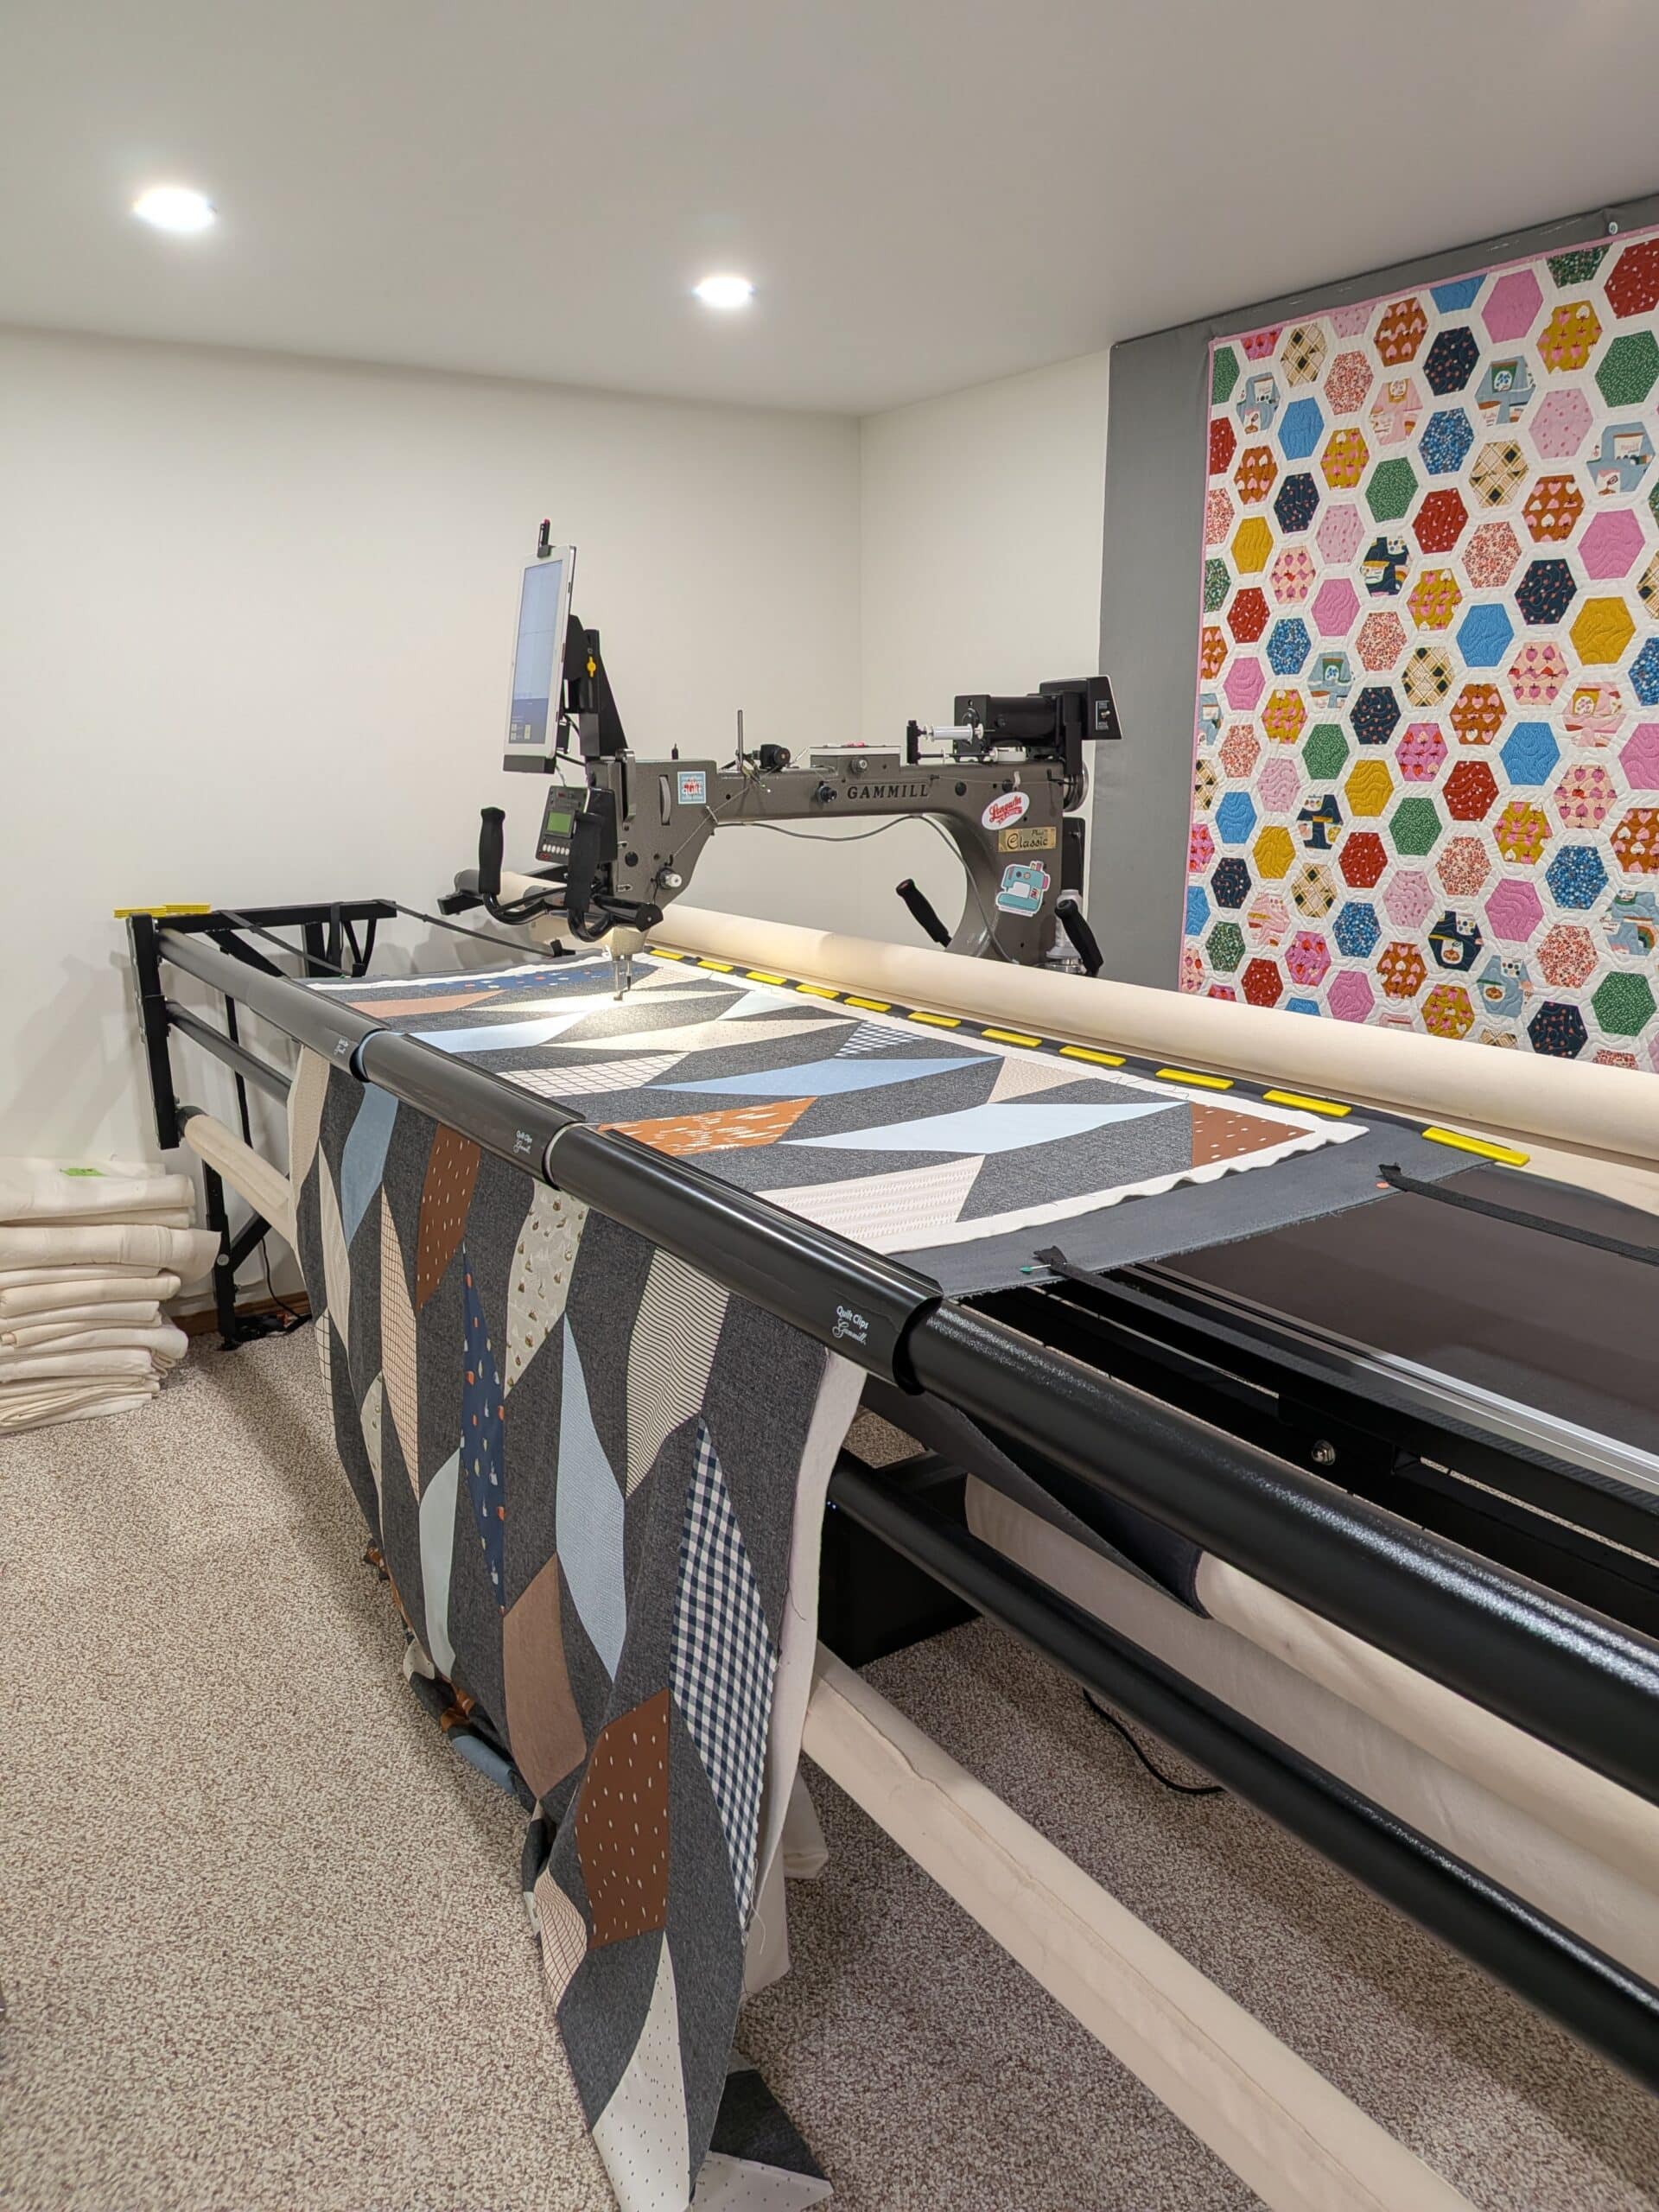
Malachite is a fast and easy design to stitch out. If you’re a longarmer who doesn’t already own it, I highly recommend adding it to your library. It requires no precise realignment, never crosses over itself, does not include any backtracking, and can be sewn at a high speed thanks to the curved design. This is my ideal type of design!
A disappointing surprise
I ran into a bit of trouble when I went to bind Troy’s Fletcher quilt. I typically use my Janome MC6700P to attach binding to the front of my quilts, and then later decide how to finish it on the back.
To my great surprise, my Janome was not working as it should. Instead of lifting the foot and swinging it forward to grab the fabric and pull it through the machine, the foot never lifted off the feed dogs. I didn’t notice this at first and was completely bamboozled when the machine made a draggy mess of my binding.
I did some unpicking followed by YouTube sleuthing to see if I could easily fix it myself, but it seems like something a professional might best be suited to tackle. Plus, I’ve owned this machine for 8+ years and have never had it serviced, so perhaps it’s time.
Attaching the binding
Being unable to wait for the Janome’s repair, I steeled myself before using my Juki TL2010Q sewing machine to attach the binding.
Although I know many people have great success using this machine for quilting and binding, I have never been able to do so. It always ALWAYS produces tucks and puckers, and simply doesn’t feed the layers through evenly. I have literally tried every possible option to fix this (detailed in this post), but to no avail.
Confusingly, my Juki is able to successfully feed three layers of Soft and Stable and four layers of fabric evenly when making bags. Mysteries!
In any case, I did my best to keep the layers moving through the machine evenly as I attached the binding to the front of the quilt. There were quite a few puckers, and I had to stop several times to cut the thread and readjust, but I knew these imperfections would not be visible in the finished project. It’ll just be our little secret, okay? 😉
Glue basting the binding
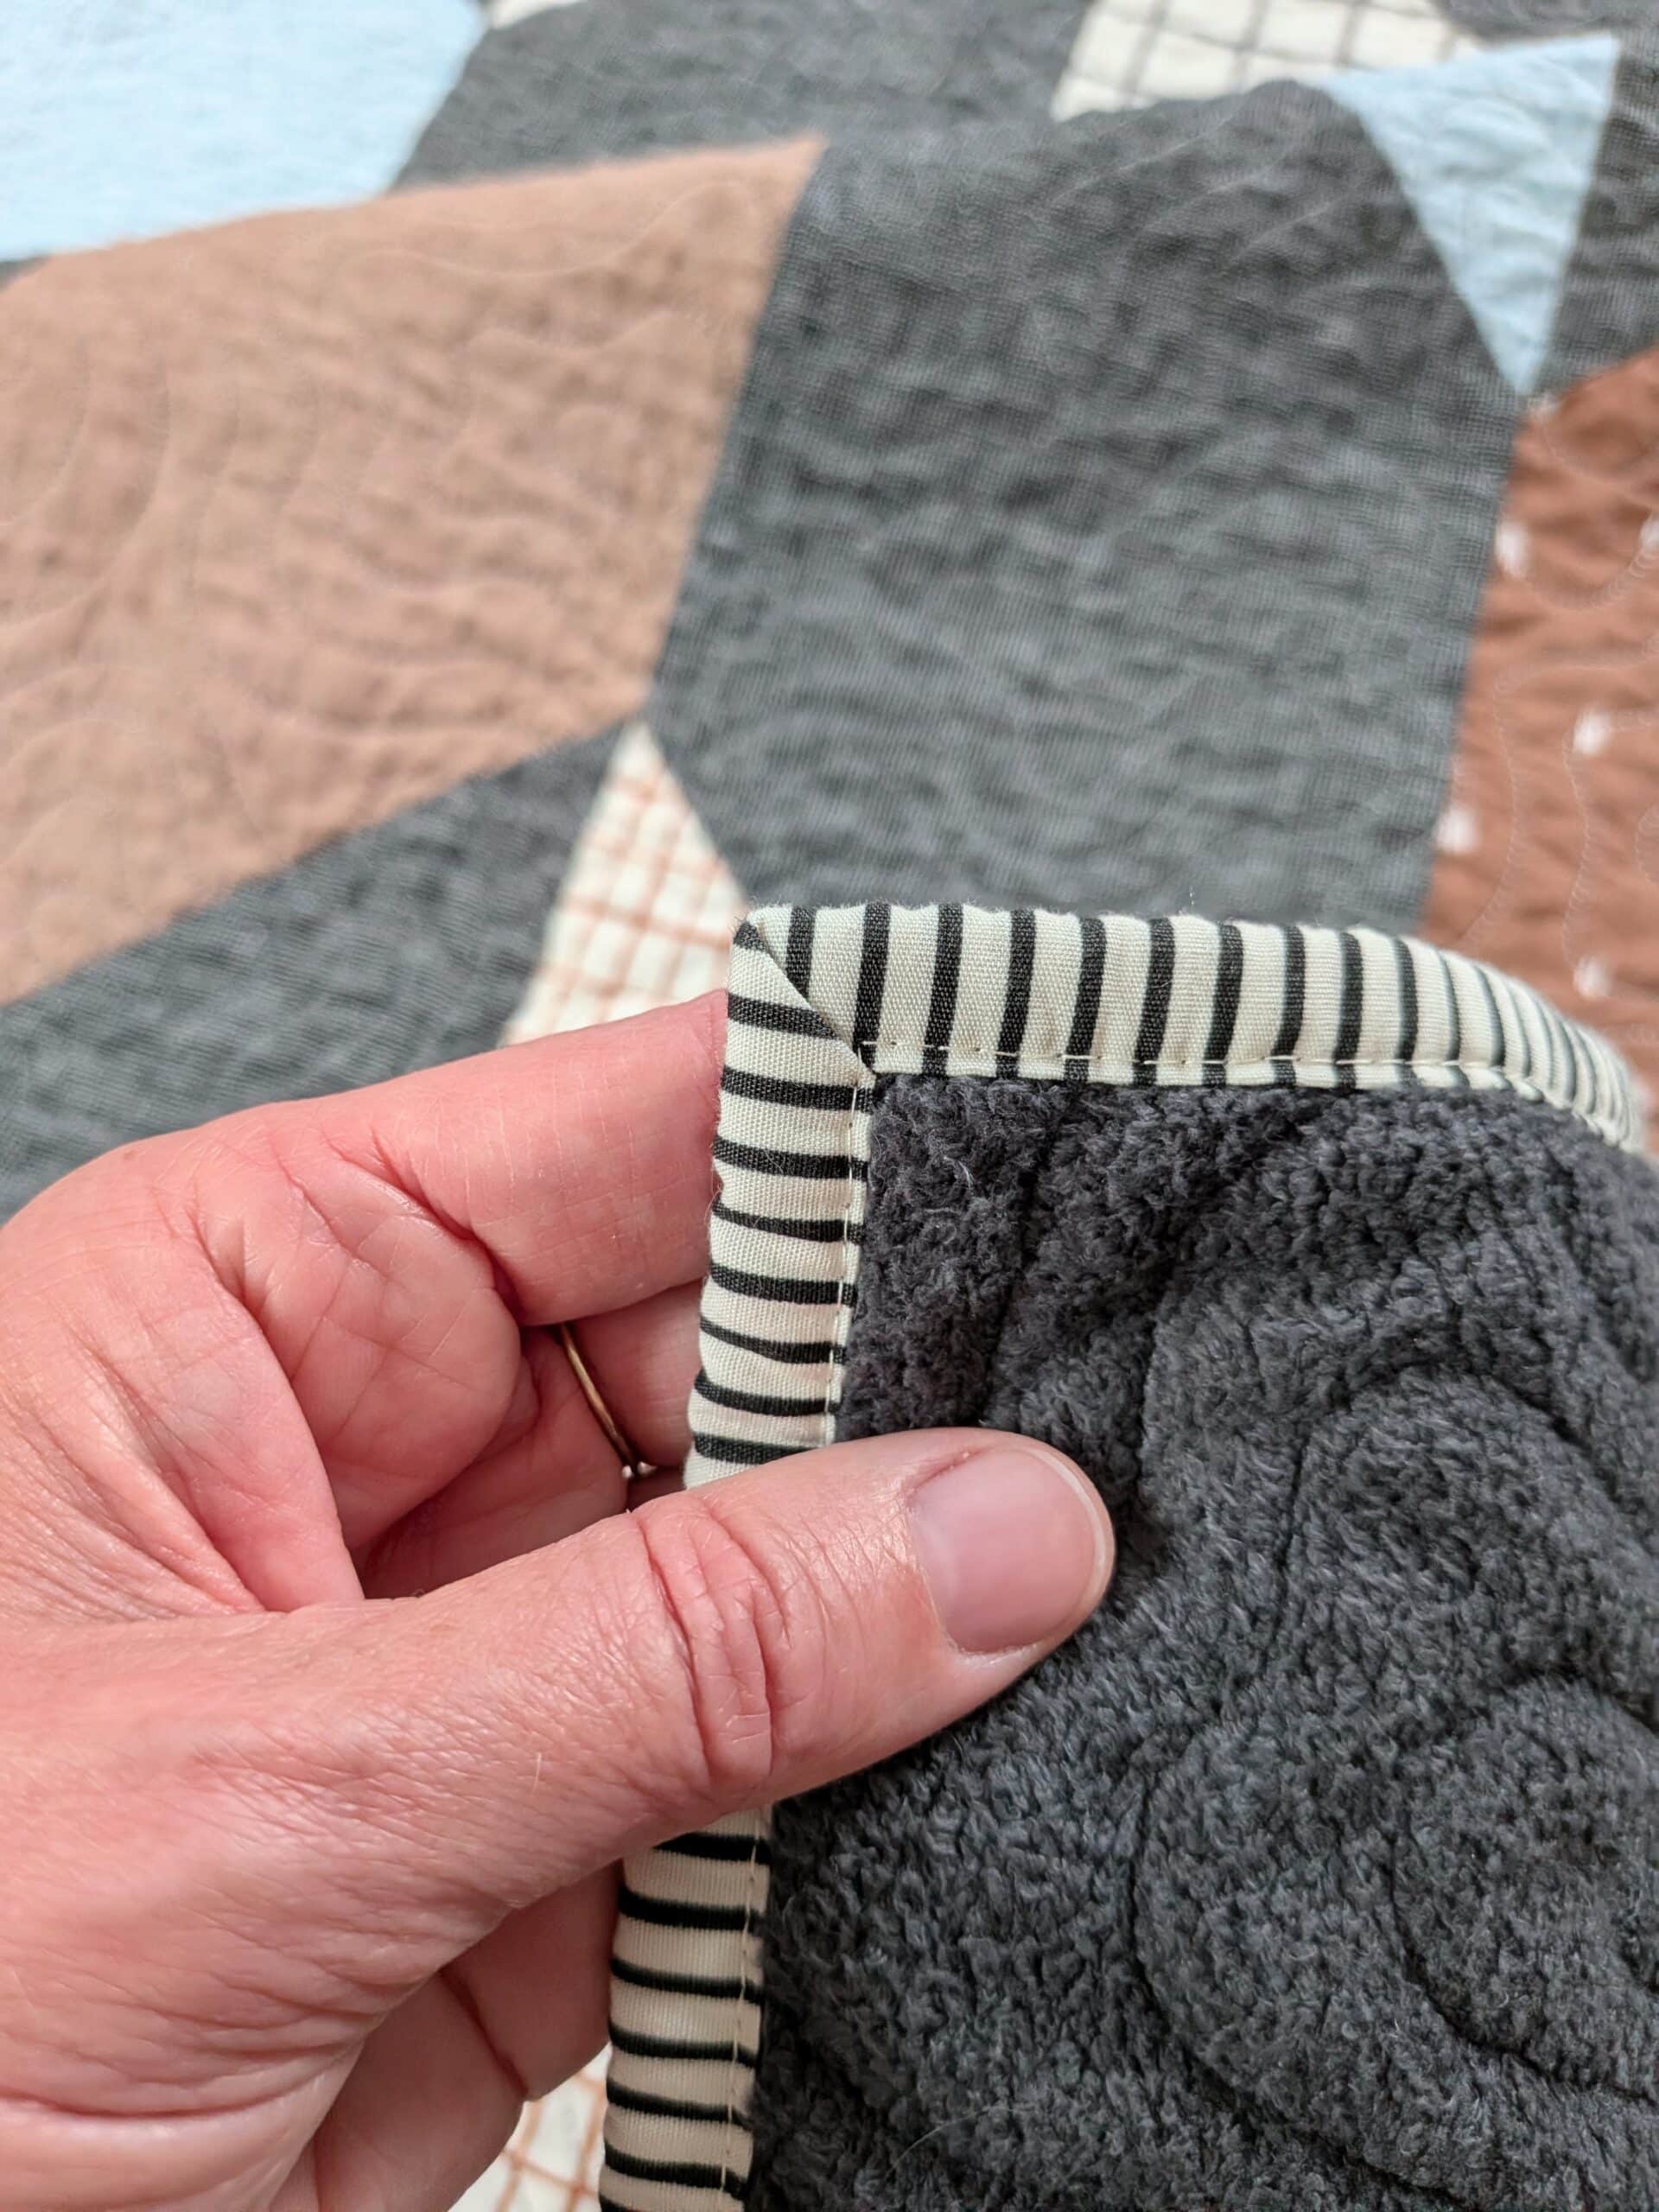
Since I didn’t have time to attach the binding to the back of the quilt by hand, my only option was to finish the binding with a machine (my Juki). Ugh. I KNEW that it would be a disaster if I left the binding flapping willy-nilly, so I opted to glue baste it in place before adding the final stitches.
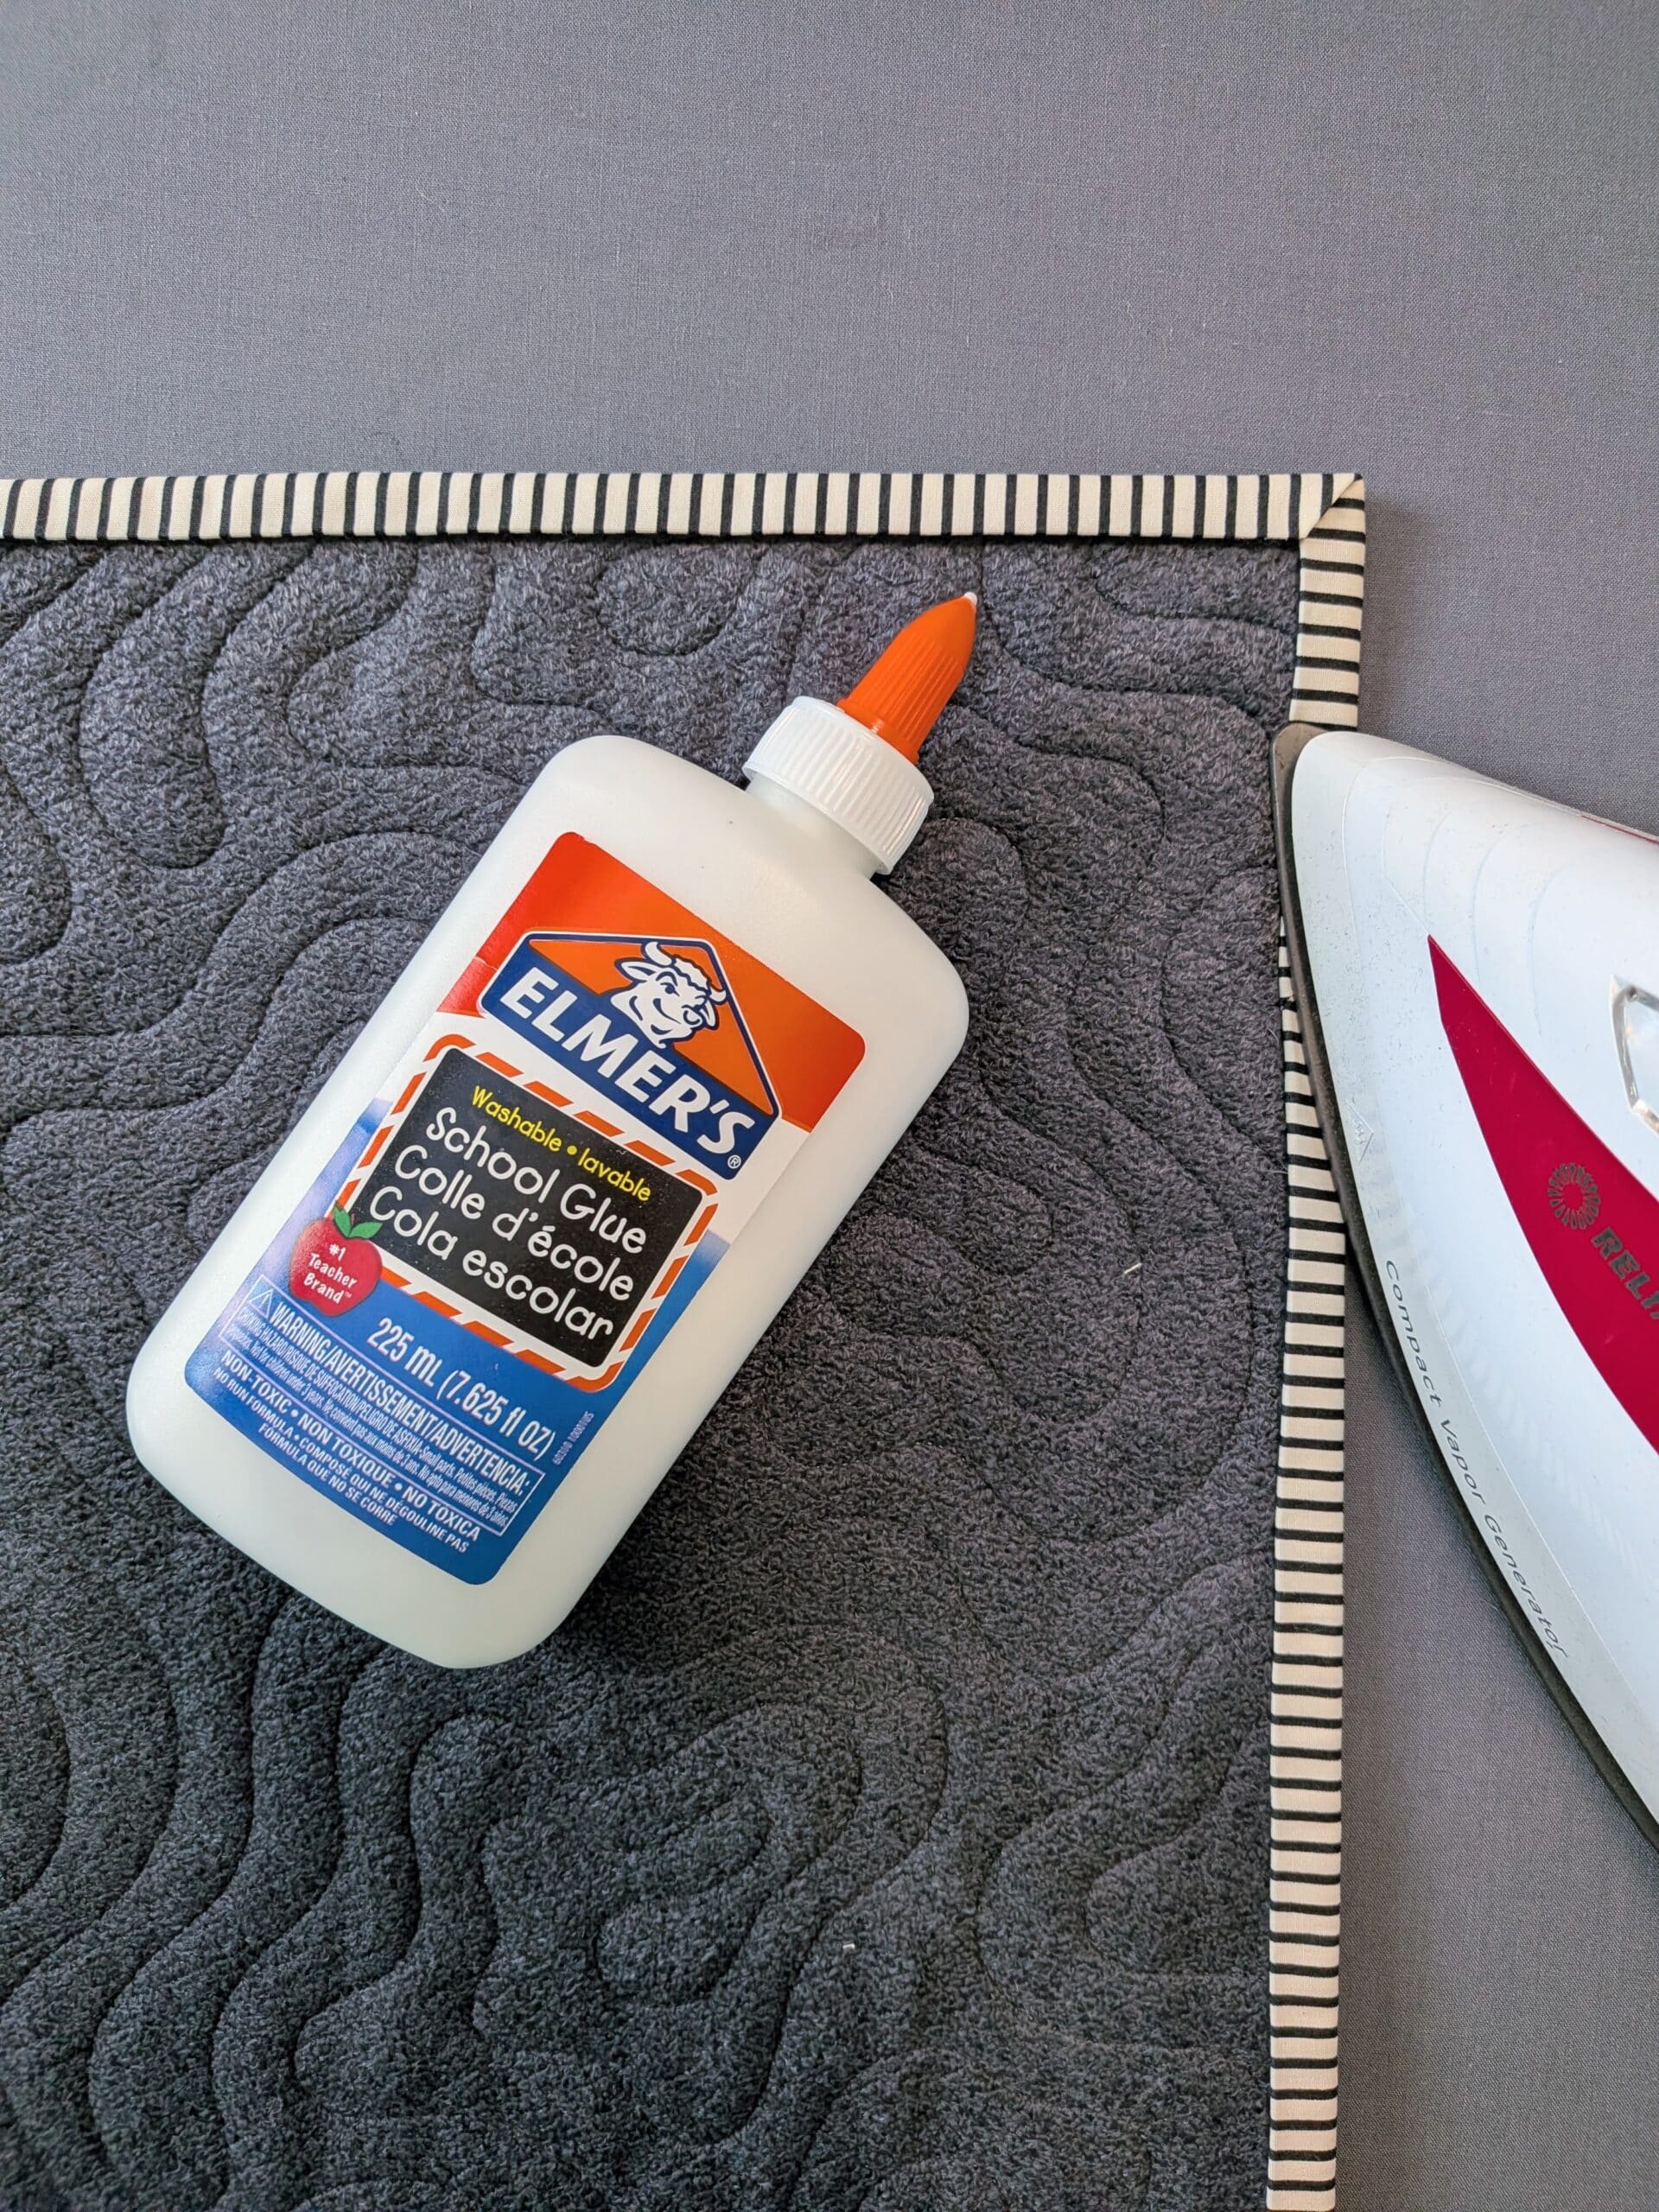
Luckily, glue basting is a technique that I use all the time in my quilts, so I was quite comfortable with this step. After attaching the binding to the front of the quilt, I pressed the binding (with a dry iron) towards the raw edge of the quilt. I wrapped the long folded edge of the binding around to the back of the quilt, and then used white school glue to hold it in place. If adding glue to your quilt freaks you out, please know that it completely disappears in the wash. Promise.
The trick with this method is to make sure that the folded edge of the binding slightly overlaps the line of stitches that was created when the binding was attached to the front of the quilt. Although it takes some practice, once you get the hang of it, it’s magical.
Stitching in the ditch
With the binding held securely in place on the back, I used my Juki to stitch in the ditch on the front of the quilt. This catches the binding on the back and produces a nearly-invisible line of stitches on the front of the quilt. Like I said, it takes practice, but the results are so worth it.
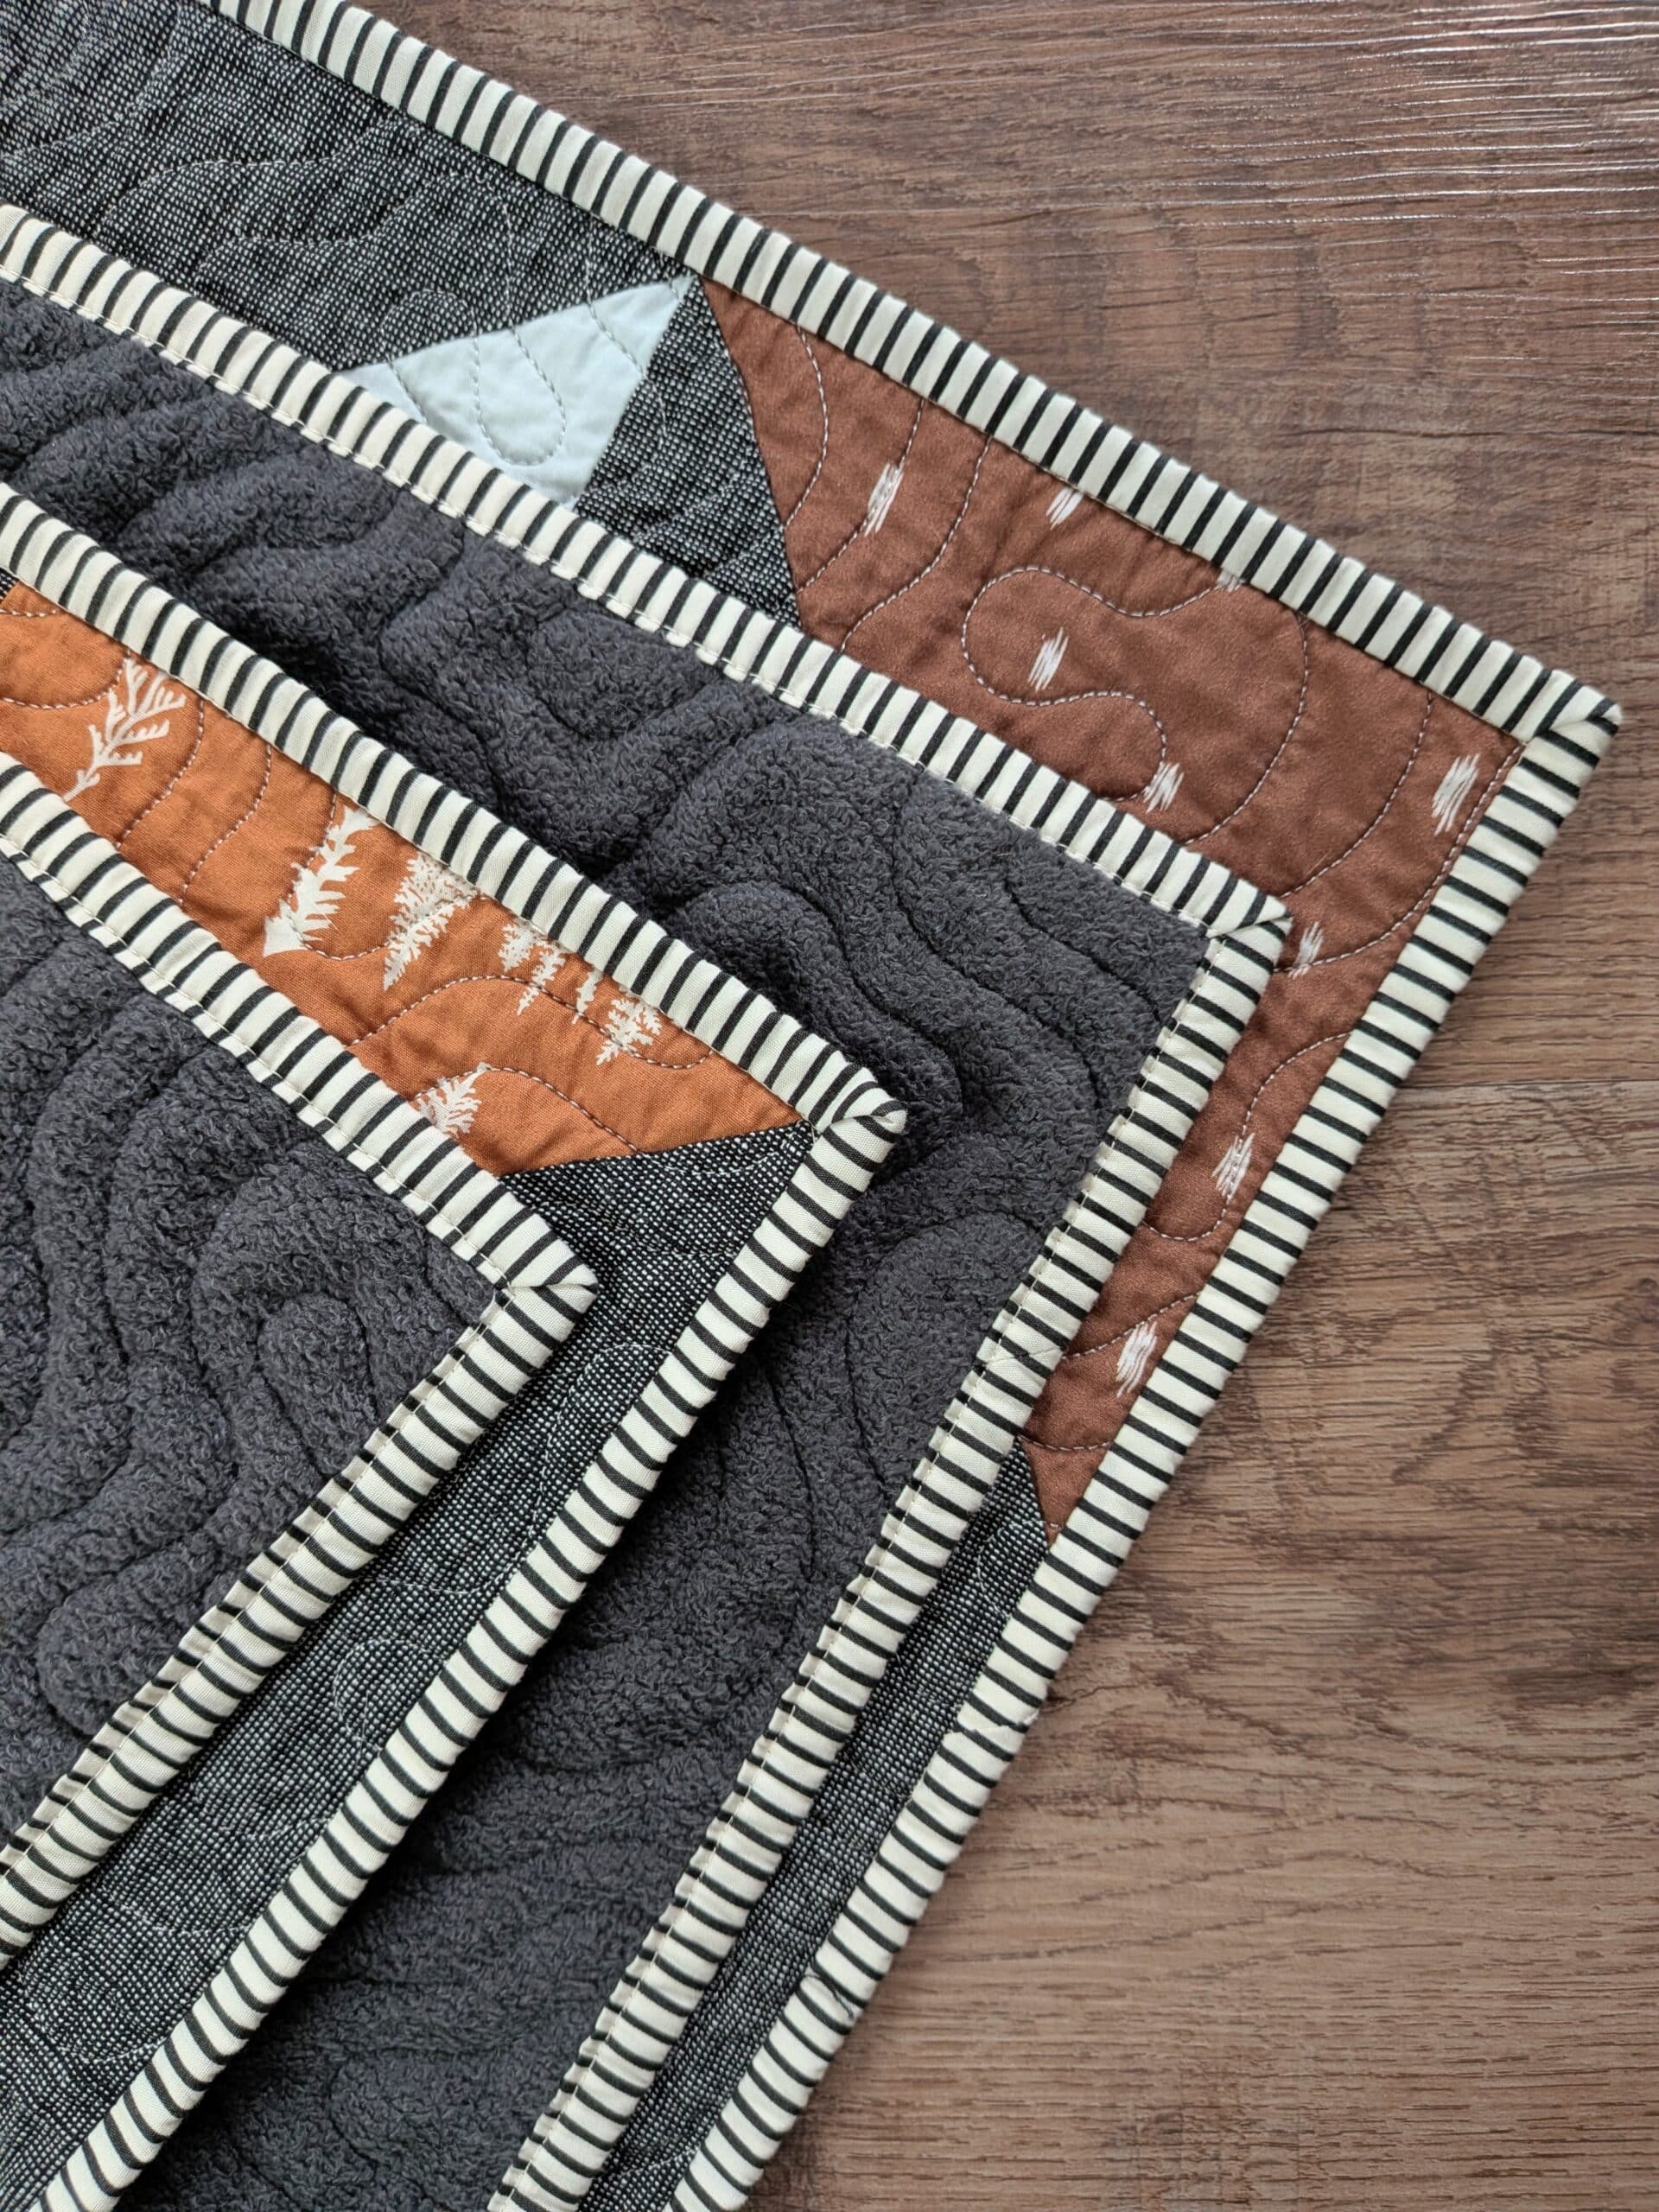
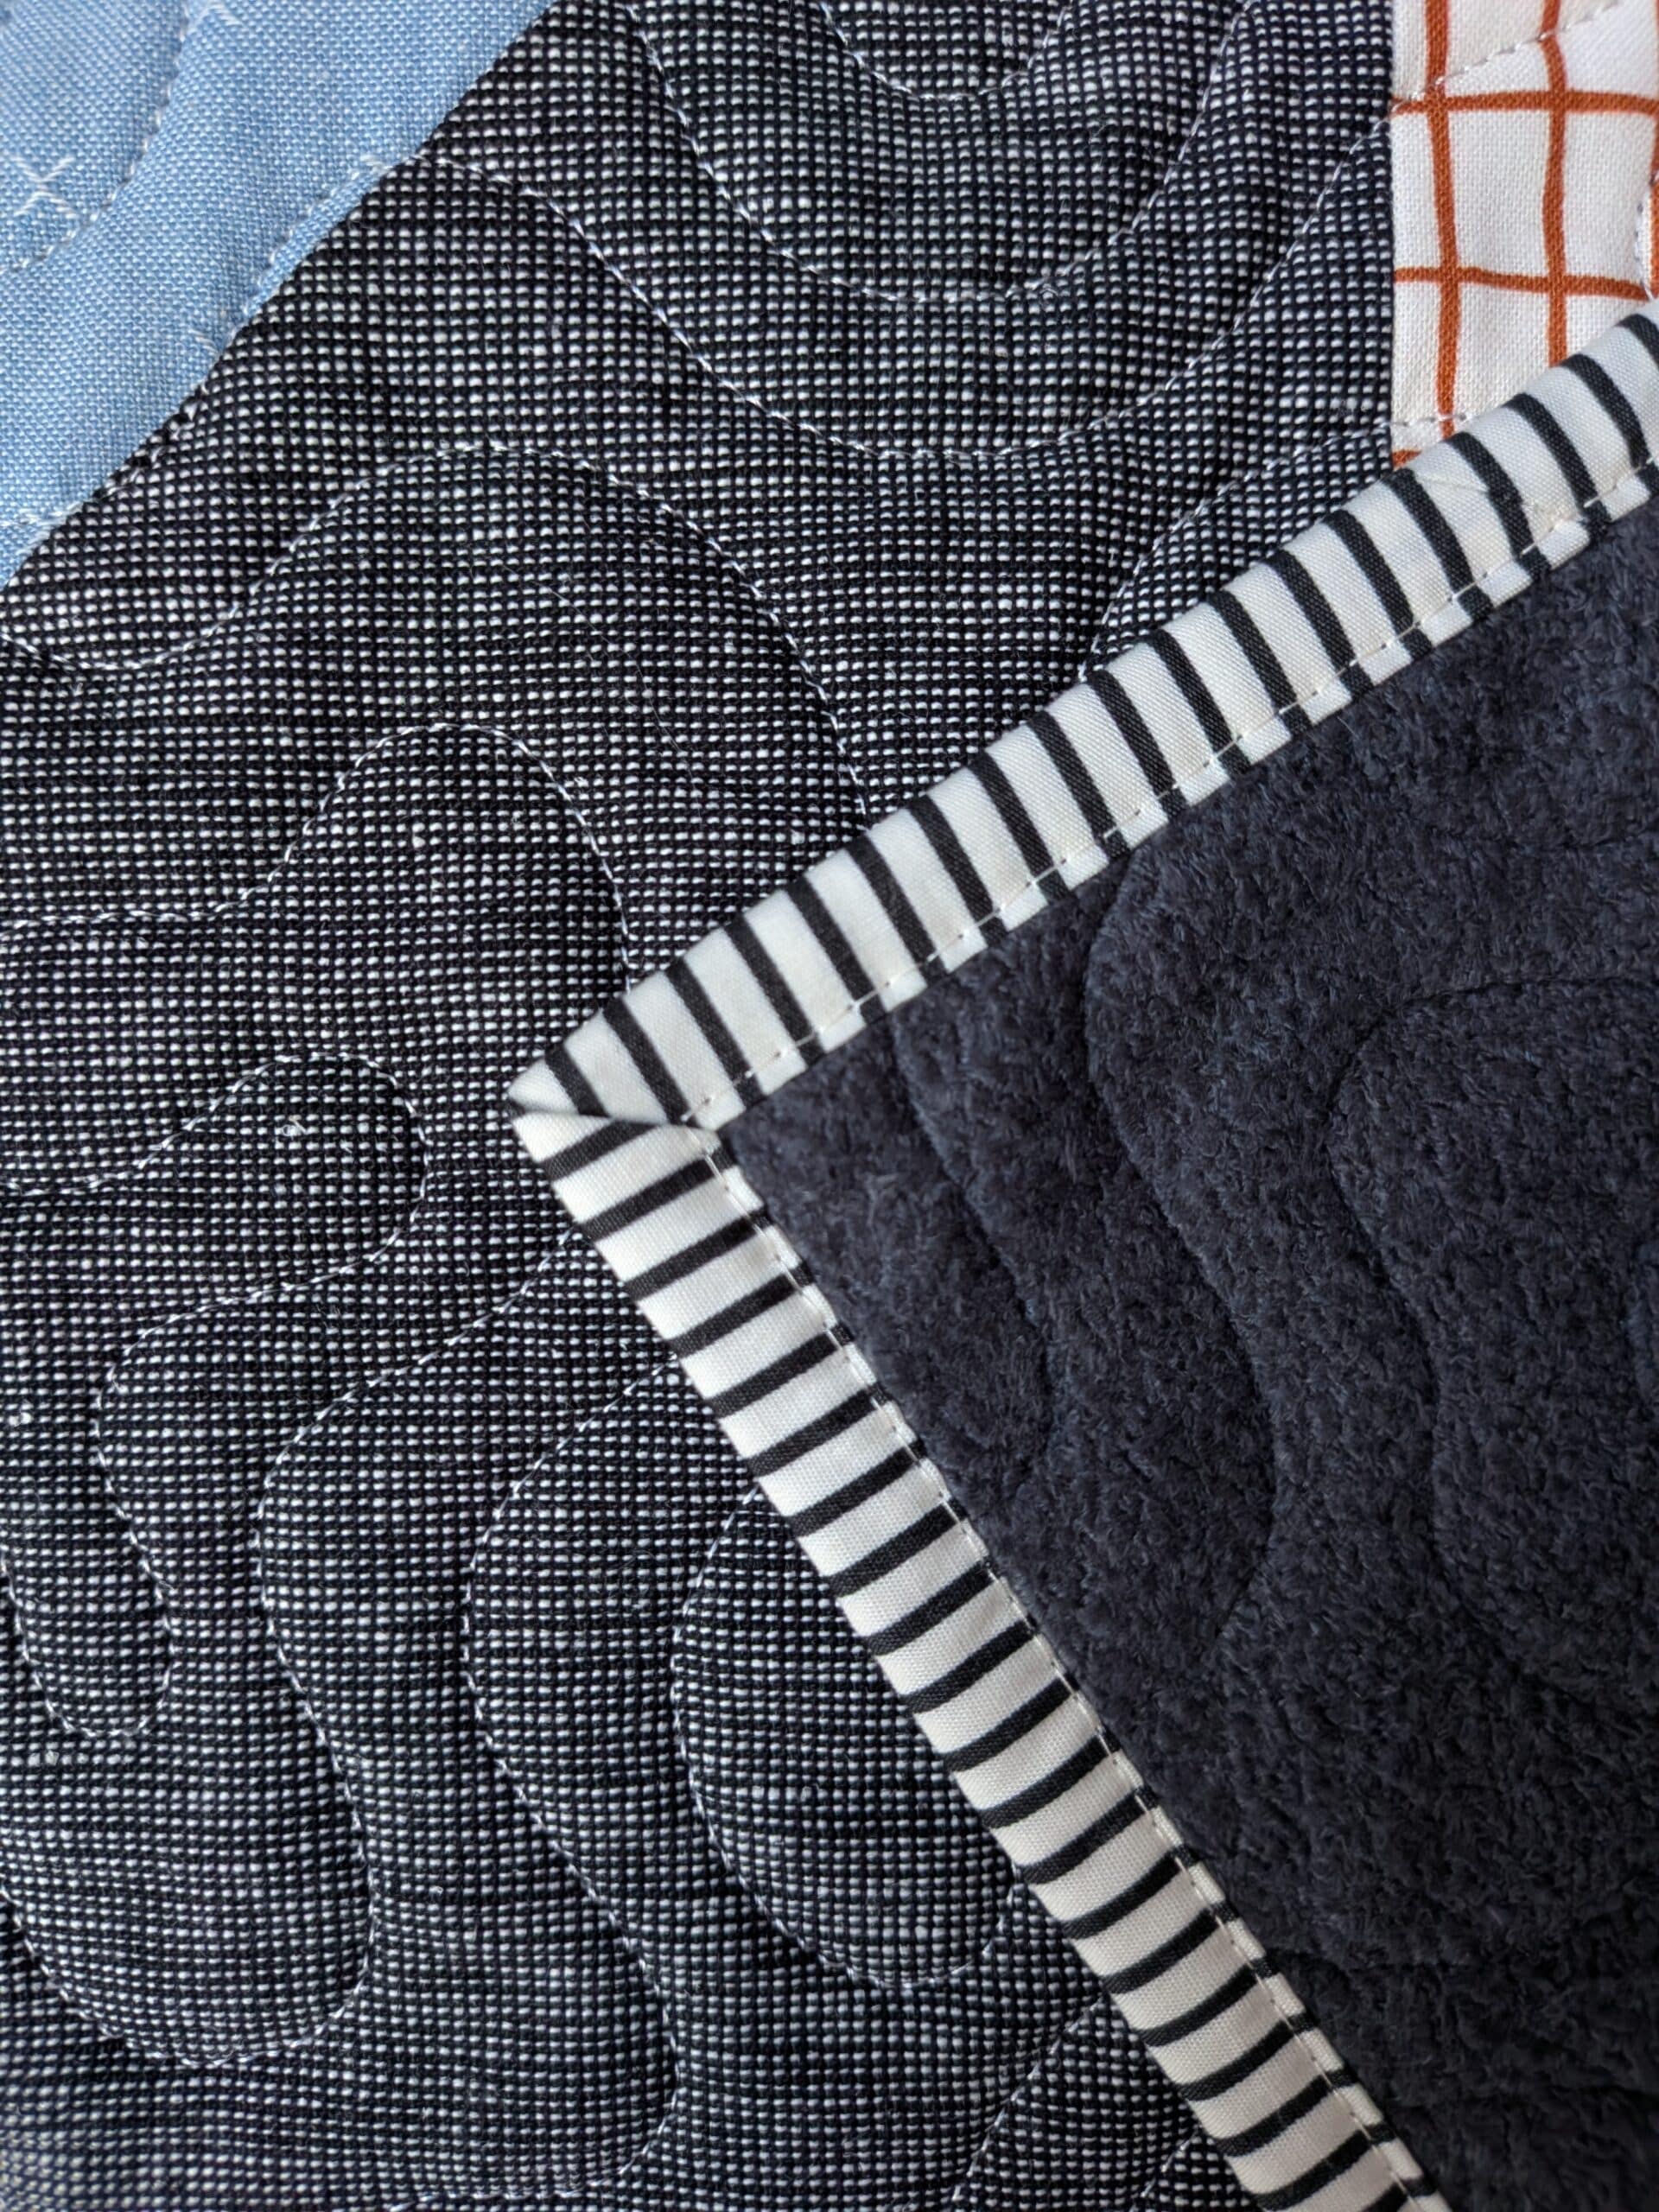
Of course, my Janome has a special foot that makes this step a BREEZE, and I own no such attachment for my Juki. It was a lot more difficult to keep the needle exactly where I wanted it with the Juki, but I managed. The end result was neat and tidy, and even though I fiddled around with my Janome for a while, it was still faster than finishing the binding by hand.
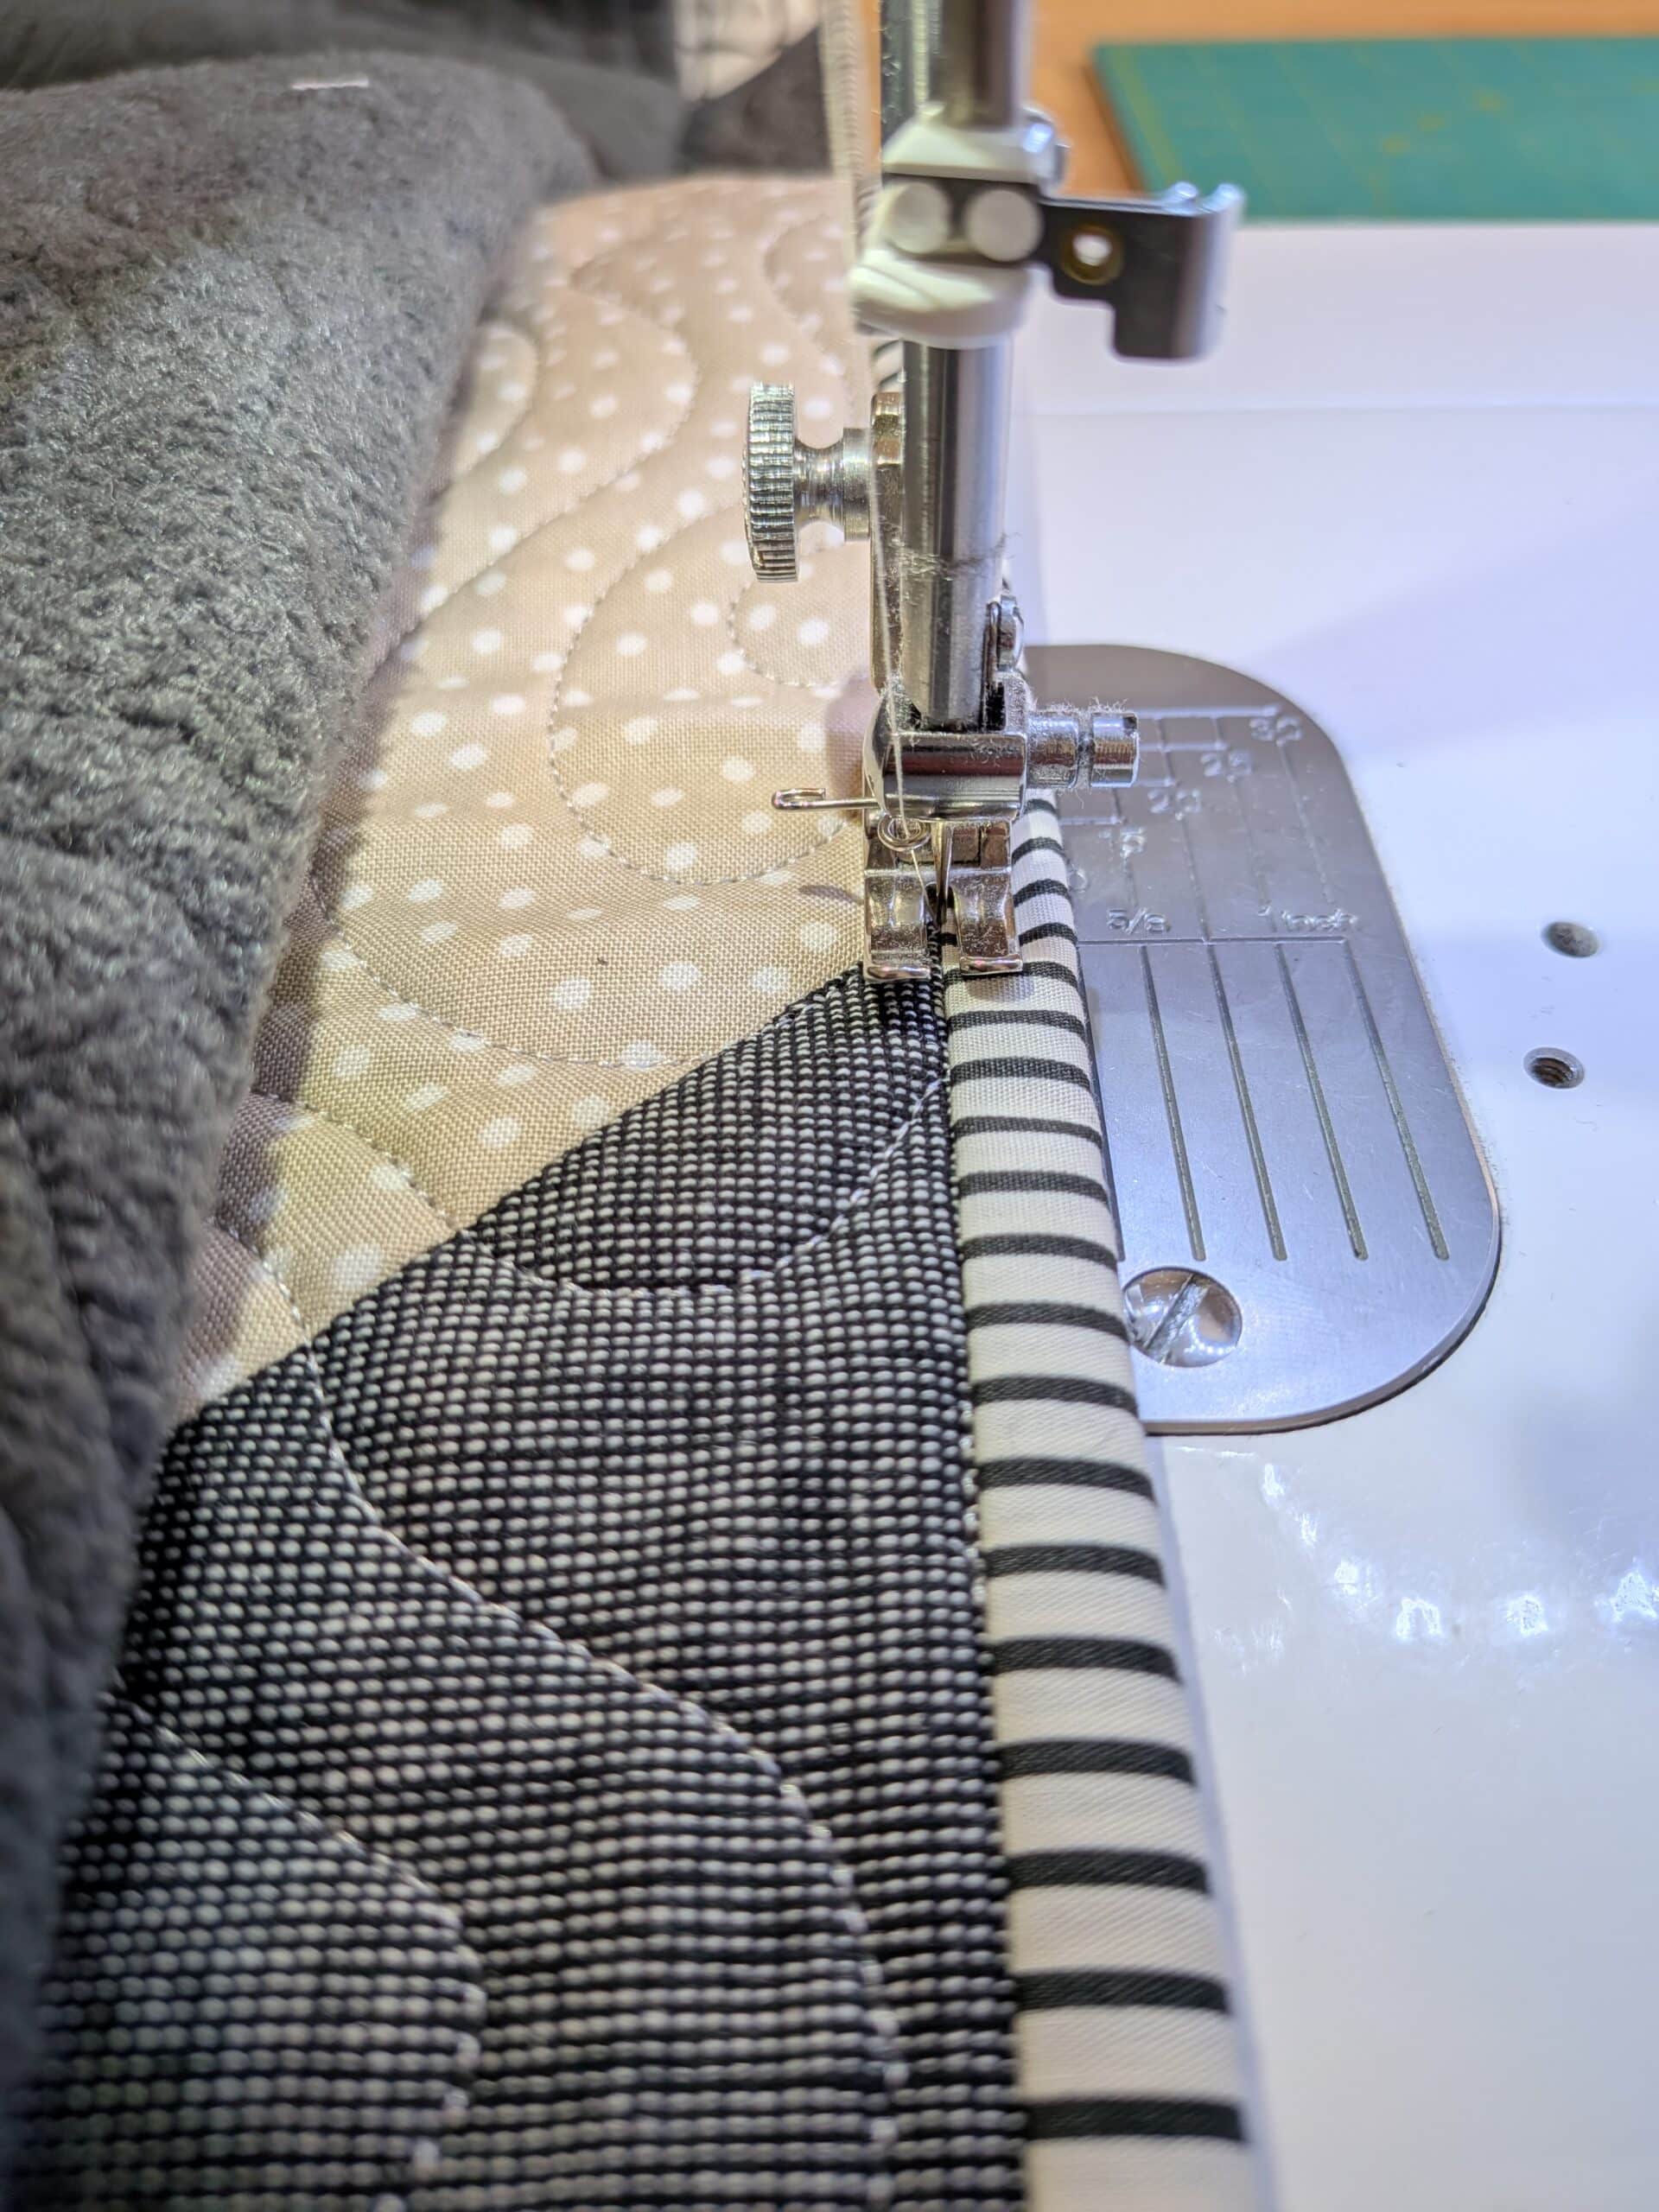
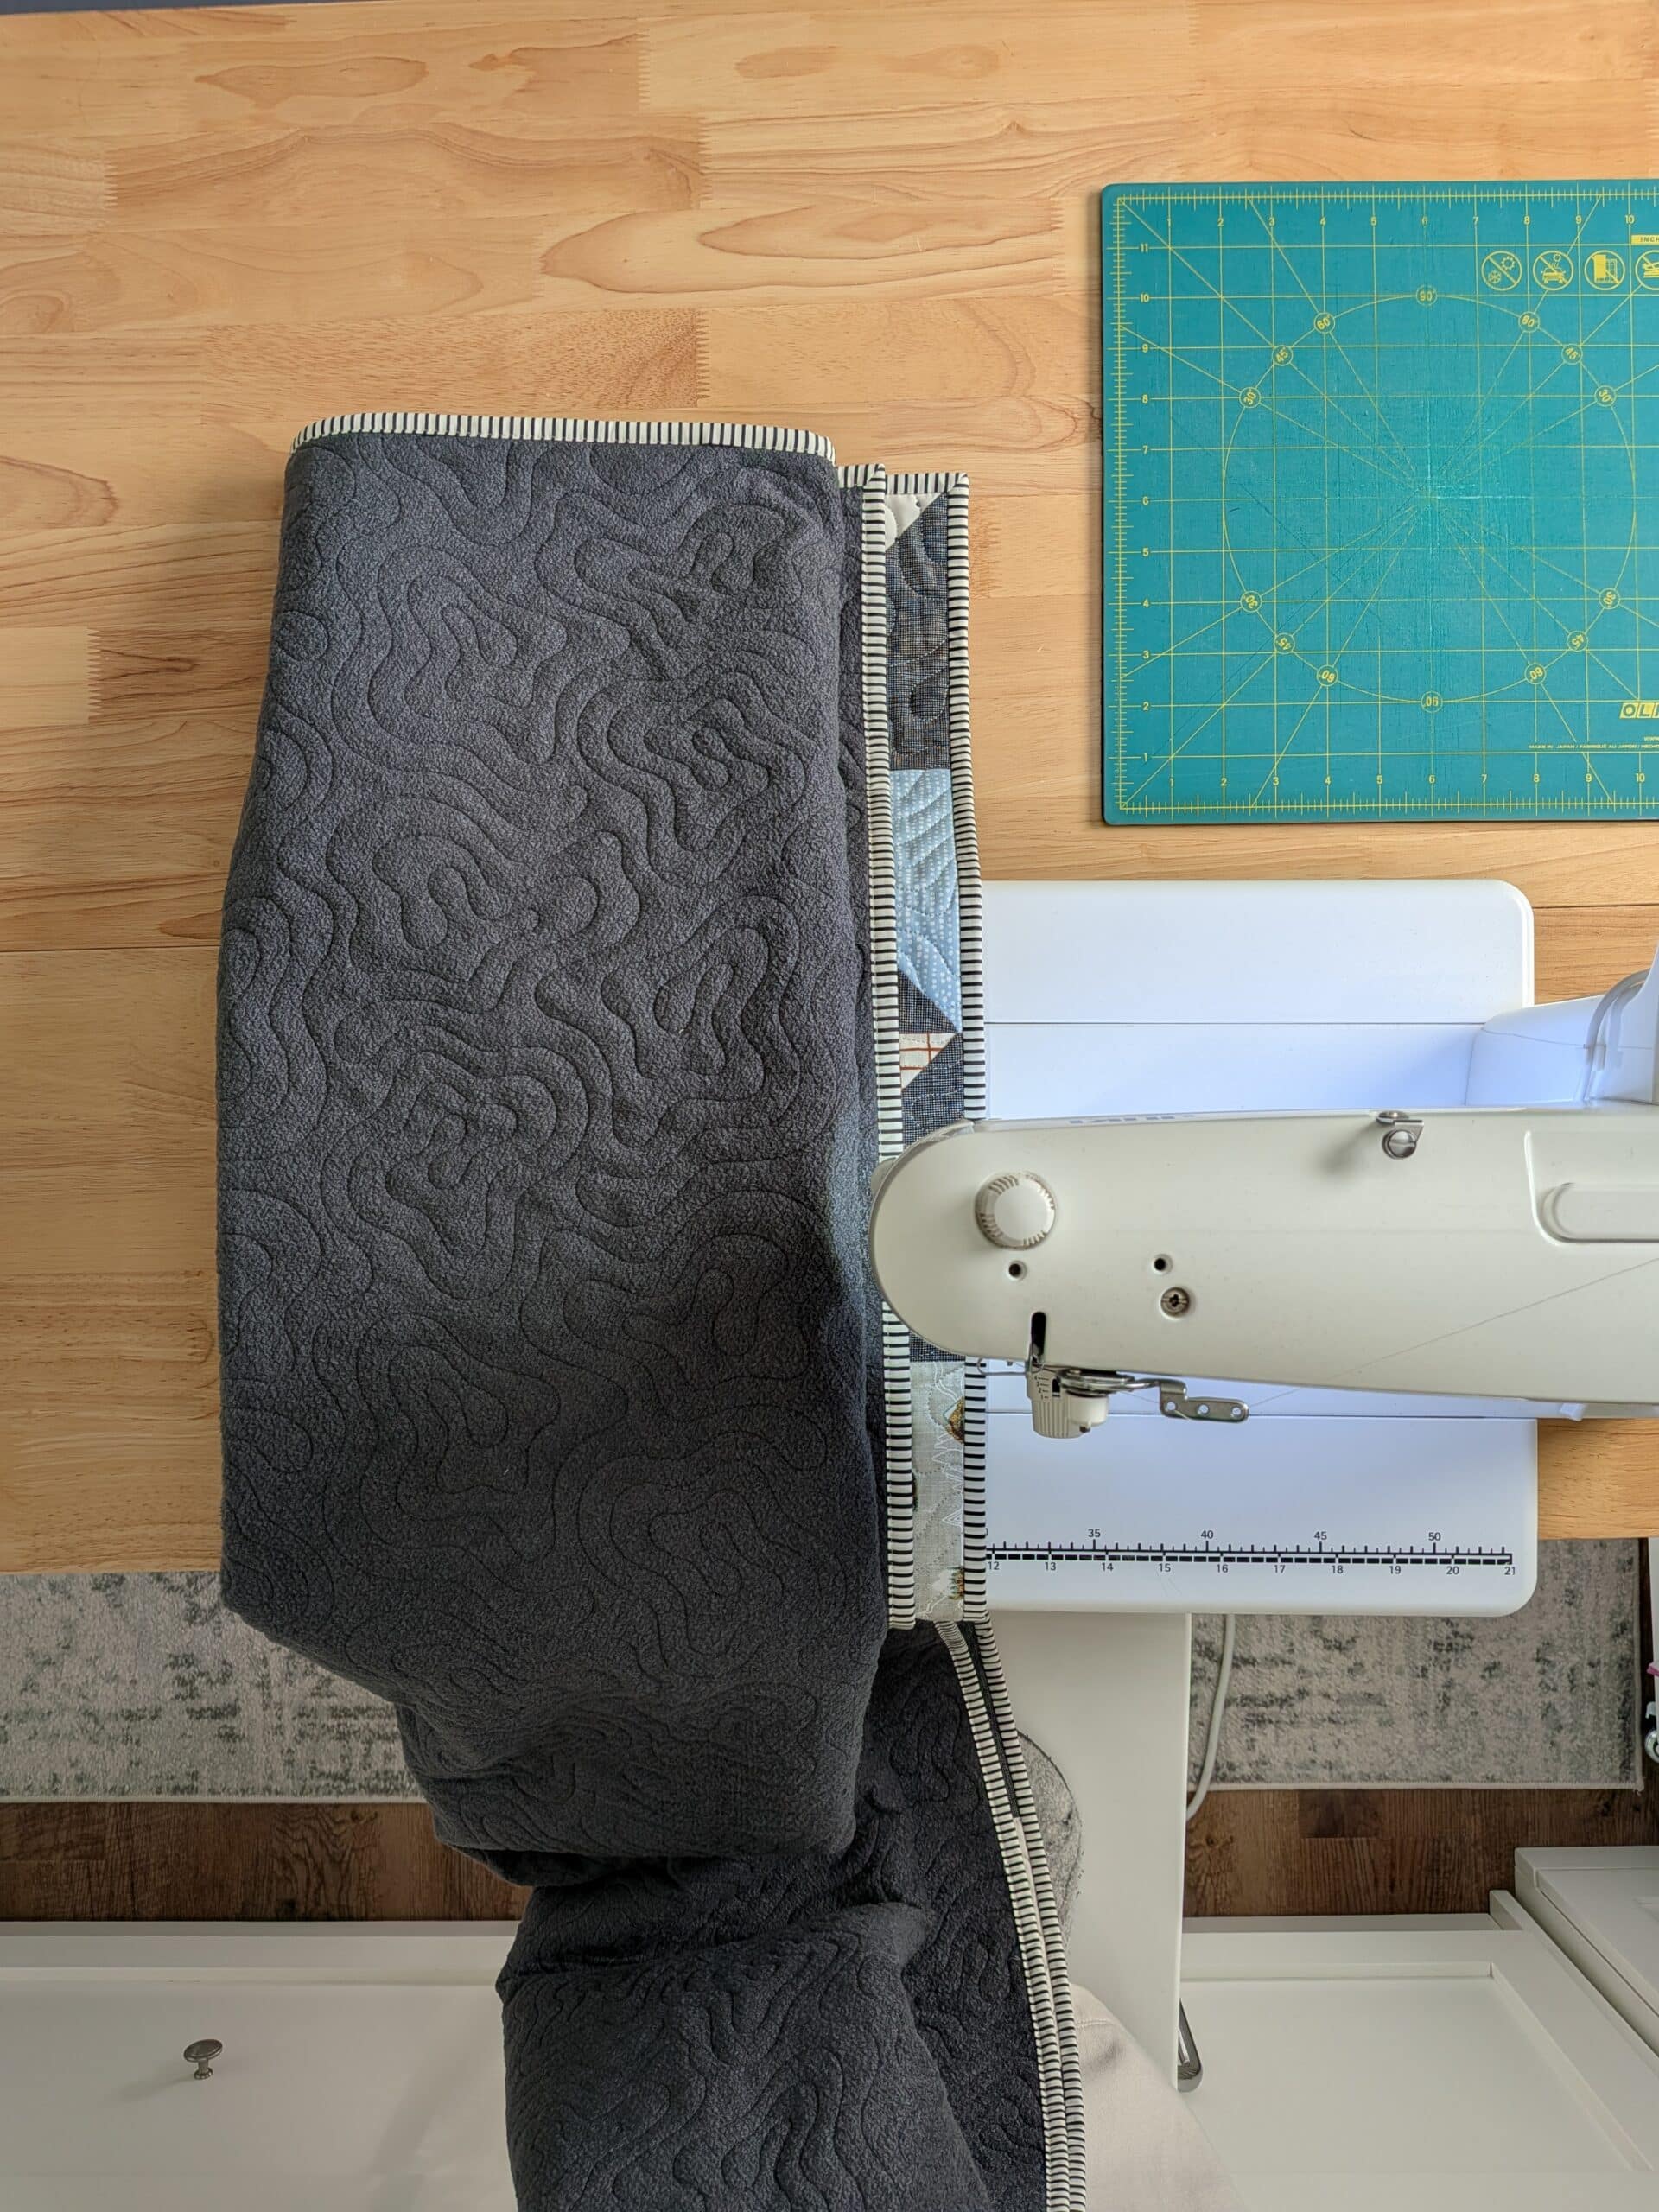
Other than taking your time and remembering to breathe, my best tip for this technique would be to roll up your quilt so that it fits the width of your machine's table. I find that if my quilt hangs over the edge of the extension table, it will inevitably get caught on the corner and cause my stitches to become quite short.
A finished Fletcher quilt
The first thing I did after finishing the binding was to throw it in the washing machine. I wanted to get rid of any residual white glue, and ensure that the quilt was nice and drapey before giving it away. I washed it on a delicate cycle with cold water, and then tumble dried it on low which still produced a nice crinkly quilt.
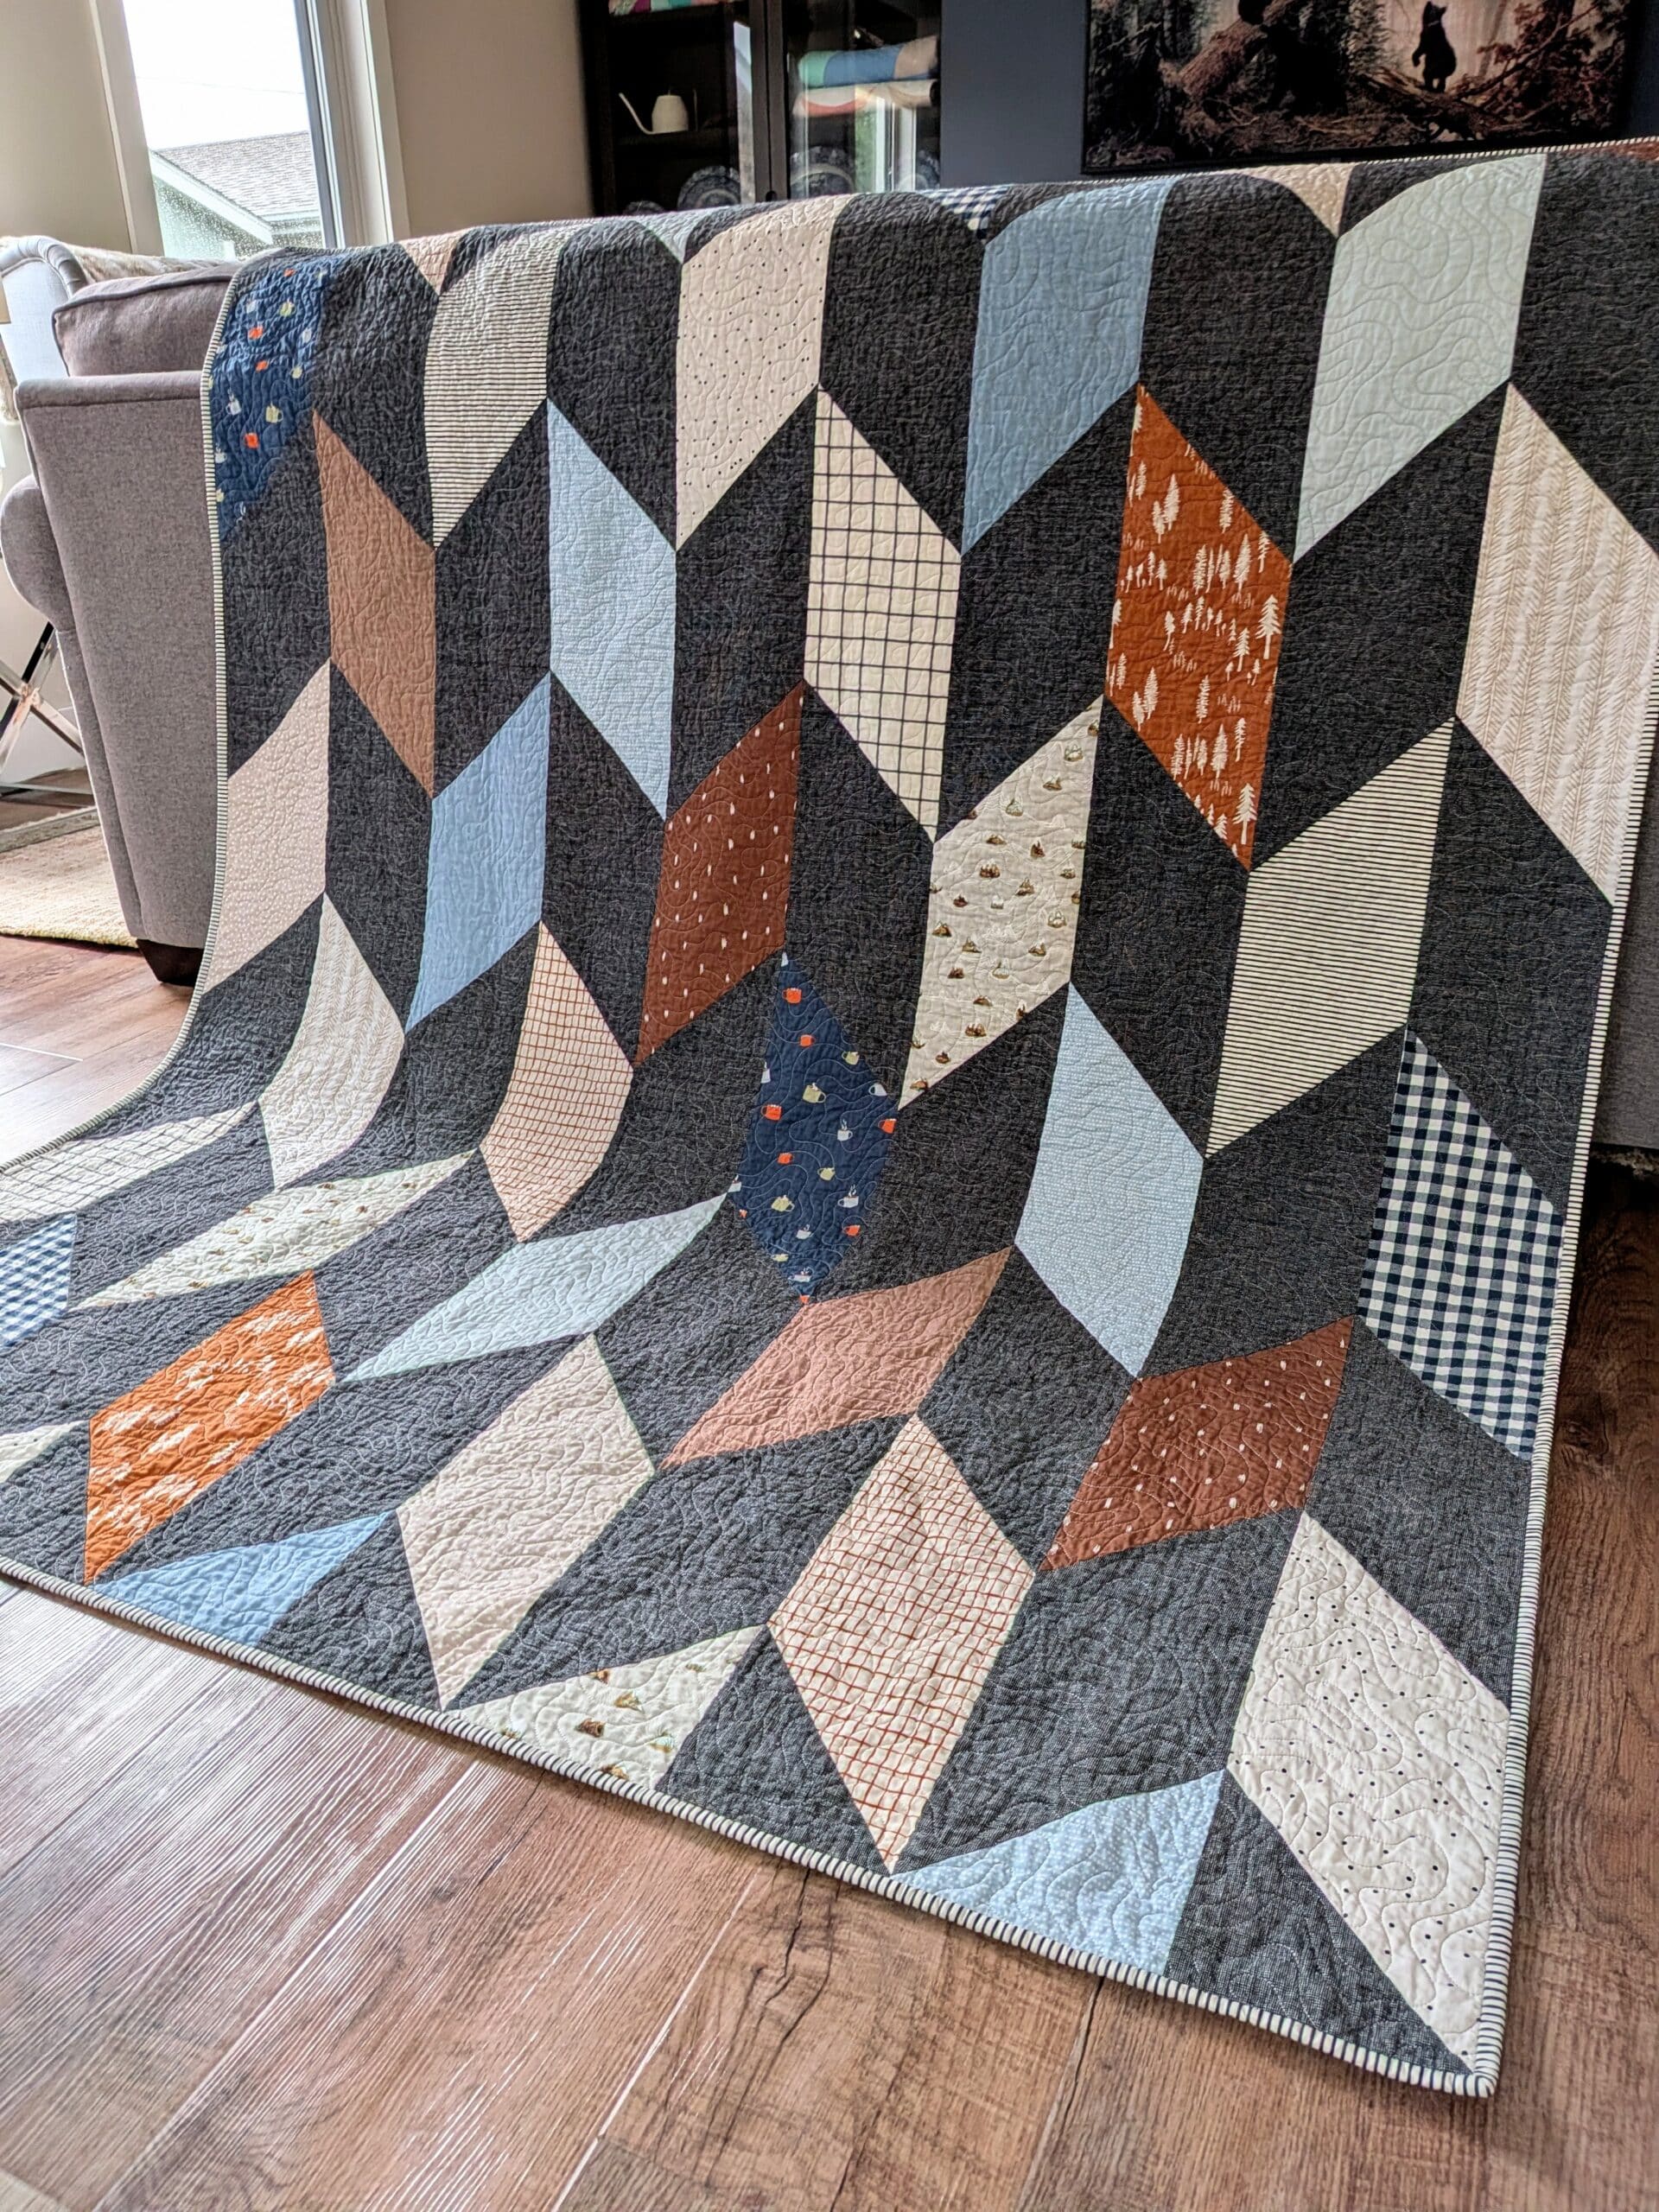
The soft backing, bamboo batting, and large amount of woven fabrics used in the top ensure that it was super drapey and cuddly.
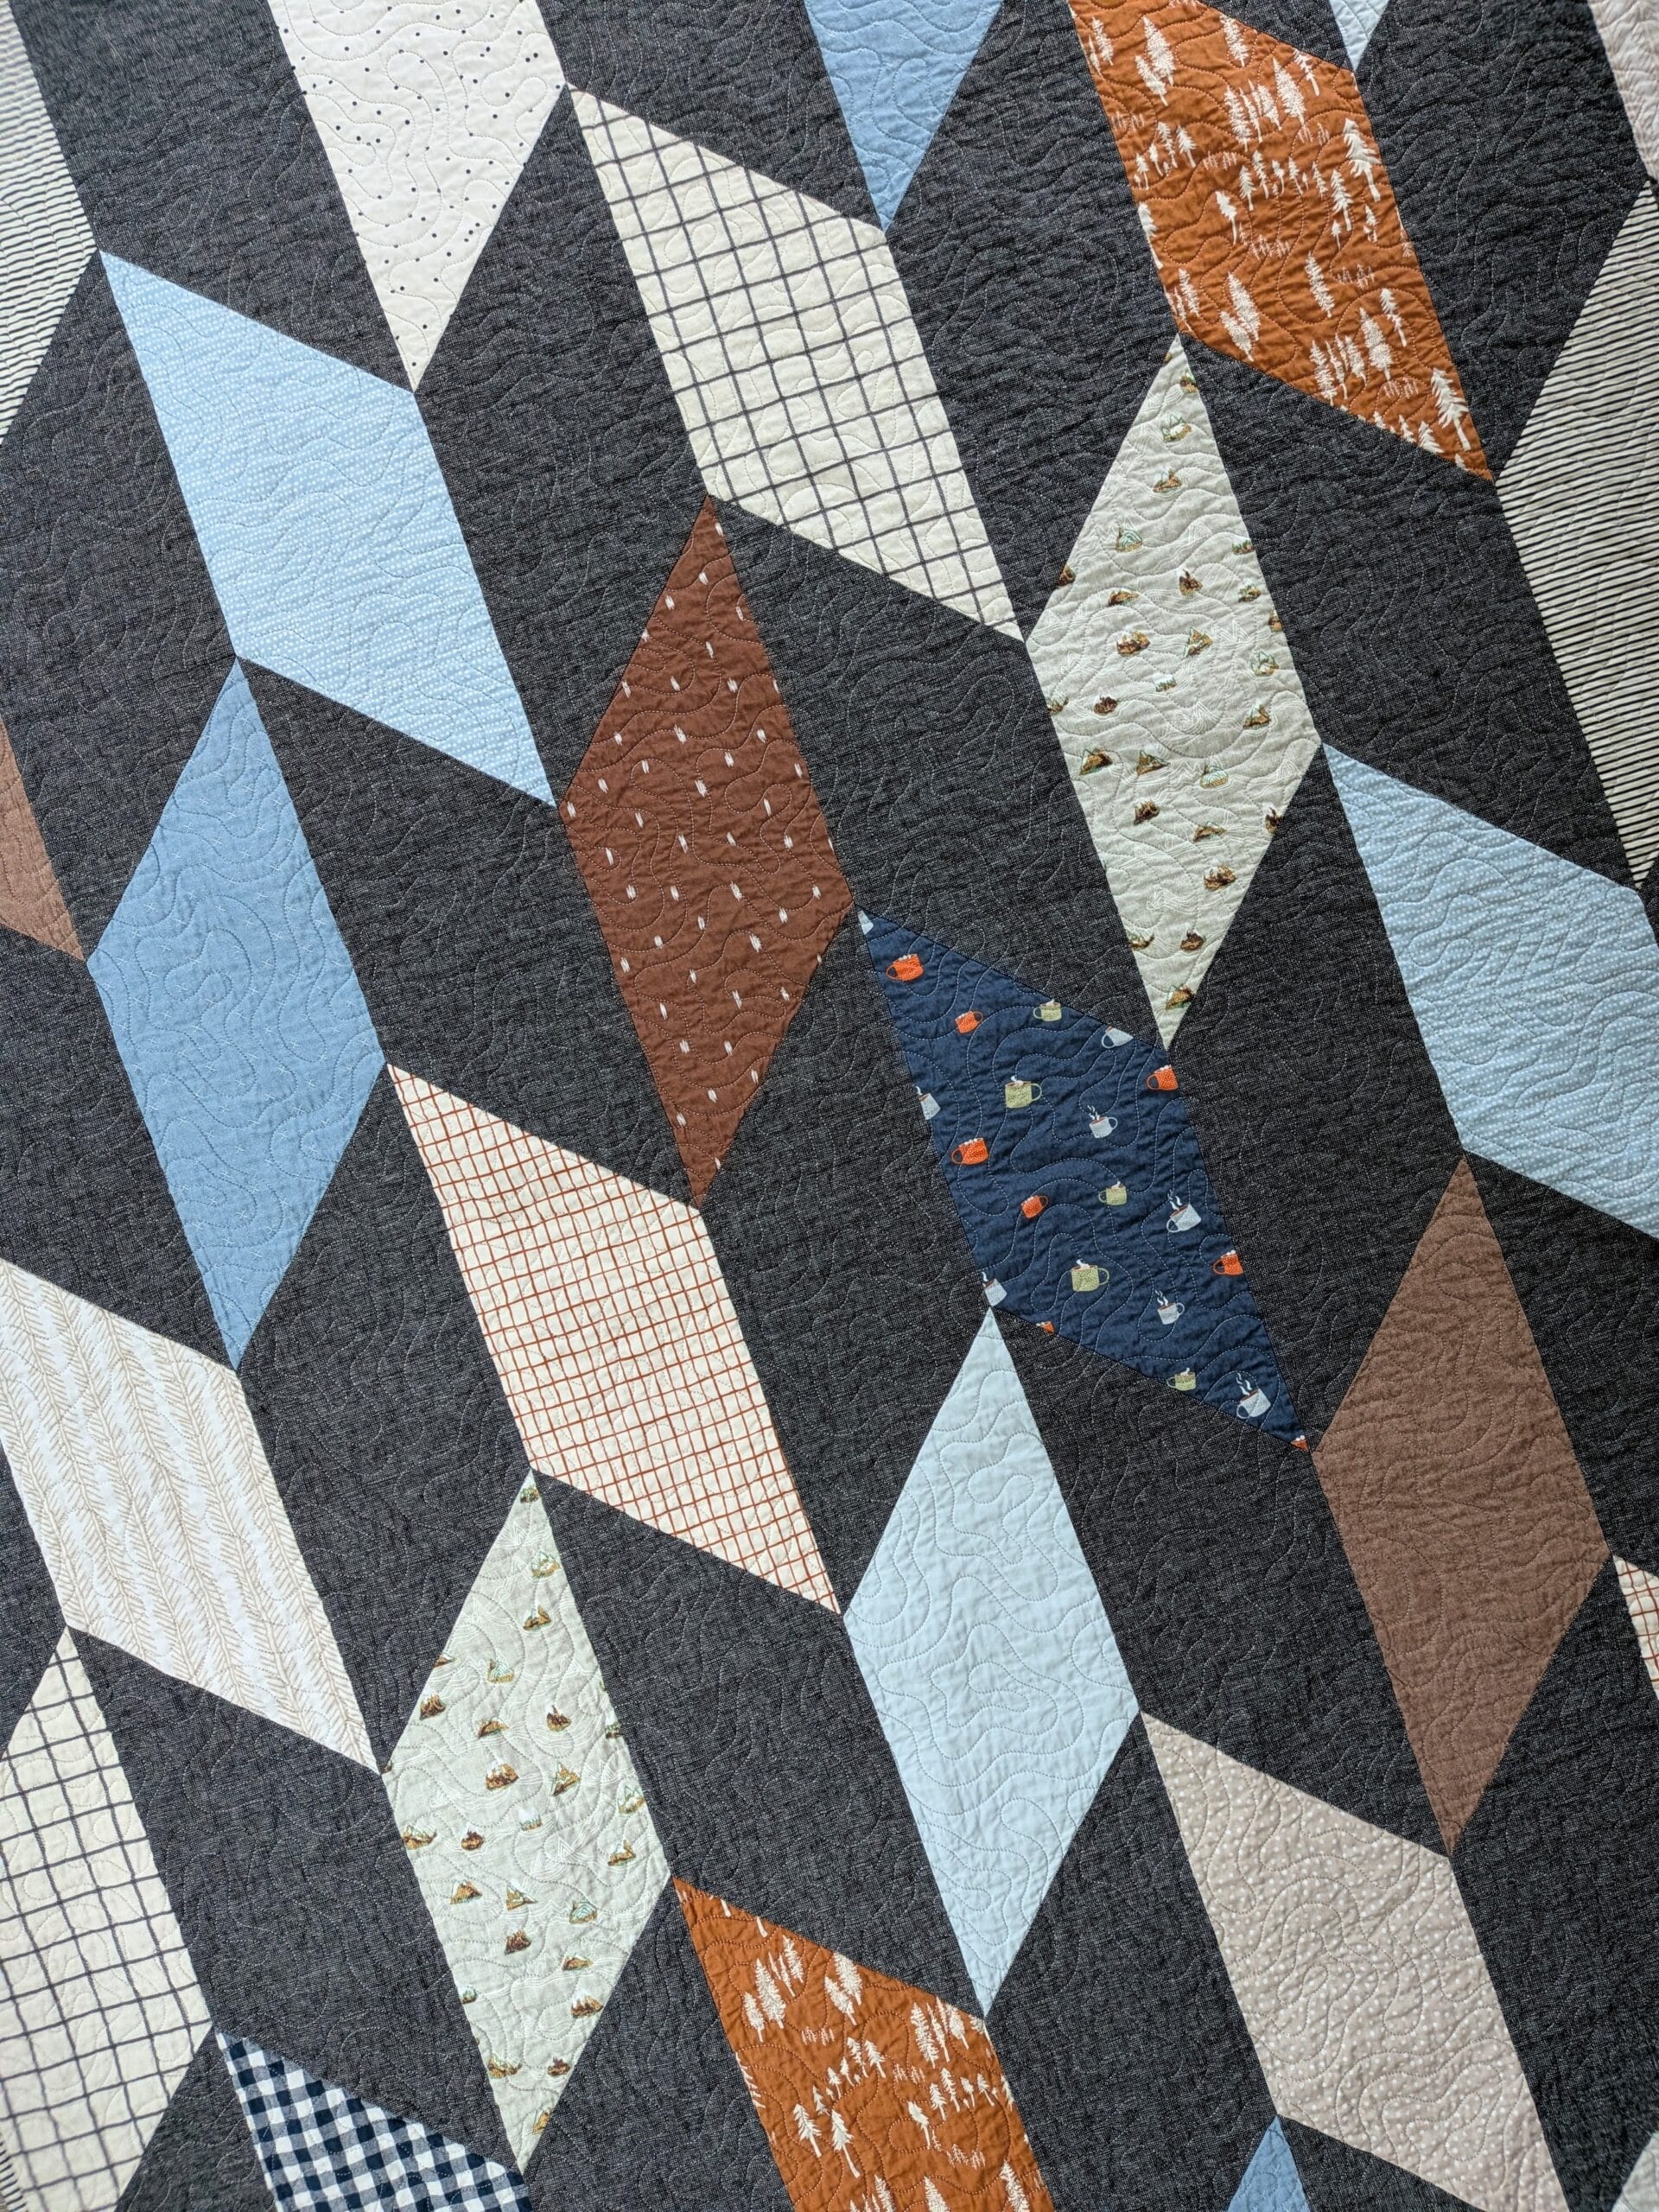
I finished the quilt with a few extra days to spare, so I took the time to do a formal photo shoot (in my living room) before wrapping it up.
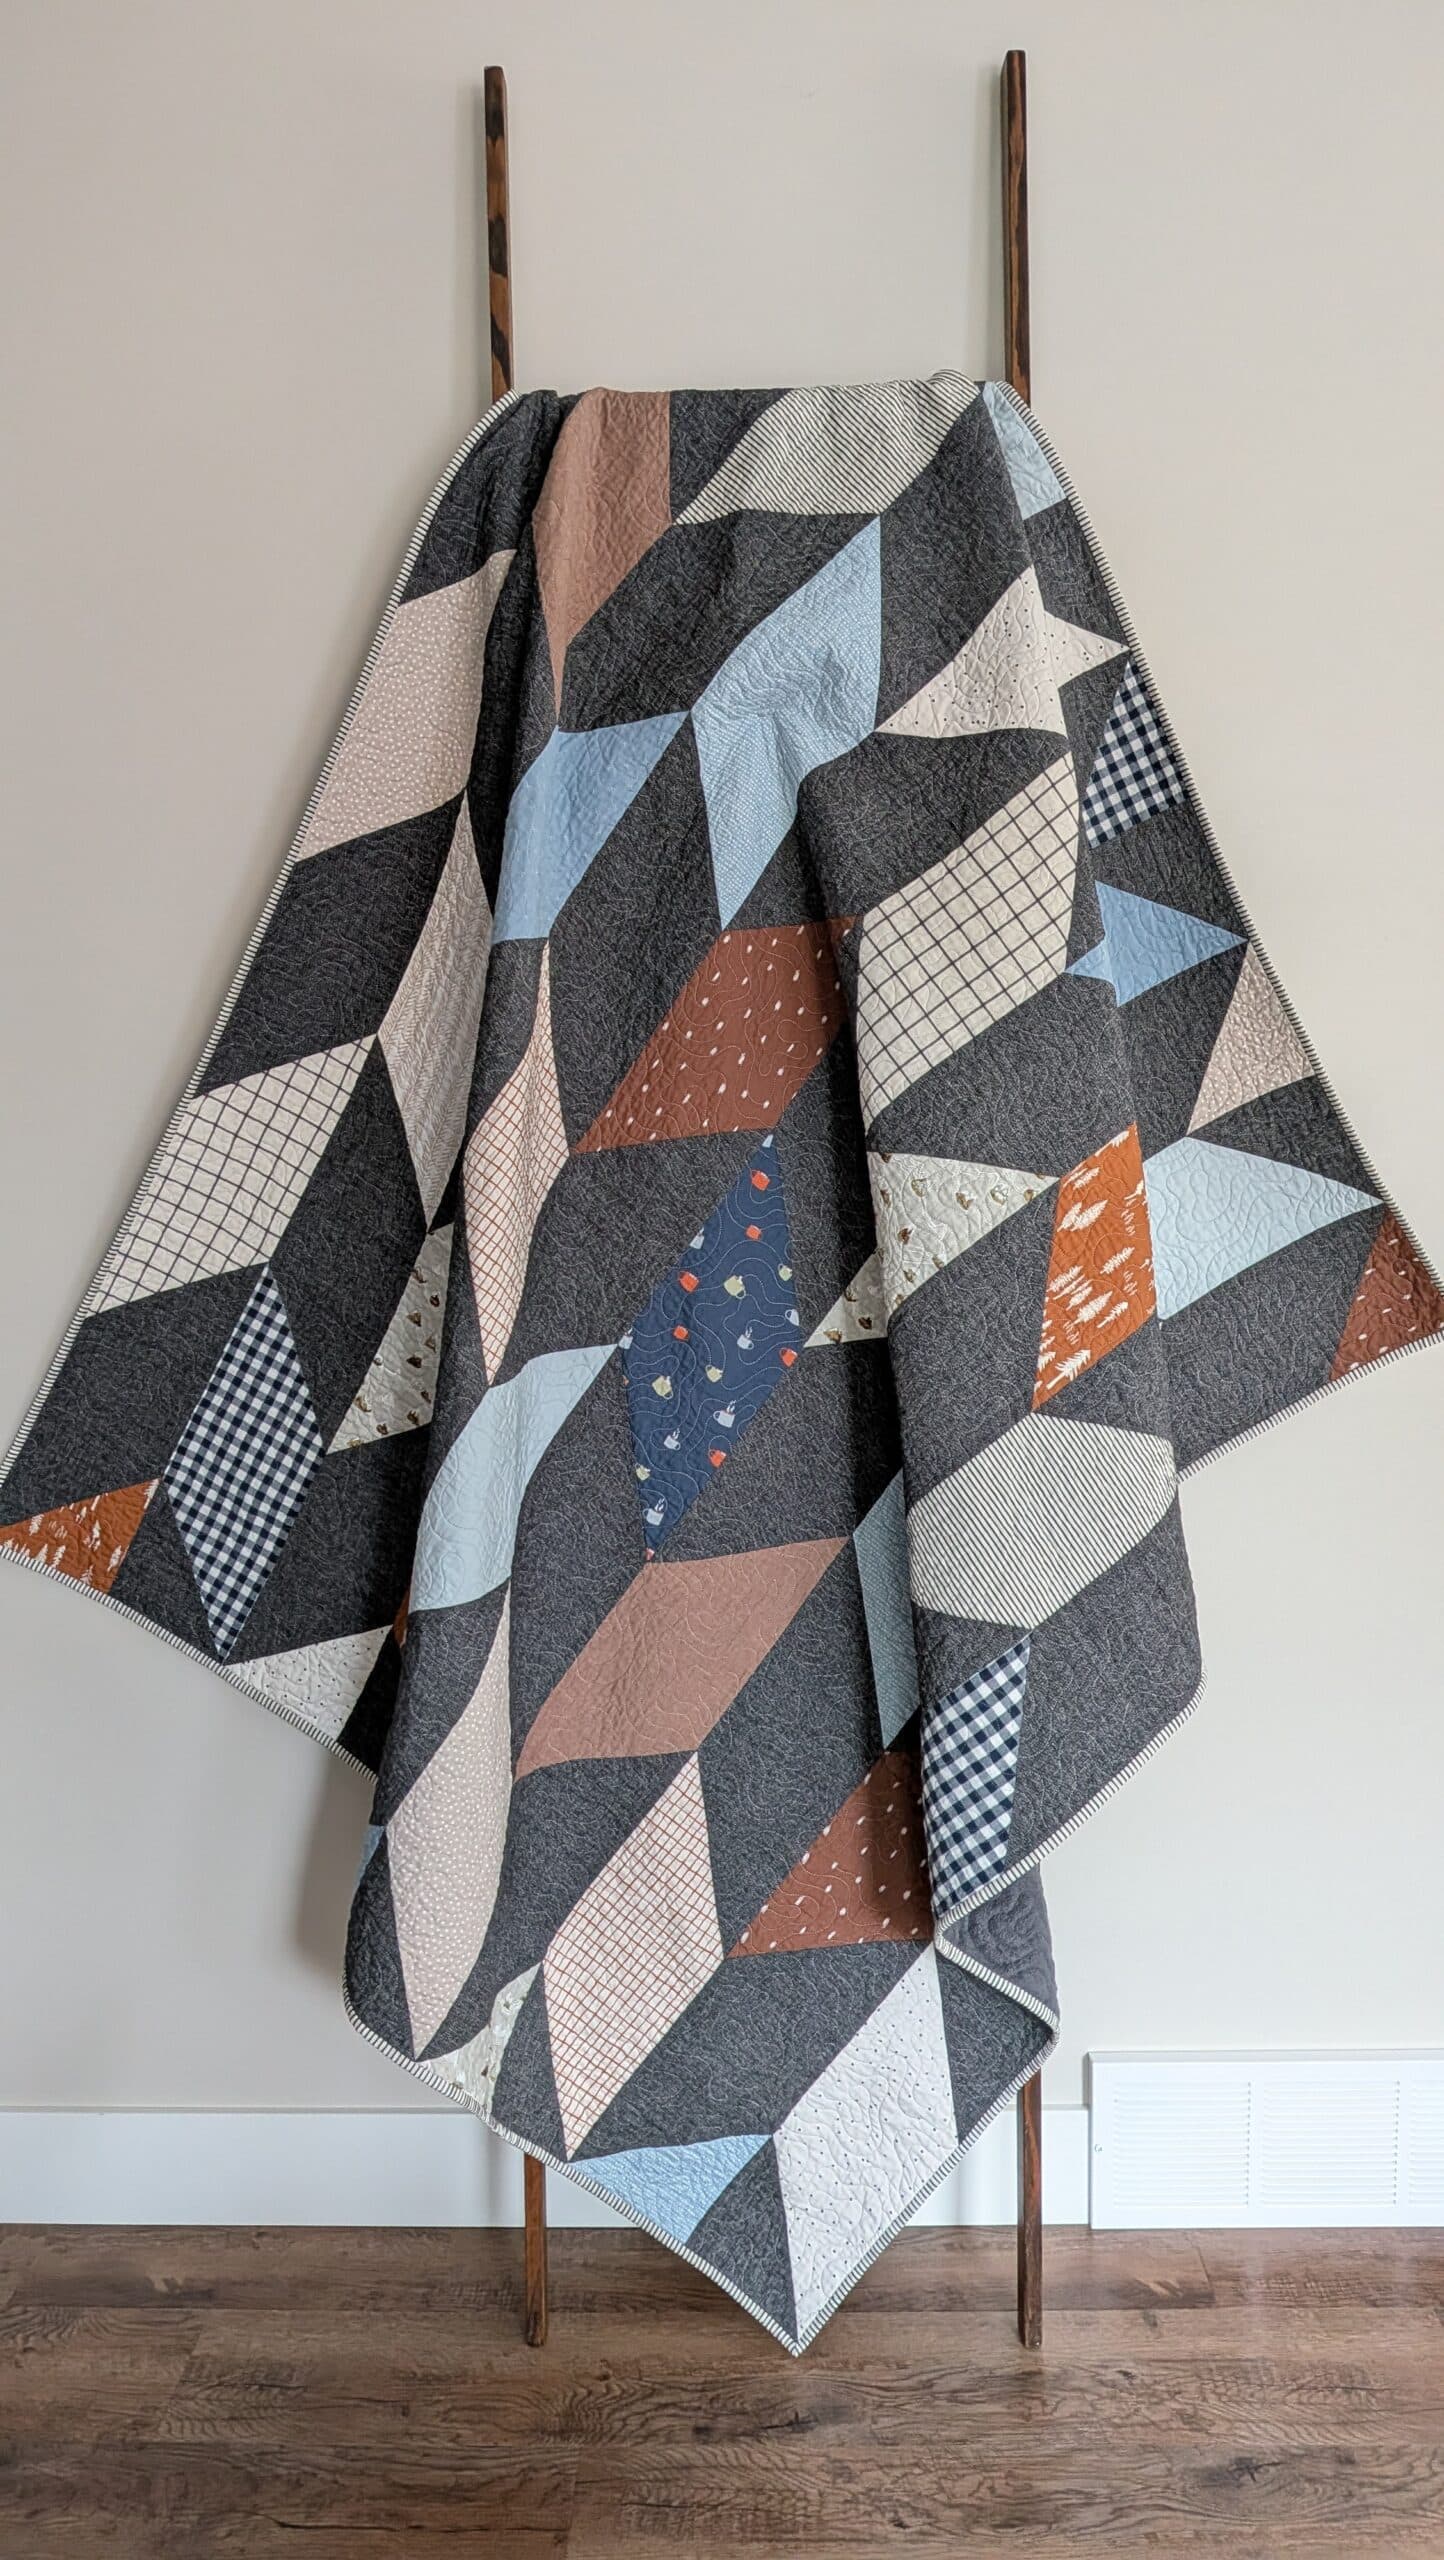
I love love LOVE the way this project turned out, and would 100% recommend it to anyone who’s looking for a fast and easy project.
Gifting the quilt to Troy
On Troy’s 50th birthday, we drove out to his home (he lives a few hours away from us), played a round of golf, took him out for lunch, and presented him with the Fletcher quilt.
HE LOVED IT!!
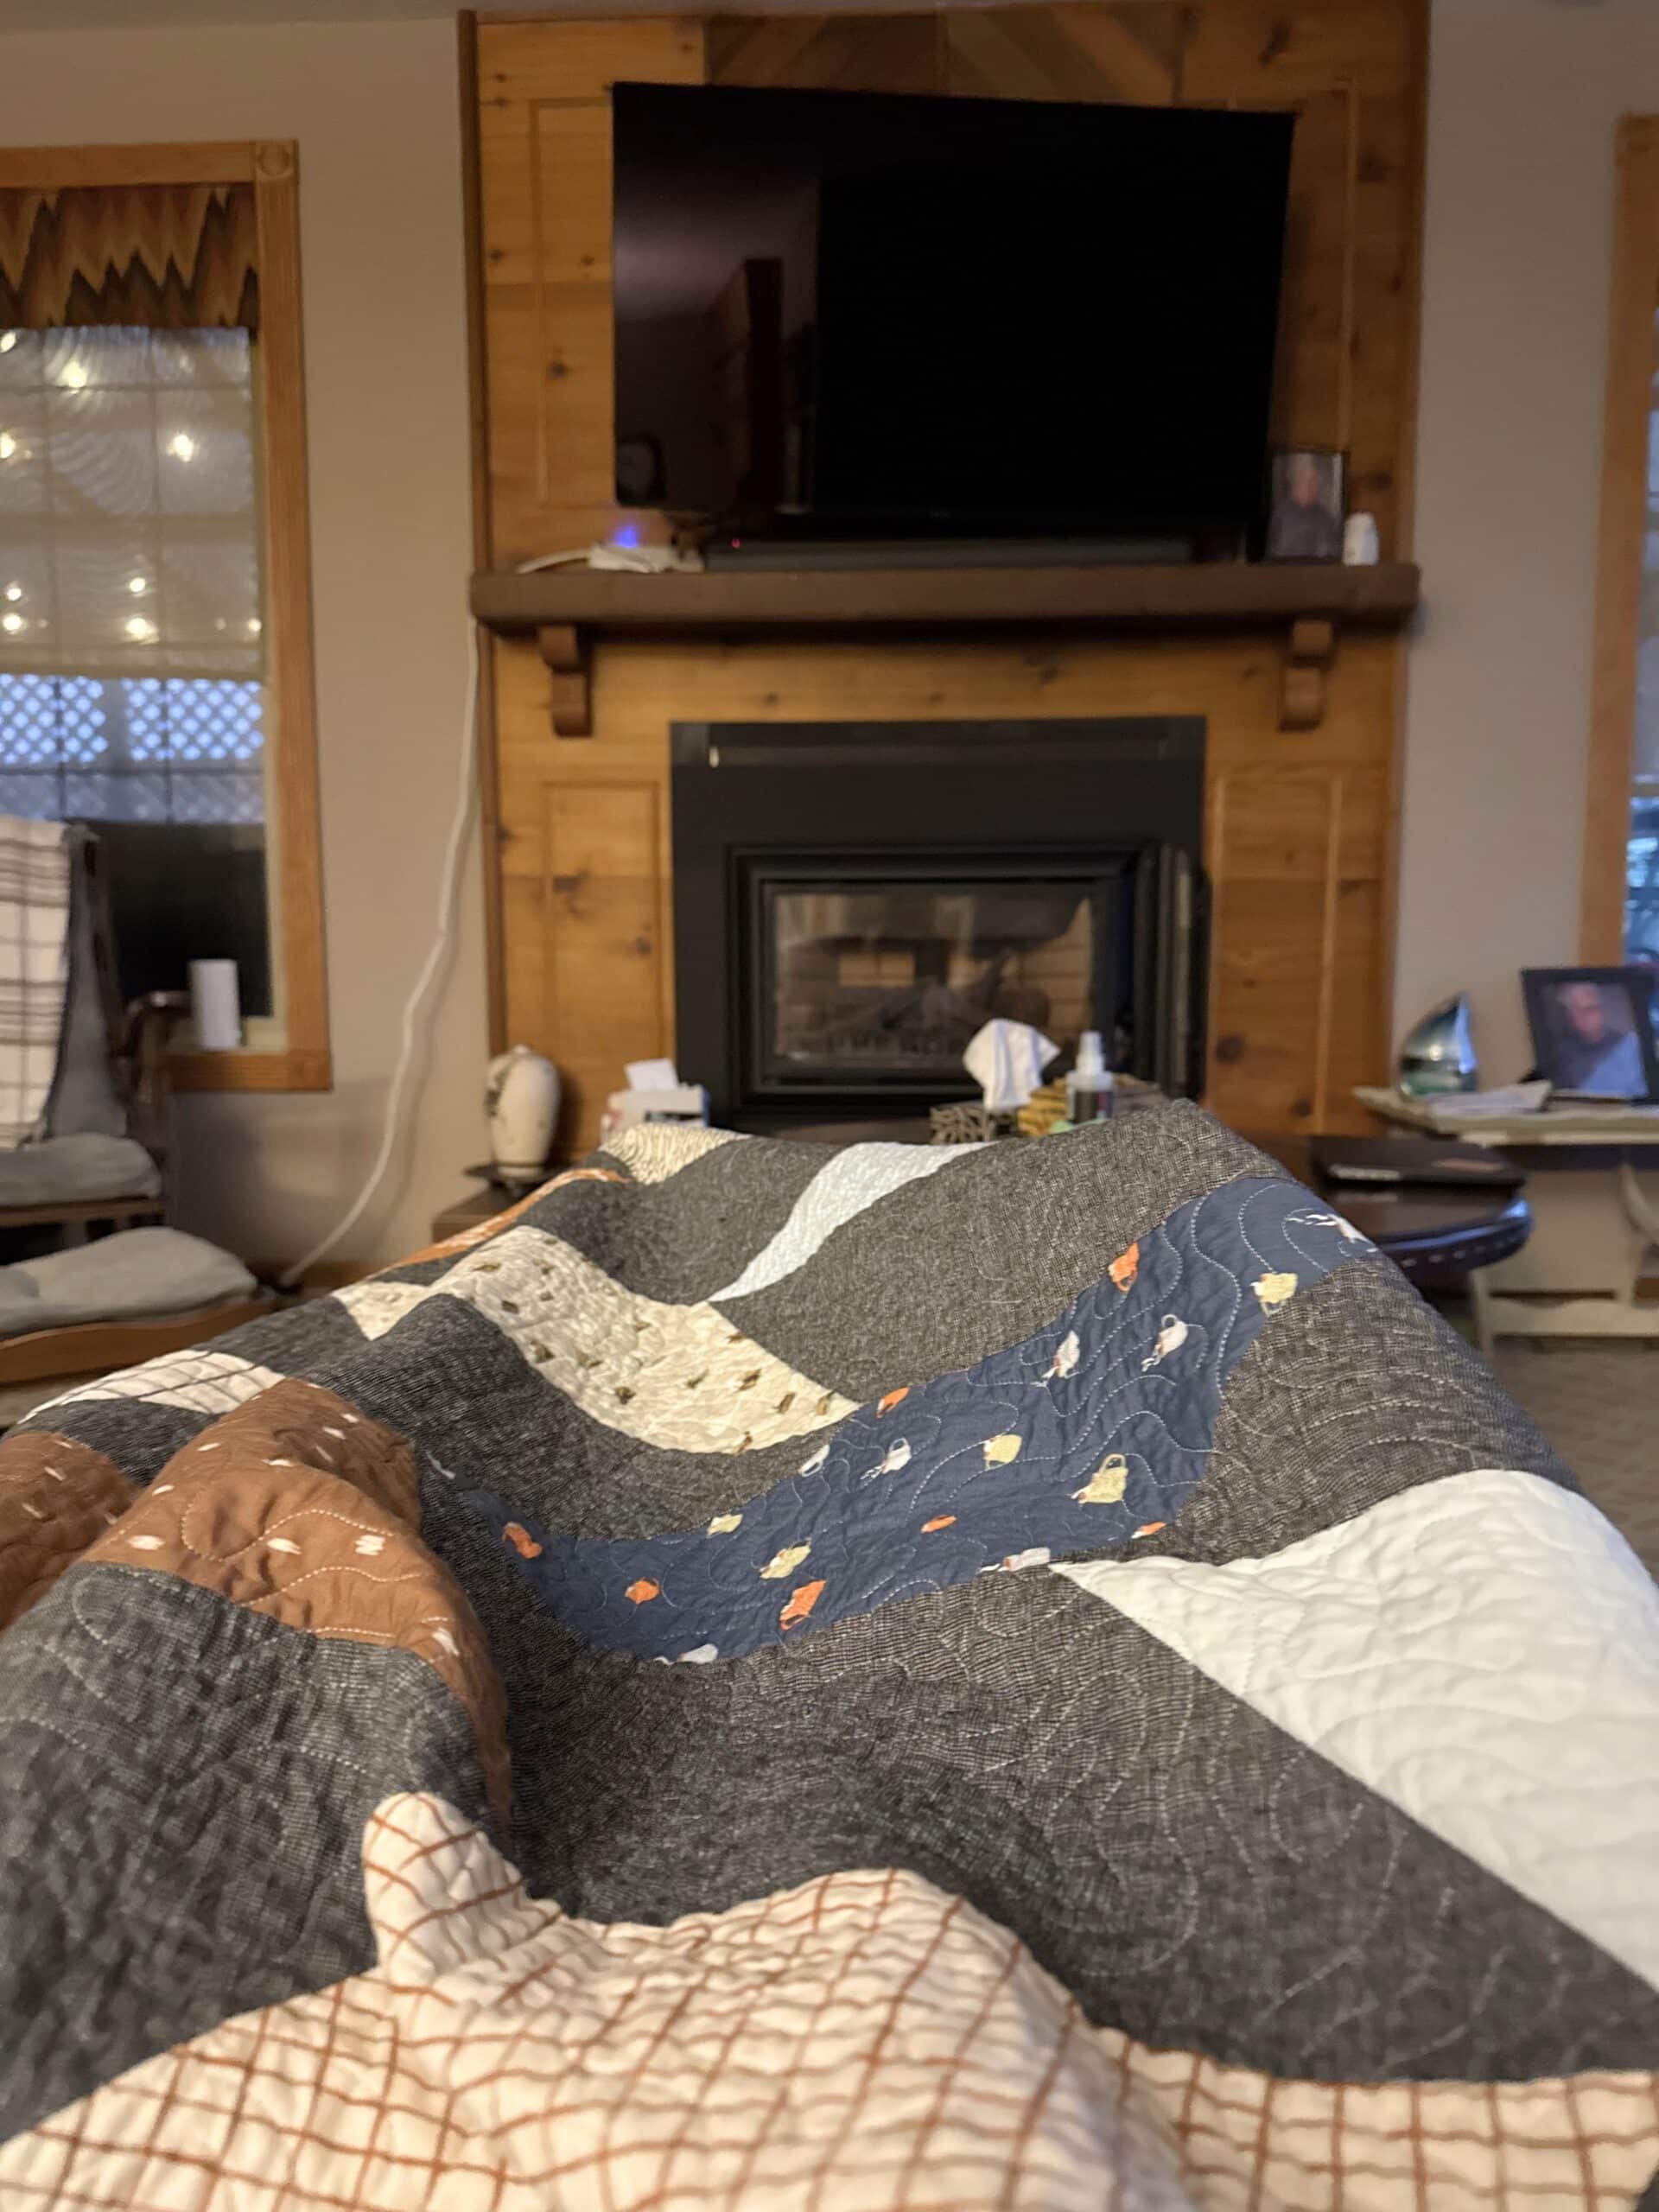
Later that evening (after we had returned home), he sent Ian this picture of him with the quilt draped over his legs. I hope he and his quilt enjoy many naps together!


I have a generic, inexpensive stitch-in-the-ditch foot for my Juki TL machine I use for this binding technique and it works well!
Ooh, thanks for the info. It’s good to know this foot exists, although I hope I never have to stitch in the ditch with this machine again. 😆
Your Fletcher quilt is beautiful!!!
Thanks so much, Kerry! I was extra pleased with how this one turned out! ❤
I love my new napping blanket best gift ever!
Troy!! I never in a million years thought that you would read this blog post. 😂
But I’m glad you like your quilt so much! ❤
Wow, love the picture of Troy using the quilt. That is the best thank you ever!
Thanks Lori, I agree! I was so delighted when Ian showed me the picture – I was like “send me that immediately!” 💌