

Why I made this
I love a good tote bag - they’re just so darn PRACTICAL, which is my love language. And the Altoona Tote is one of the most practical items I own!
I suppose it’s because I have a lot of stuff to haul around. Whether I’m travelling to a retreat, doing the groceries, heading to the post office, or just making a trip to town, it seems like I’m always lugging stuff with me. Can you relate?


Why Altoona?
Why did I name it the Altoona Tote?
Altoona, WI is the name of the town where I attend a quilting retreat twice a year. It's where I learned to make bags while surrounded by helpful, interesting, intelligent women who encouraged me to try designing patterns. They literally changed my life.
More recently, it's where this specific pattern was developed. With each step in the journey, I consulted my friends and asked their opinions about features, sizes, and styles. I incorporated their feedback and came up with this adorable and practical bag.
In short: this bag would not exist without Altoona and its twice-yearly visitors. I couldn't think of a more perfect name for this specific pattern!
Also? I really like the double "t" sound with toona and tote. My friend Meg tells me this is a real thing, and that I should indeed be pleased with it. 👍

Sizes
The Altoona Tote pattern includes directions to make it in three different sizes (because who doesn’t like variety!?)

The Large measures 18"W x 10"D x 15"H and is a great size for taking to the beach or for carrying large (but lightweight) items. It will swallow up six towels and have room to spare, or you can stuff two standard size pillows in there (with a bit of smooshing).
The Medium measures 14"W x 8"D x 12"H and is perfect for your everyday running around. I recently brought a Medium bag to a quilt show and had plenty of room for all the fabric, notions, and fabric that I purchased.
The Mini measures 10"W x 6"D x 6"H and is ADORABLE. I mostly use mine for storing / displaying fat quarters, but it would also make a great Easter basket.

Skill Requirements
The Altoona Tote is perfect for beginner bag makers. It’s a simple but beautiful design that doesn’t use any complicated techniques (such as sewing around curves), and uses skills that will be very familiar to quilters.
The inside of the bag is smooth and adornment-free which makes it even easier for beginners.
Never made a bag before? Start here and I promise you’ll be hooked!

Fabric Requirements
Since a lot of prints that would be perfect for a tote bag are directional, I made sure to include fabric requirements for both directional and non-directional fabric. No need for guessing games!
I love that the Mini comes together with two fat quarters and a half yard of fabric - something that you probably already have in your stash!

Supply Requirements
On top of the fabric, you’ll also need some stabilizer (I love and use Soft and Stable® exclusively) and webbing to complete this project.
I love that the supply list is simple and doesn’t contain any hardware or zippers - we kept it really streamlined with this pattern!

* A ½ yd package of Soft and Stable® (18" x 58") makes:
- Two (2) Mini Altoona Totes
**A 1 yd package of Soft and Stable® (36" x 58") makes:
- One (1) Large, or
- Two (2) Mediums, or
- One (1) Medium and two (2) Minis, or
- Five (5) Mini Altoona Totes
A 2 yd package of Soft and Stable® (72" x 58") makes:
- Two (2) Larges and one (1) Medium, or
- Two (2) Larges and two (2) Minis, or
- One(1) Large and three (3) Mediums, or
- One (1) Large, one (1) Medium, and four (4) Minis, or
- Four (4) Mediums, or
- Eleven (11) Mini Altoona Totes
Polypro webbing vs decorative webbing
After I launched the pattern, I received SO MANY questions about the handles. Everyone wanted to know how I had made them, and what the heck polypro webbing was. I guess I’d better go over that information here!
The Altoona Tote provides directions for making your handles using two different ways:
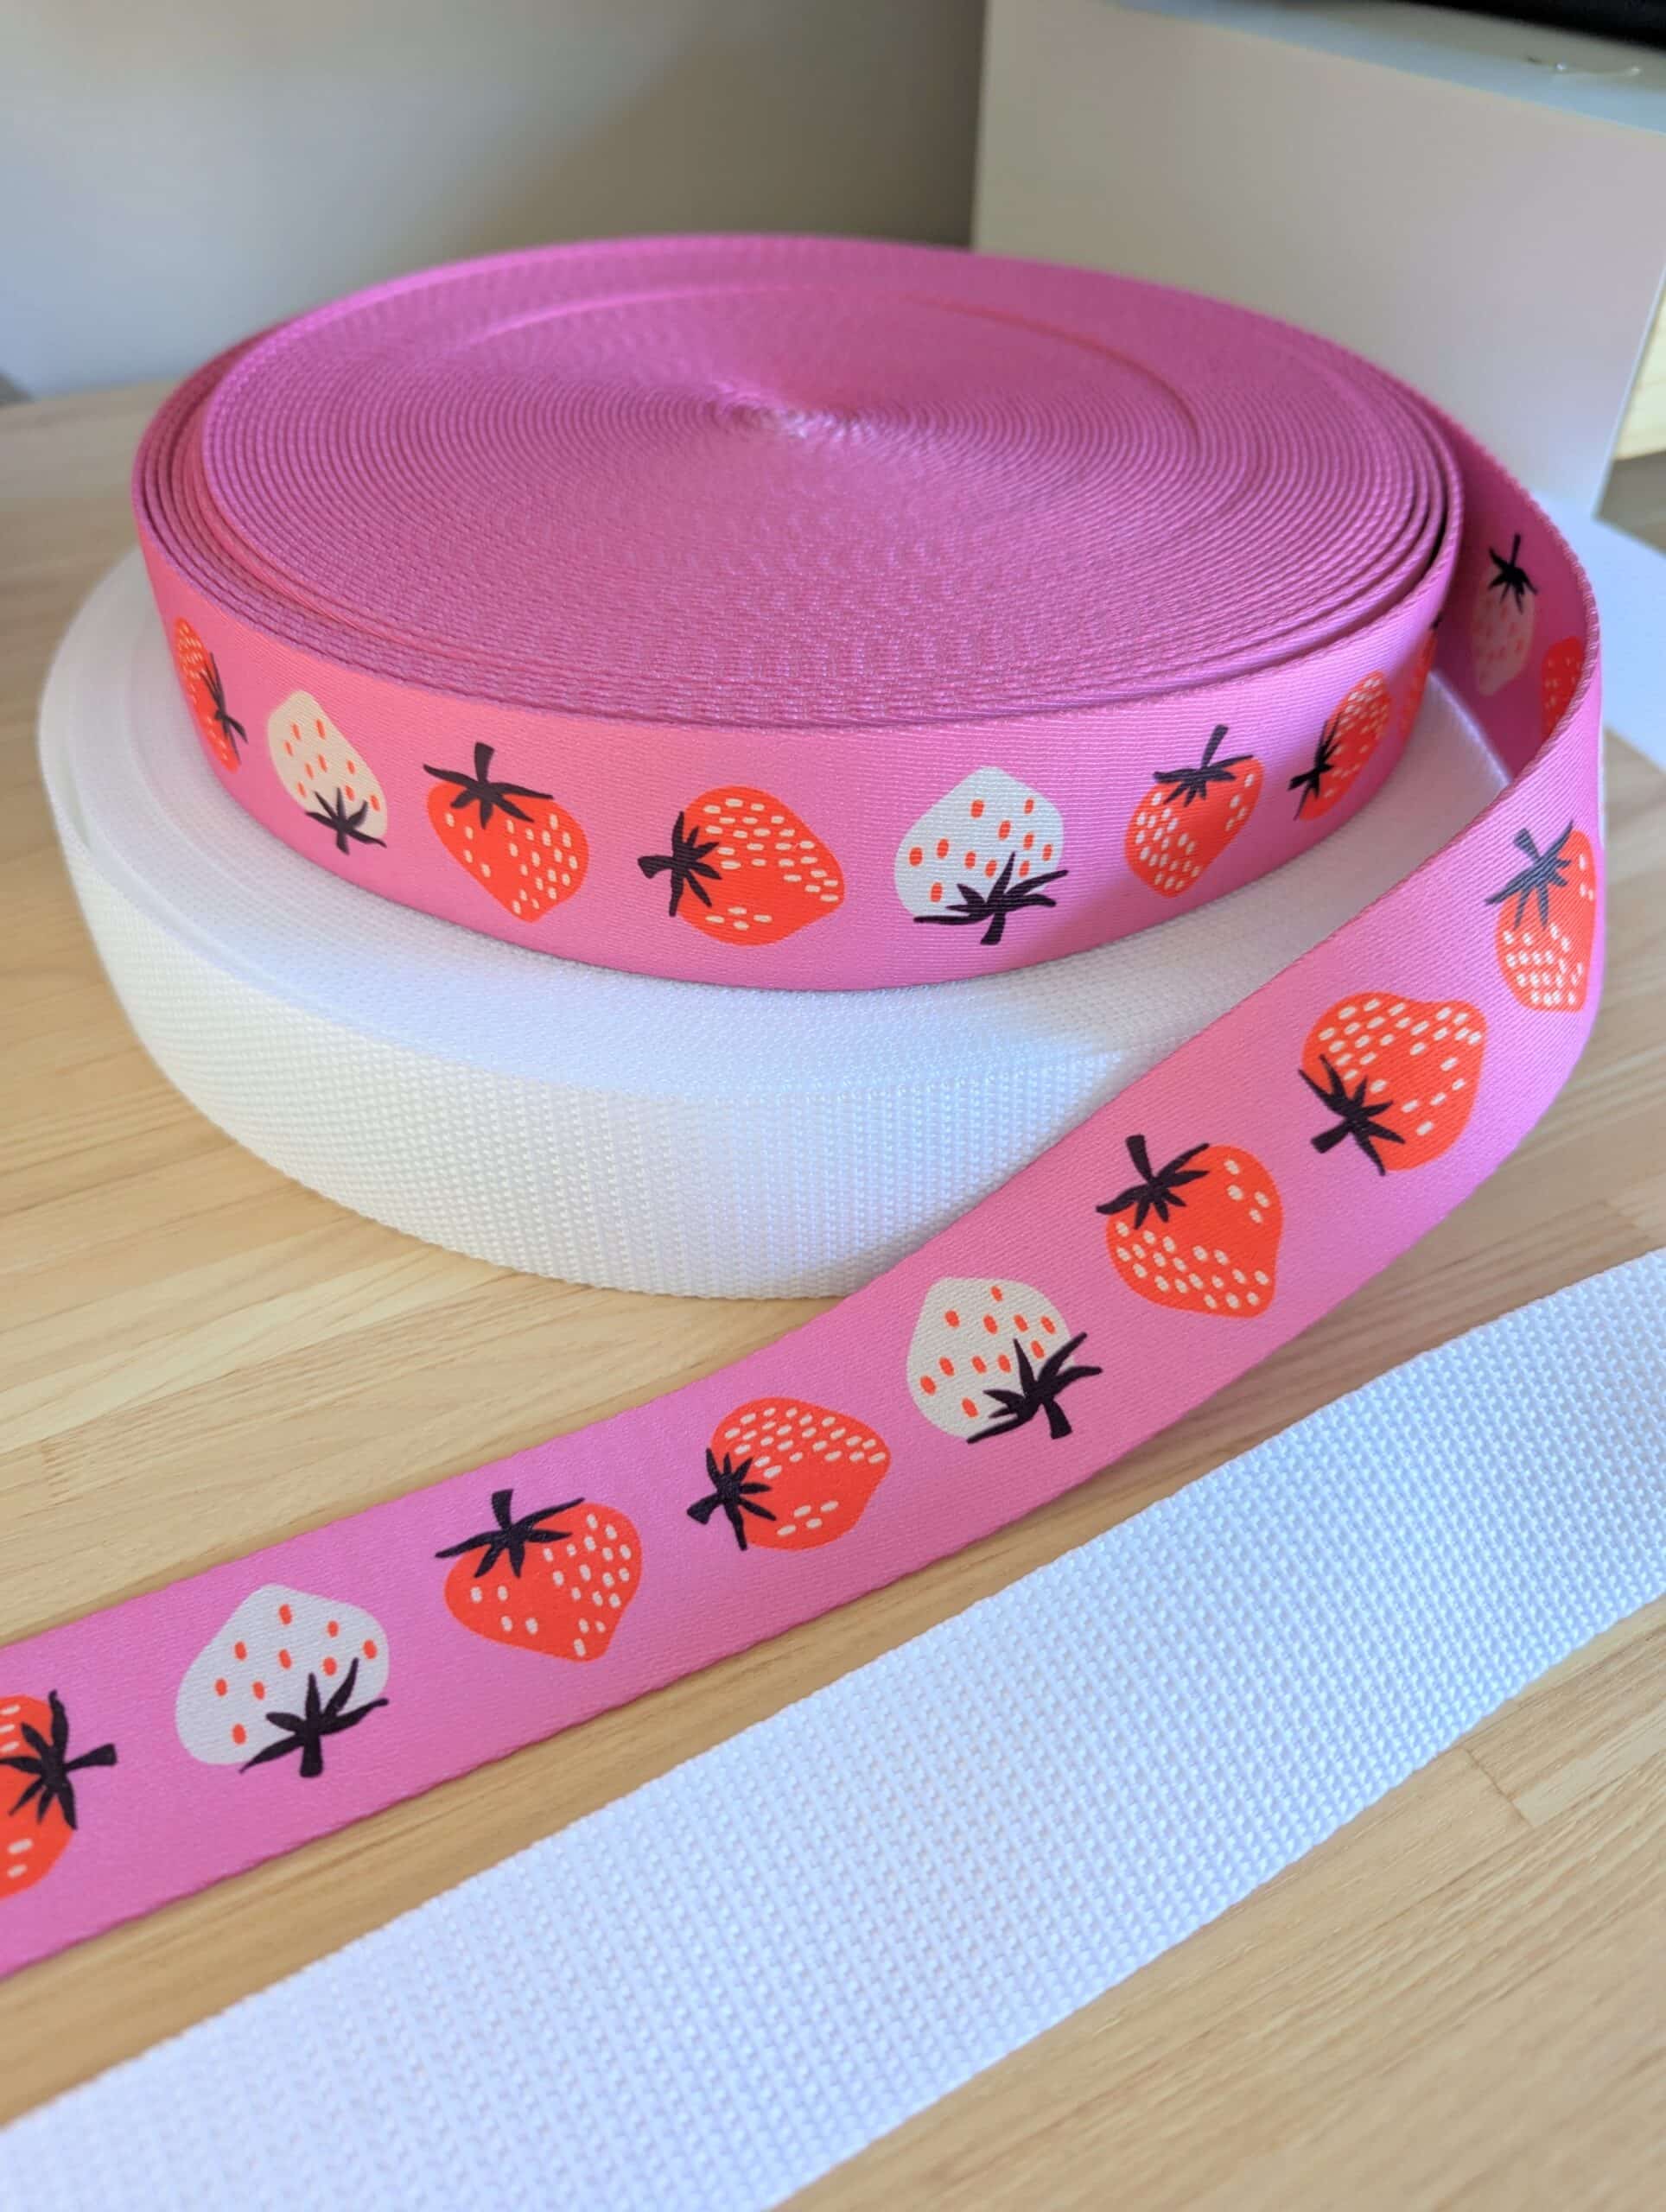
1 - Using decorative webbing (such as these cute strawberries from Ruby Star Society). This type of webbing is pretty and already finished - all you have to do is sew it into your project and voilà, you’re all set!
2 - Using polypro webbing. This type of webbing is utilitarian - it’s strong yet pliable, but isn’t much to look at. It’s meant to be covered in fabric before you sew the webbing into your project. And while it does add a few extra steps to the process, it can be really fun to incorporate more of your favourite prints into your bag.
The choice is yours!
Suggested tools

In addition to the fabric and supplies, you’ll probably want to have a few tools handy. Here’s what I like to use when making bags:
Creative Grids 12 1/2" x 24 1/2" Ruler
Olfa 24" x 36" Self-healing Cutting Mat
Size 90/14 Denim sewing machine needle
Tube Turner (if covering polypro webbing with fabric)
And of course I like to stitch the whole thing together using my trusty Juki sewing machine. I find it sews through the layers of this project with ease.
Juki TL-2010Q Sewing Machine
Need some help?
If you’re feeling daunted by this project, I’ve got you covered! The pattern includes step by step instructions, and I’ve created a series of YouTube videos to walk you through the process.
Let me know if you’re planning on making an Altoona Tote in the comments below!


I LOVE bag making but I’m becoming quite dissatisfied with how my current machine sews (or doesn’t) through the thicker seams. It really struggles and skips stitches and makes it all look messy – and that’s when it’s NOT just shutting down for five minutes to ‘rest’ 🙄. So I’m on the look out for a second machine (I quilt a lot and I like my current machine for quilting) and it just so happens that the Juki 2010Q is one of machines I’ve been looking into. I’m going to look around your blog to see if you’ve posted anything about how your machine handles thicker seams.
In the meantime – I’m planning my fabric choices and can’t wait to whip up one or two (or way more) of these bags!!!
Hi Melanie! I’m so glad you found this post and that you mentioned the Juki TL 2010Q. I LOVE this machine for bag making! It sews through thick seams like a BEAST, and when I use a size 90/14 needle, I have no skipped stitches. It’s a game-changer, I swear!
I’ve also created some YouTube content about my *undying* love for this machine – you can see the playlist here: https://www.youtube.com/playlist?list=PLbZZoUcav3taF7OOlogxRyBGPYi9HZiaW
Happy sewing!
Hi Shelly! Long time reader/follower, first time caller!
Would this pattern work well with pre-quilted material? It wouldn’t have the soft and stable, and I know that’s your go to!
Thanks!
Hi Sherry!
Using pre-quilted fabric would be a huge time saver, but I’d be worried about the floppiness of the end product. I should say that I’ve never made any Altoona Totes with batting, but I picture them slumping over and it being frustrating when you try to actually put things inside them.
Let me know if you try it and if you like it!