
Want to make your own Twinkle quilt? You can find the pattern here.
Project Inspiration
Ever since I saw Emily’s Twinkle quilt, I knew that I wanted to make a similar project. I loved her colours, the fun use of scale between the small and large stars, and the fact that she had made the entire thing from her scrap bins.

Sign me up!
Ruby Star 10 Years of Magic Panel
First things first, I knew I’d need a 10 Years of Magic Panel. I ordered mine from Birdie and Dot Fabrics in June of 2024, and it only took me another 11 months before I chopped it up and started to work on this project.
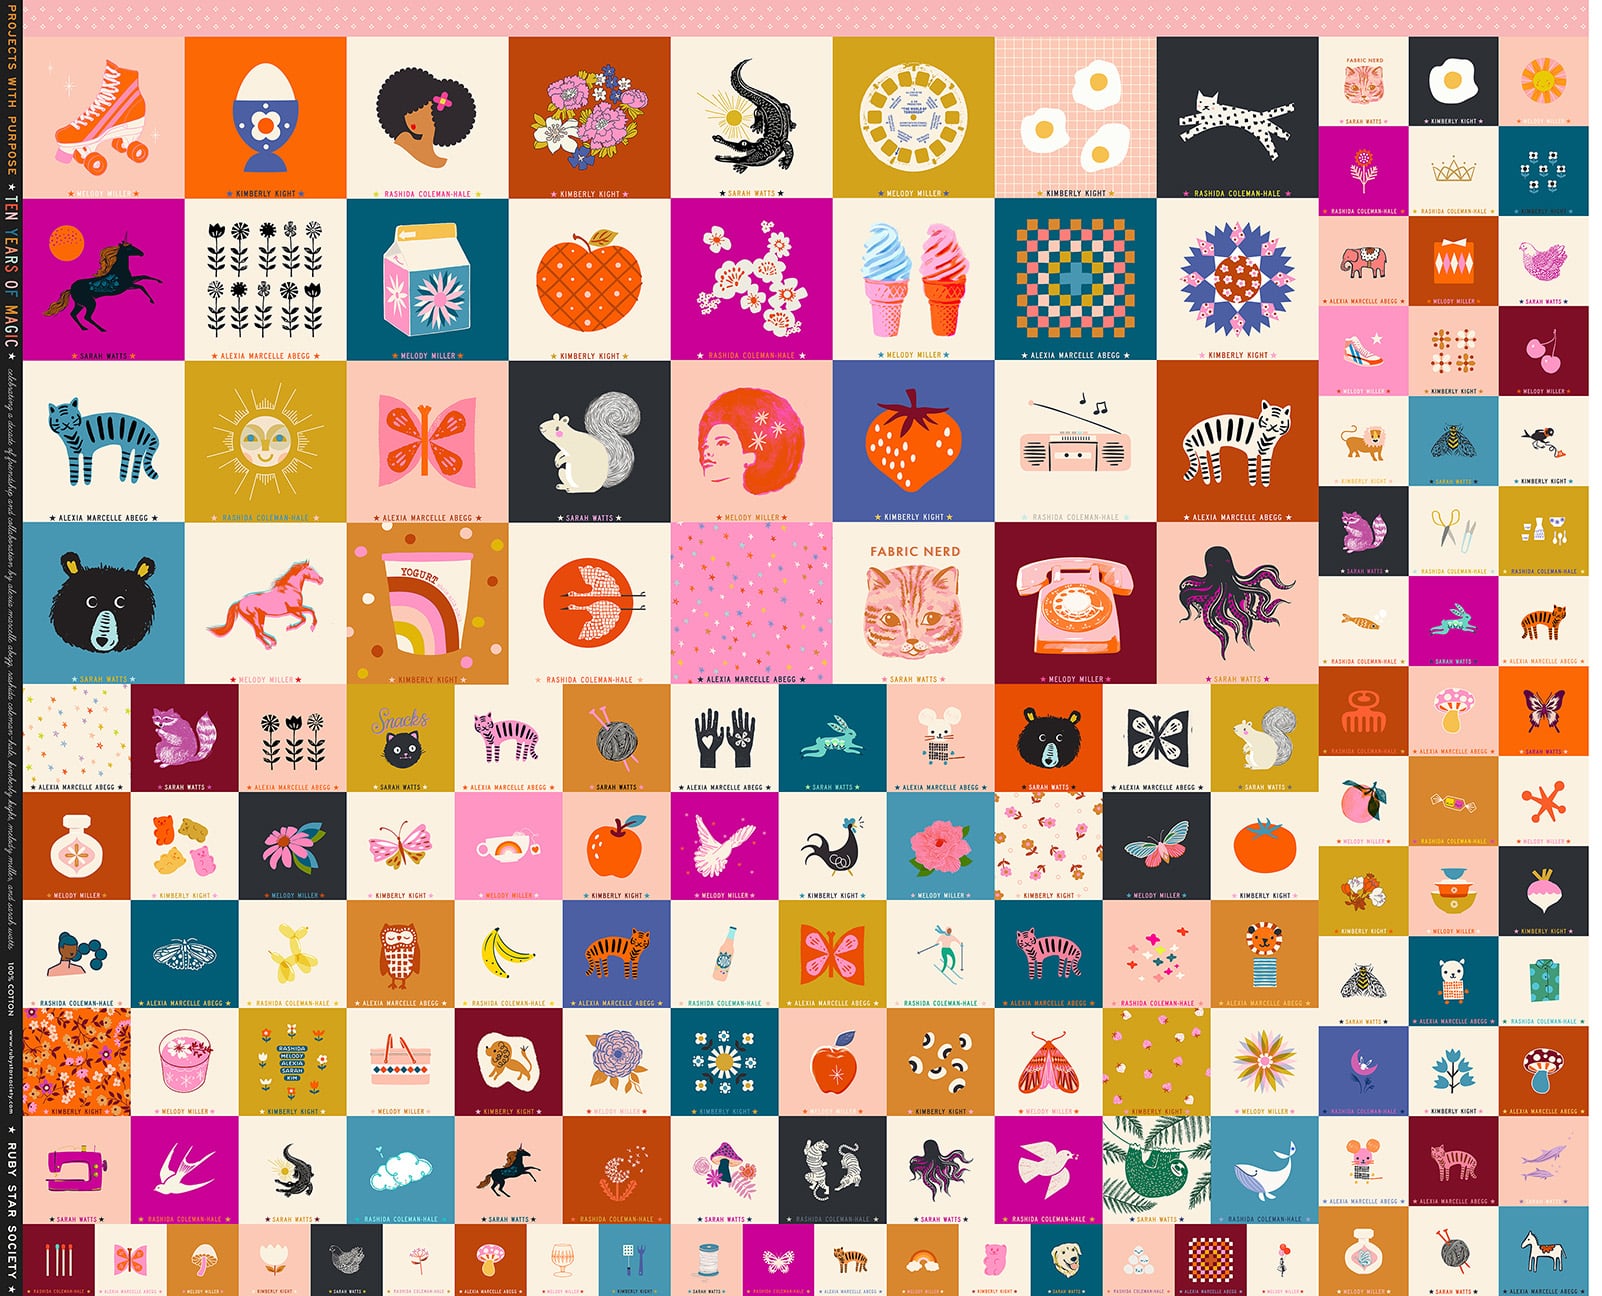
Image credit: Moda Fabrics
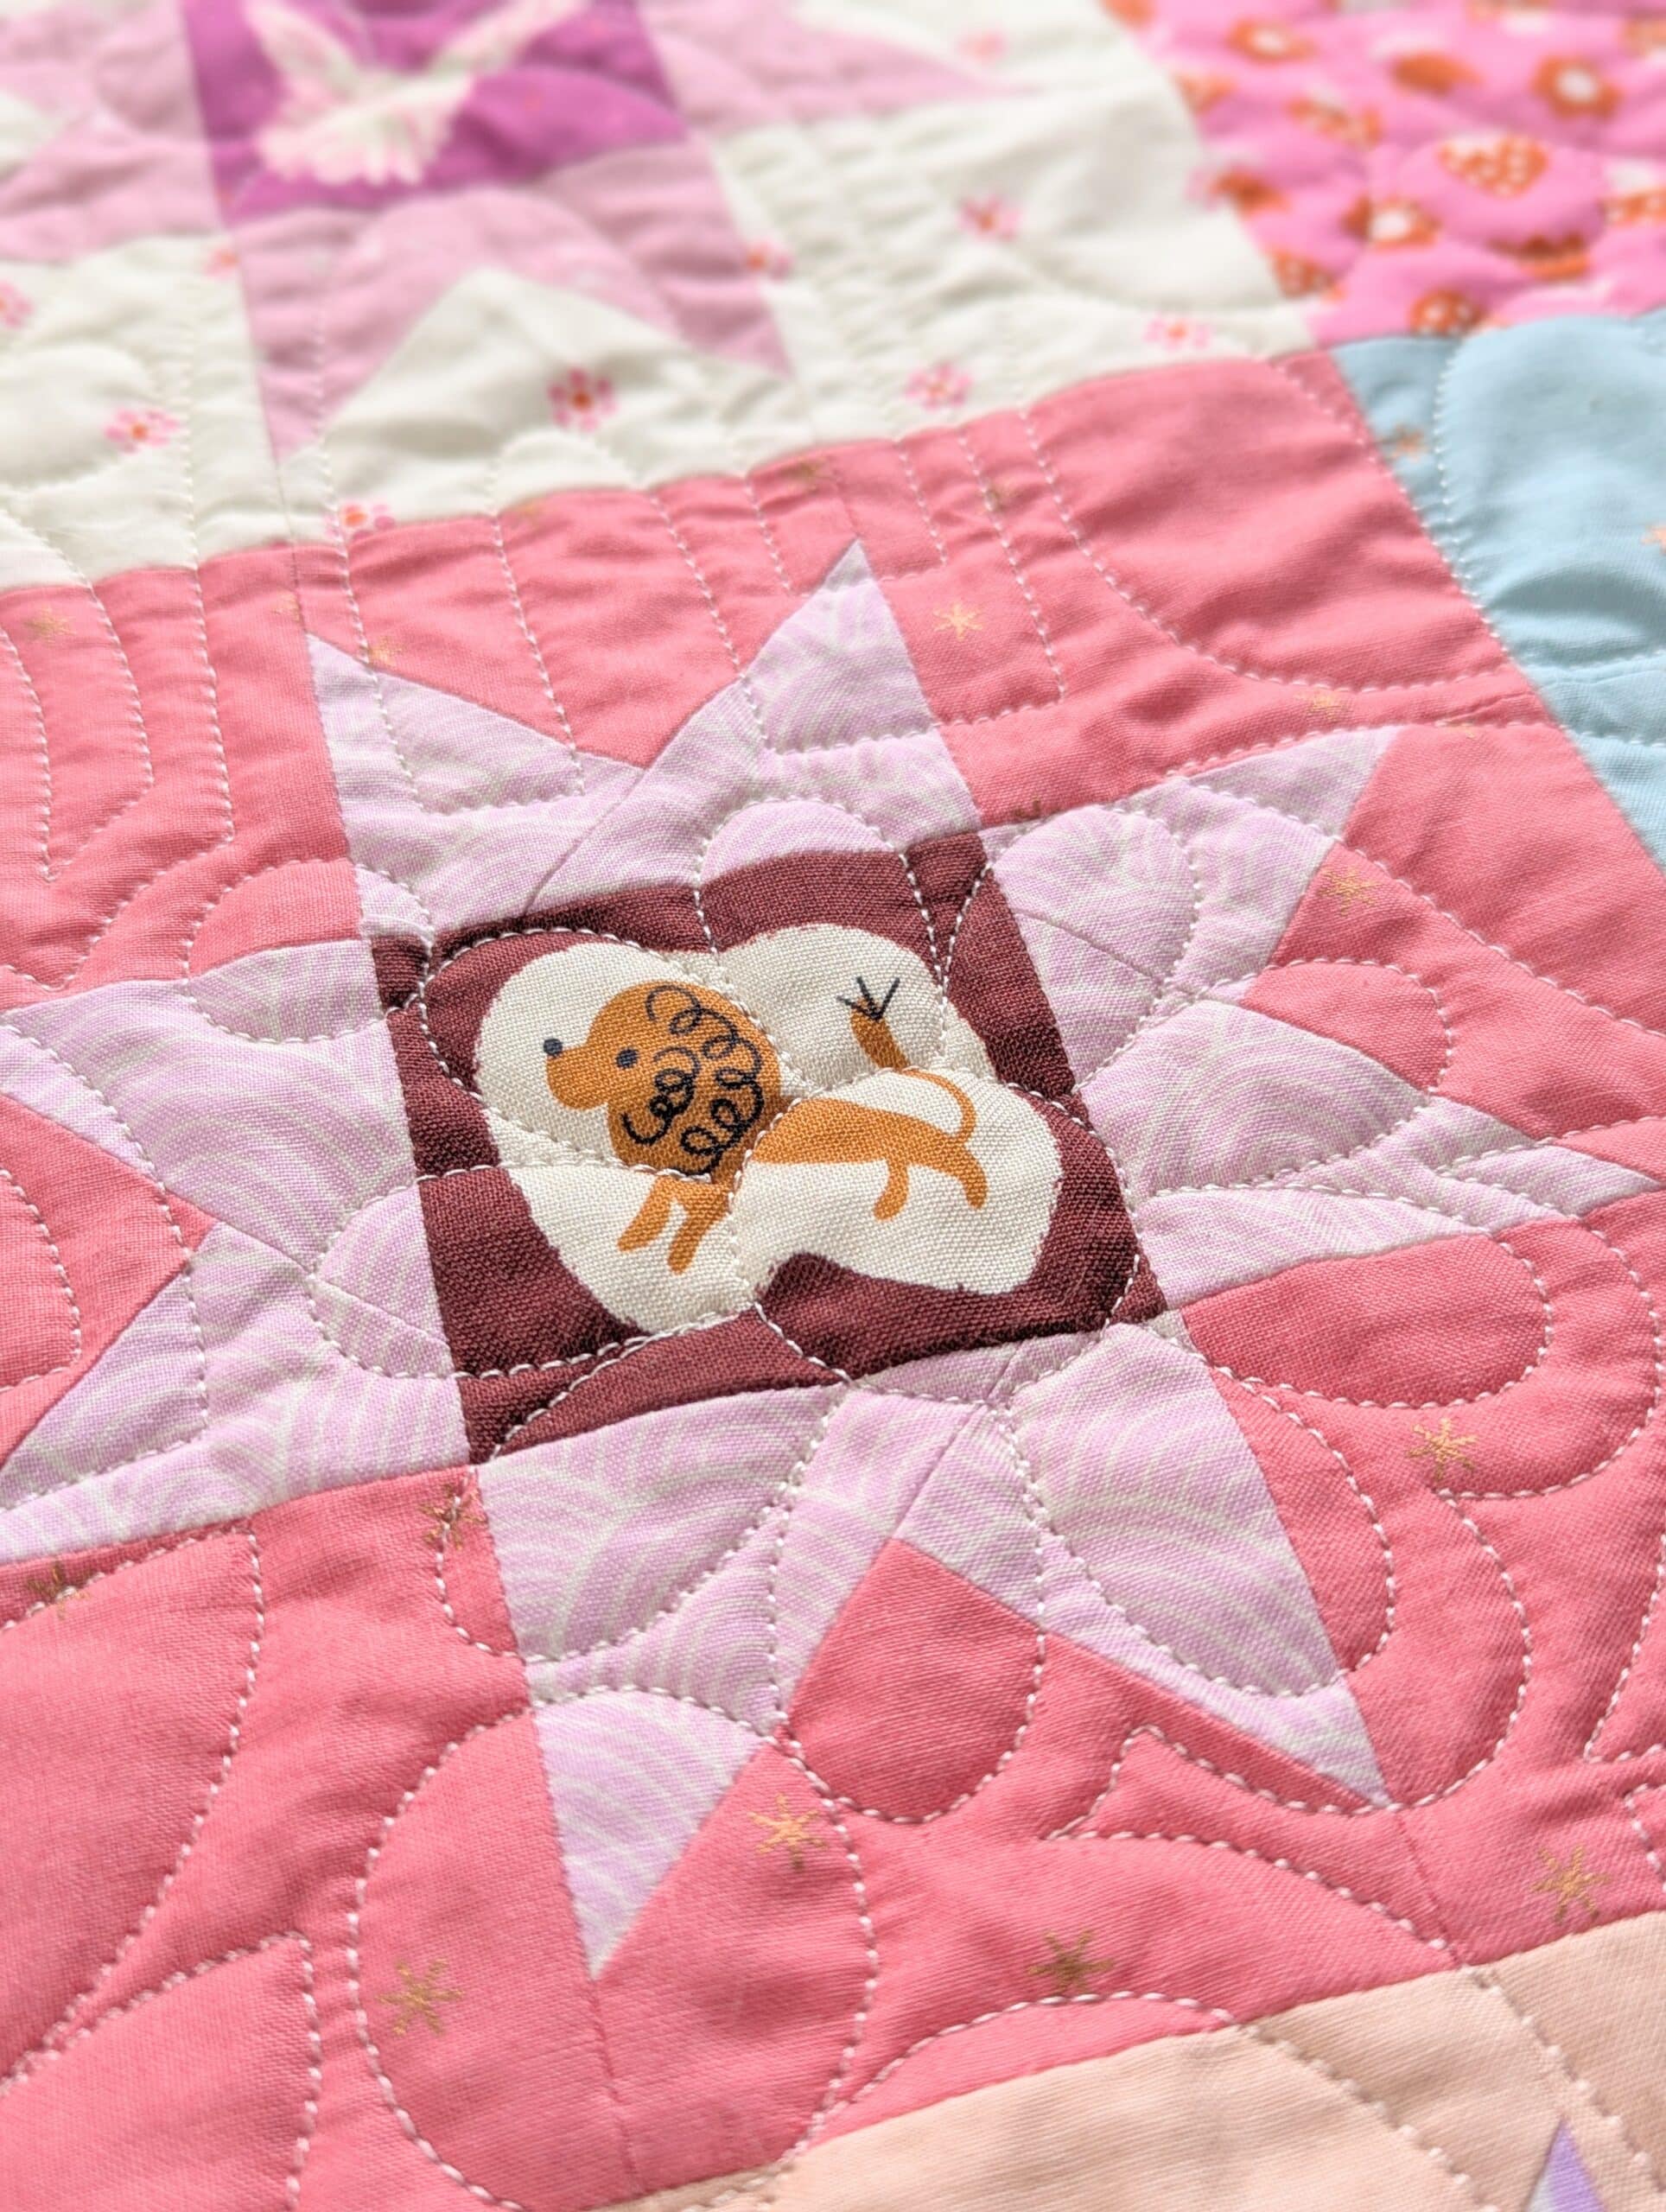
I needed 66 different motifs for the centers of my quilt blocks - 18 large, and 48 small. I cut out my favourite designs, trying to get a mix of different colours that I thought would work well for the quilt.
The designs were a little undersized for the large blocks, so I ended up cutting a bit of fabric from the next motif in order to get the correct size squares. If I want to use the remainder of my panel for a future project, I’ll need to make smaller blocks than the ones in my Twinkle quilt.
The medium motifs worked perfectly for the small blocks, and I still have some left over for other quilts (plus all the small motifs).
The panel is now out of print, but it may be possible to find it online somewhere. I wish you well with your search!
Fabric Selection
I loved the palette that Emily used for her Twinkle quilt, but when I went to pull fabric from my scrap bins, it quickly became apparent that I wouldn’t be able to recreate hers very closely.
Why? Because I have almost no green in my stash, and certainly none of the dusty, soft greens that she used in her quilt.
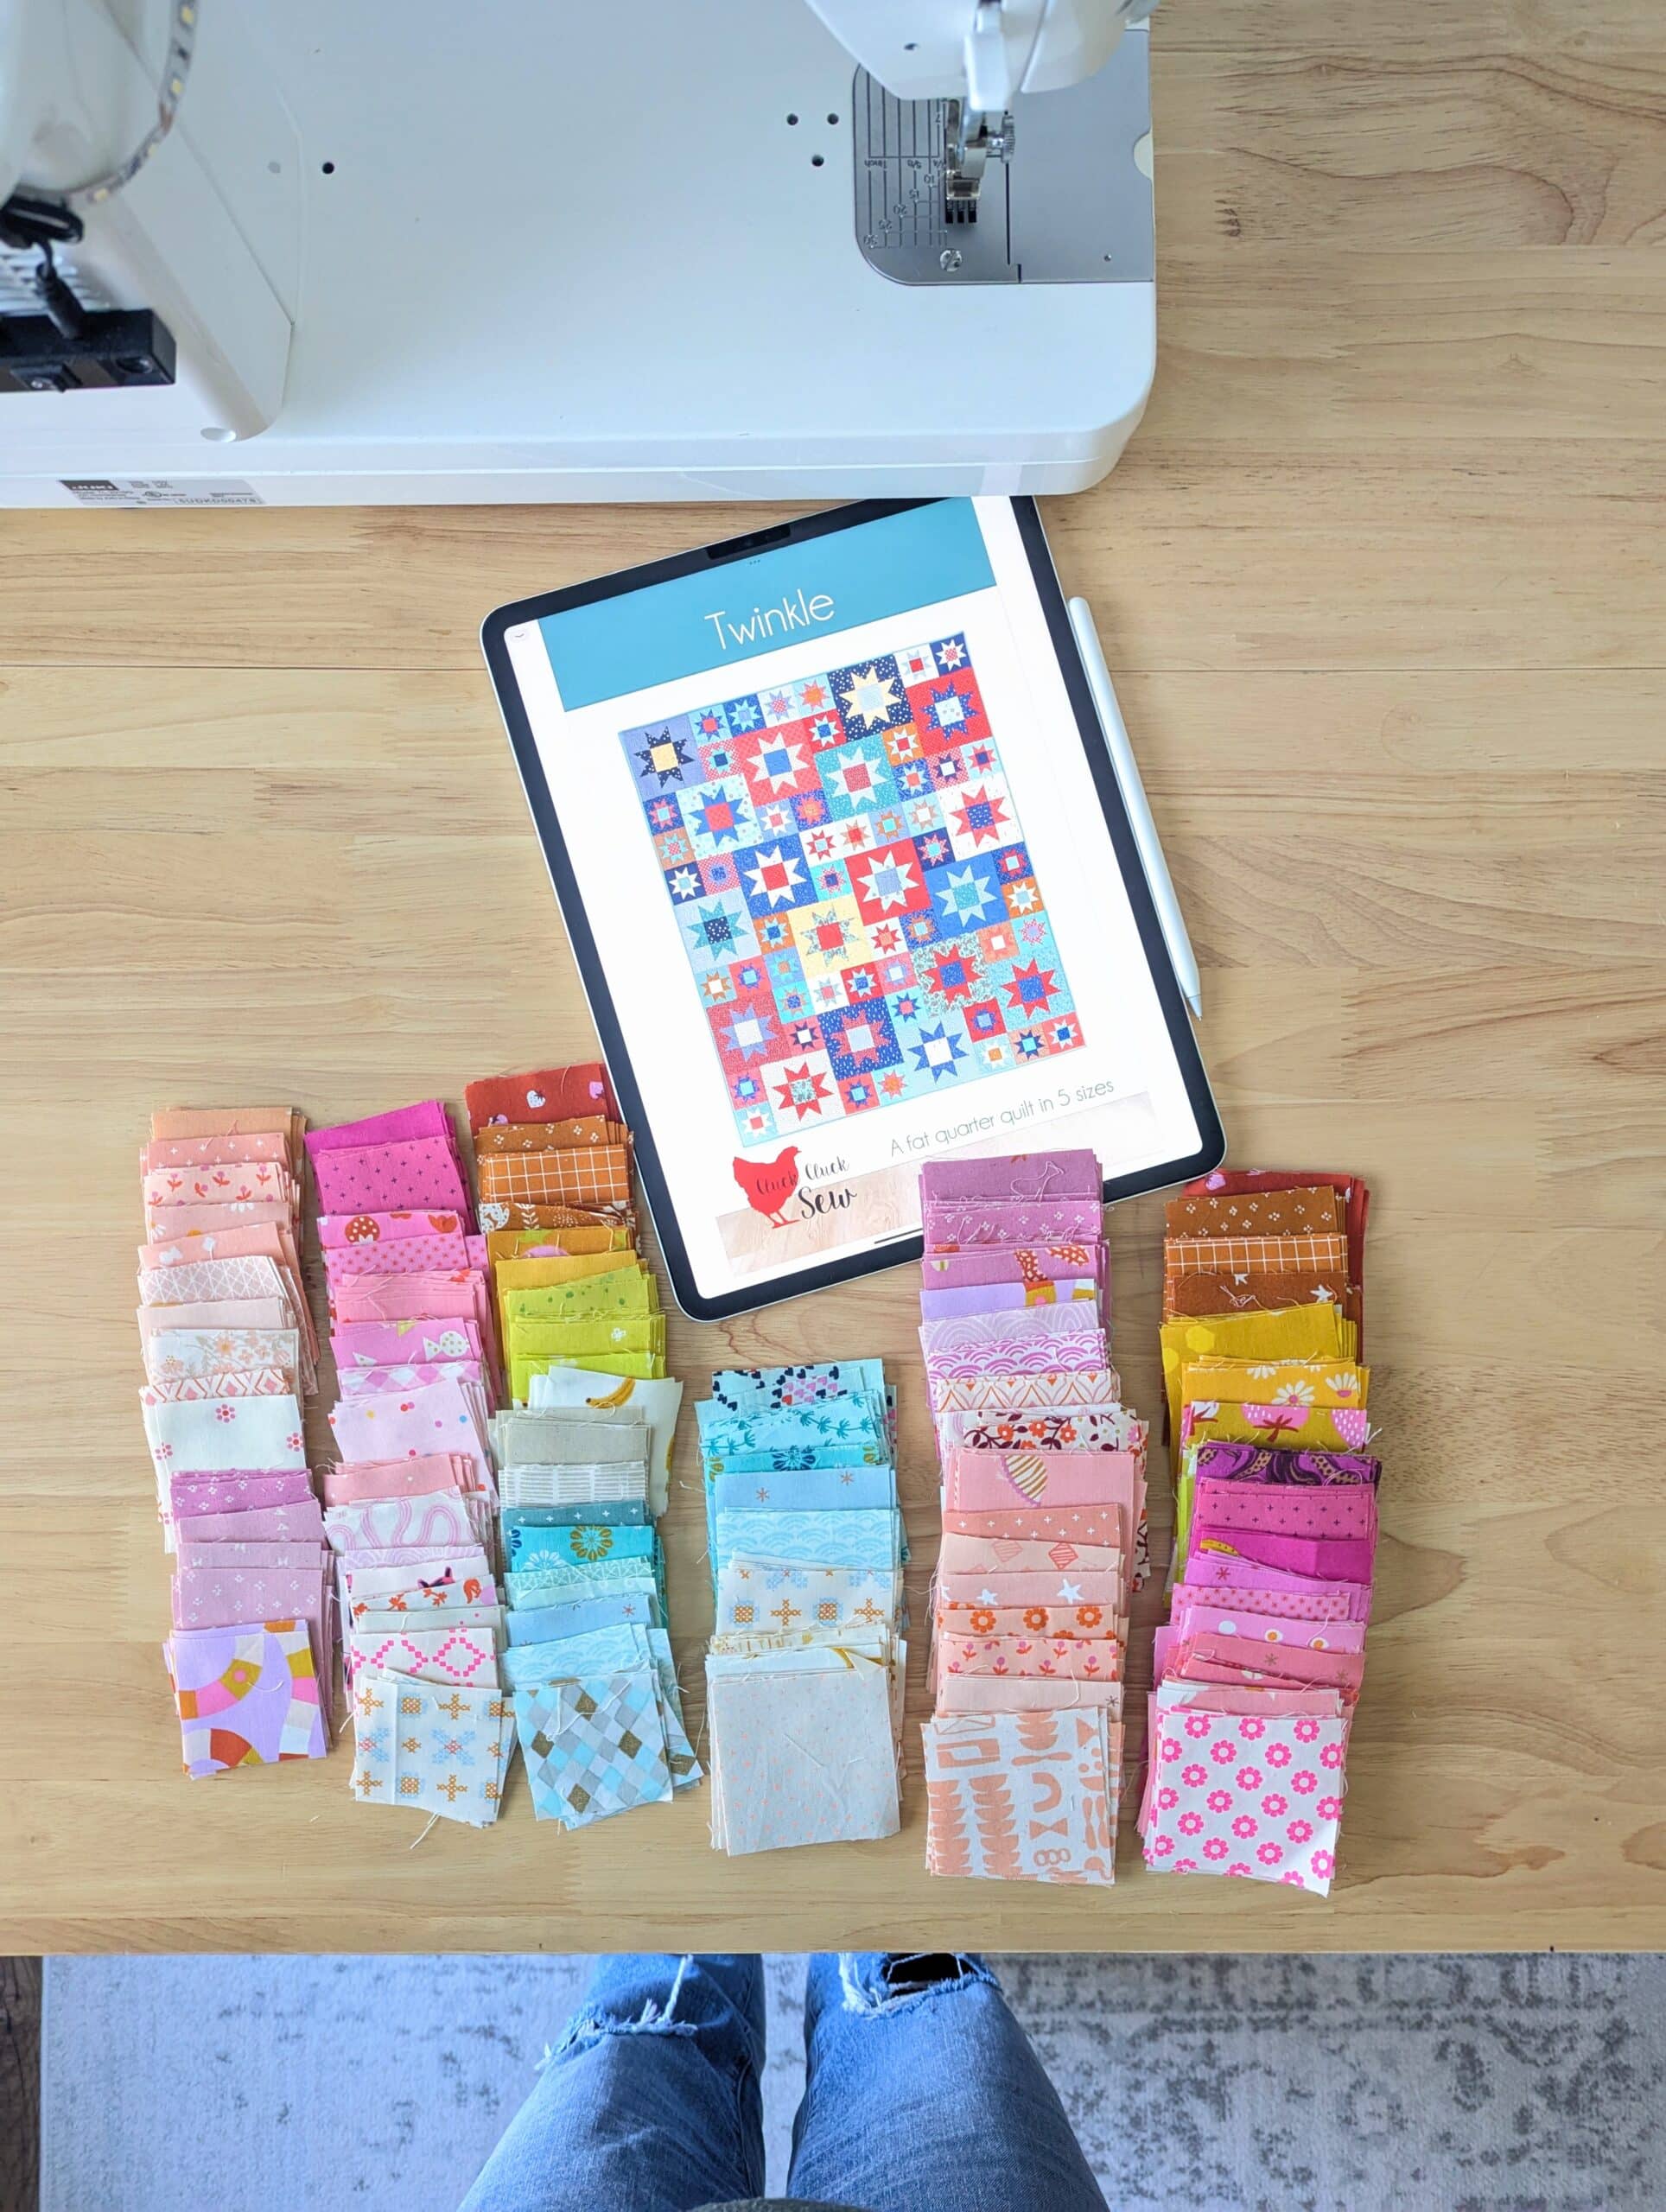
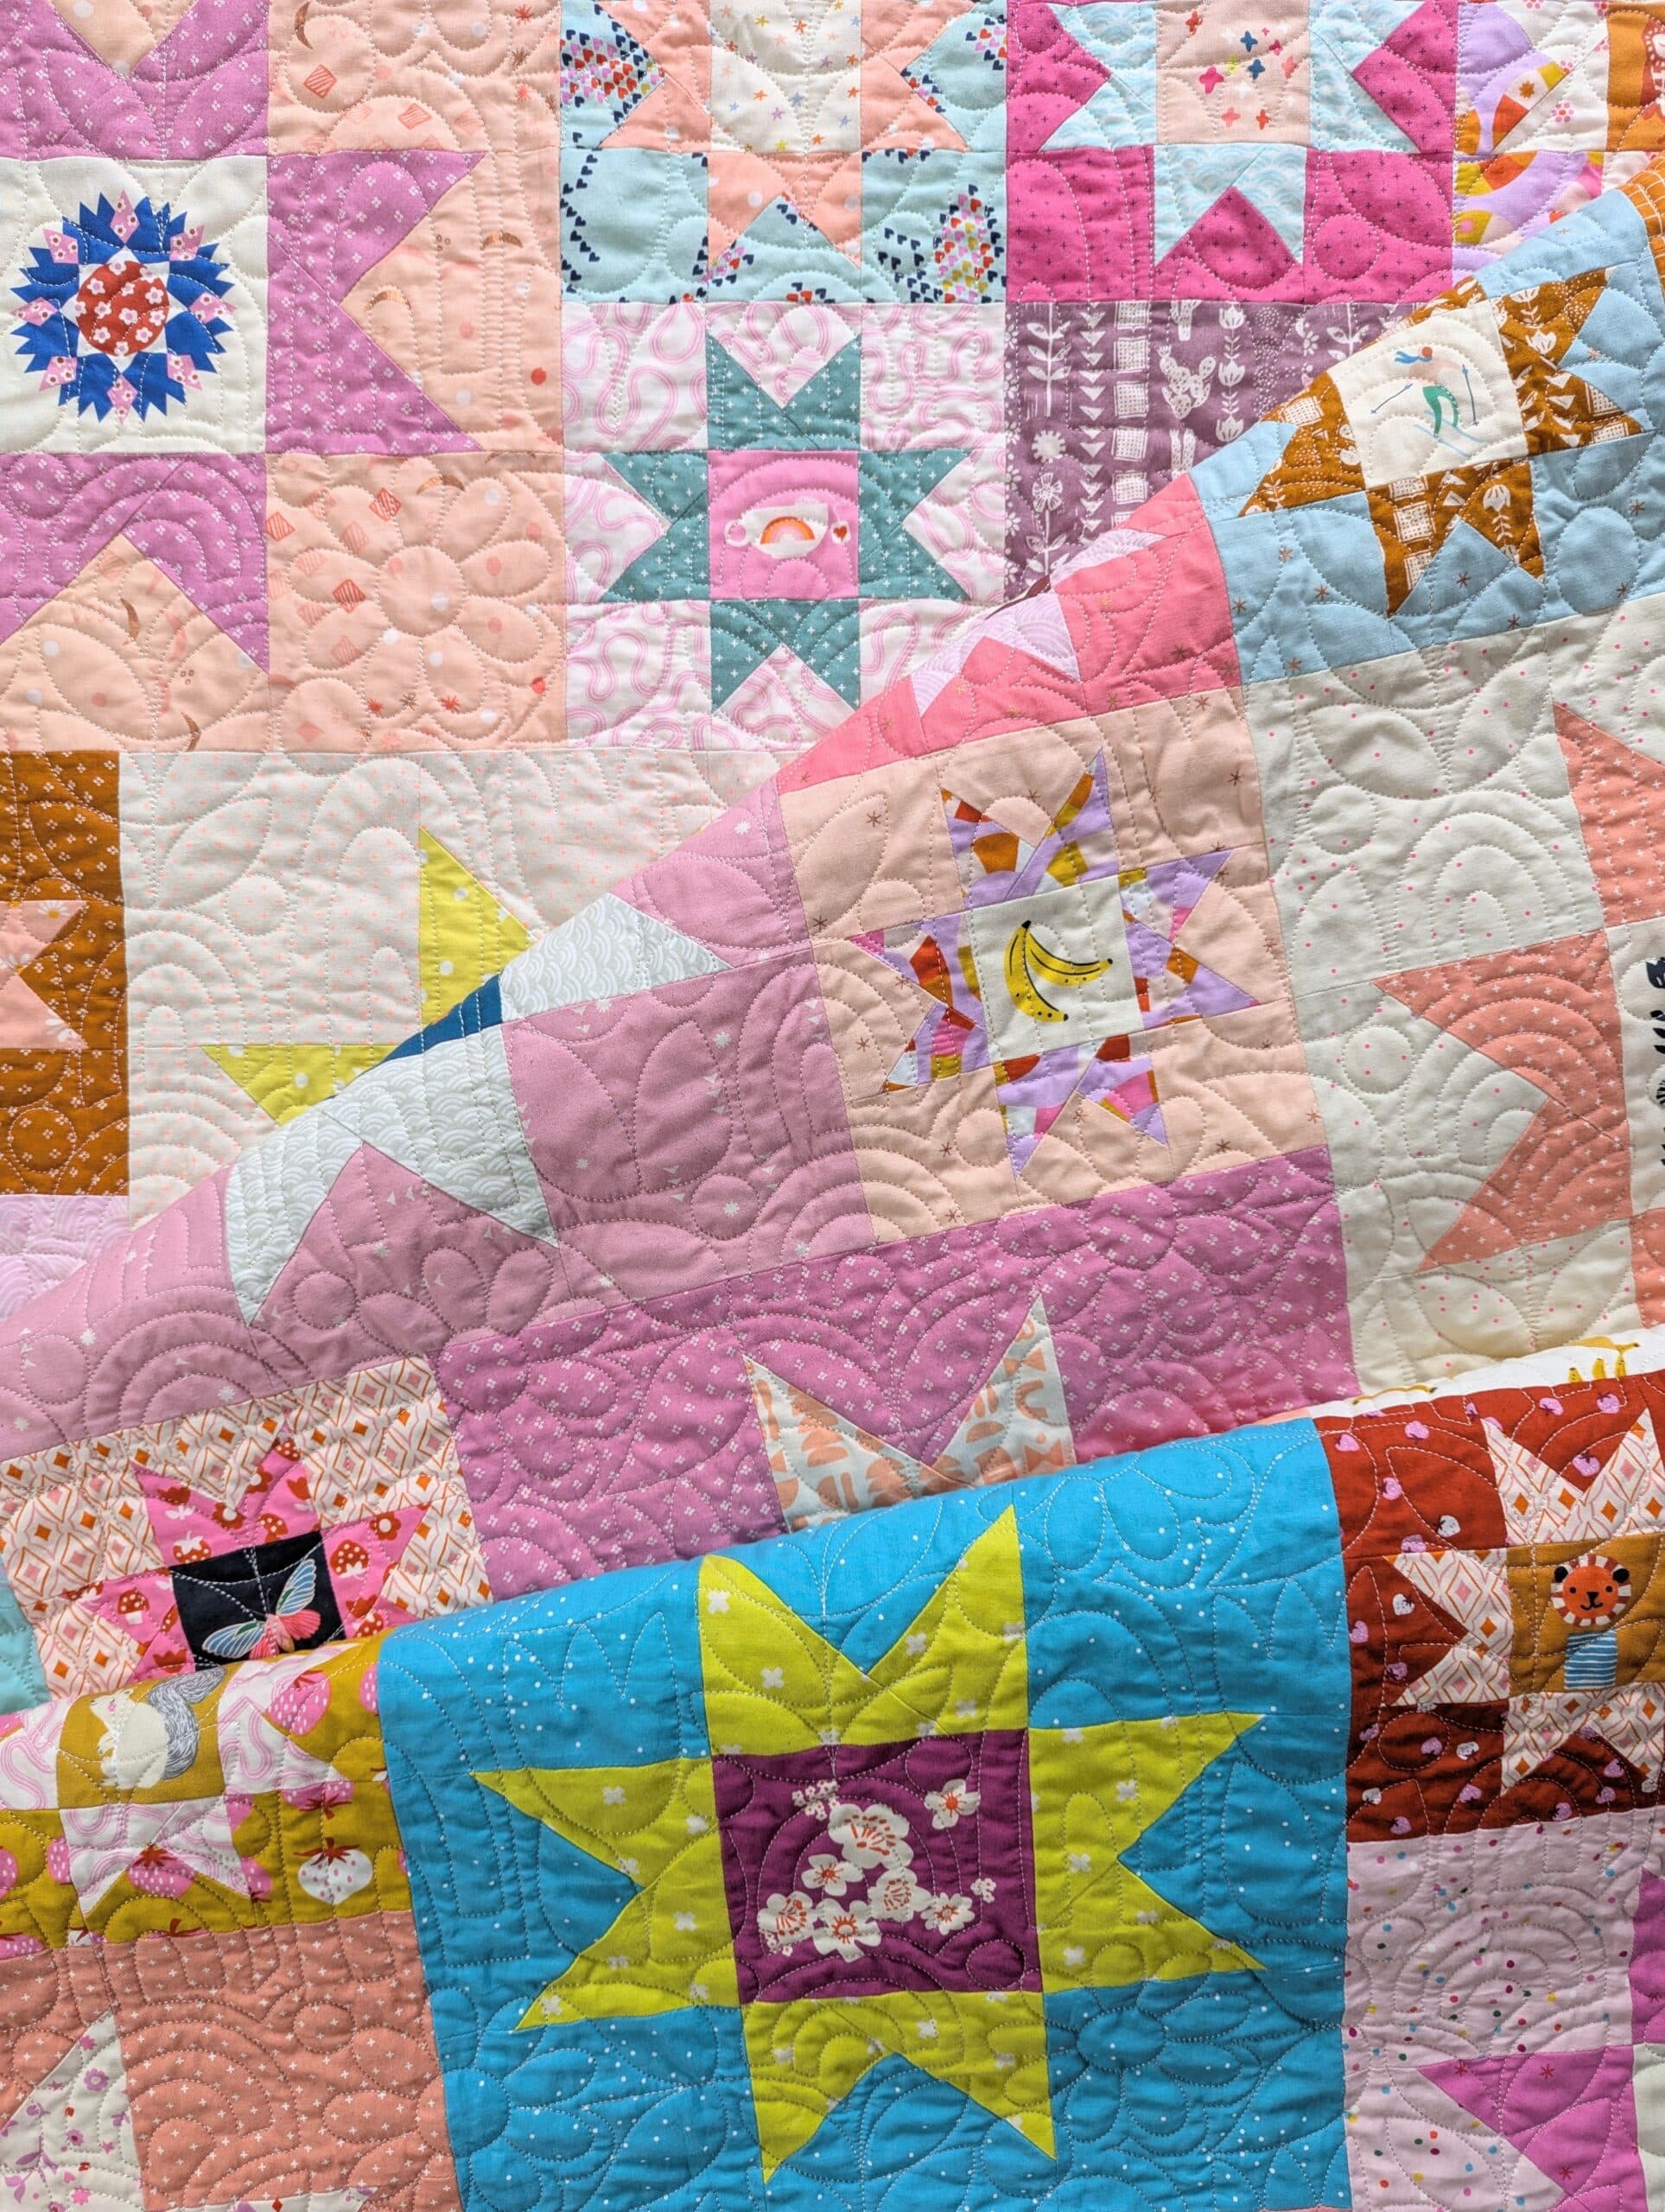
Not to worry - I still had plenty of other beautiful fabrics in my scap bins. I dumped them all out and started pulling from a few different colourways. I pulled primarily pink fabrics, and added in some cream, peach, yellow, and a small amount of blue.
When I cut out all of the required pieces, I was in love with the overall effect, and decided this was going to be one CUTE quilt!
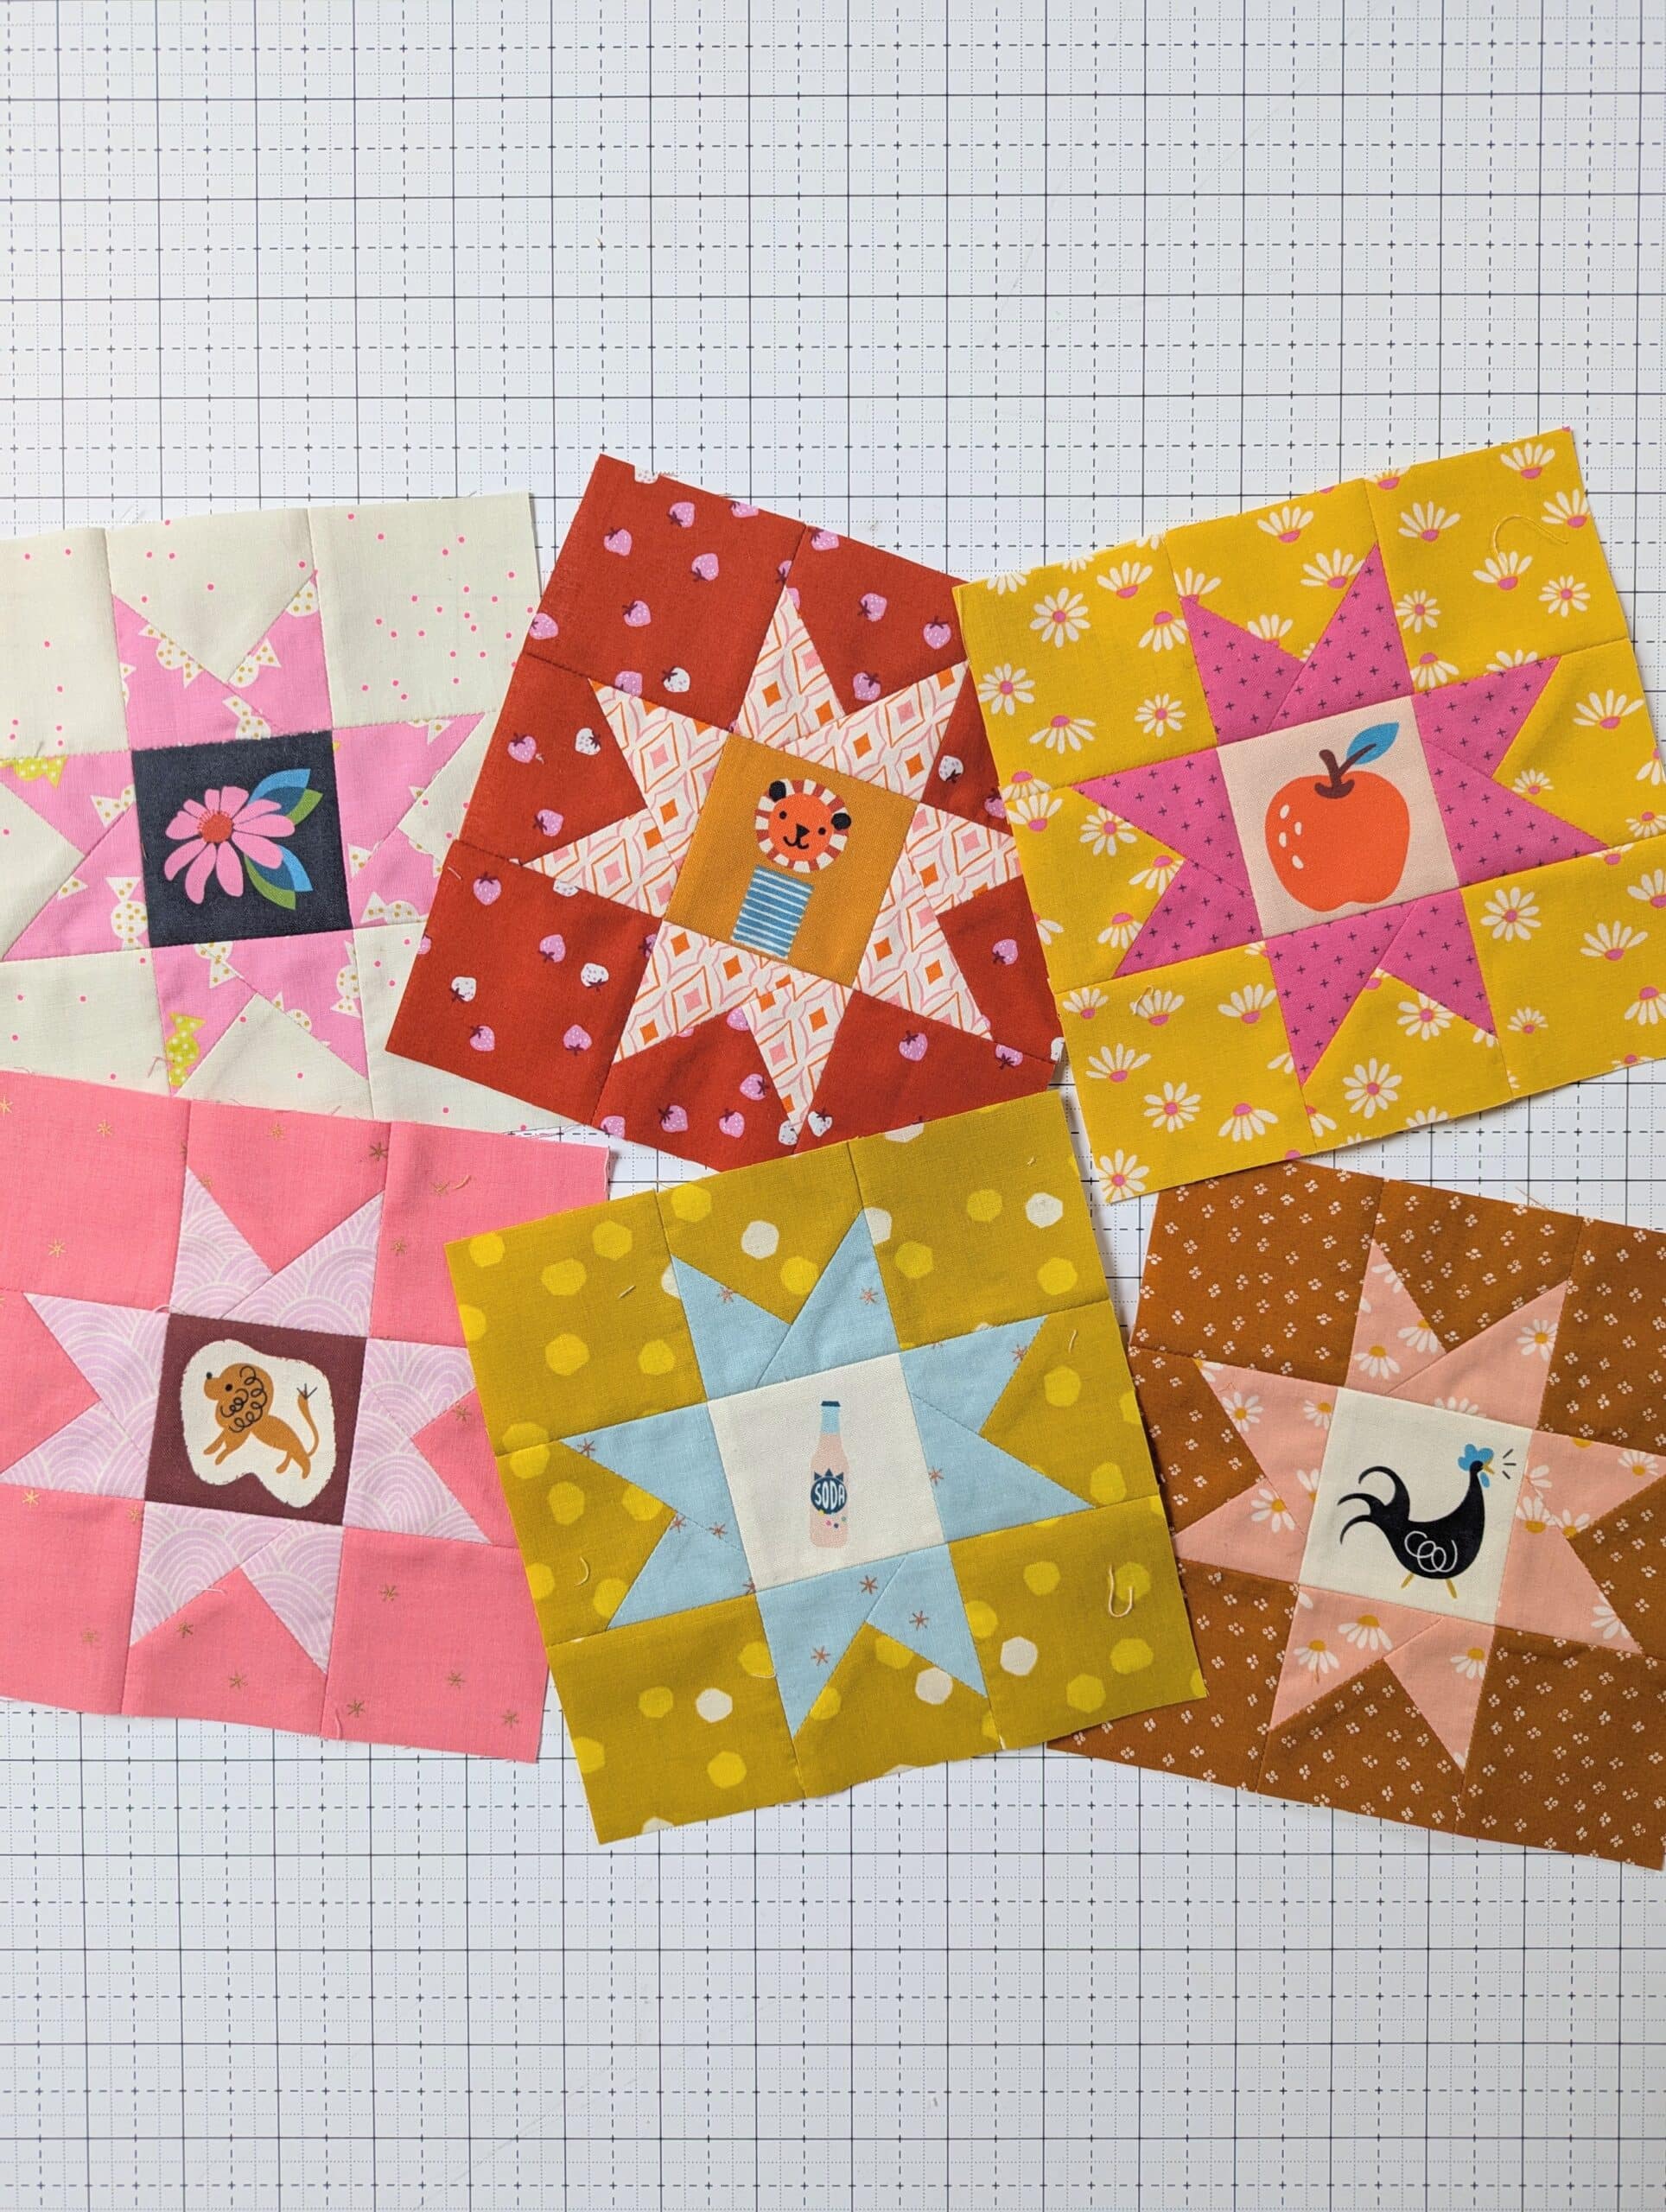
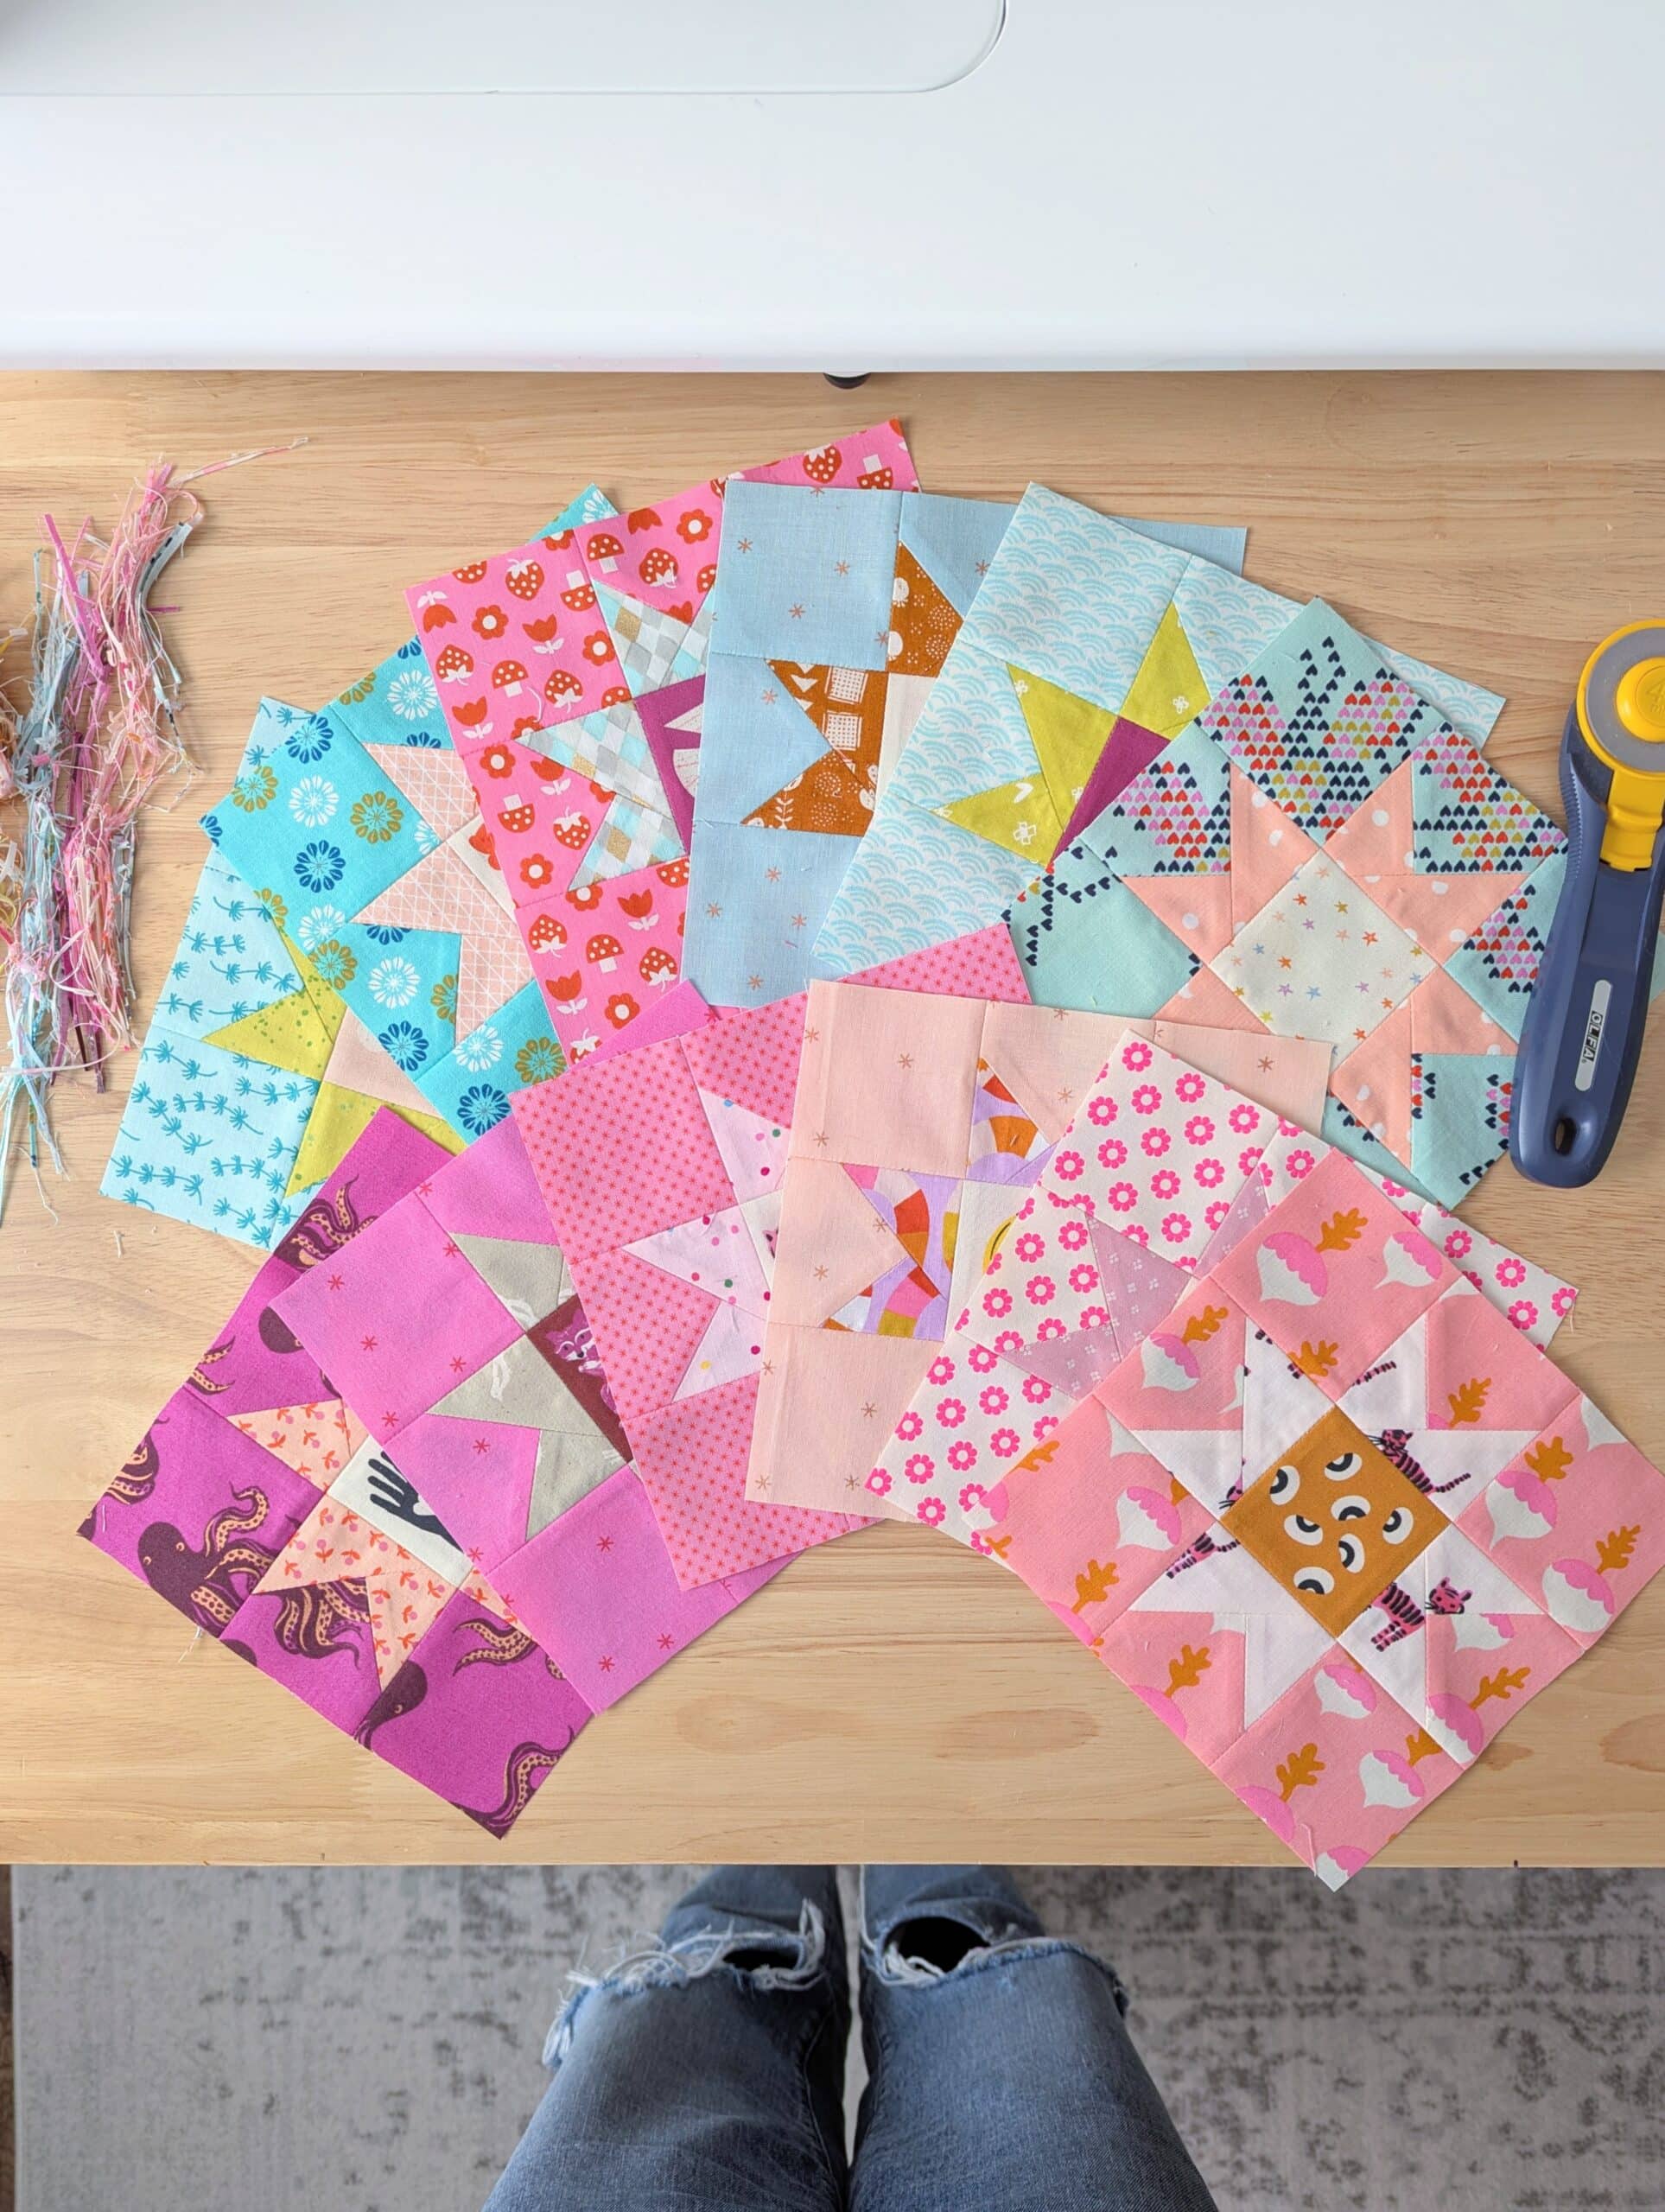
Snowball blocks
The first thing I did was pair up all of the fabrics that would create the points of the stars. This step is always tricky because I like to create as much visual contrast as possible, and not end up with any pairs that are of similar value. I want my star points to stand out!

Then I created my star points by snowballing all of the corners. Can I just tell you that this is not my strong suit? After snowballing the two corners, my little units ended up pretty wonky. Like, when I held them next to the squares that I had cut precisely, it was obvious that my star point units were not the same size / shape.
I decided that they were “close enough” and that I could fudge it during block construction. In the end, they turned out fine, but my order and precision-loving brain didn’t enjoy seeing how misshapen they were.

When I mentioned on Instagram that I had struggled with this step, so many different people suggested that I try the Antler Quilt Design Simple Folded Corners ruler. I added it to my cart immediately and can’t wait to try it out! Results to follow.
Pressing dilemma
I started with the large star blocks because I wanted a quick win, but I soon ran into a problem.
The pattern mentioned that the sewist may want to press their seams open so that the final assembly will go smoothly. But did I listen to Allison? No, I did not.
I decided that there MUST be a way for me to press my seams to the side (where all the seams would nest). It’s my preferred method because it goes quickly, and the interlocking seams mean that you don’t need to use any pins. Win win!
However, despite my many many attempts and belief that I could crack the code, reality showed me that seams pressed to the side would yield lumpy, ugly results. As far as I can tell, it just doesn’t work with this pattern. If you know a way to do this, I’d love to hear it.
I gave up and started pressing all of my seams open from that point forward.

Surprisingly, the sky didn’t fall down. Huh!
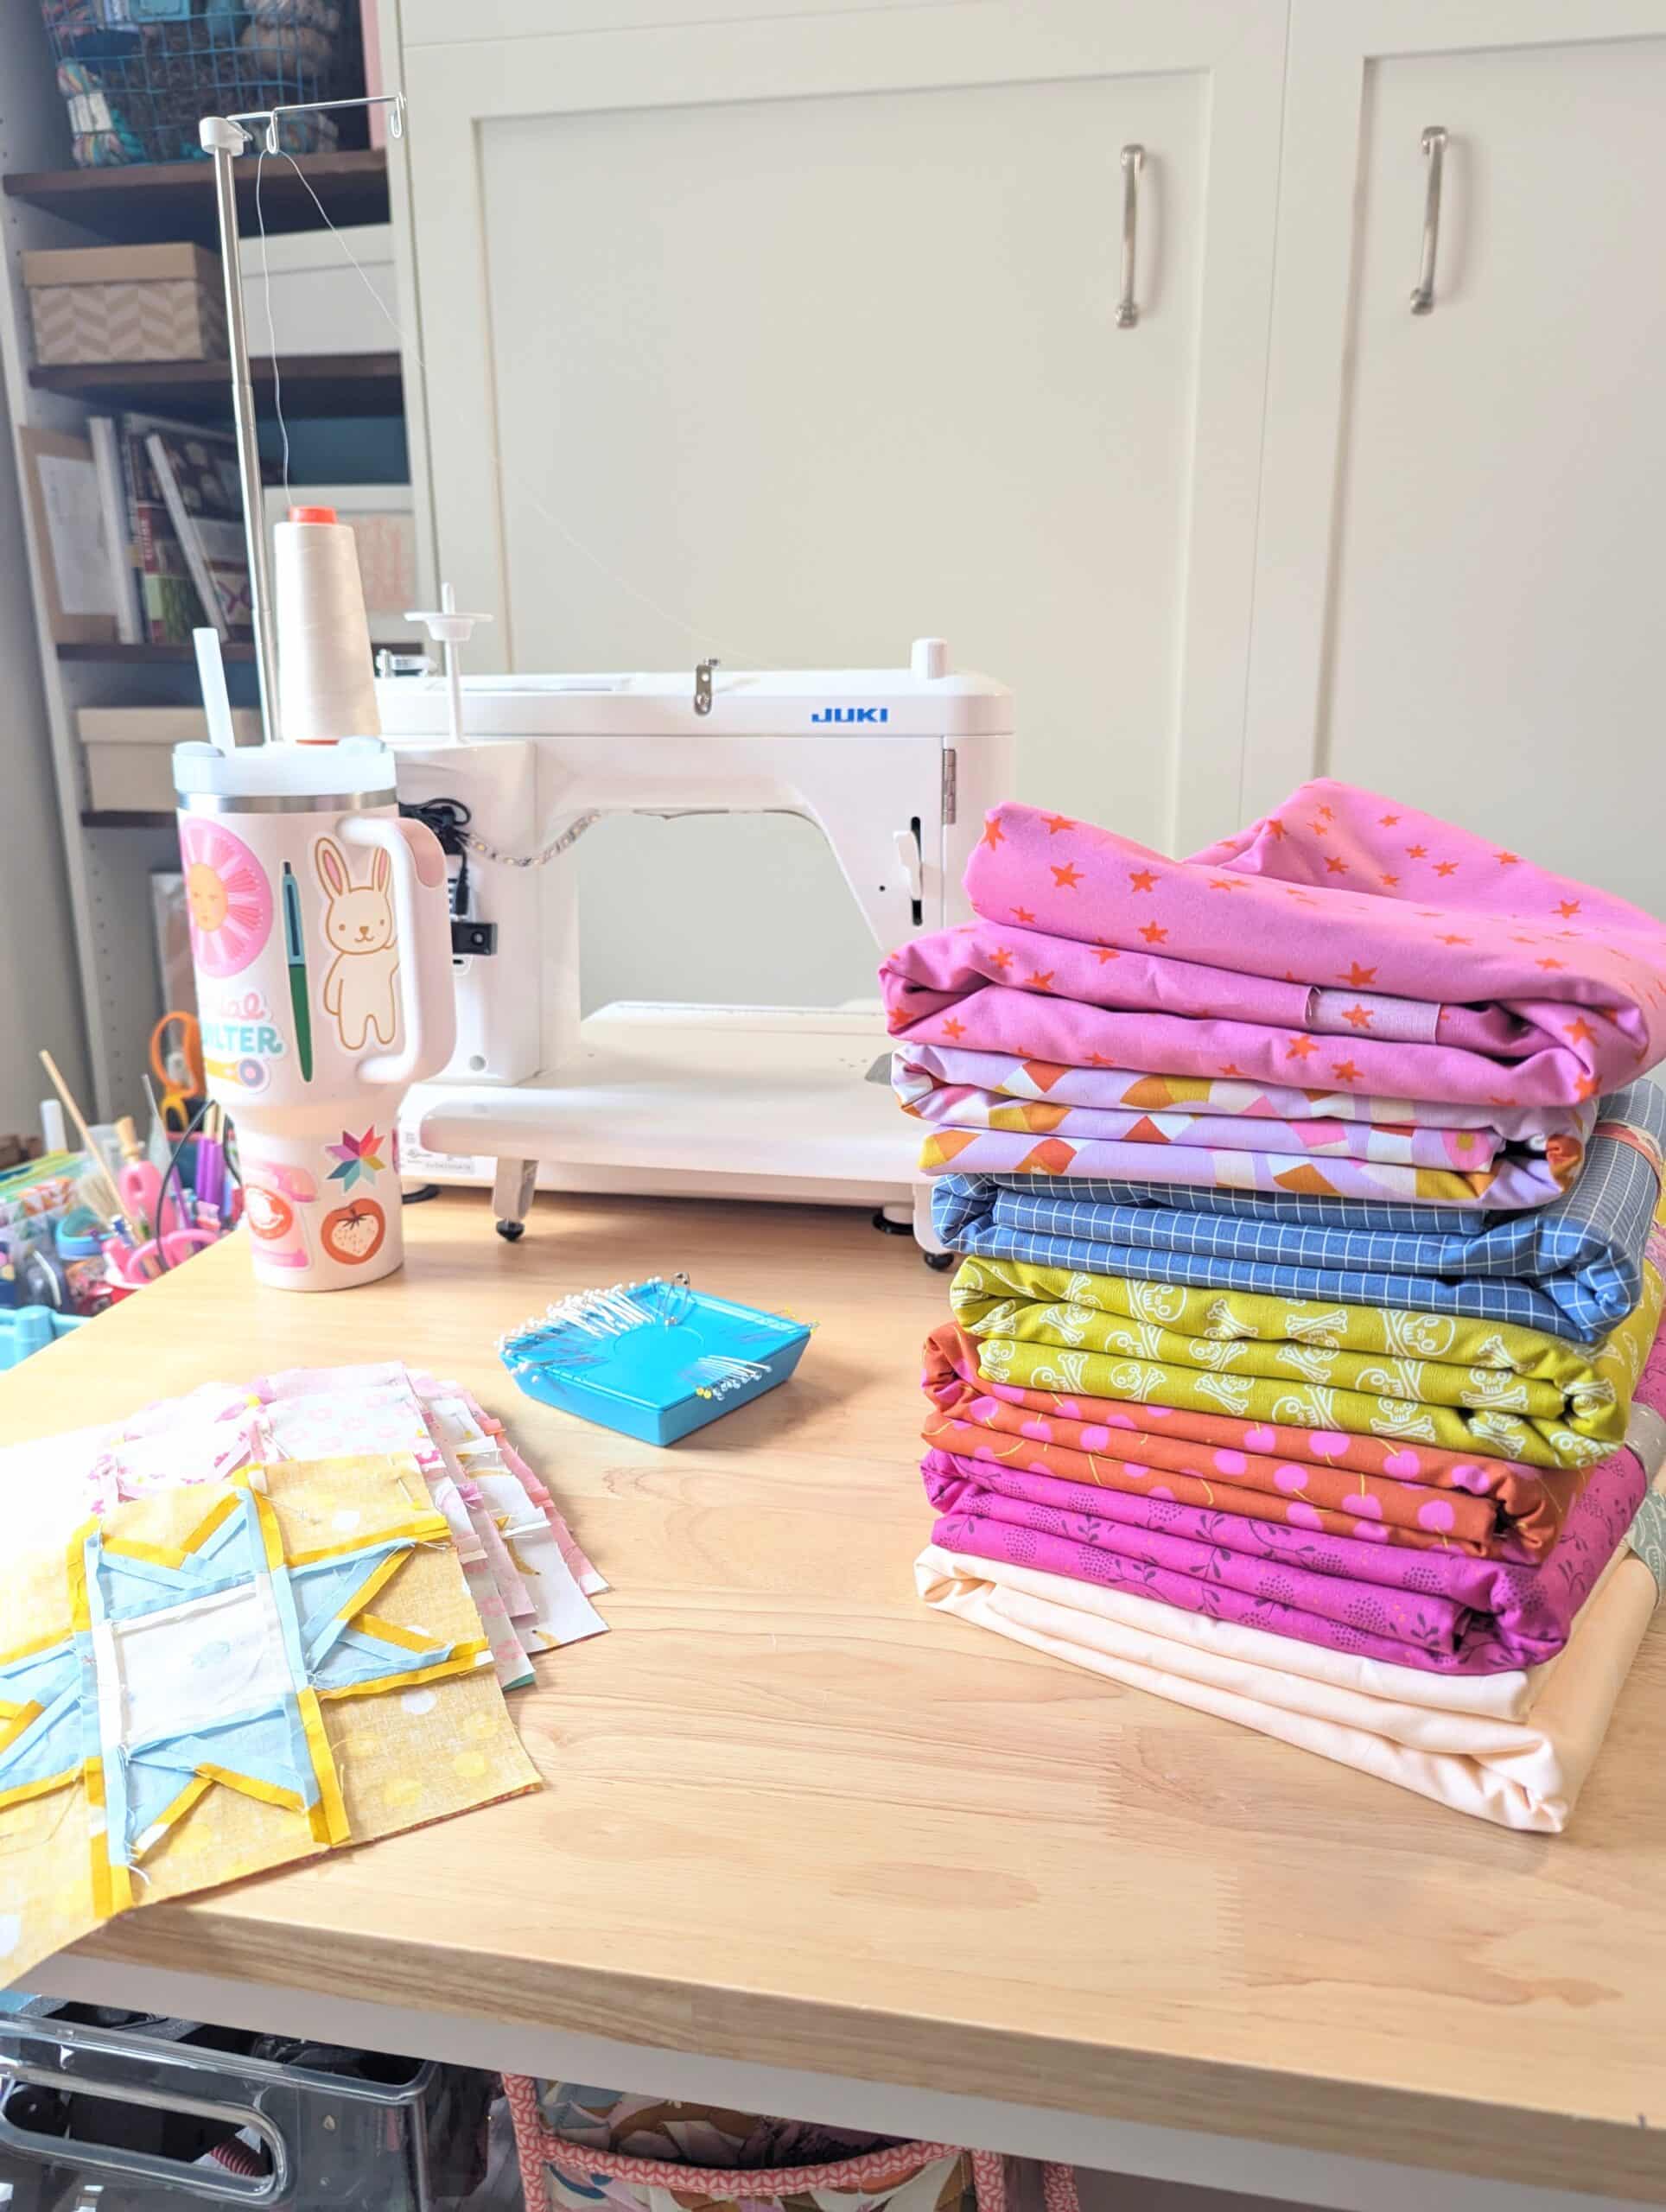
Once I had my large blocks done, I tackled the 48 small star blocks. I found that working in groups of six-ish blocks was the right tempo for me. It took me about 30 minutes, and it allowed me to do a small amount of chain piecing.
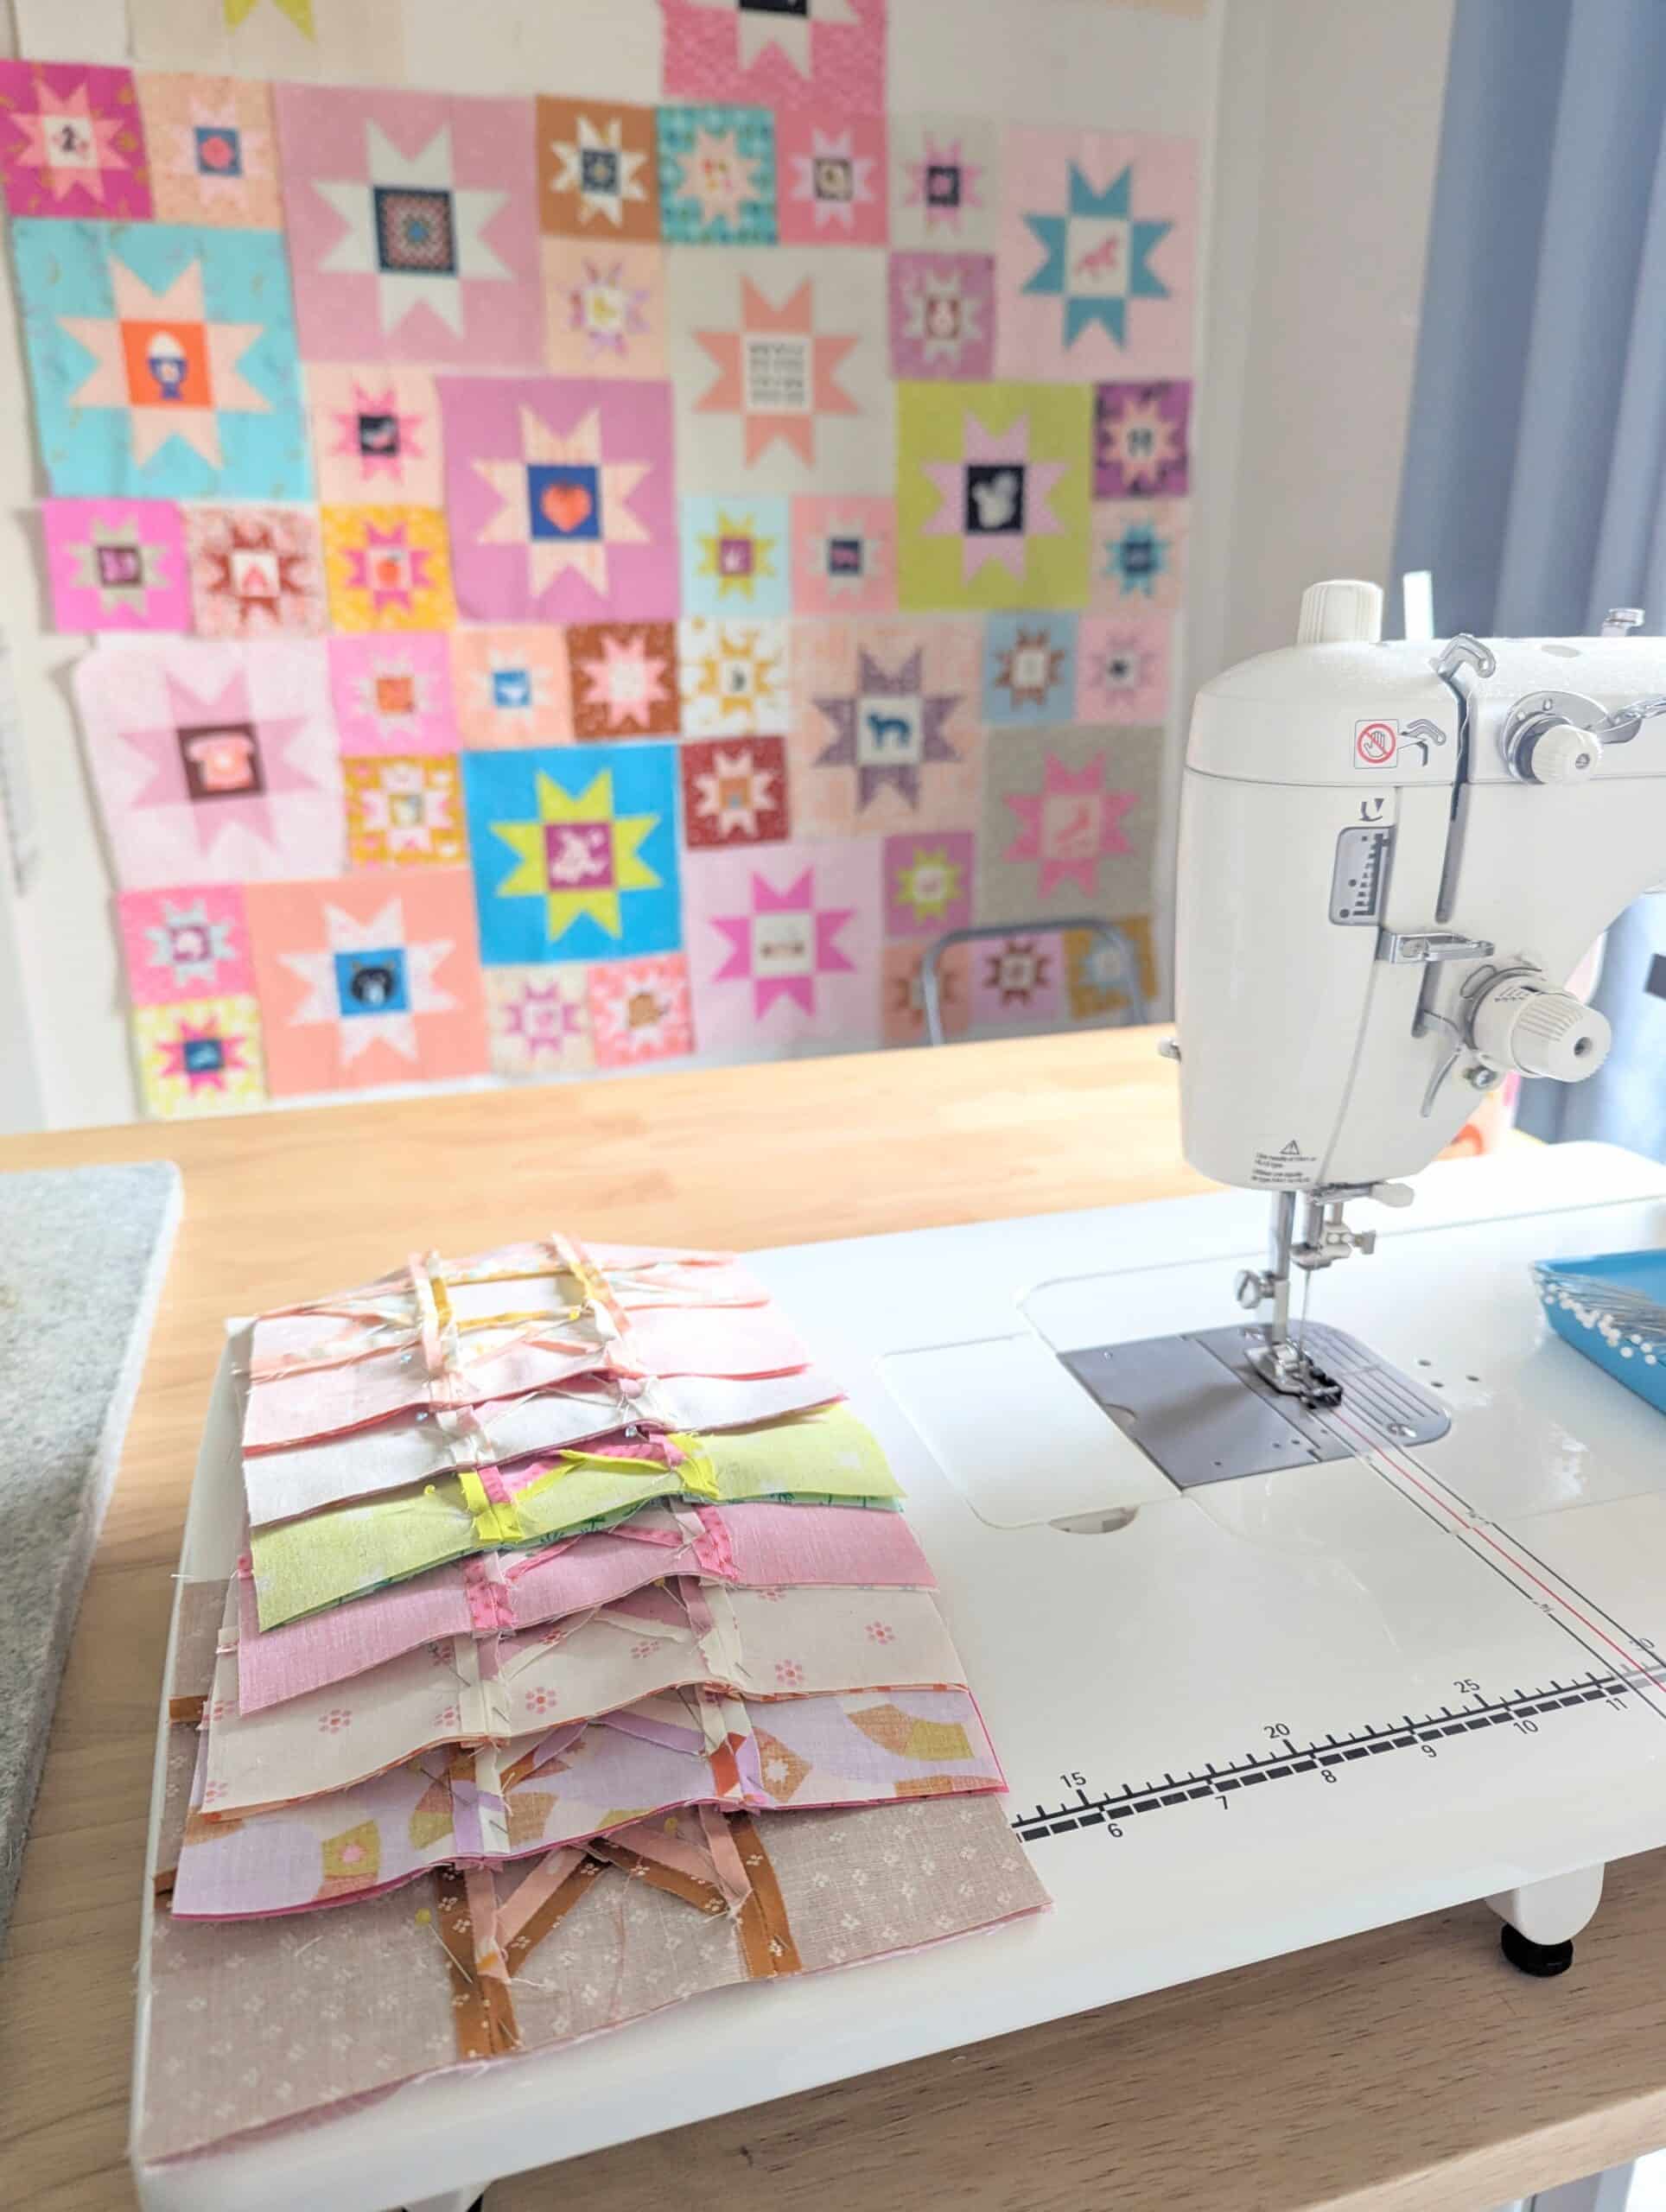
I just loved seeing these small piles of blocks start to populate my “design wall” (which is just a piece of cotton batting that I thumbtacked to the wall).
Trimming Quilt Blocks
One unintended consequence of pressing my seams open was that all (and I do mean ALL) of my blocks ended up slightly oversized. I used my various Stripology rulers to cut them down to the correct size, and was feeling very grateful that there were no star points out at the edges of the blocks. Thank you, Allison!
I was particularly delighted to be able to use my Stripology Mini to trim the small star blocks. Yes, I could have used the bigger ruler, but it’s fun to be able to use the cute notions in the sewing room from time to time.


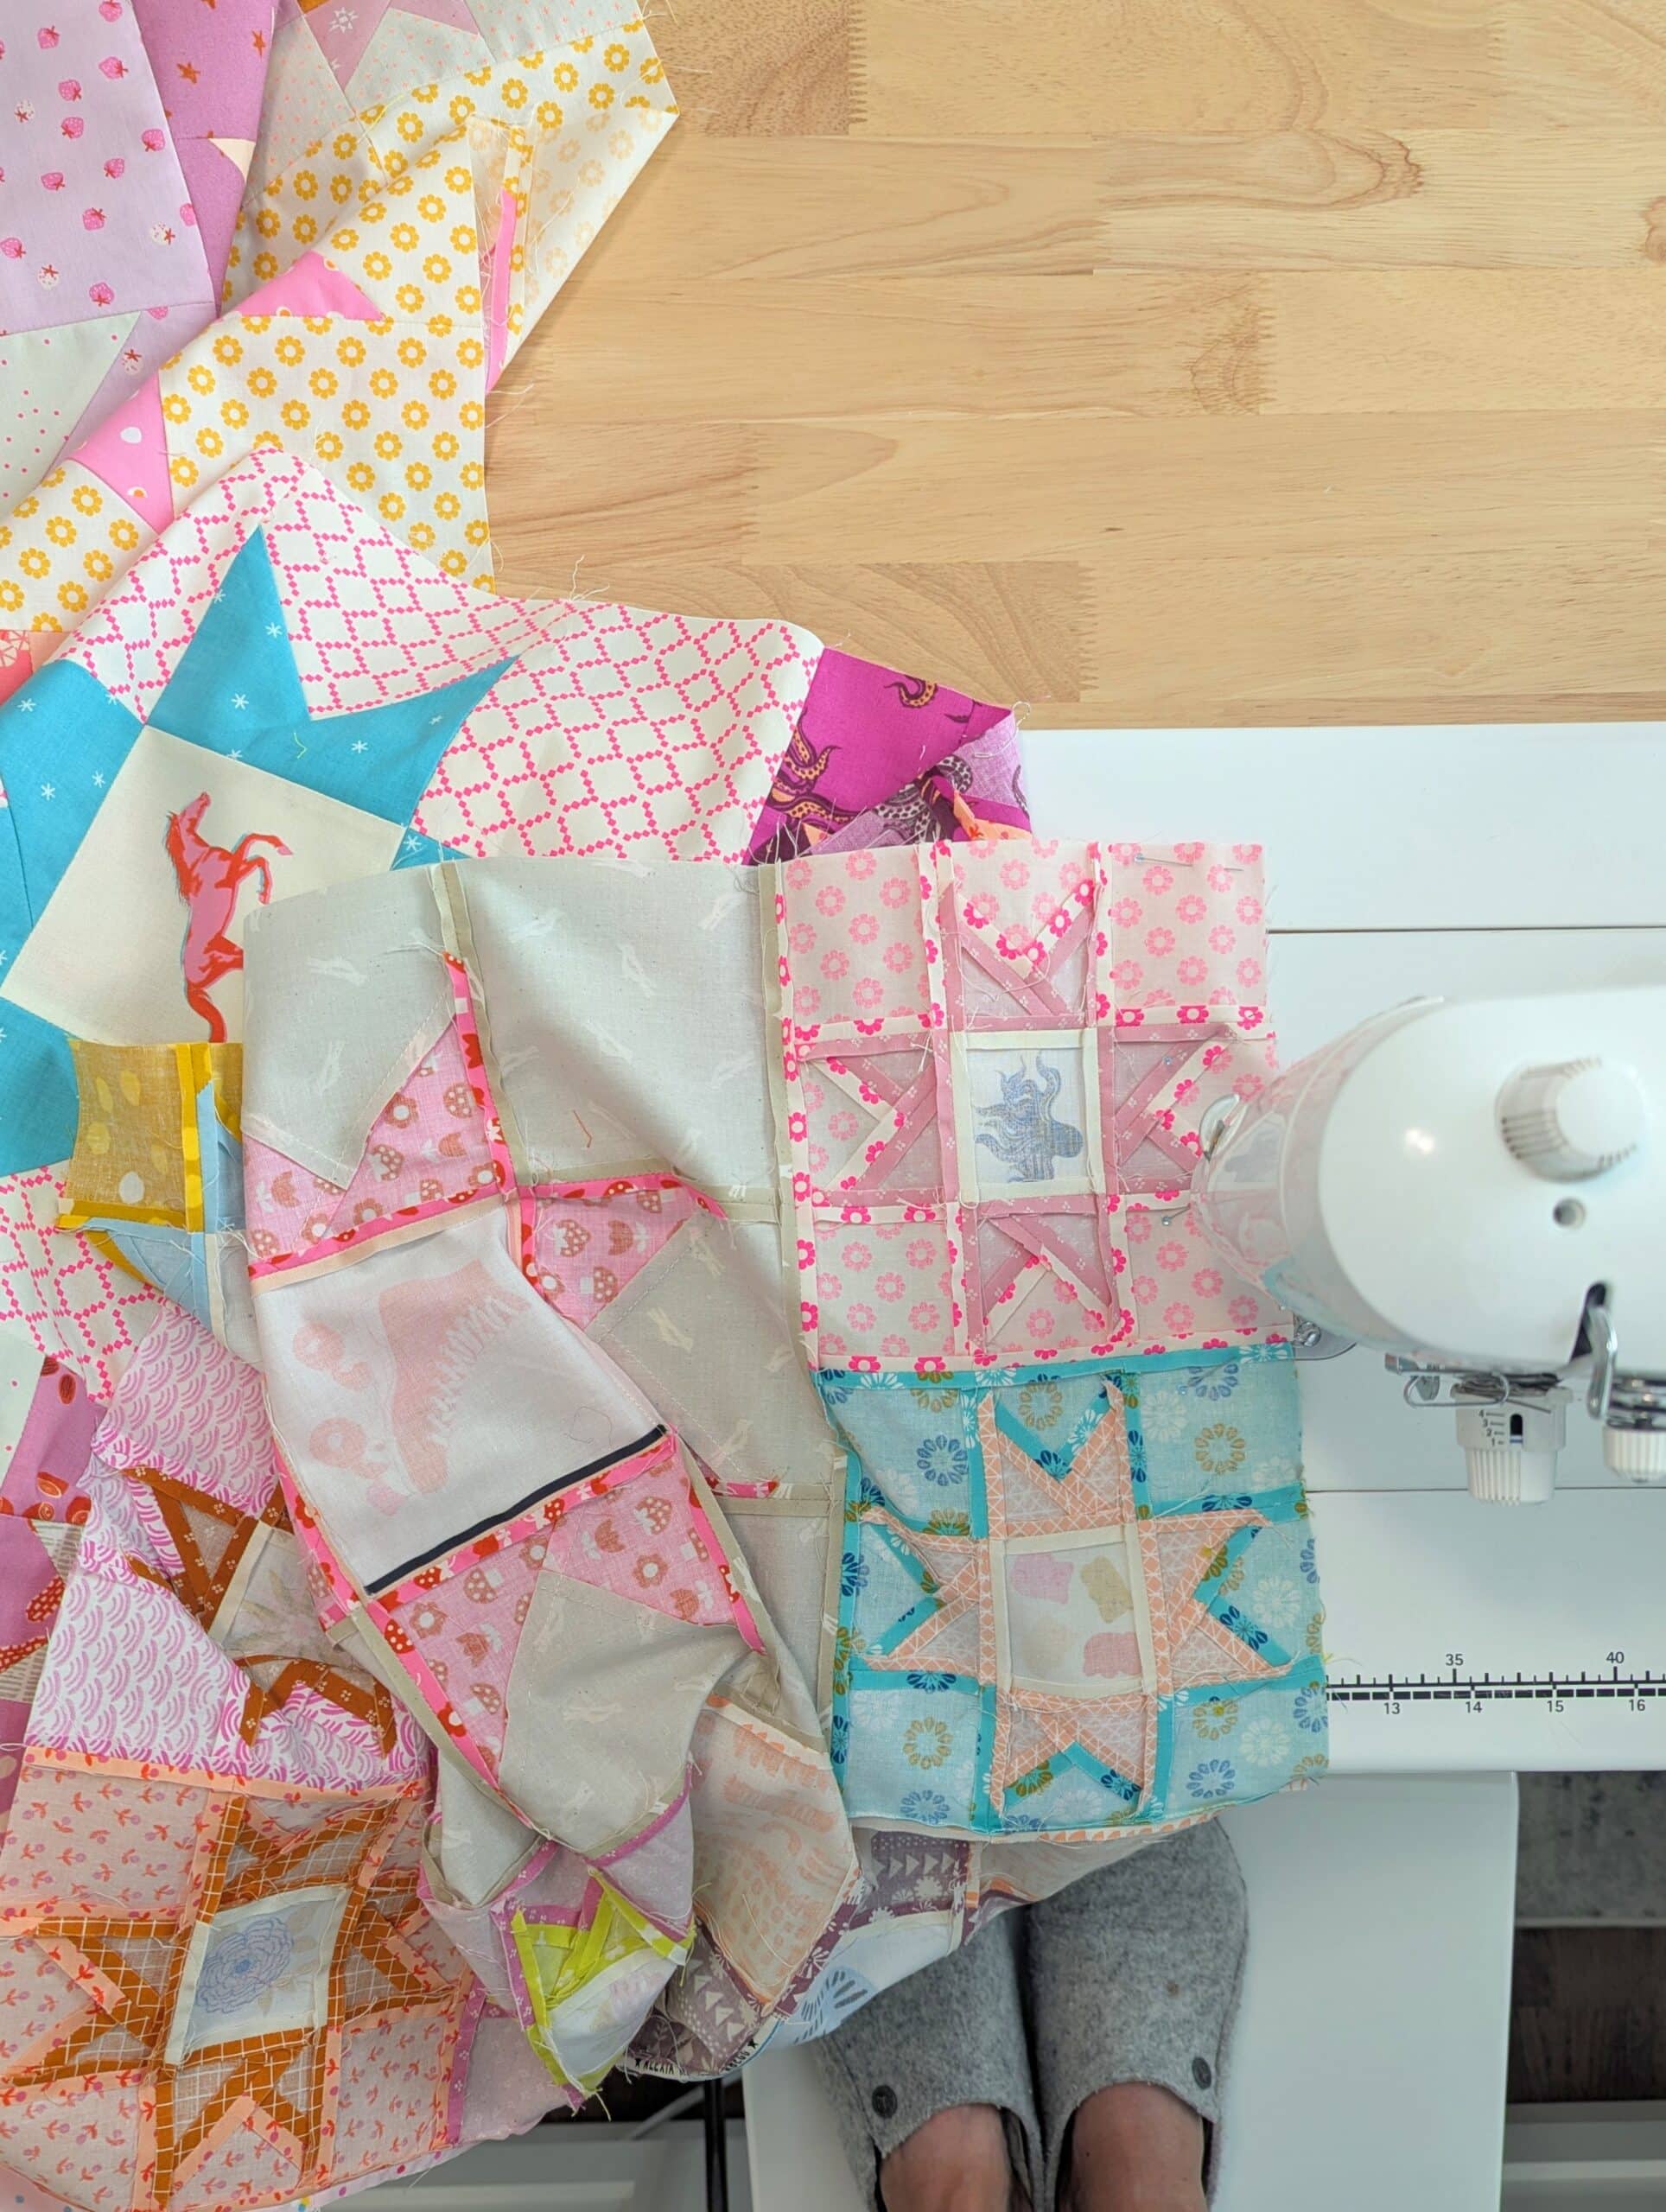
Assembling the quilt top
Since I wanted my Twinkle quilt to be as precise as possible (even though it was made from scraps and slightly undersized units), I decided to use pins for every single intersection when assembling my quilt top. Again, nothing bad happened. It took a little bit longer, yes, but the results were quite nice!

Am I an open-seams convert? Nah. I’m going to stick with my seams to the side wherever possible. Old habits are hard to break!
Making Backing
My first instinct was to use one of the 5 yard cuts of fabric in my closet. I like to stock up on these when I find them on sale, and keep a stack on hand for just such an occasion.
But the more I thought about it, the more I felt that a single-fabric backing would be too plain for this wild and scrappy Twinkle quilt.
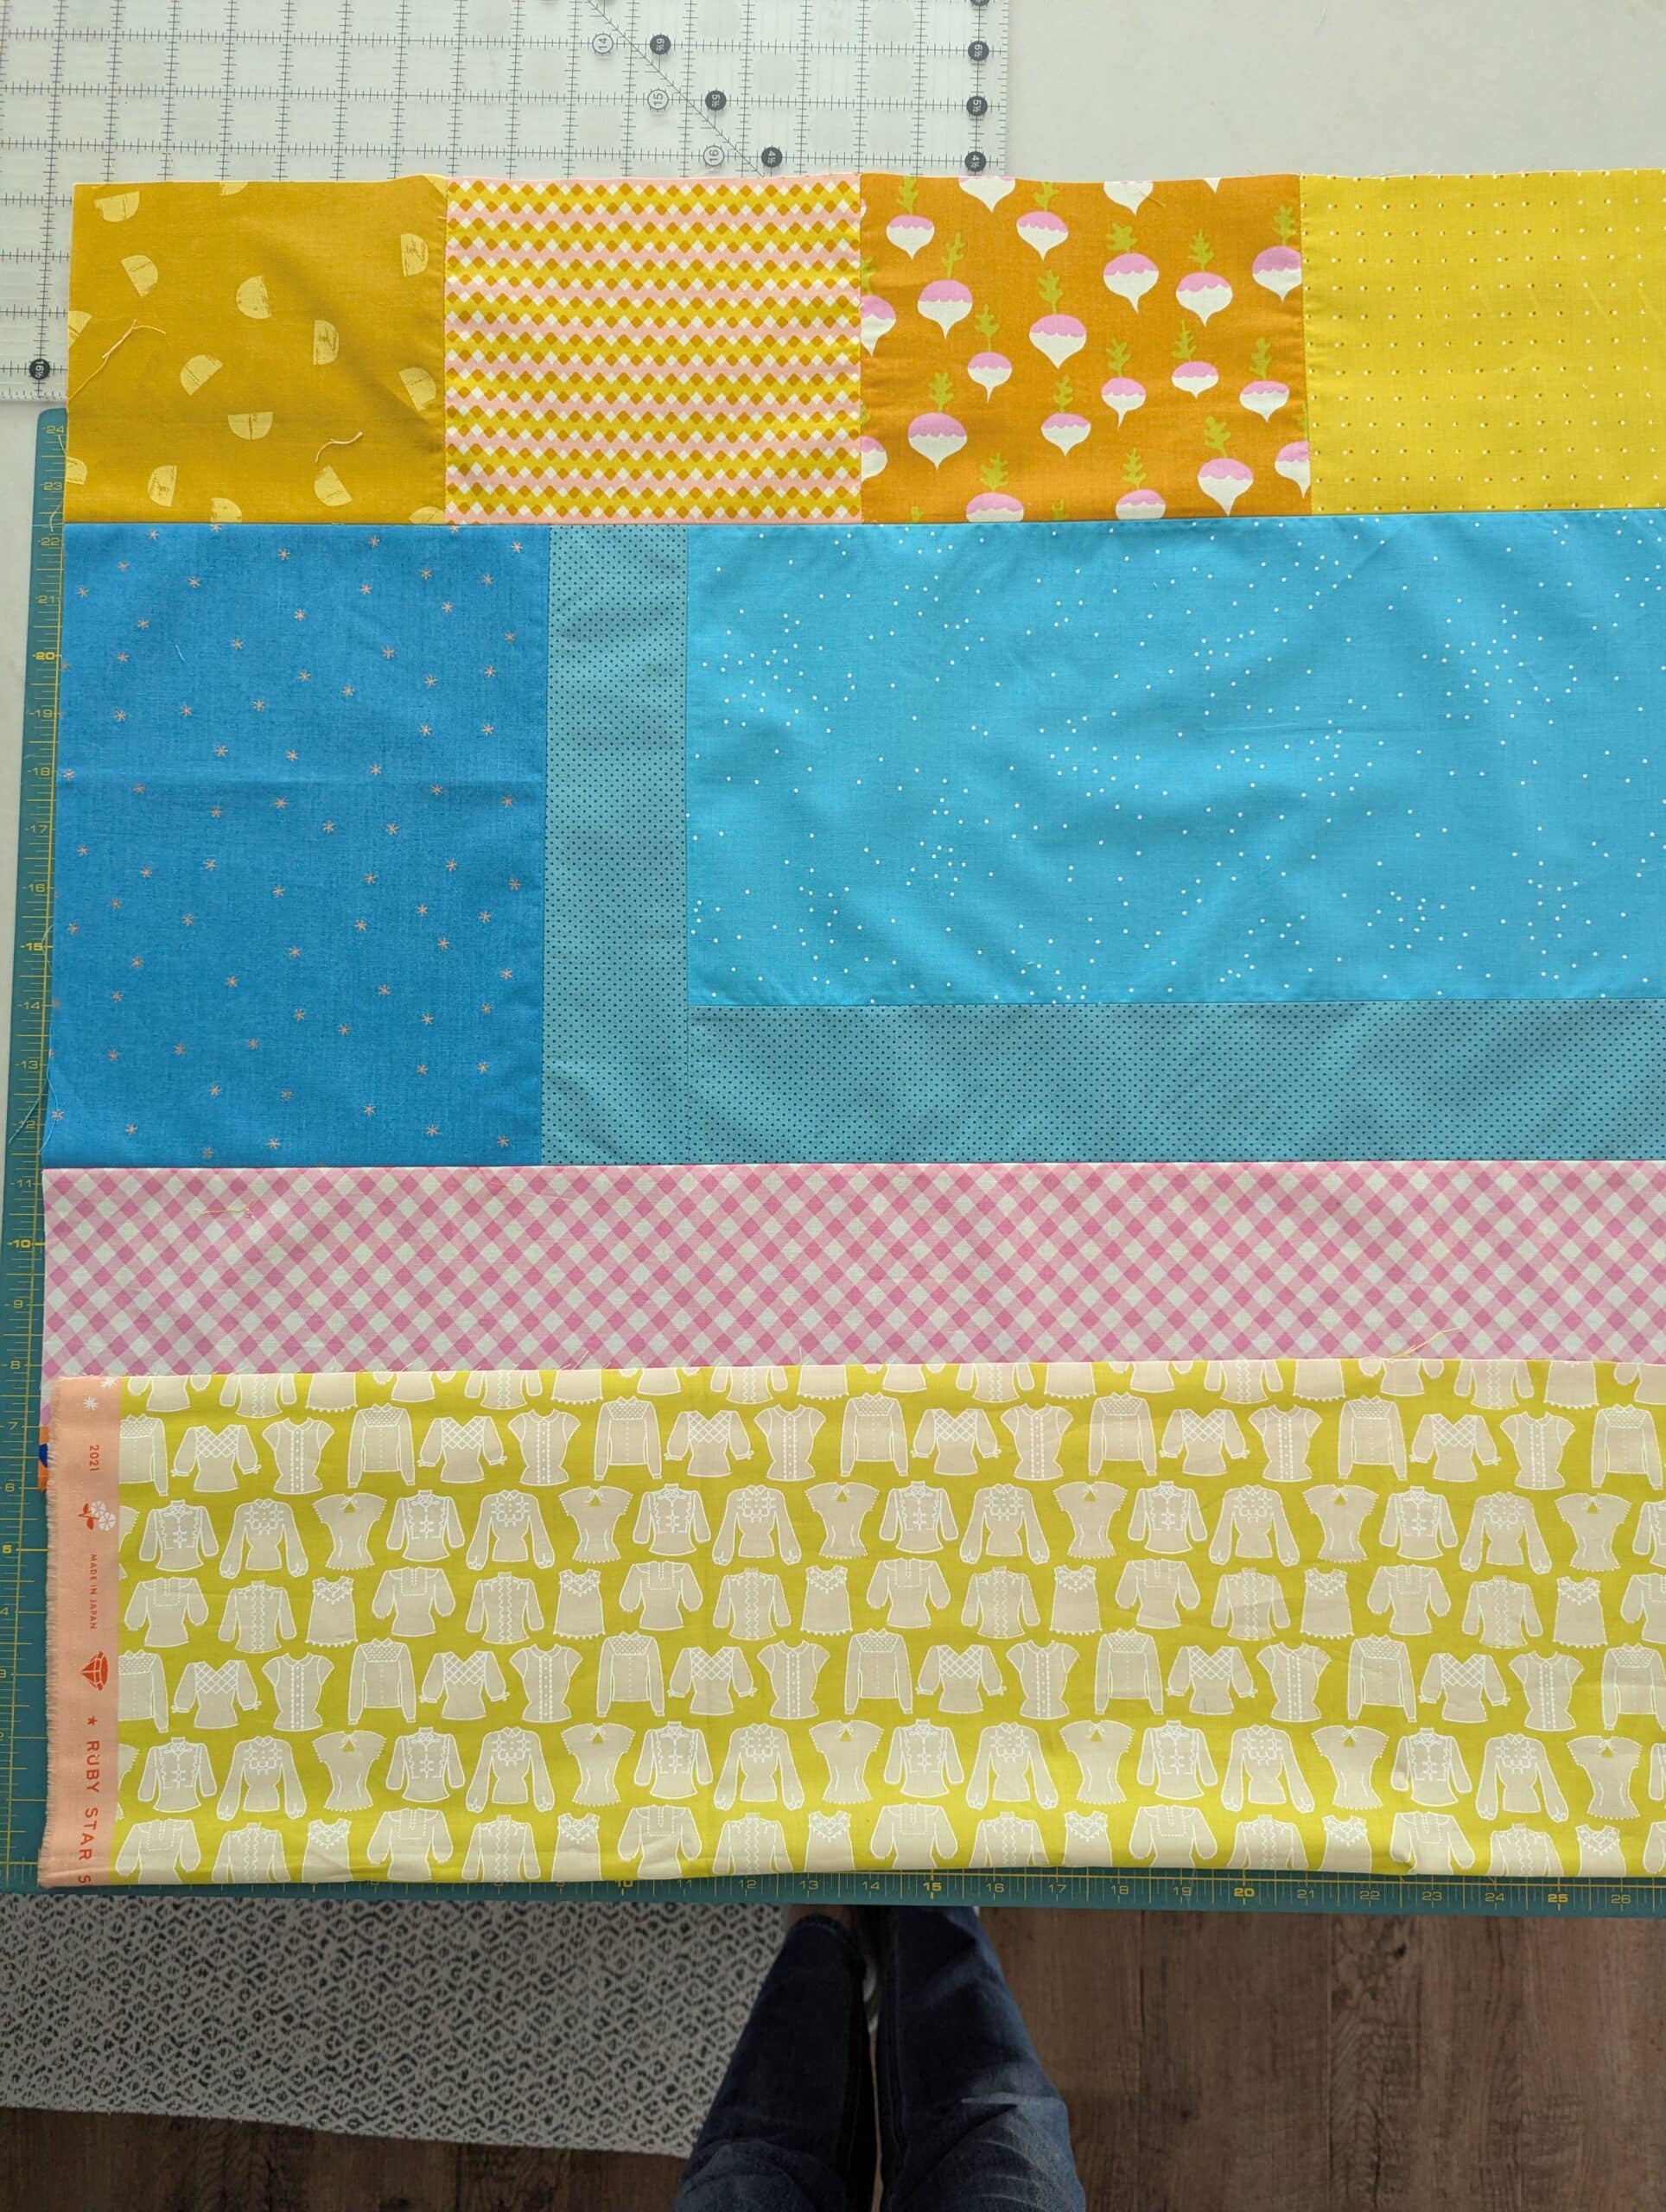
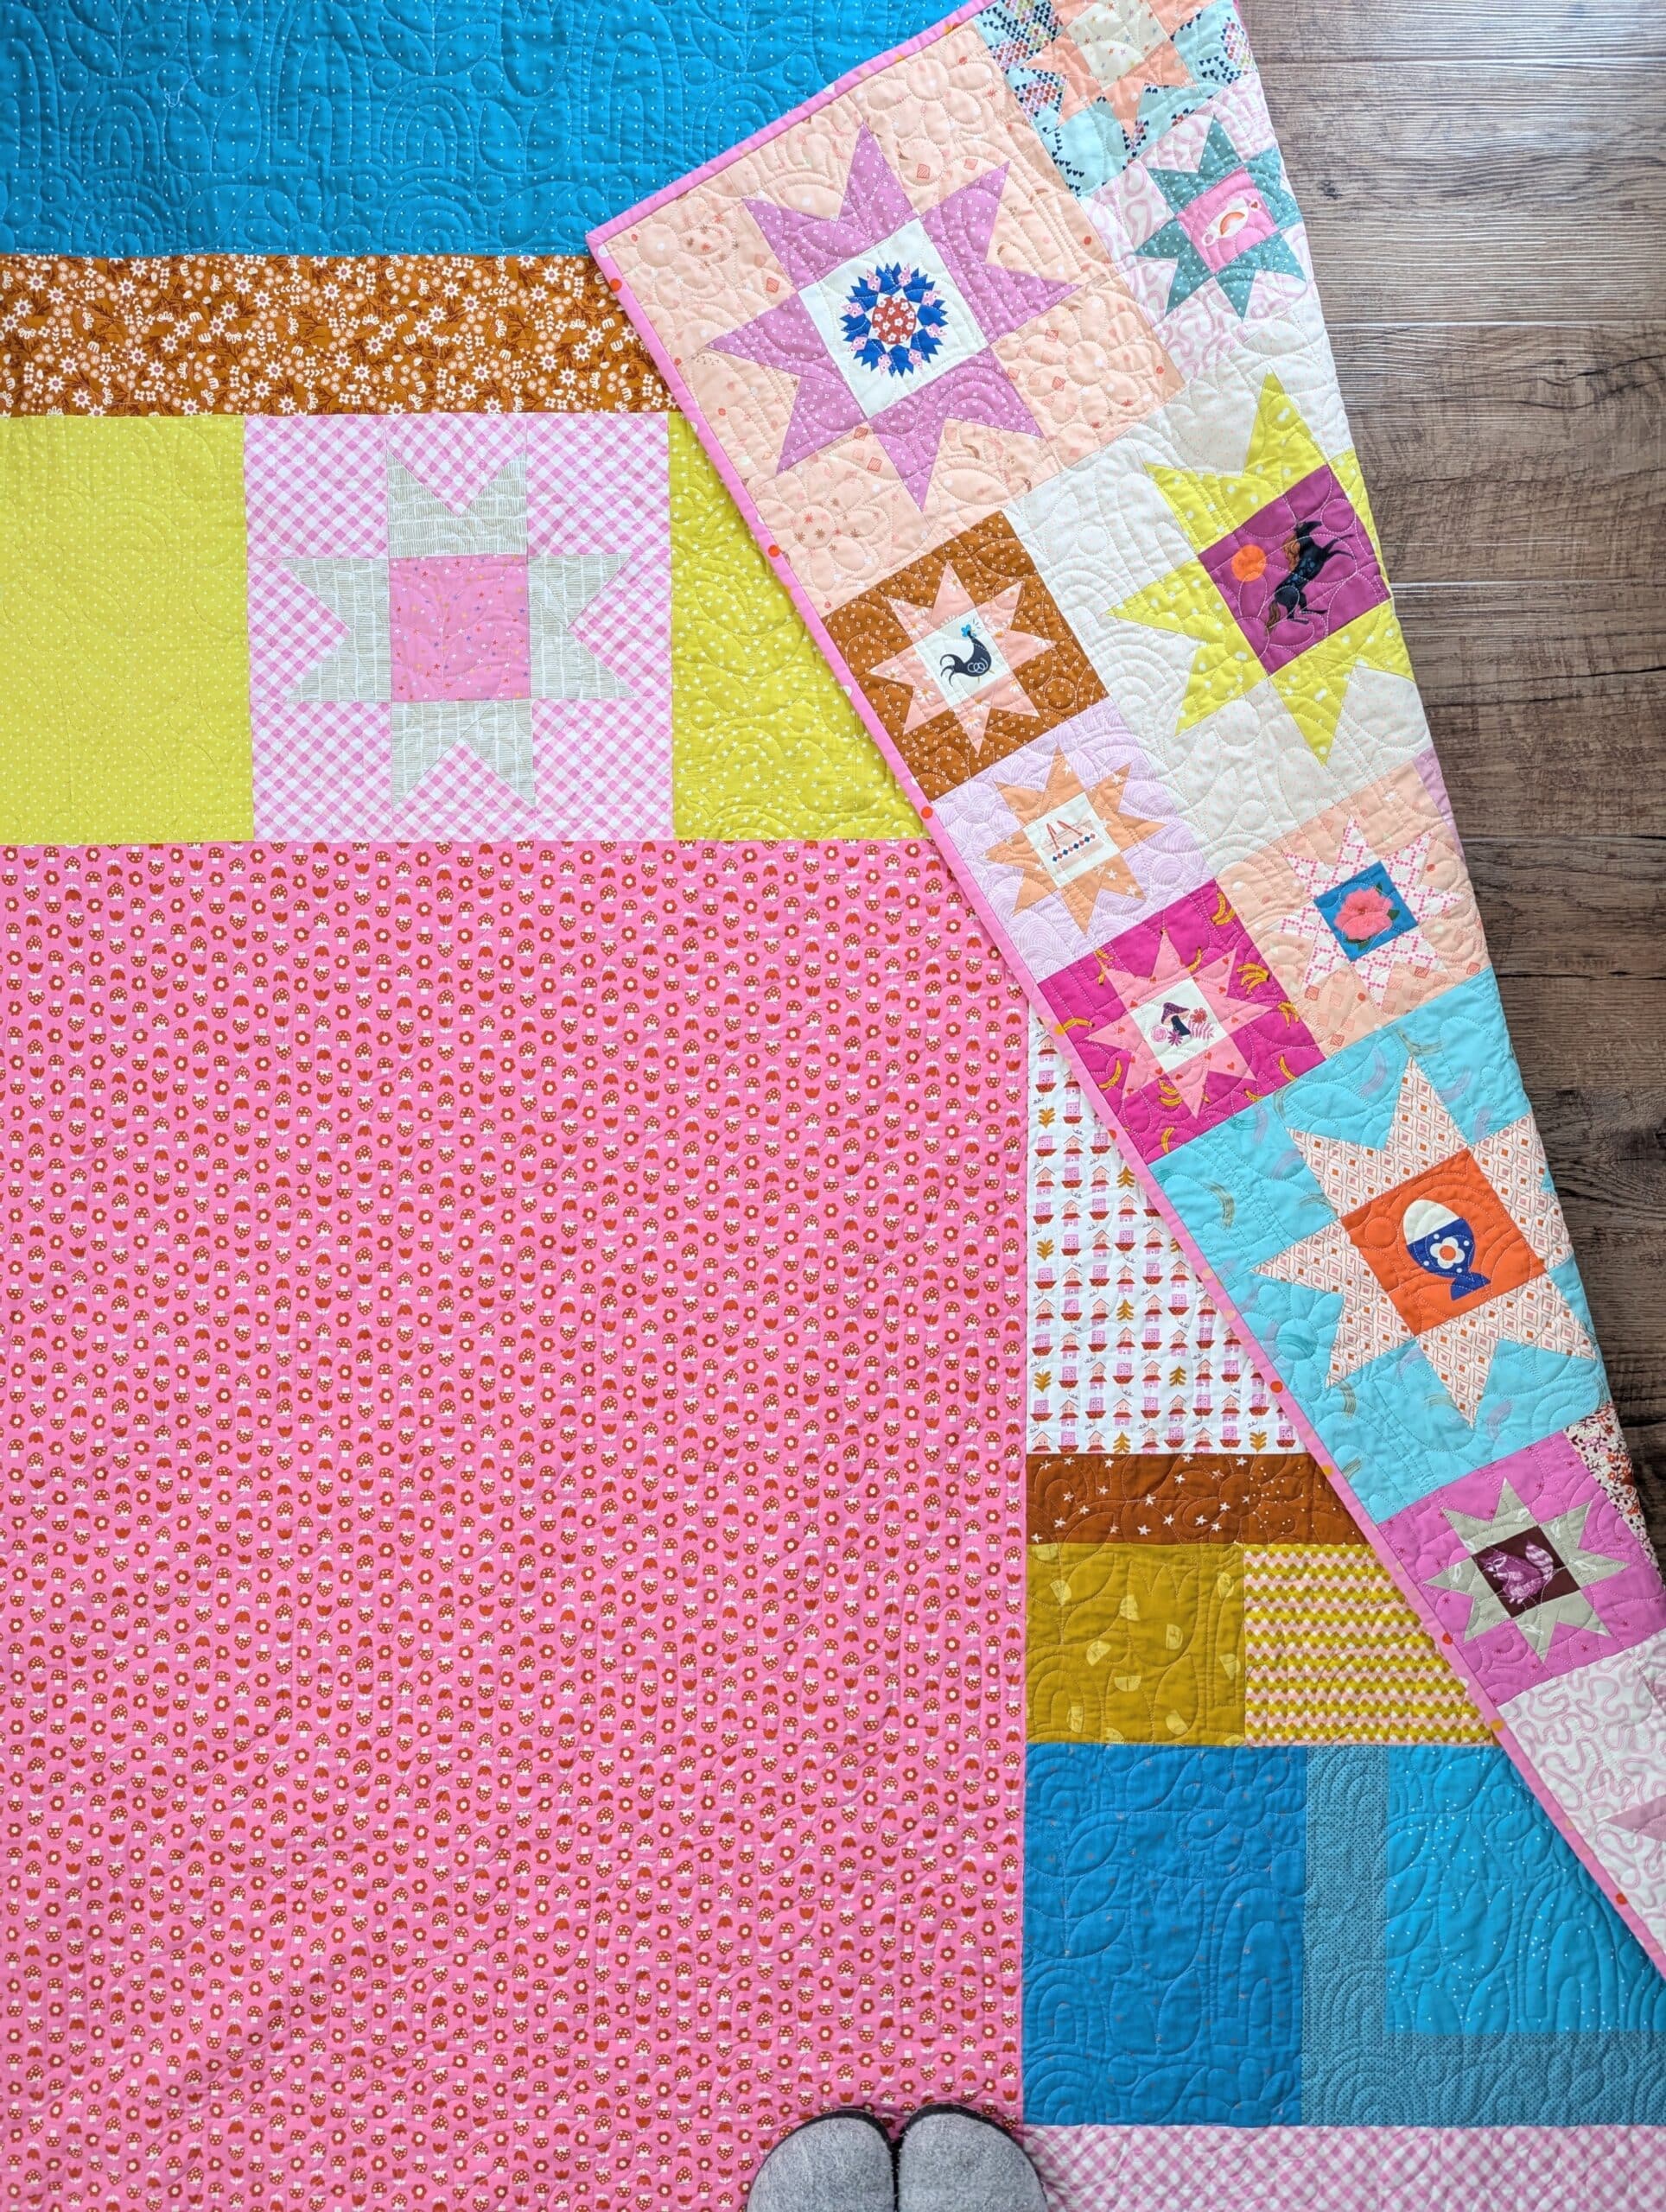
So I grabbed some yardage and some large scraps of fabric and started piecing a back together. I started with this little chunk and it grew from there. I love that I took the time to do this, because it feels like it added something really special to this project.

Here it is after quilting (I forgot to take a picture of it before).
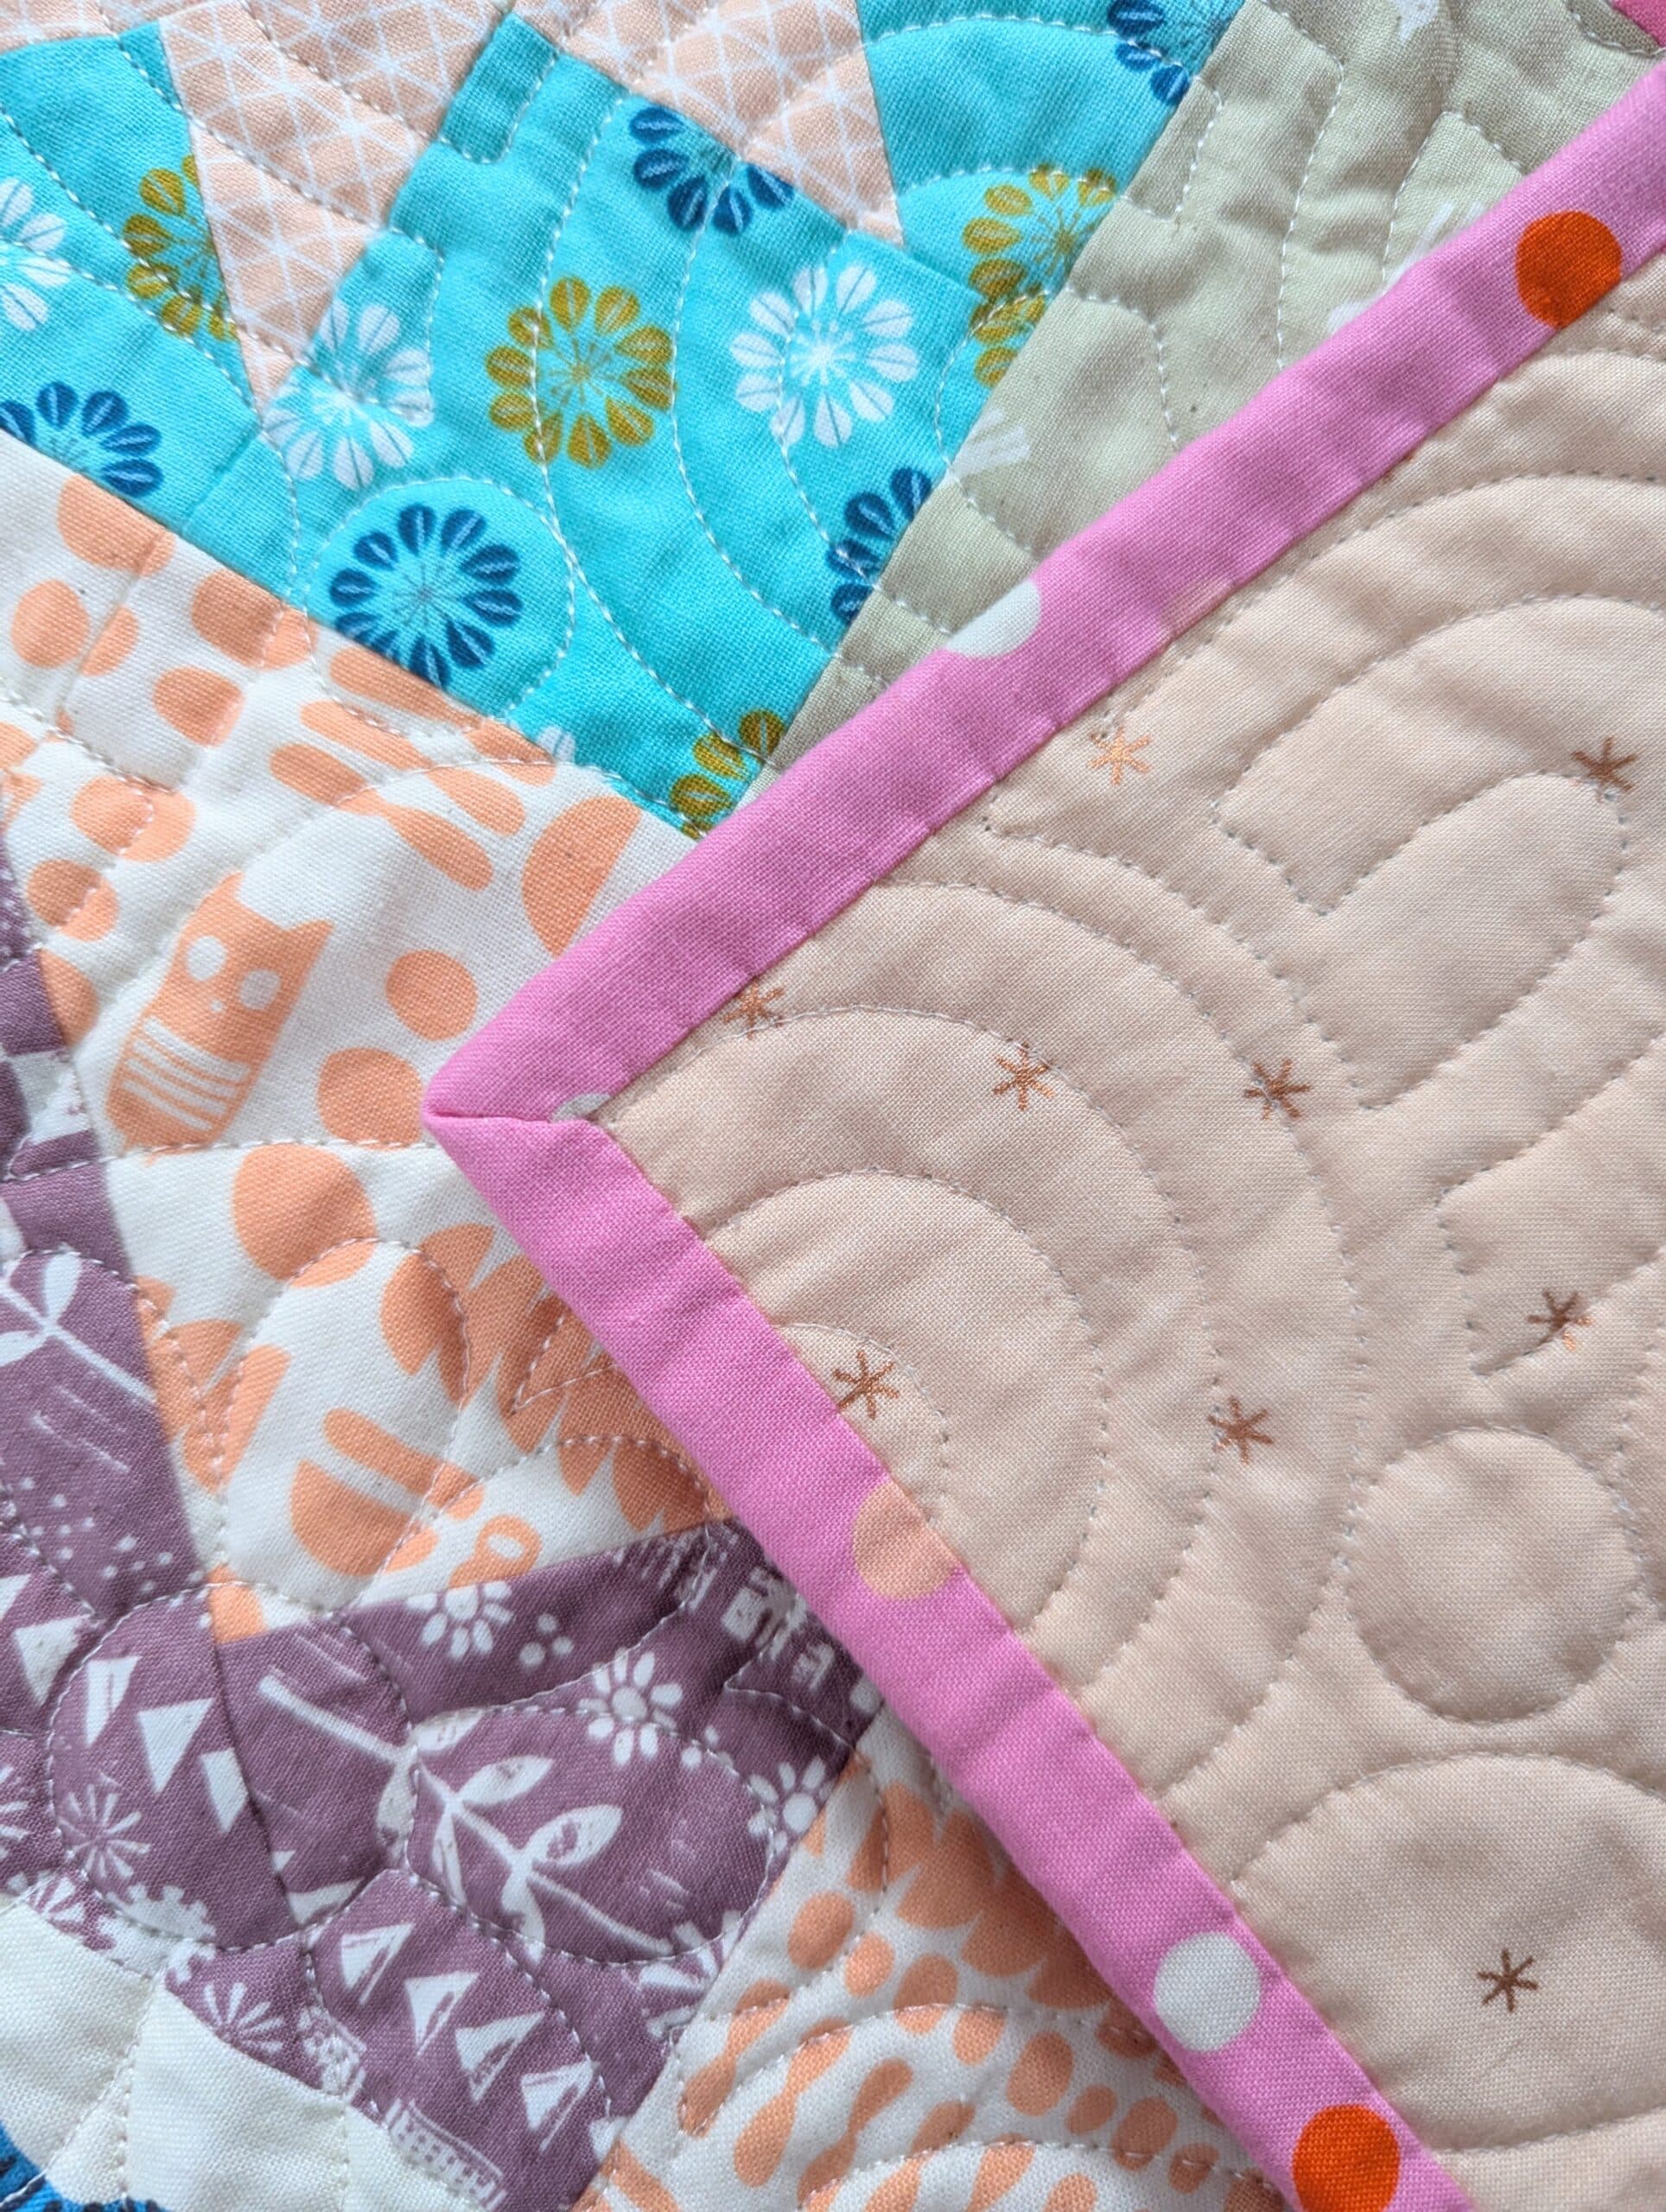
Quilting
As I was making my Twinkle quilt, Instagram showed me lots of longarmers using the Honey, Honey pantograph on their clients’ quilts. I loved the look of it on quilts that used solid fabrics, and debated whether it would look too “busy” on this scrappy quilt. The photo that convinced me that it would be fine was this one (you’re going to want to see it).
Dang, that’s a cutie, eh??

So I purchased the pattern, loaded the quilt on the frame, and quilted it out. I think it turned out amazing and am glad that I trusted my instincts.
You can watch the longarm in action here.
Binding
For a minute I debated whether to create a scrappy binding for this project (like I did for this quilt), but decided that a single-fabric binding would pull the whole thing together.

I searched my stash and found this sweet pink fabric from the Ruby Star Society Carousel line, and had it attached to the front of the quilt in no time.
My heart told me to hand-stitch the binding to the back of the quilt (rather than machine bind it like I do in this course), and I quickly realized that it had been a LONG time since I hand-bound a quilt.
Is it weird for me to admit that I referenced my own YouTube video about hand binding multiple times during the process? I hope not! The video has lots of great tips, including some that I had forgotten.

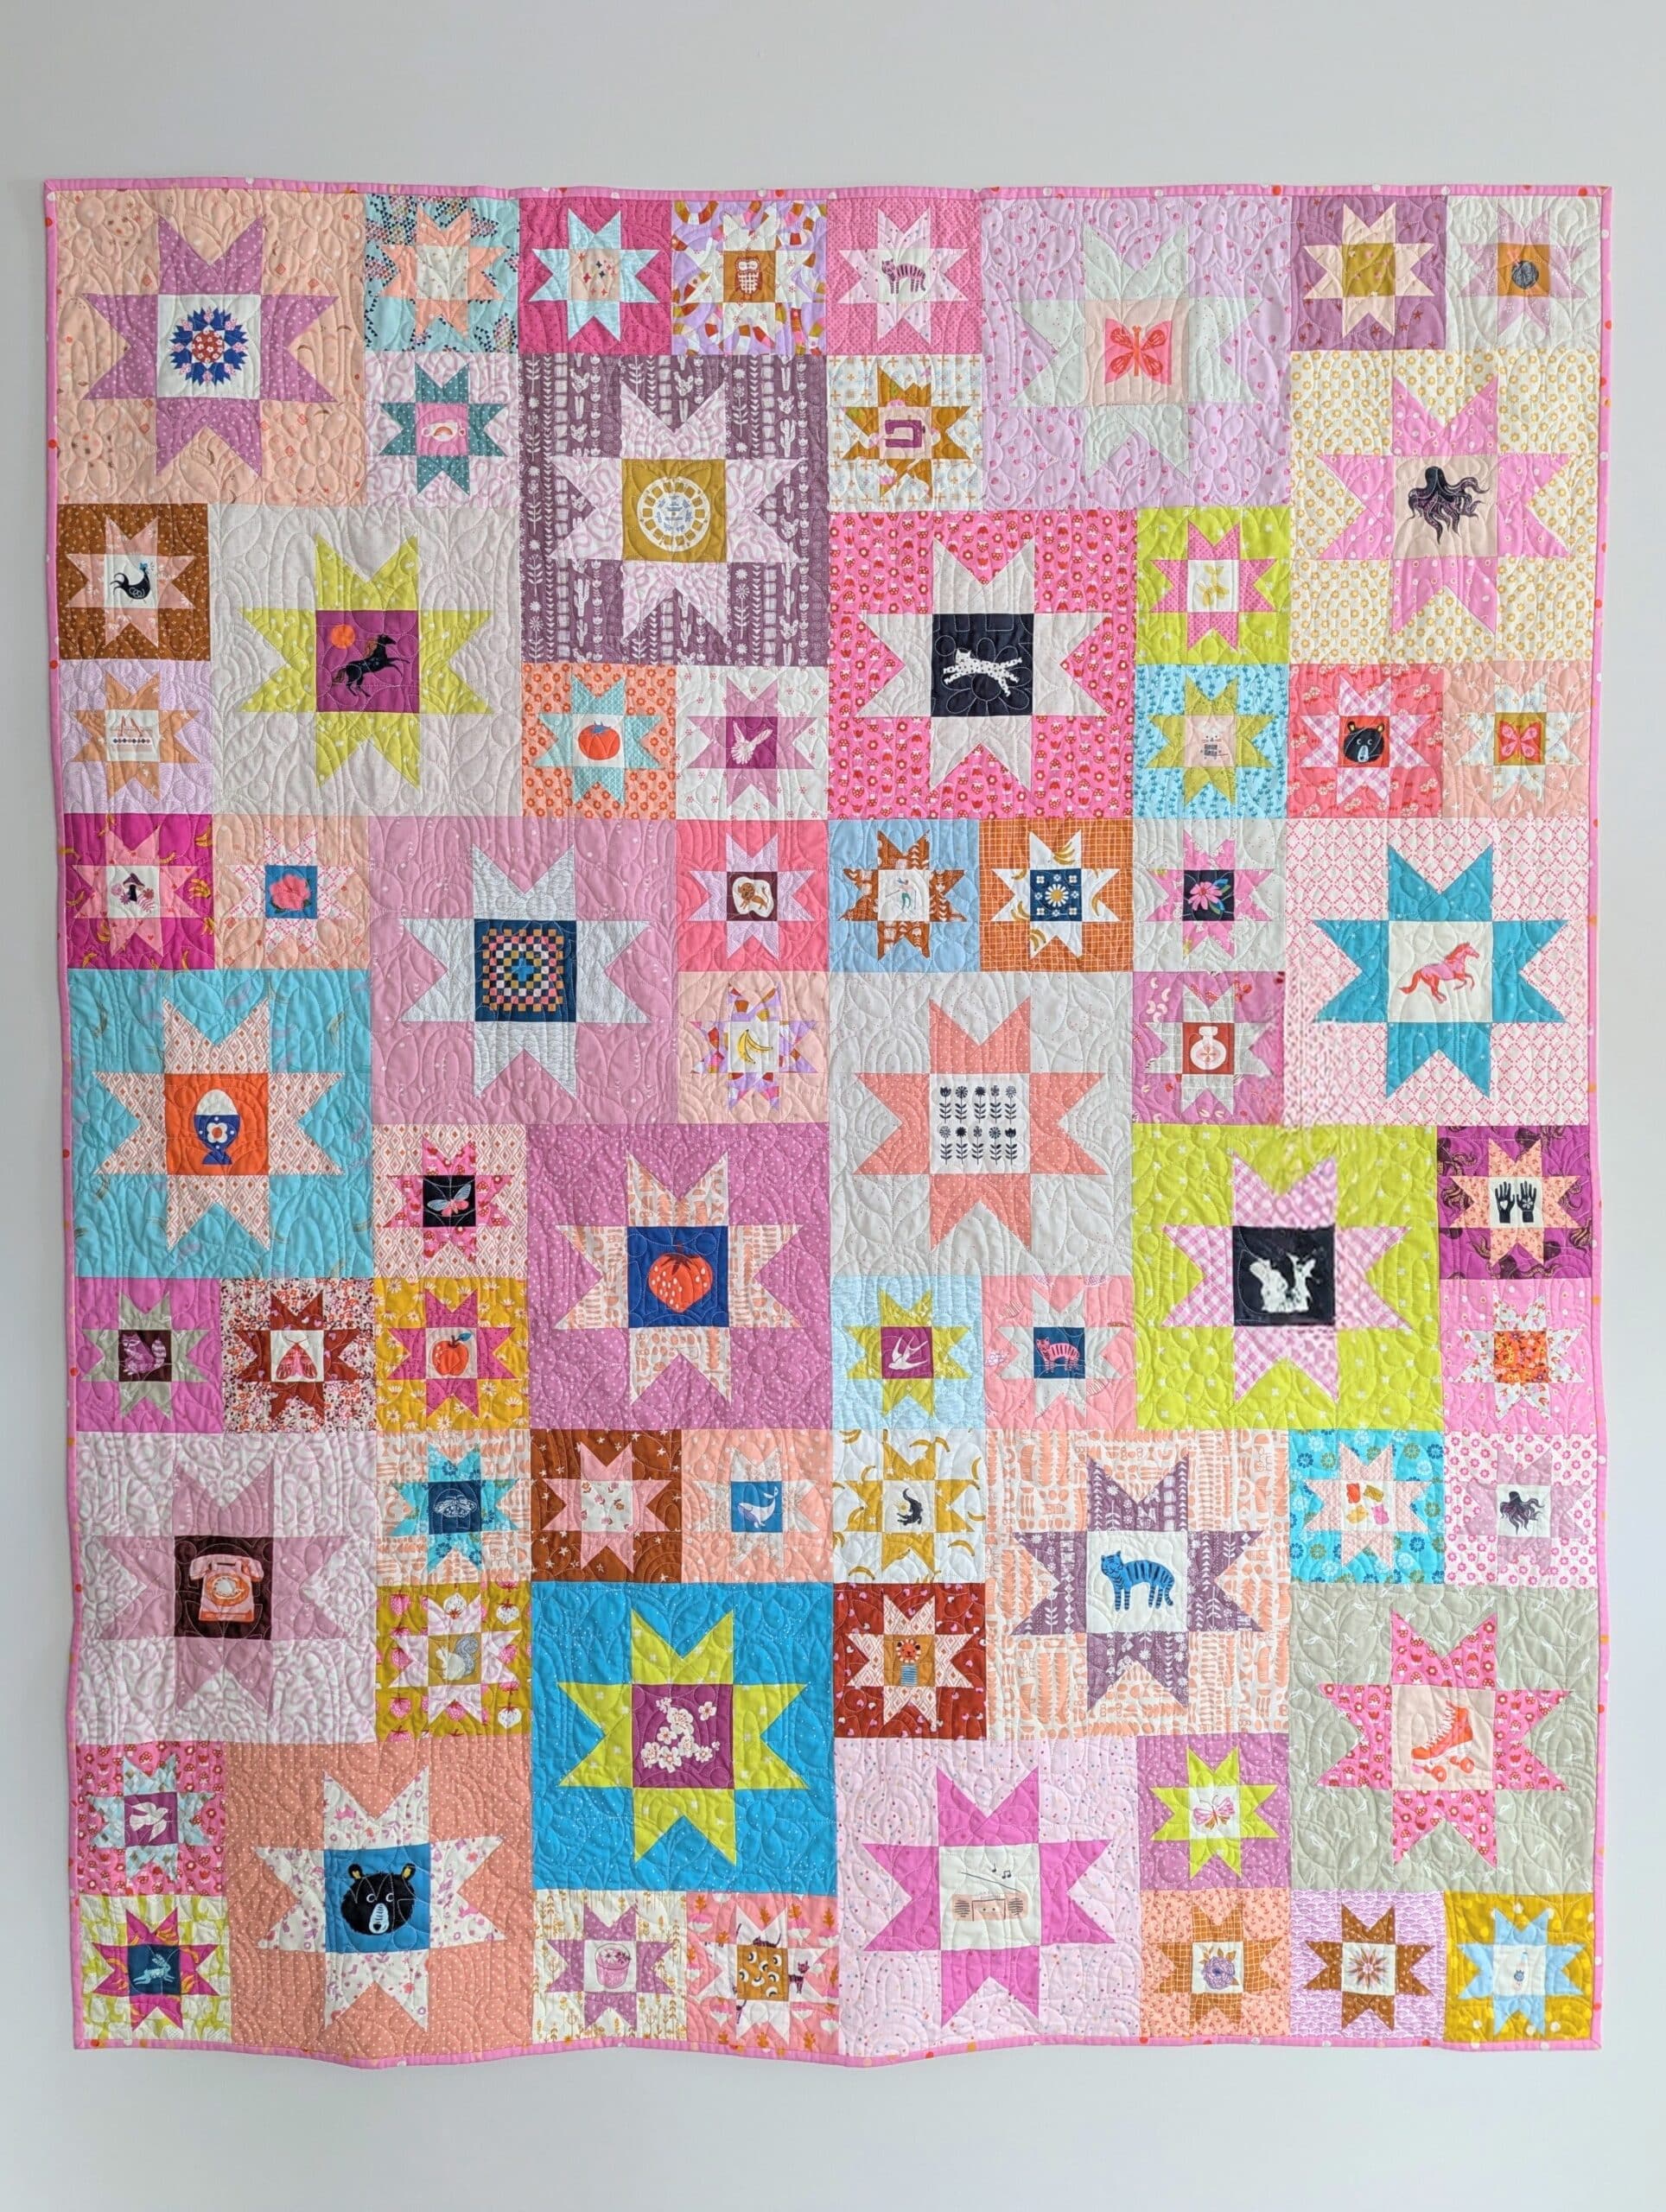
The quilt is now finished and is draped over our couch for snuggles. I love love LOVE how this turned out, and hope you do, too!


oh my goodness I love everything about this! and the quilting just adds the funnest pop- this might be the motivation I needed to finish a quilt I started a hundred years ago….
Thanks so much for the kind comments! I say this about all my projects, but this might be my favourite quilt I’ve ever made. And I support you finishing your certified-antique quilt! 😆
Great job on your perfect, perfectly scrappy quilt… I LOVE IT! The colors, the fun centers and all your detailed progress notes and pictures are very inspiring. The Honey Honey panto is so cute. I also have this panto but haven't used it yet other than a few small test pieces. Did you use the recommended height or size it differently in IQ for your quilt? Bravo!
Hi Tonni,
Thanks so much for the kind comments about this quilt – it’s definitely a favourite of mine!
As for the pantograph, I just sized it so it felt right with my IQ system. I don’t think I’ve ever looked at a designer’s recommended height suggestions. 🤷
It is a beautiful quilt!! I love the whimsy of the designs and though I’m not a scrappy quilt lover, I love this one. In my head, I was thinking of fussy cutting so many squares of my scrap material before you cleverly said that you used a special fabric that already had the centers lol. I definitely have this quilt now in my project book with fussy cut centers! Thank you for the detailed instructions 🙂
Haha, yes, that panel was a real time-save for this project!! 🙌
I am absolutely in love with your Twinkle quilt! Perfection! I always love the neon and bright colors in quilts. Those colors make me feel happy just looking at them. Your pieced backing worked so well for this scrappy quilt. I do the same, have a stash of 5 yard cuts for backings but I make a lot of pieces scrappy backings to use up my quilt top leftovers. Can you PLEASE tell me the manufacturer and line of the bright pink gingham? It’s stunning. Thank you,
Thanks so much Jackie! This quilt turned out even better than I imagined!
Every scrap of fabric in this quilt is from Ruby Star Society, and the soft pink gingham is from (*I believe*) the Food Group line (which is now out of print). Hope that helps!