
You know how sometimes you find a quilt pattern that you love, but there’s something about it that just won’t quite fit your needs? Like the dimensions, or the way the blocks are constructed? That happened to me when I joined the North Star Quilt Along by Emily Dennis. I’d love to show you how I made a few tweaks to the pattern and design to make it absolutely perfect for me! I hope that I can show you how easy it is to make something exactly the way you like it!

Quilt Alongs
I have participated in quilt alongs before, and I’ve found them to be really motivating. It’s great to know that so many other people are doing the same project as you, and that we’re all cheering each other along. Plus, it’s great to follow the hashtag and see all the other amazing quilts that people are creating! So much eye candy!
When Emily announced that she would be hosting the North Star Quilt Along, I knew I wanted to hop on board.
The fabric pull
I wanted to make this quilt using some bright colours. When I was home in Ottawa for Thanksgiving, I stopped by the marvelous Mad About Patchwork. If you’re in the area, it’s definitely worth a trip out to the sticks! 🙂

I started with the wave print from the Panorama line from Cotton + Steel (seen at left in the photo above), and then set out to find fat quarters that were similar in value / colour to those in the print. I also added some random FQs from my stash, as well as a small bundle of Alison Glass Insignia fabrics. They’re near-solids, meaning that when you look at them from afar, they appear to be solids, but they feature subtle motifs that you can only see up close. For instance, Ian was looking at a quilt block the other day and said “Did you know there’s a bee in this one!?” Yeah babe, I did. And it’s adorable!
This palette is a bit *bold* for me, but I found it thrilling to work with such pigmented colours. Is that bad? Should I get out more??
For the accent blocks, I chose yet another Alison Glass fabric. It’s from her Kaleidoscope line, and it is FABULOUS! It’s a cross-weave which means that the yarn used in the weft is different than in the warp. In this case, it’s a black thread and a white thread woven together (the colour is called Charcoal). The effect is subtle, but it lends such a depth of texture that you can’t help but reach out and touch it!
I’ve worked with other cross-weaves before and found them to be bulky and prone to fraying. This line is much more like a quilting cotton and barely frayed at all. Two thumbs up from this lady!
Making a quilt your own
Look: a pattern is just a suggestion. Or at least that’s how I view things. Designers spend a lot of time and effort producing great patterns so that if you love it exactly as it’s presented, you can easily follow their directions and make a replica. But if there’s something you’d like changed, I say do it! Design is fluid, and I have yet to meet a pattern designer that doesn’t feel this way.

Resizing the quilt dimensions
Emily offers several different sizes in her quilt pattern, but none of them felt quite right for what I intended to use this quilt for (a comfy lounging on the couch blankie). For me, the perfect size for that is 60″ x 72″. Why? It just feels right! It can cover my toes if I sit with my feet up, and it’s not so big that I have to share it! Also, we all know that I do not like square quilts, so it has to be a rectangle. Plus, I can get away with only purchasing 3.5 yards of fabric for the backing (if you were sending a quilt this size to your longarmer you might need to purchase 4 yards).
Resizing the quilt blocks
In order for me to obtain the “perfect” 60″ x 72″ quilt, I needed to resize the blocks. Emily’s pattern calls for wonderful, bodaciously large blocks that would help you finish in no time, but I decided to make my blocks finish at 12″. That would give me a 5 x 6 layout, meaning I would need to create 30 blocks. Why not double the sewing, cutting, and and trimming, hey?
I love quilty math, and so resizing is a breeze for me. If this is an area that you struggle with, I can wholeheartedly recommend The Quilt Block Cookbook by Amy Gibson of Stitchery Dickory Dock. It has a wonderful section that does a LOT of math for you. You want to make a half-square triangle unit for a block that finishes at 16″ and has a 4×4 layout? No problemo! The book is a valuable tool that will help you think about the construction of blocks in new ways.
Re-thinking block components
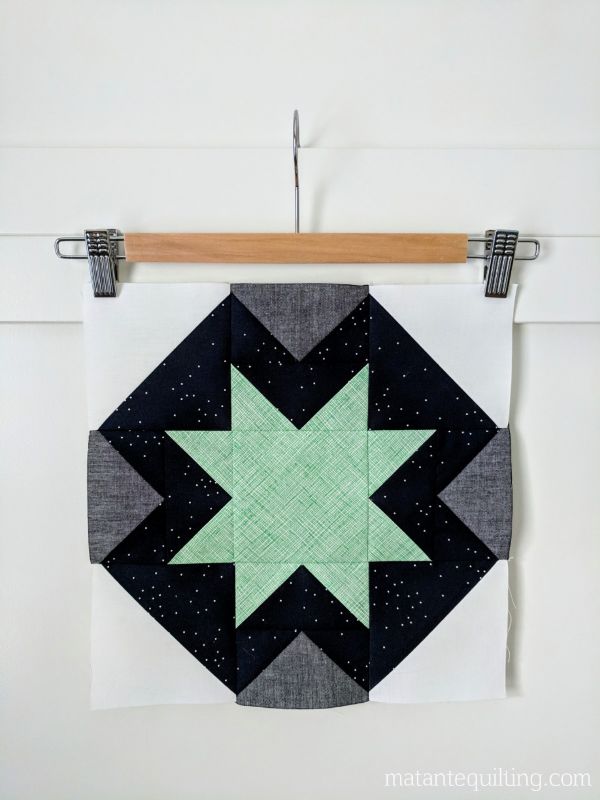
The North Star Quilt pattern calls for you make a pile of half-square triangles. HSTs are cool, but I like flying geese even more, so I decided to switch up the construction of the blocks. Did you know you have the power to do that? 🙂 It’s easy as pie to make tweaks in order to suit your preferences. If you’re going to spend hours and hours making block components, wouldn’t you like to be making things you ENJOY?

My go-to method for flying geese is the Four At a Time, No Waste method. For anyone that’s new to this technique, I would suggest this printout as a good reference, and this video as a walk-through. Of course, I don’t use the dimensions suggested in either the worksheet or the video (the blocks aren’t big enough to trim). My goal is to have as little waste as possible while still making a block big enough to trim down with my amazing, life-saving Bloc Loc ruler.
For the record, when I make flying geese, I always add:
- 1 1/2 ” to the width and
- 1 1/8 ” to the height of the final FINISHED size of the block
To make four flying geese units that finished at 2″ x 4″, I cut:
- 1 @ 5 1/2″ square from “geese” fabric and
- 4 @ 3 1/8″ squares from “sky” fabric

A wonderful bonus of this method is that it works perfectly for directional fabric (for both the geese AND the sky!) I love it when a plan comes together!

Finishing the quilt
Once I got on a roll, I couldn’t help myself. I went ahead of schedule (for once in my life) and made all the blocks before the deadline. Then I went and sewed them all together! Now I have a beautiful quilt top that’s all ready for quilting. If only I had a computerized long arm to finish this beauty! The good news is that things with my business are (slowwwwwwly) inching along, and I’ll be quilting before you know it.
In the meantime, I’ve sewn the backing together and have prepared the binding. I don’t like to start quilting a project until the binding is ready – that way I can just keep on sewing once I’ve finished quilting. It’s one of my best habits!
I suppose I’ll have to make a decision about what type of quitling to do. Emily has a great Bonnie and Camille version with straight line quilting – I think it would look great with this pattern!

In conclusion
With just a few small changes to the:
- overall quilt dimensions
- block size, and
- block construction
I was able to make this quilt absolutely perfect for me and my needs. While it might seem daunting to make “so many changes”, they’re all actually quite small and easy to do. I would encourage you to see if there are any quilts out there that you have wanted to make, but didn’t because there was something a little off about it. I bet you could make it perfect with just a few changes! If you want help with this, please don’t hesitate to contact me – I’d love to show you how easy it is!
And how about you? Have you been participating in this quilt along? Were you a keener like me? Or are you on pace with the schedule? Tell me about your experience in the comment section below!


Fabulous post. I’m going to try your suggestions for adding to the cut size for flying geese. I add too but I’m not certain it’s a regular formula…ie I recalculate every. Single. Time, thank goodness I love math. Have a great day.
Thanks Ann!
I found that I was scrambling and looking at sixteen different websites to figure out what my “ideal” cut size for FG blocks was. So really this blog post is for my reference as much as anyone esle’s! 🙂