
My Lucky Links quilt journey was full of surprises: some frustrating, some delightful. Here’s the story.

Retreat Planning (and Choosing the Right Pattern)
I go to a quilting retreat with my sewing besties in Altoona, WI twice per year. Since my sewing time is constantly interrupted (by chatting, snacking, and admiring everyone’s projects), I’m always looking for simple patterns that don’t require too much concentration.
I find that Emily Dennis’ patterns fit the bill perfectly, and I make a LOT of them. Lucky Links was on my to-make list for October 2025’s retreat, so I did a quick online search for new fabric that I could use for this project.
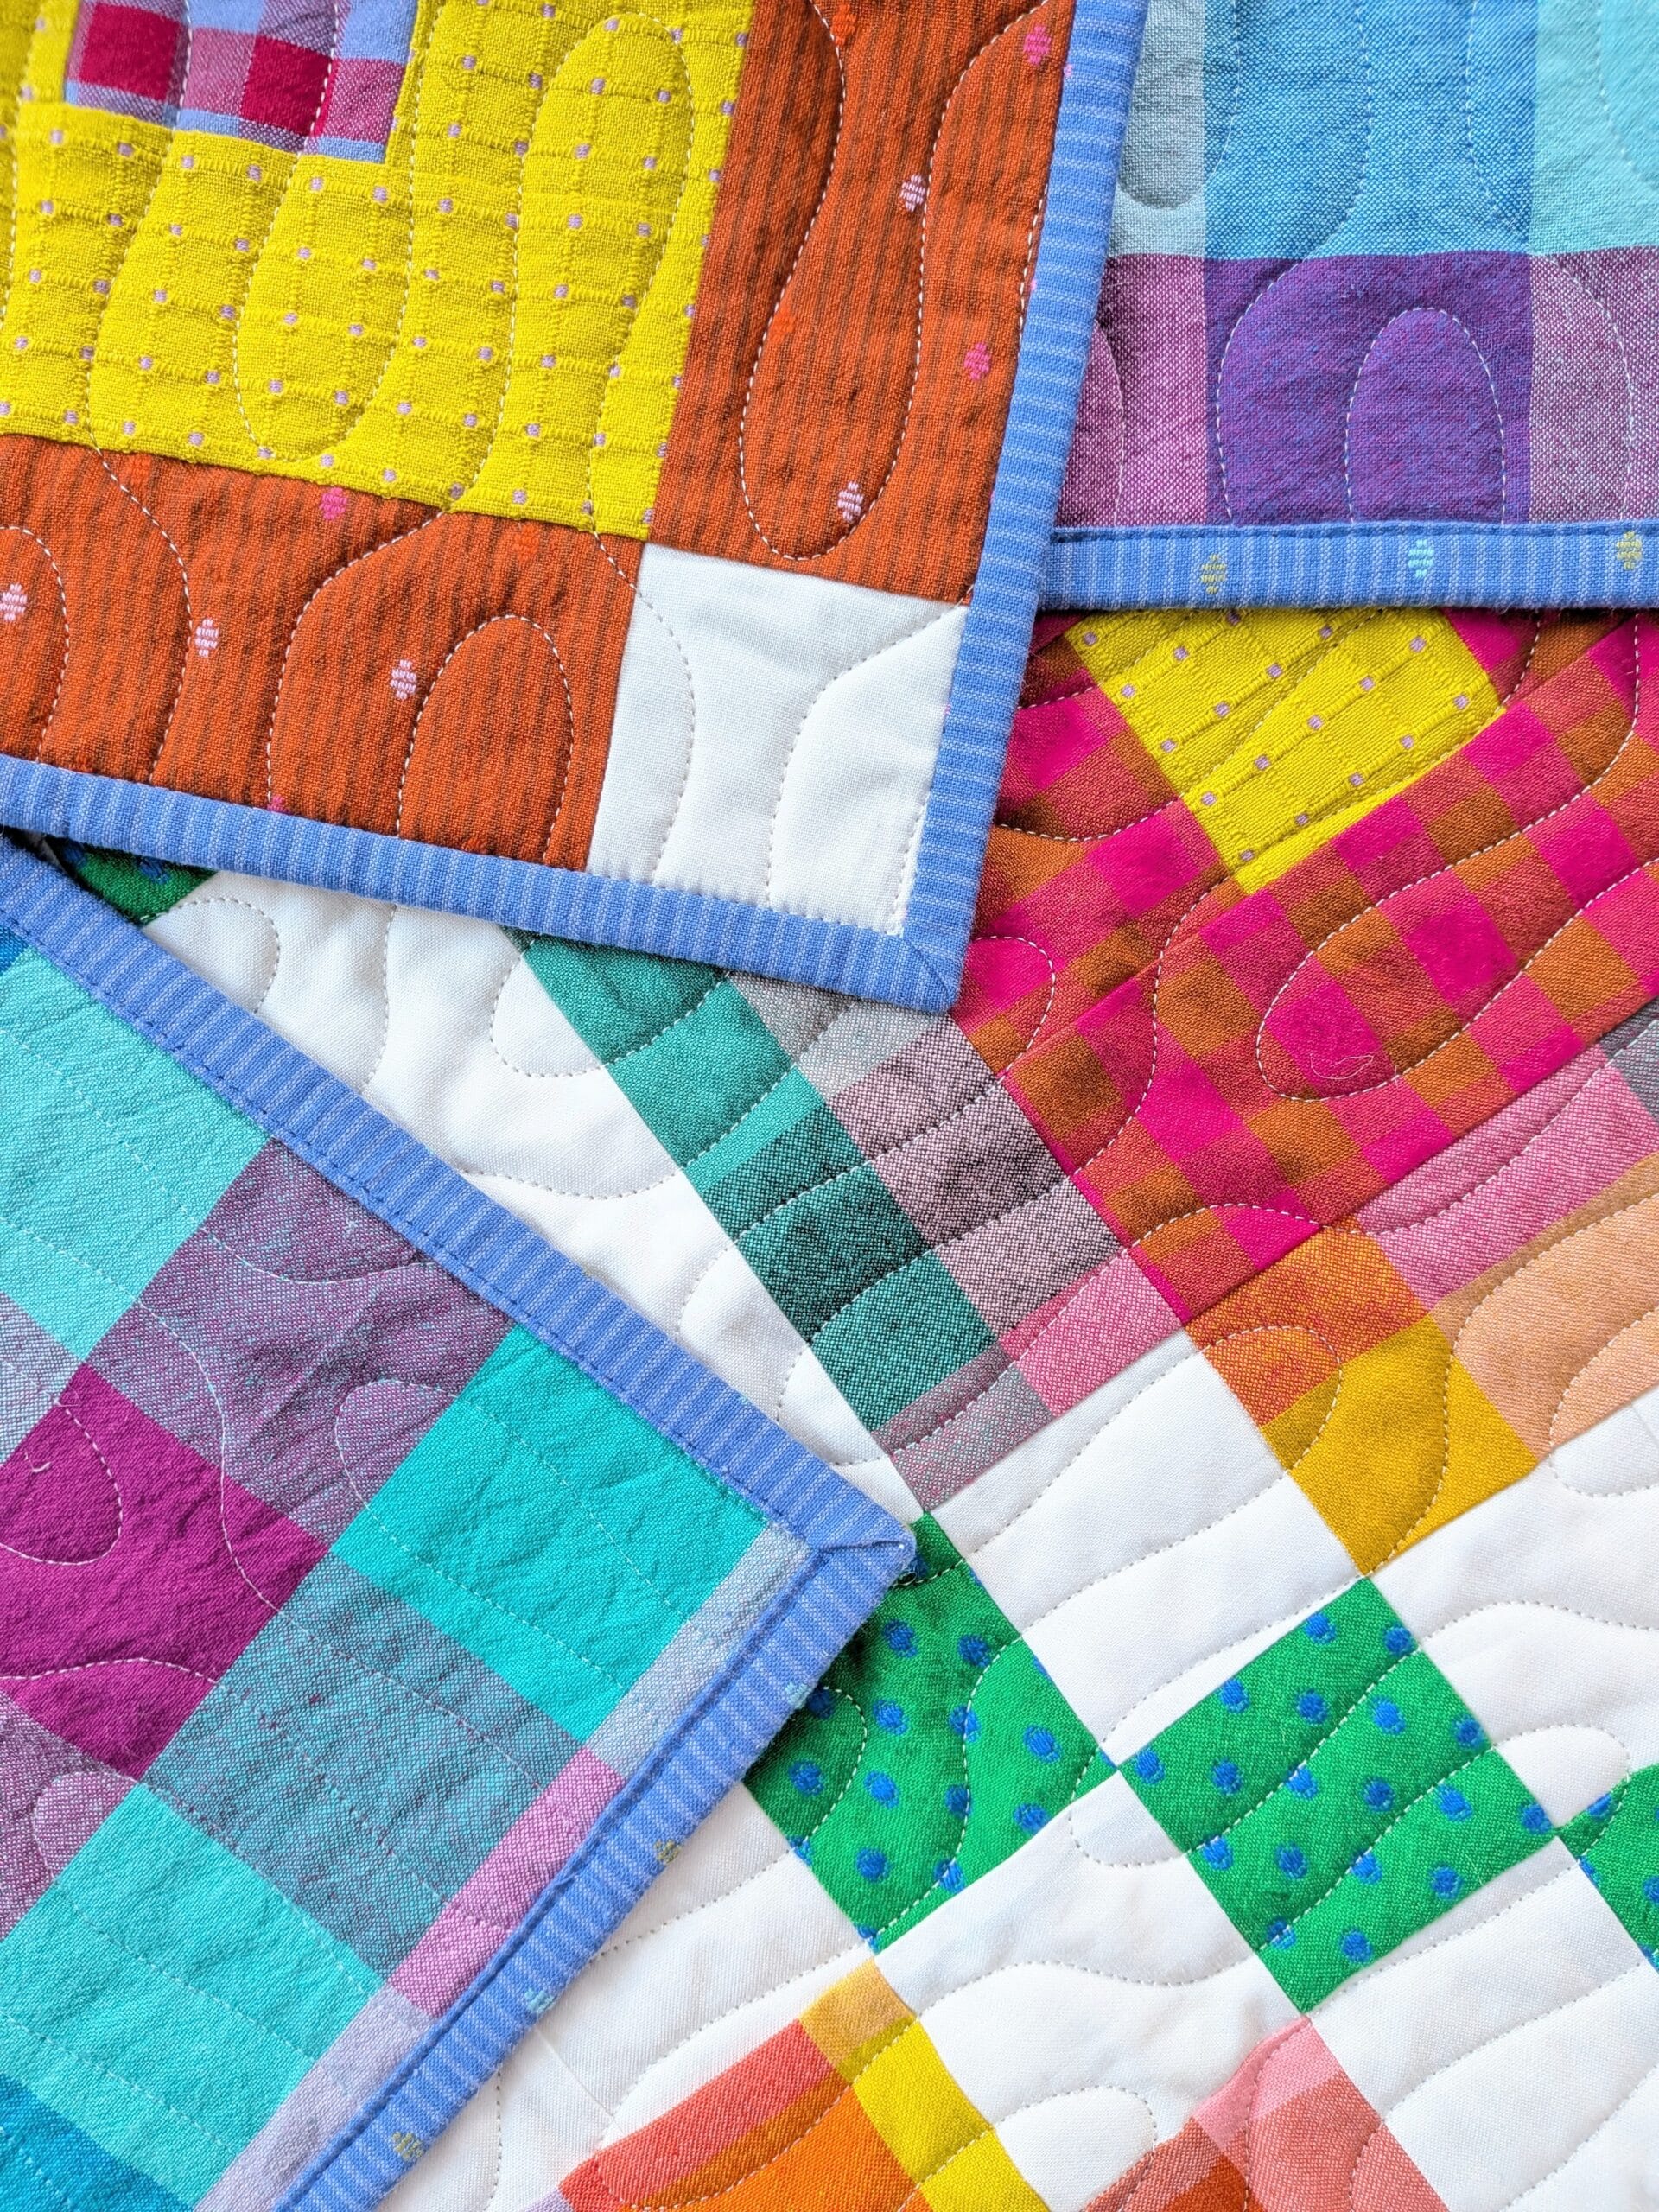
I immediately fell for the colours and textures of the Garden Variety line by Anna Maria Textiles. It’s a yarn dyed “woven” collection, which means that it contains a variety (no pun intended) of different thicknesses, textures and finishes.
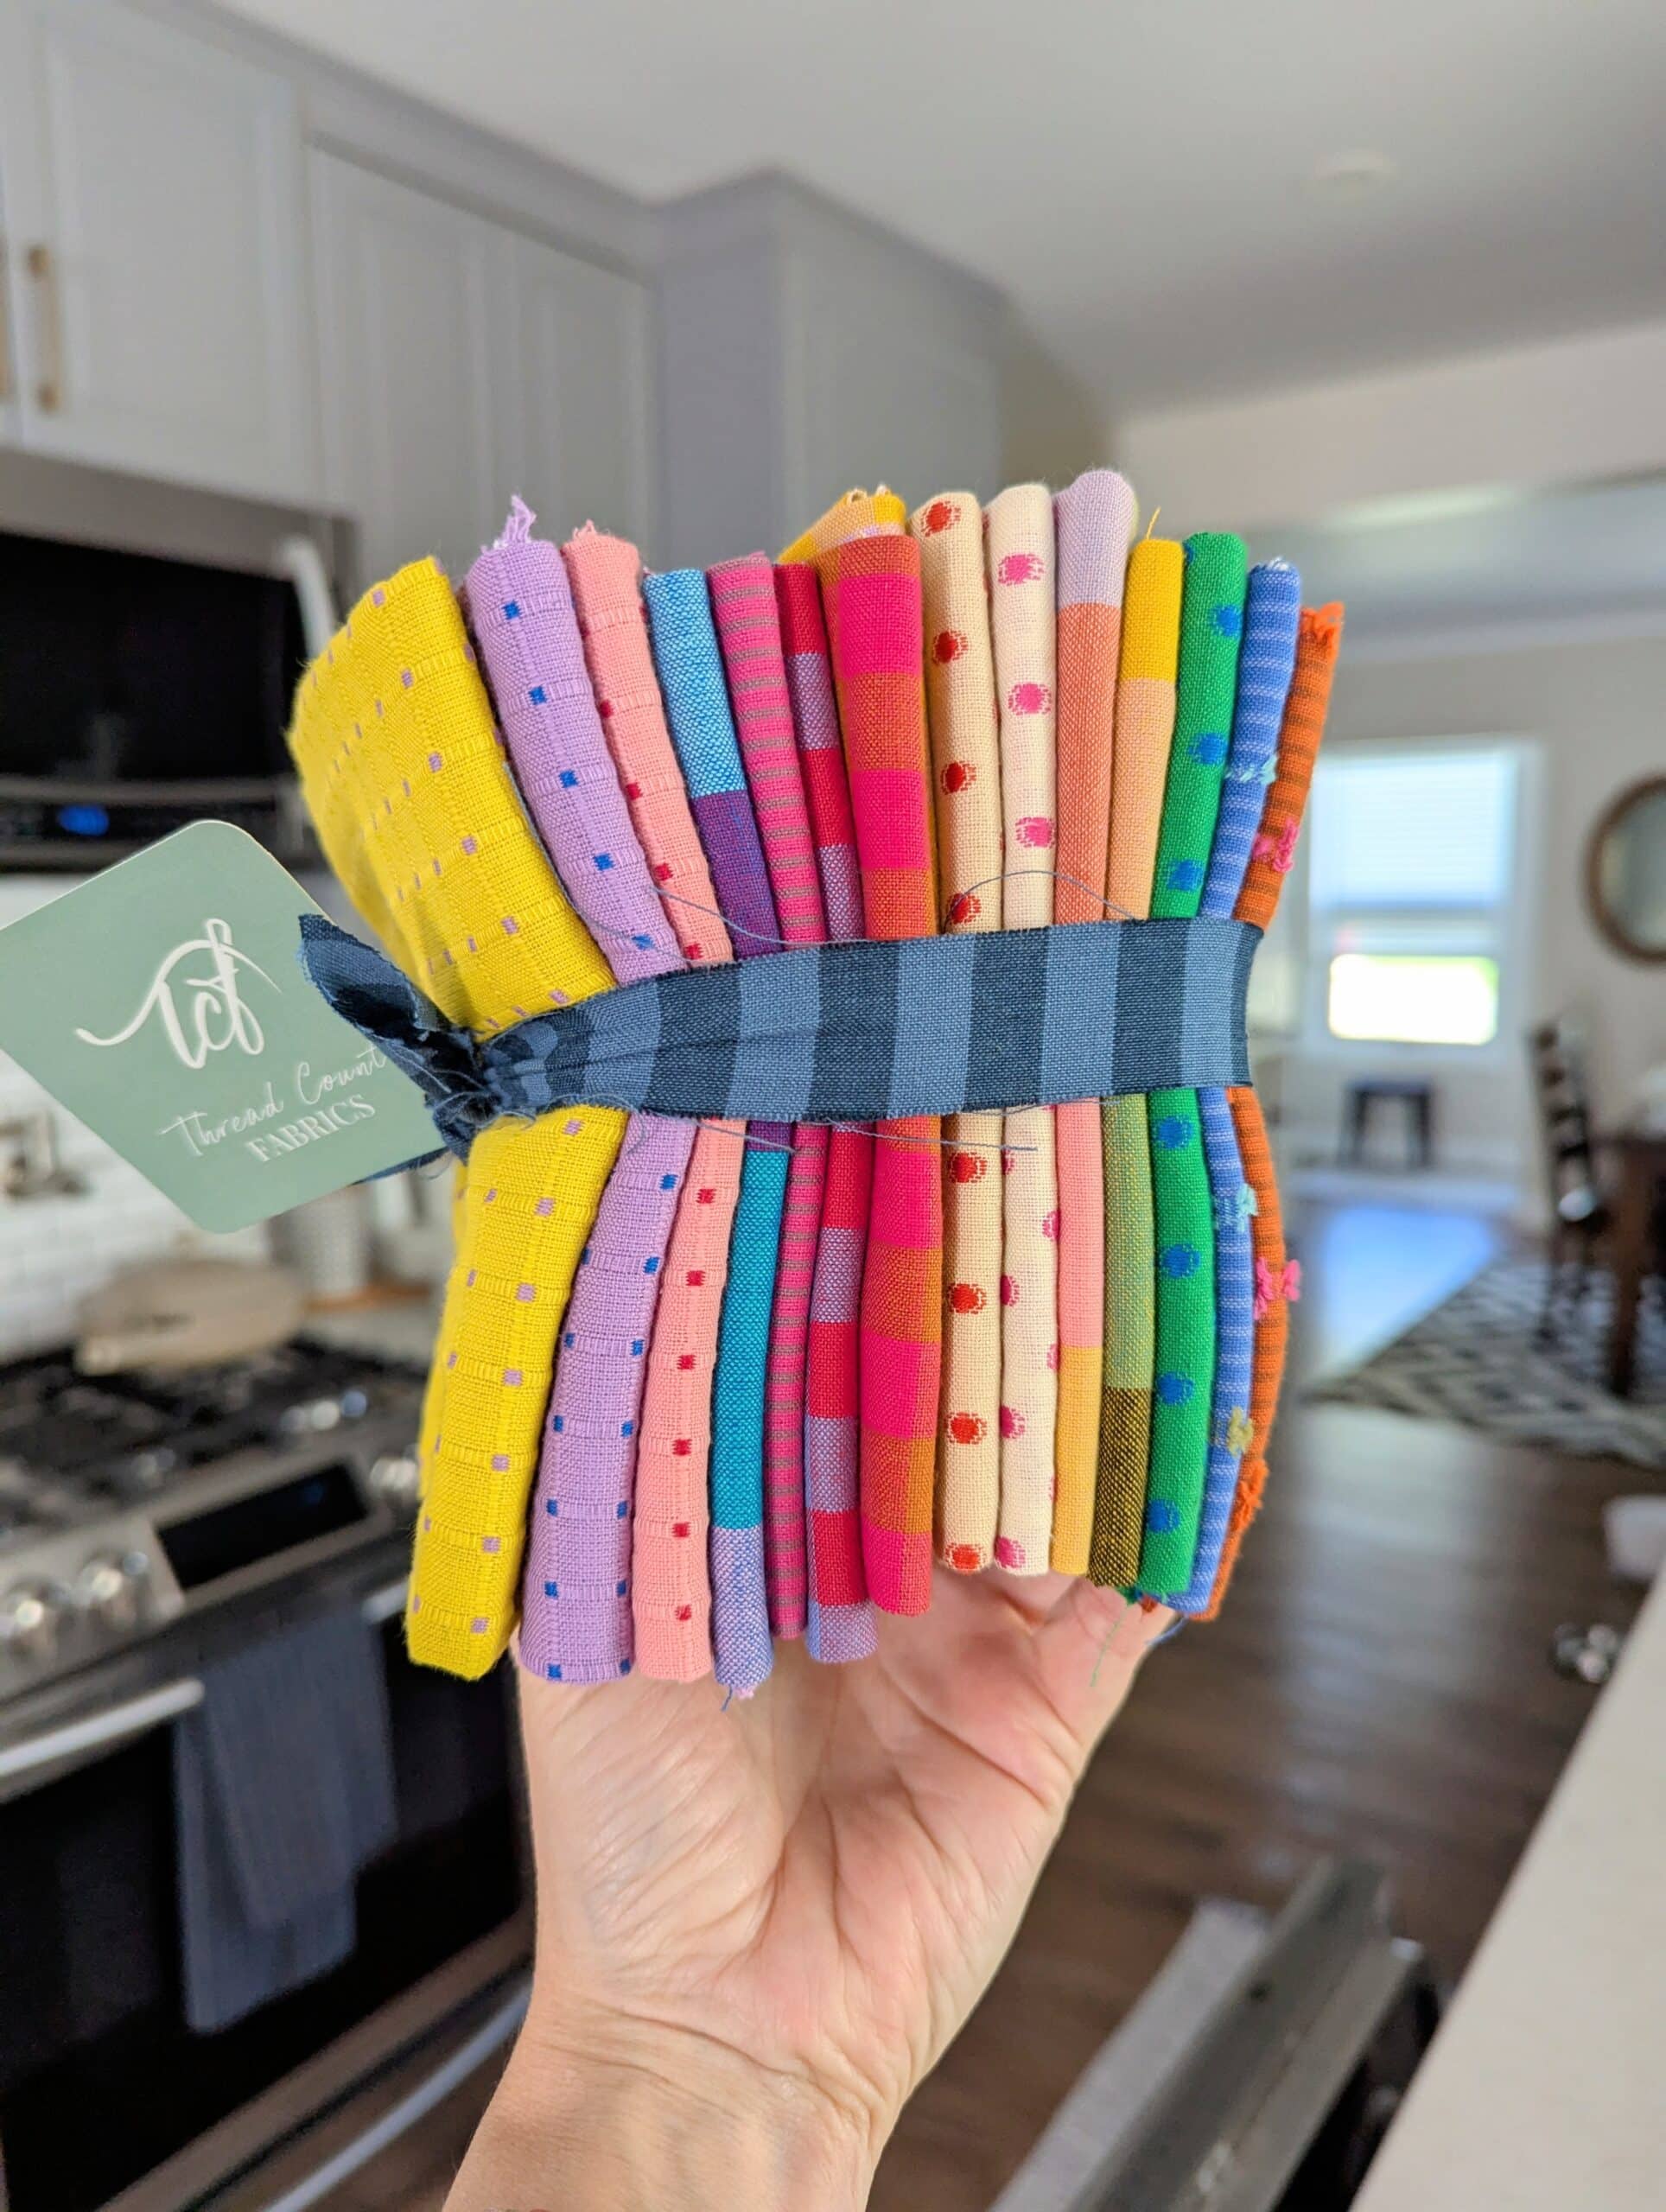
I used quotation marks for the word woven because all quilting cottons are woven, but this is the term people use to describe this type of fabric.
I ordered a fat quarter bundle for the main blocks, and yardage for the chain blocks, backing, and binding.
Falling for Fabric… Online
I live in a very small town and do the majority of my fabric shopping online. Mostly this turns out fine, but sometimes I like the way something looks on my screen more than I like the way it looks in real life.
Such was the case when I purchased this fabric. Womp womp.
I totally understand that different screens show colours differently and that it’s impossible to 100% accurately portray something online, so I’m not blaming anyone in this situation, but I just didn’t *love* this line when it arrived at my house. Hoping that it might grow on me, I decided to proceed regardless.

Based on the advice of many quilters on Instagram, I decided to pre-wash this fabric before cutting it (because wovens tend to shrink more than regular quilting cottons).
Preparing my Lucky Links quilt
The last project I made using any woven fabric was my Log Cabins quilt, and I recalled it being a bit tricky to get accurate results, so I stitched up a test chain block before fully committing. It didn’t turn out perfectly, but it was pretty close to the intended size which was a huge relief to me.
Emboldened by the mostly-accurate result of my test block, I sewed up the rest of the chain blocks. They came together fairly quickly thanks to strip piecing, and in no time I had a nice stack of blocks. Emily’s patterns often have pressing directions which let you nest all of your seams, saving even more time (because you don’t need to pin).
I cut out the rest of the quilt using the fat quarters, then tucked them into a Stitch Supply Co project bag before heading out to Wisconsin.

Sewing the Quilt Top at Retreat
Since I was least excited about this project, I decided to sew it first. Sometimes my willpower astounds me!!
The lighting inside the building is atrocious so I don’t take many in-progress pictures, but I did share this quick snap to Instagram.
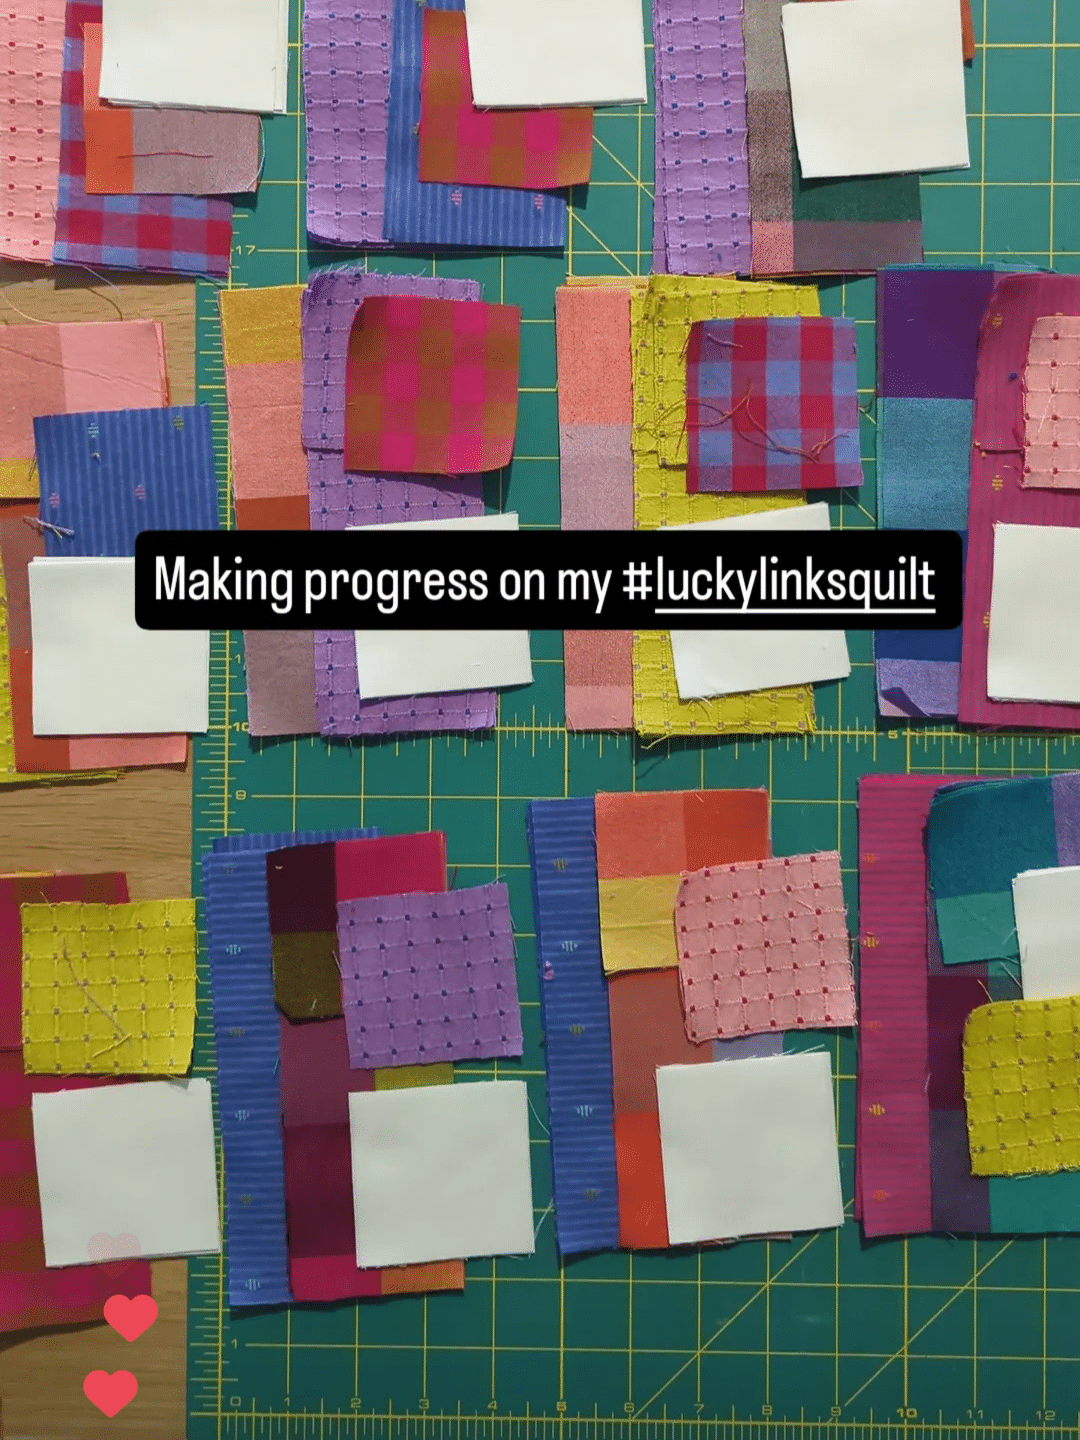
At this point, I still wasn’t very excited about the colours or how they looked together in their piles. But did I give up? No! I cracked open a Diet Coke and got to work.
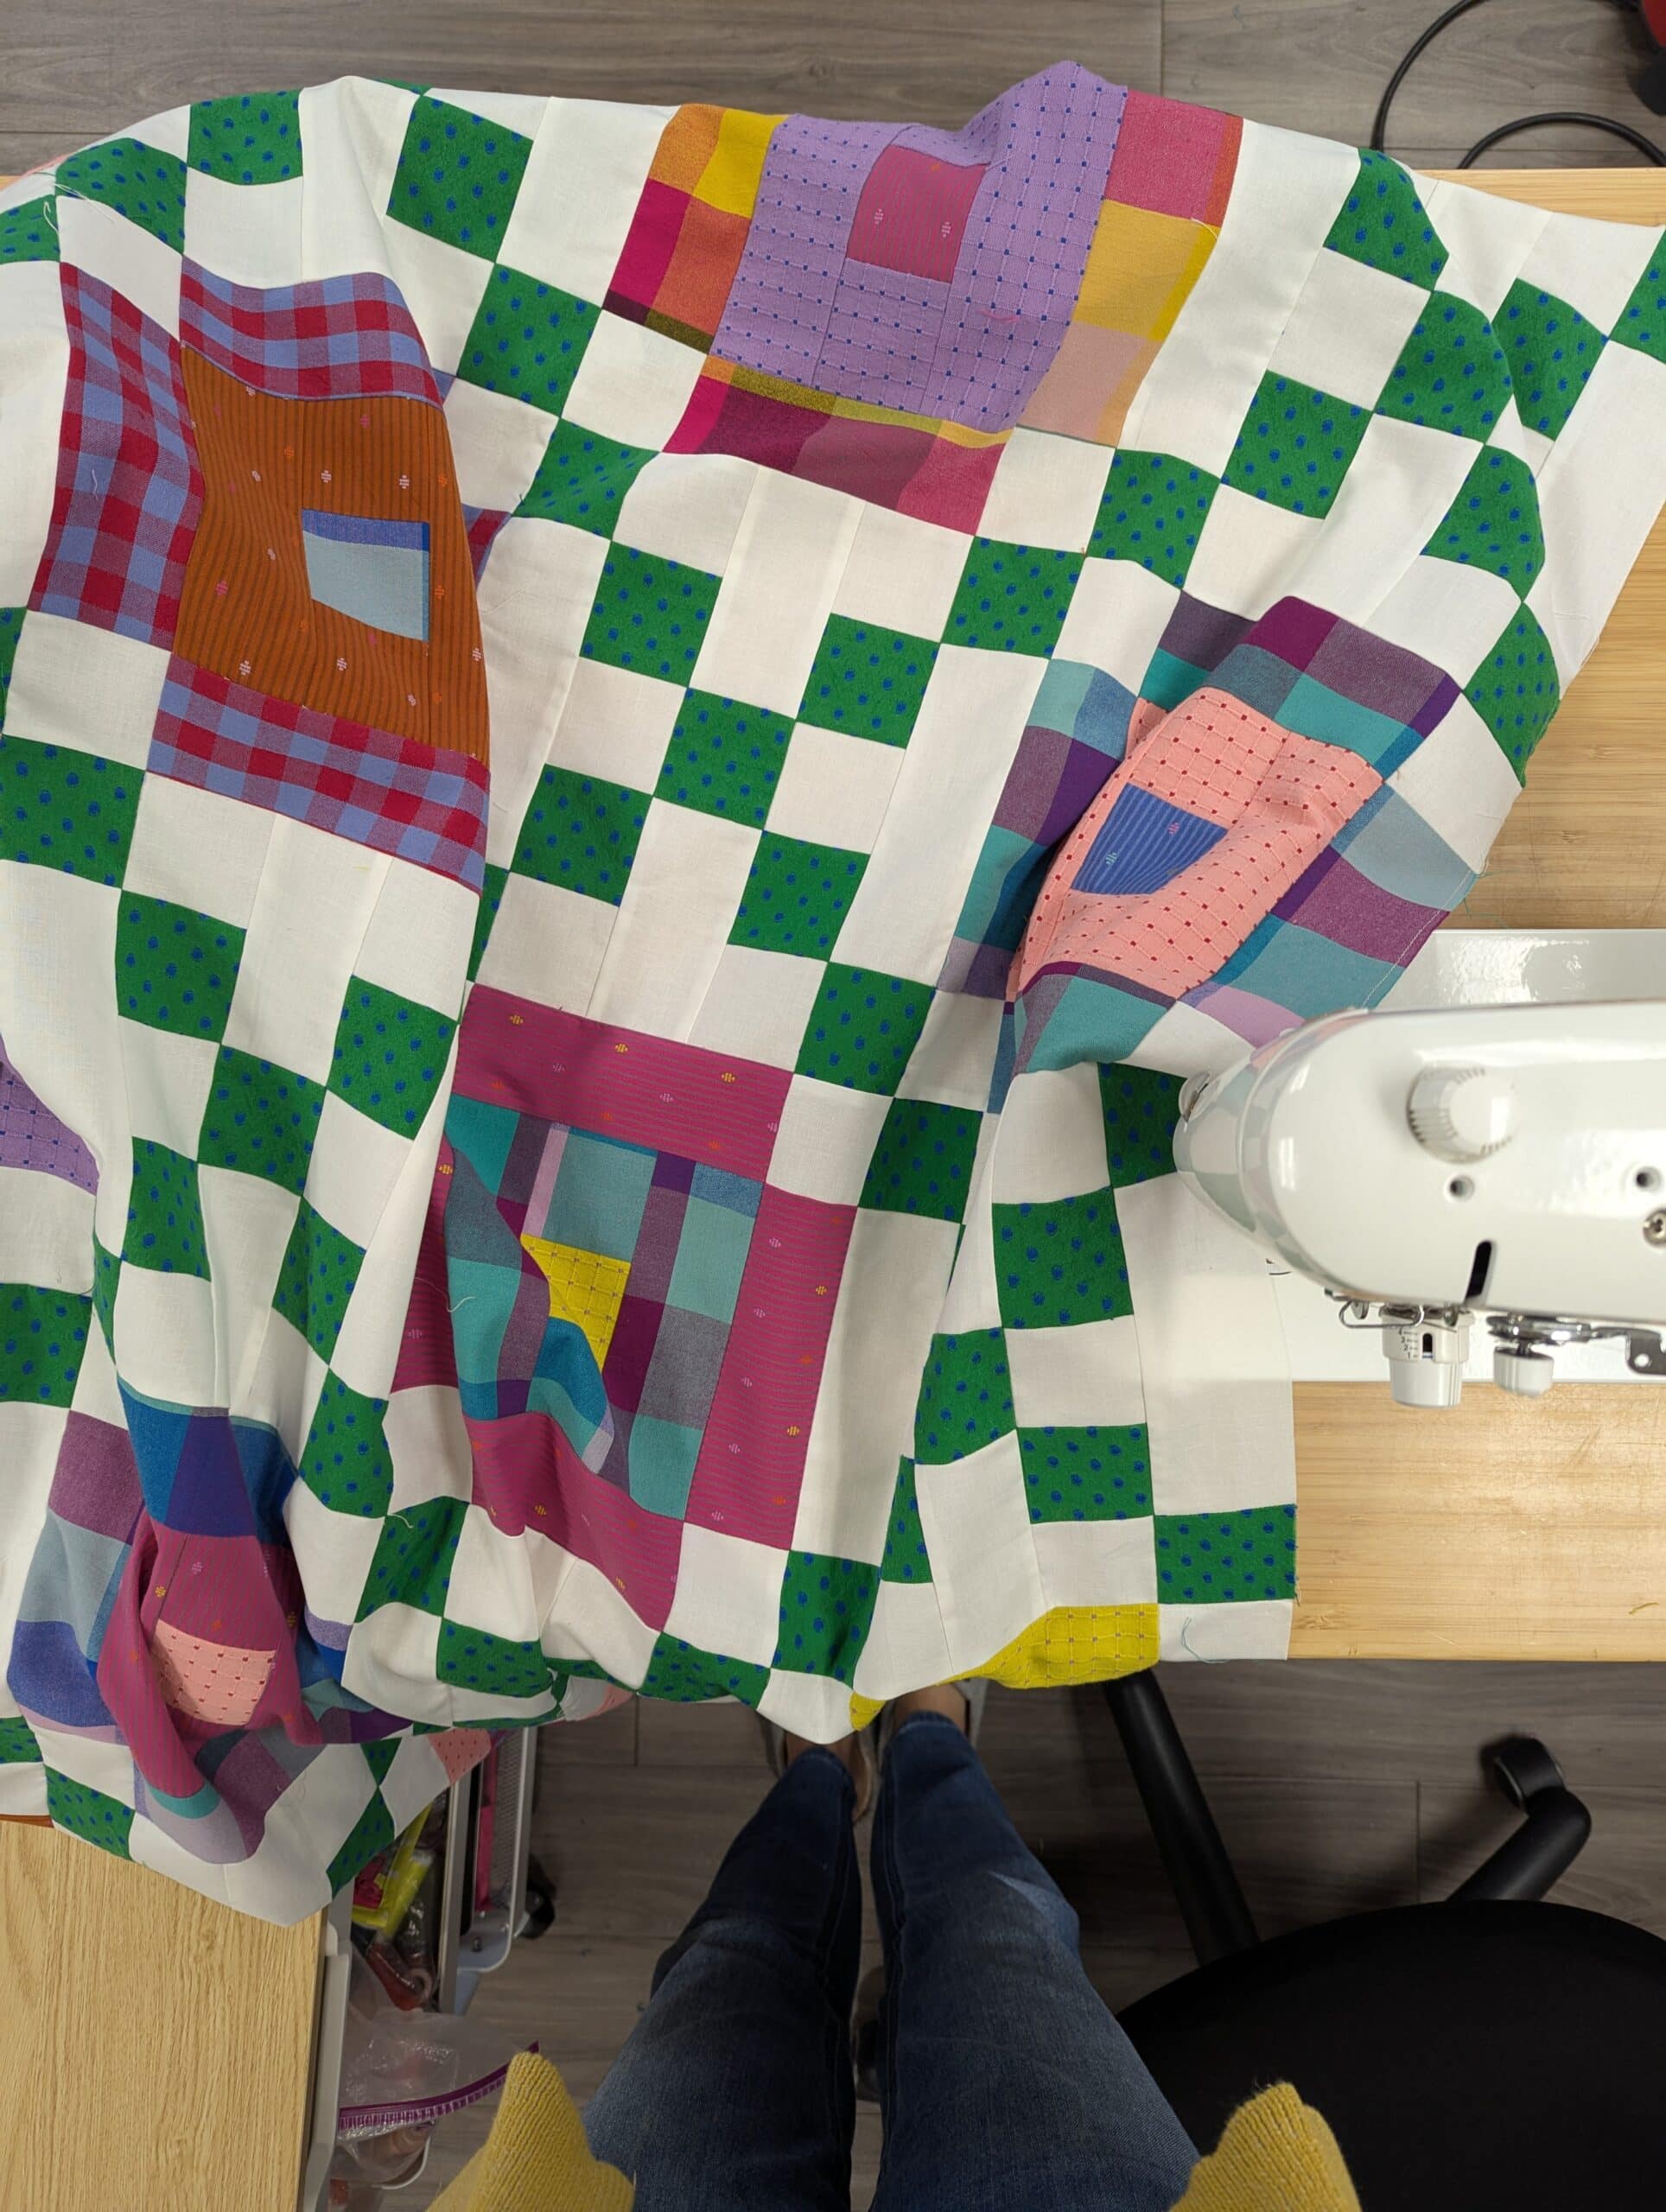
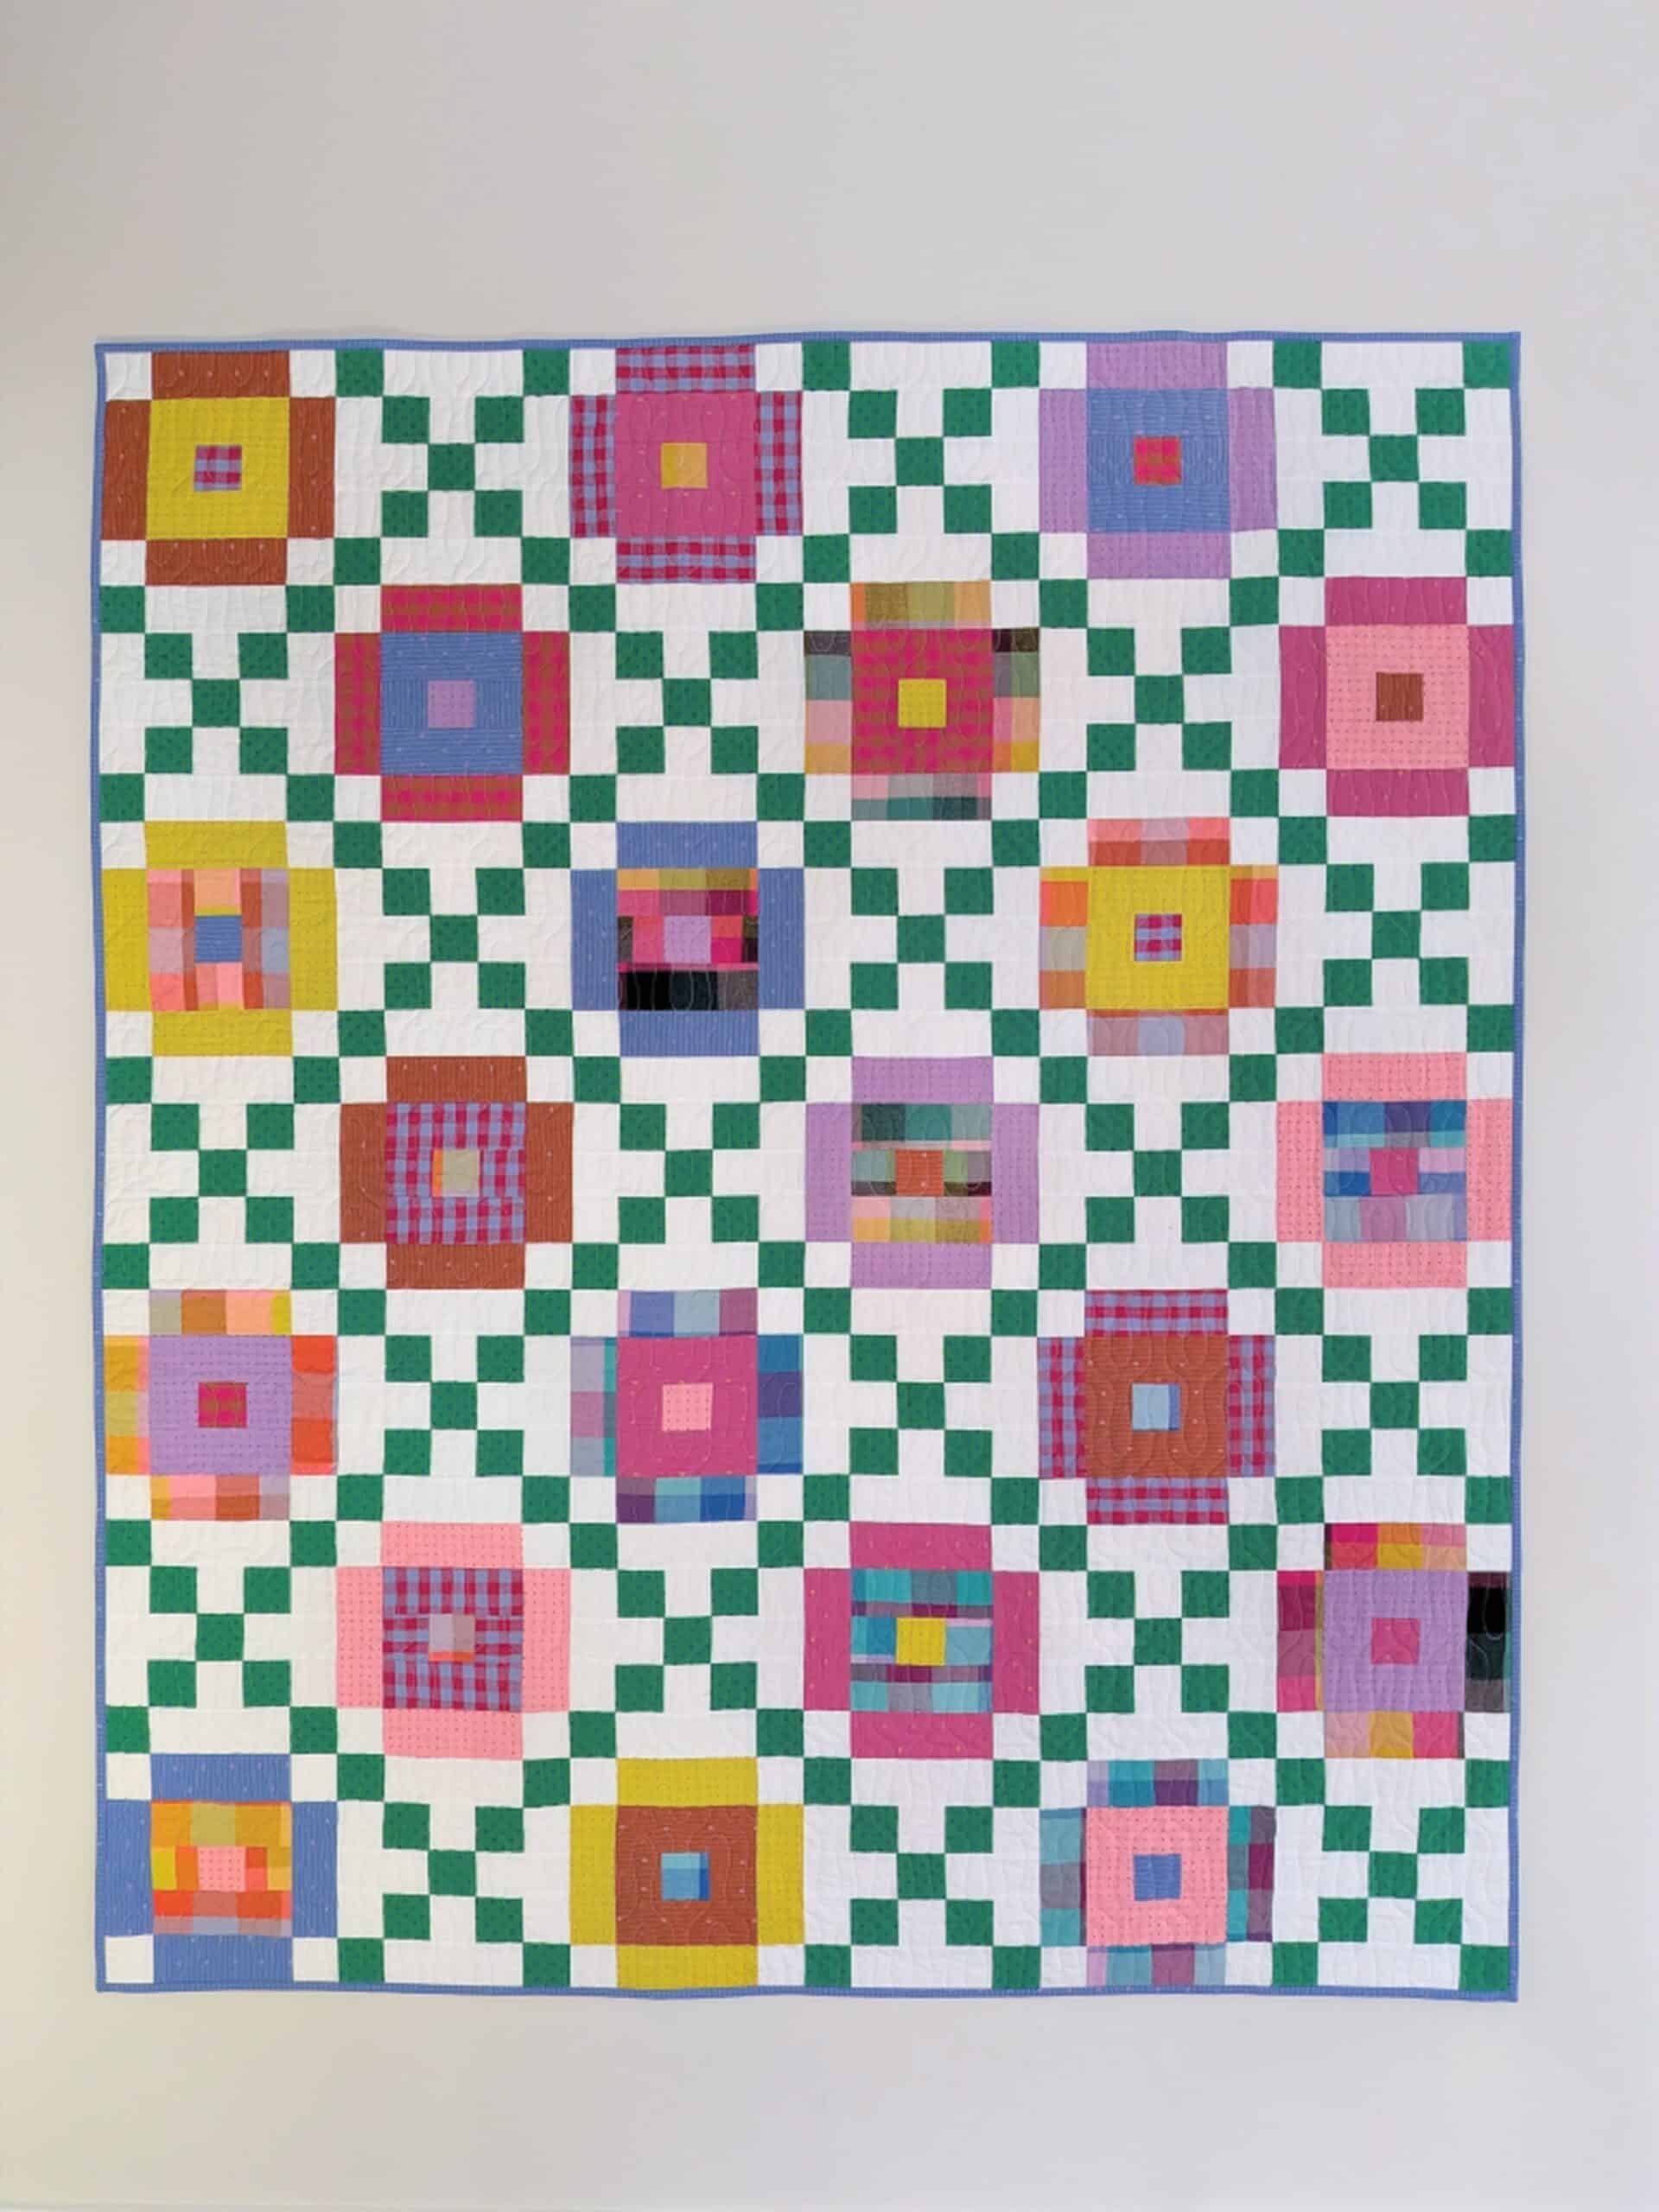
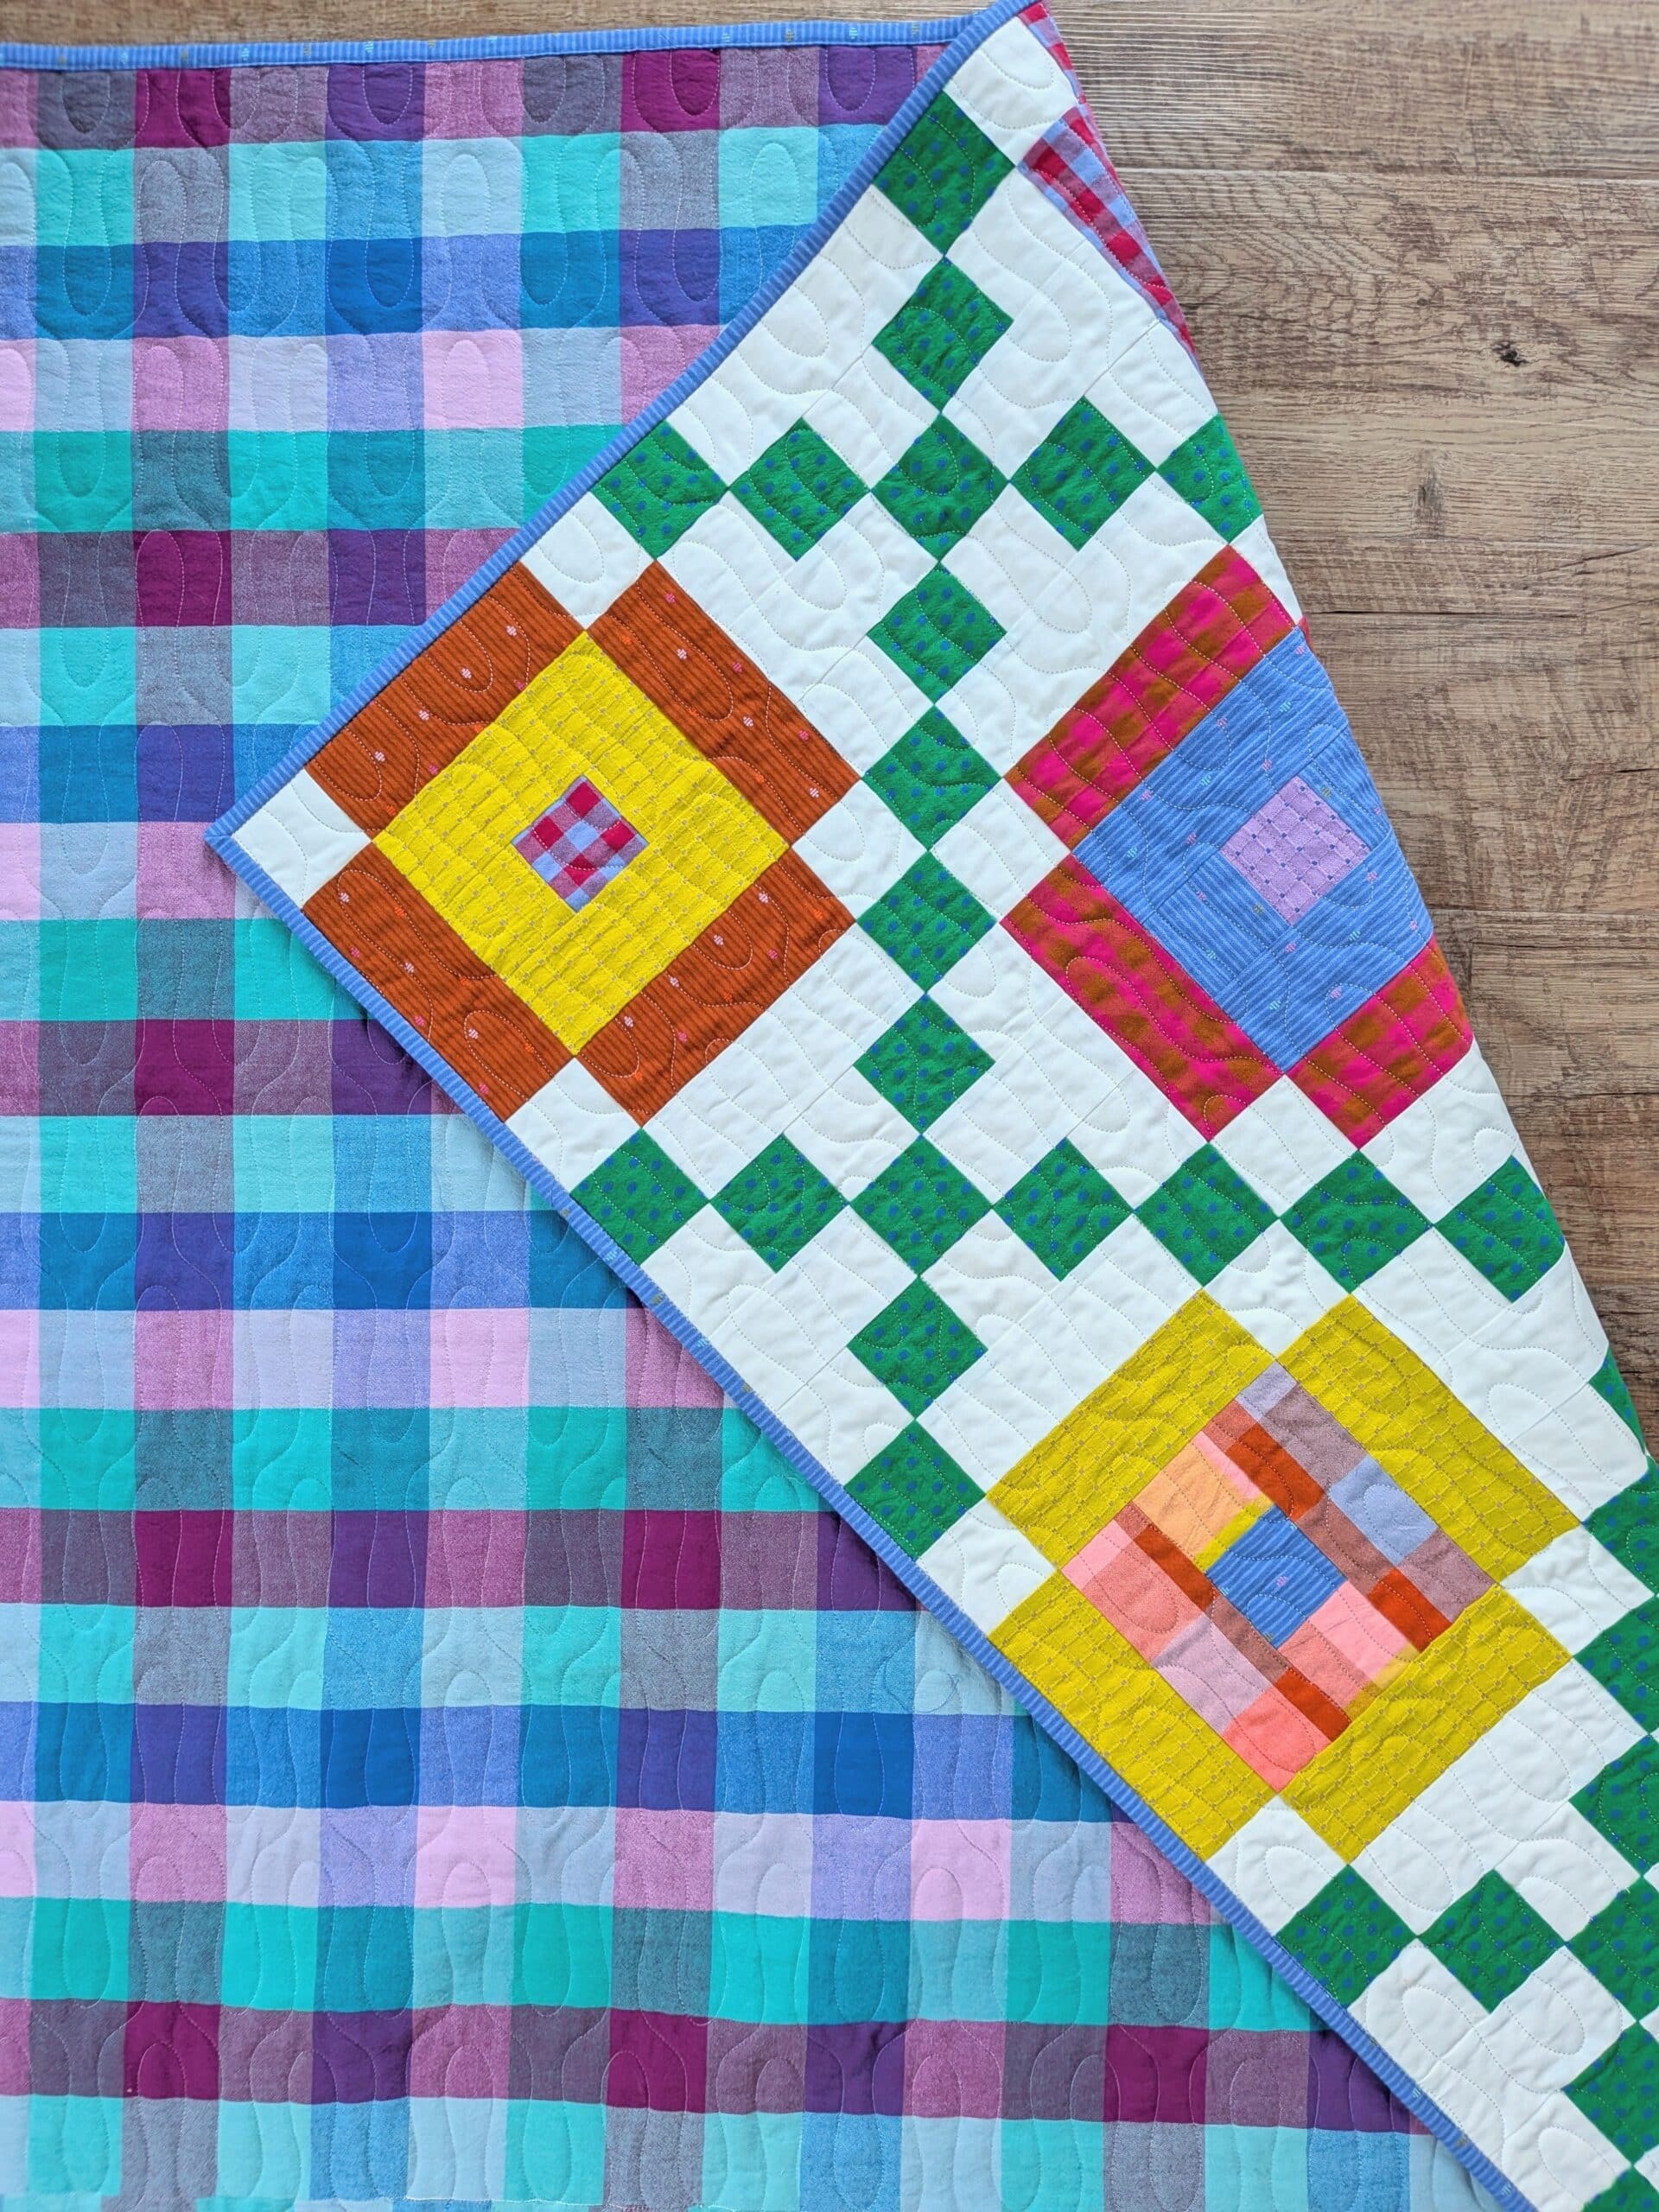
According to the obligatory “victory lap documentation” photo on my phone, I finished the quilt top by the end of the first full day at Retreat (Tuesday). My friend Angie helped me take some glamour shots outside, and once I was able to see the whole thing together I completely changed my mind about this project.

Now I love it!
It’s funny that seeing a pile of the chain blocks next to the main blocks did nothing for me, but once they were sewed together, it looked totally different. Somehow, the sum is more than its parts. Have you ever had a similar experience with a project? Let me know in the comments!
Once I had the quilt top completed, I tucked it away in a bag and then forgot about it for a few months.
A Slightly Nerve-Wracking Longarming Test
In mid-December 2025 as I was longarming the final client quilt of the year, my machine had a complete freak out and started acting very oddly. In the end it was only a burned out lightbulb, but it caused the machine to act erratically. I replaced the bulb and the issue seemed to be resolved, but it still left me a bit leery.
The client quilt wasn’t damaged at all, but I didn’t want to load the new year’s first quilt without testing it on one of my own beforehand. Since a (very small) part of me was concerned that the machine might wreck whatever I put on there, I looked in my stack of quilt tops for the one that I cared about the least.
You guessed it: my Lucky Links quilt won. I guess I didn’t love it *that* much.
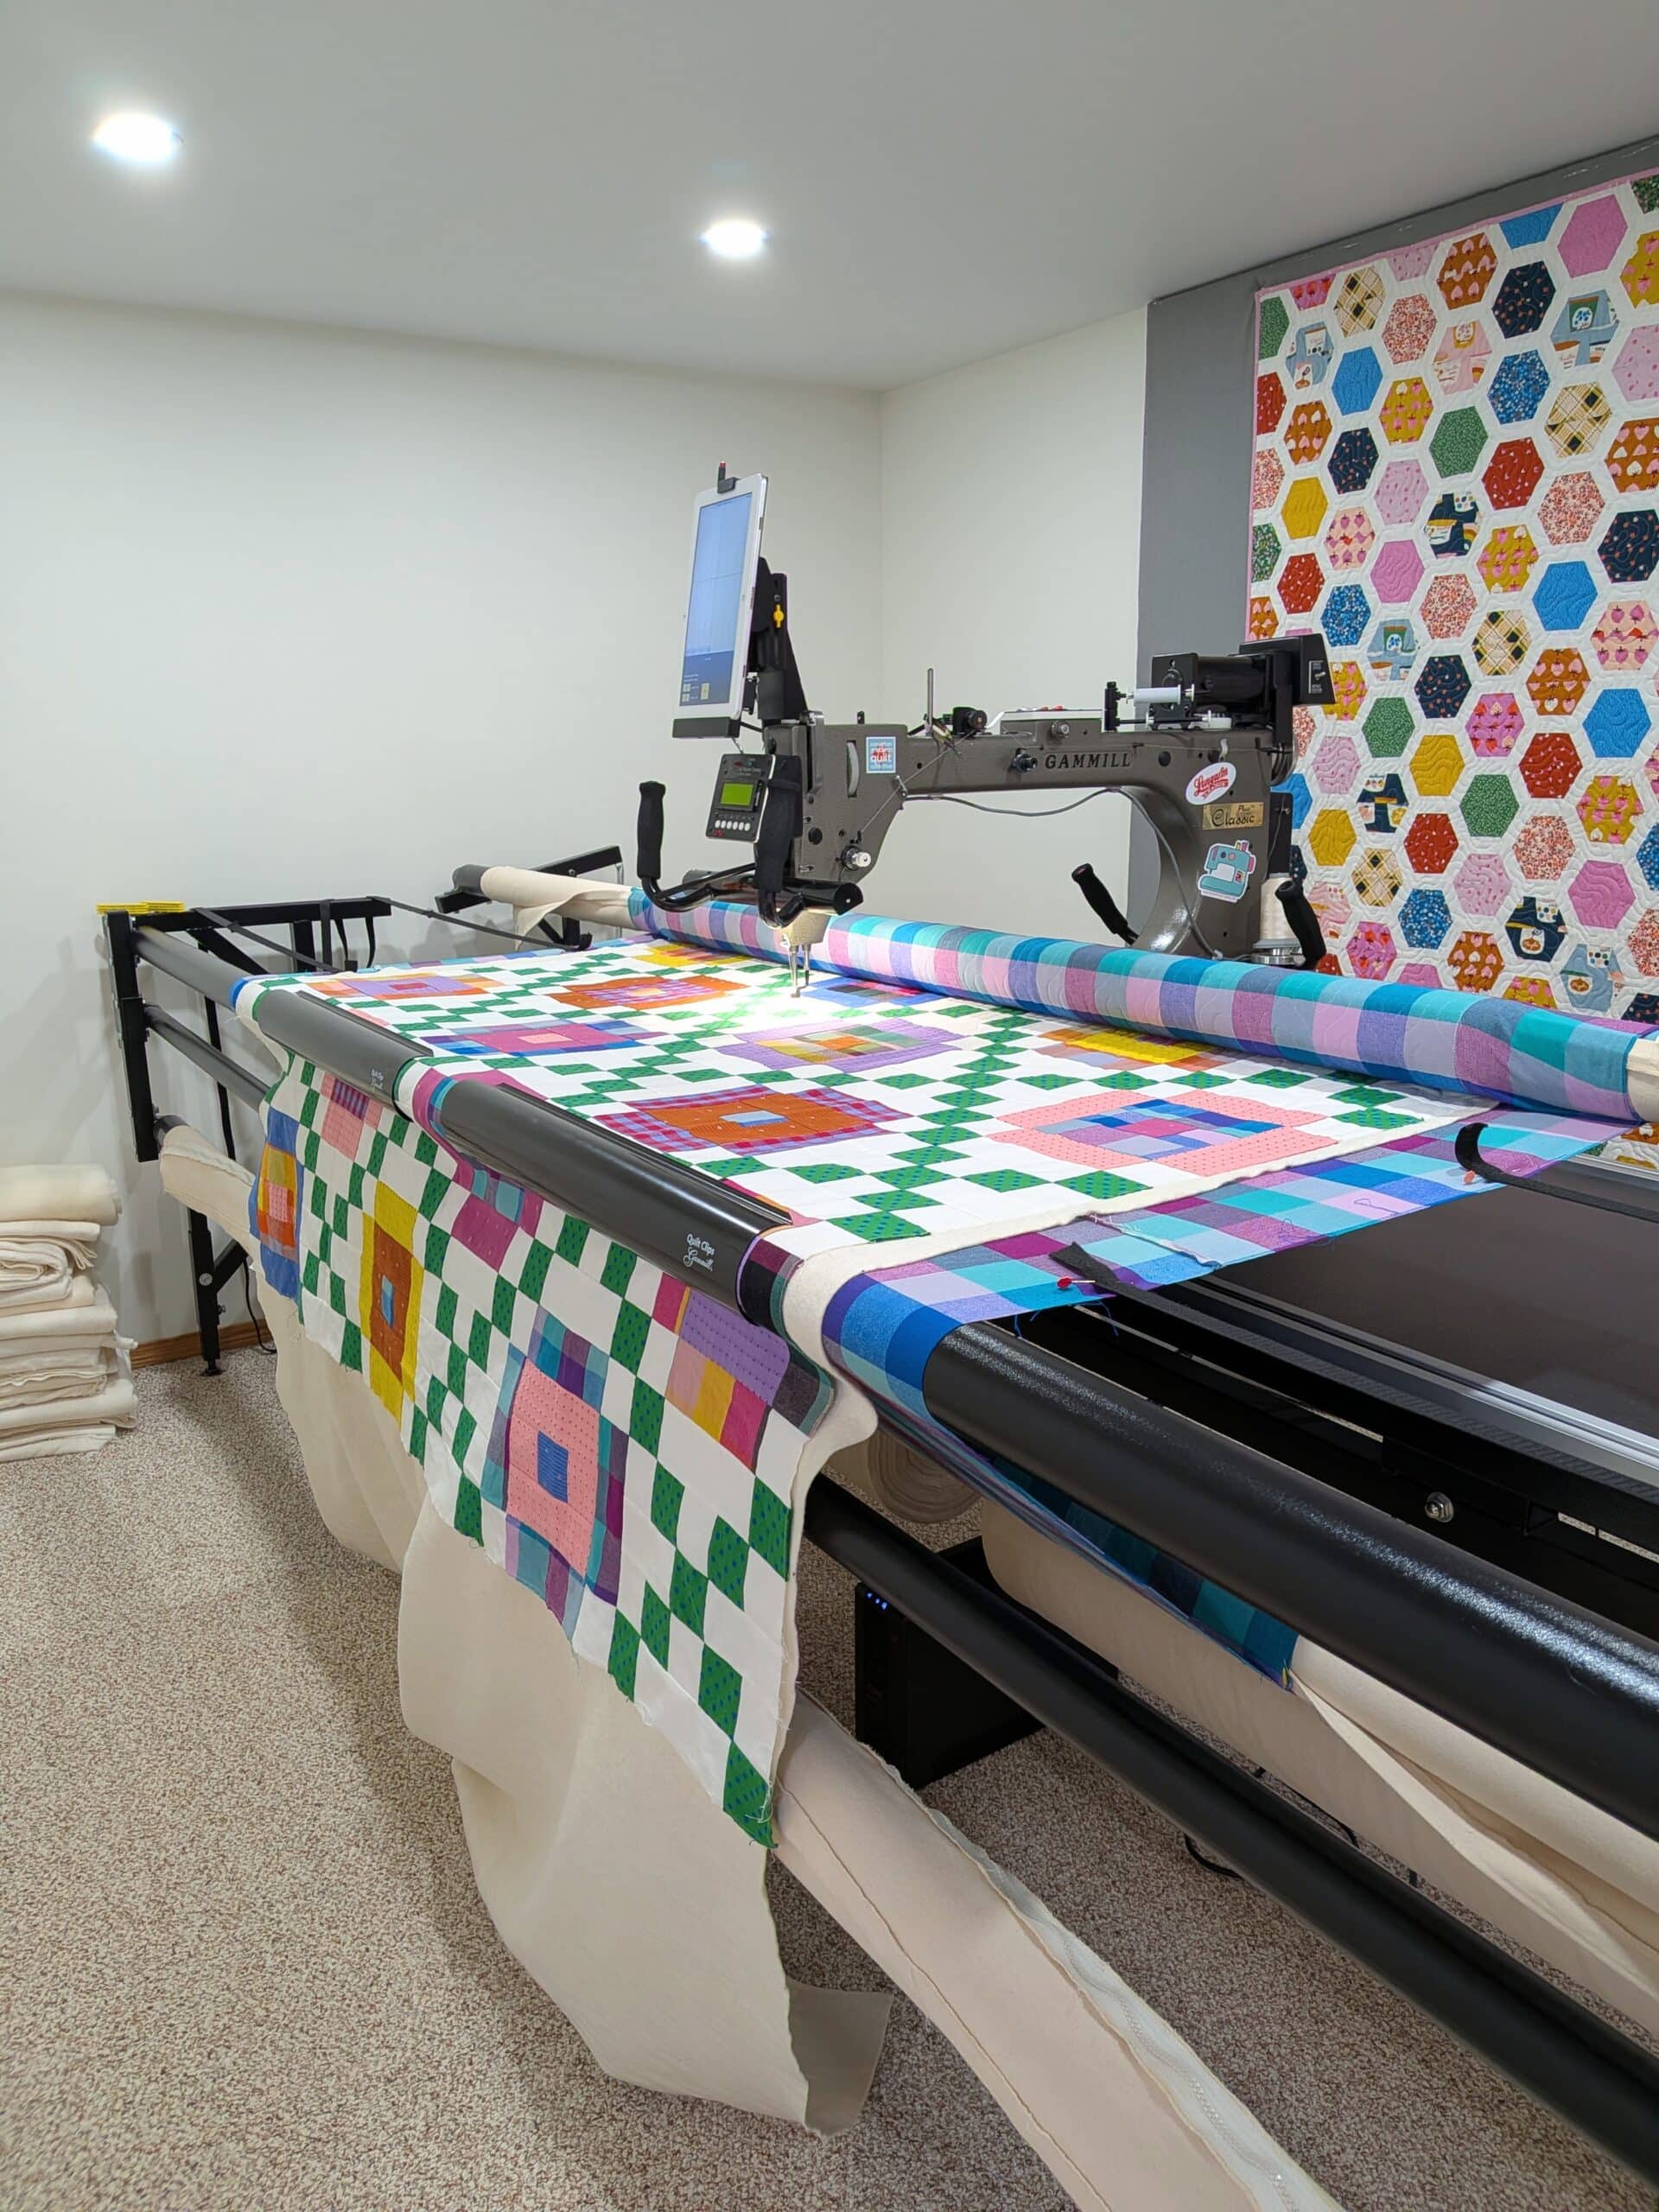
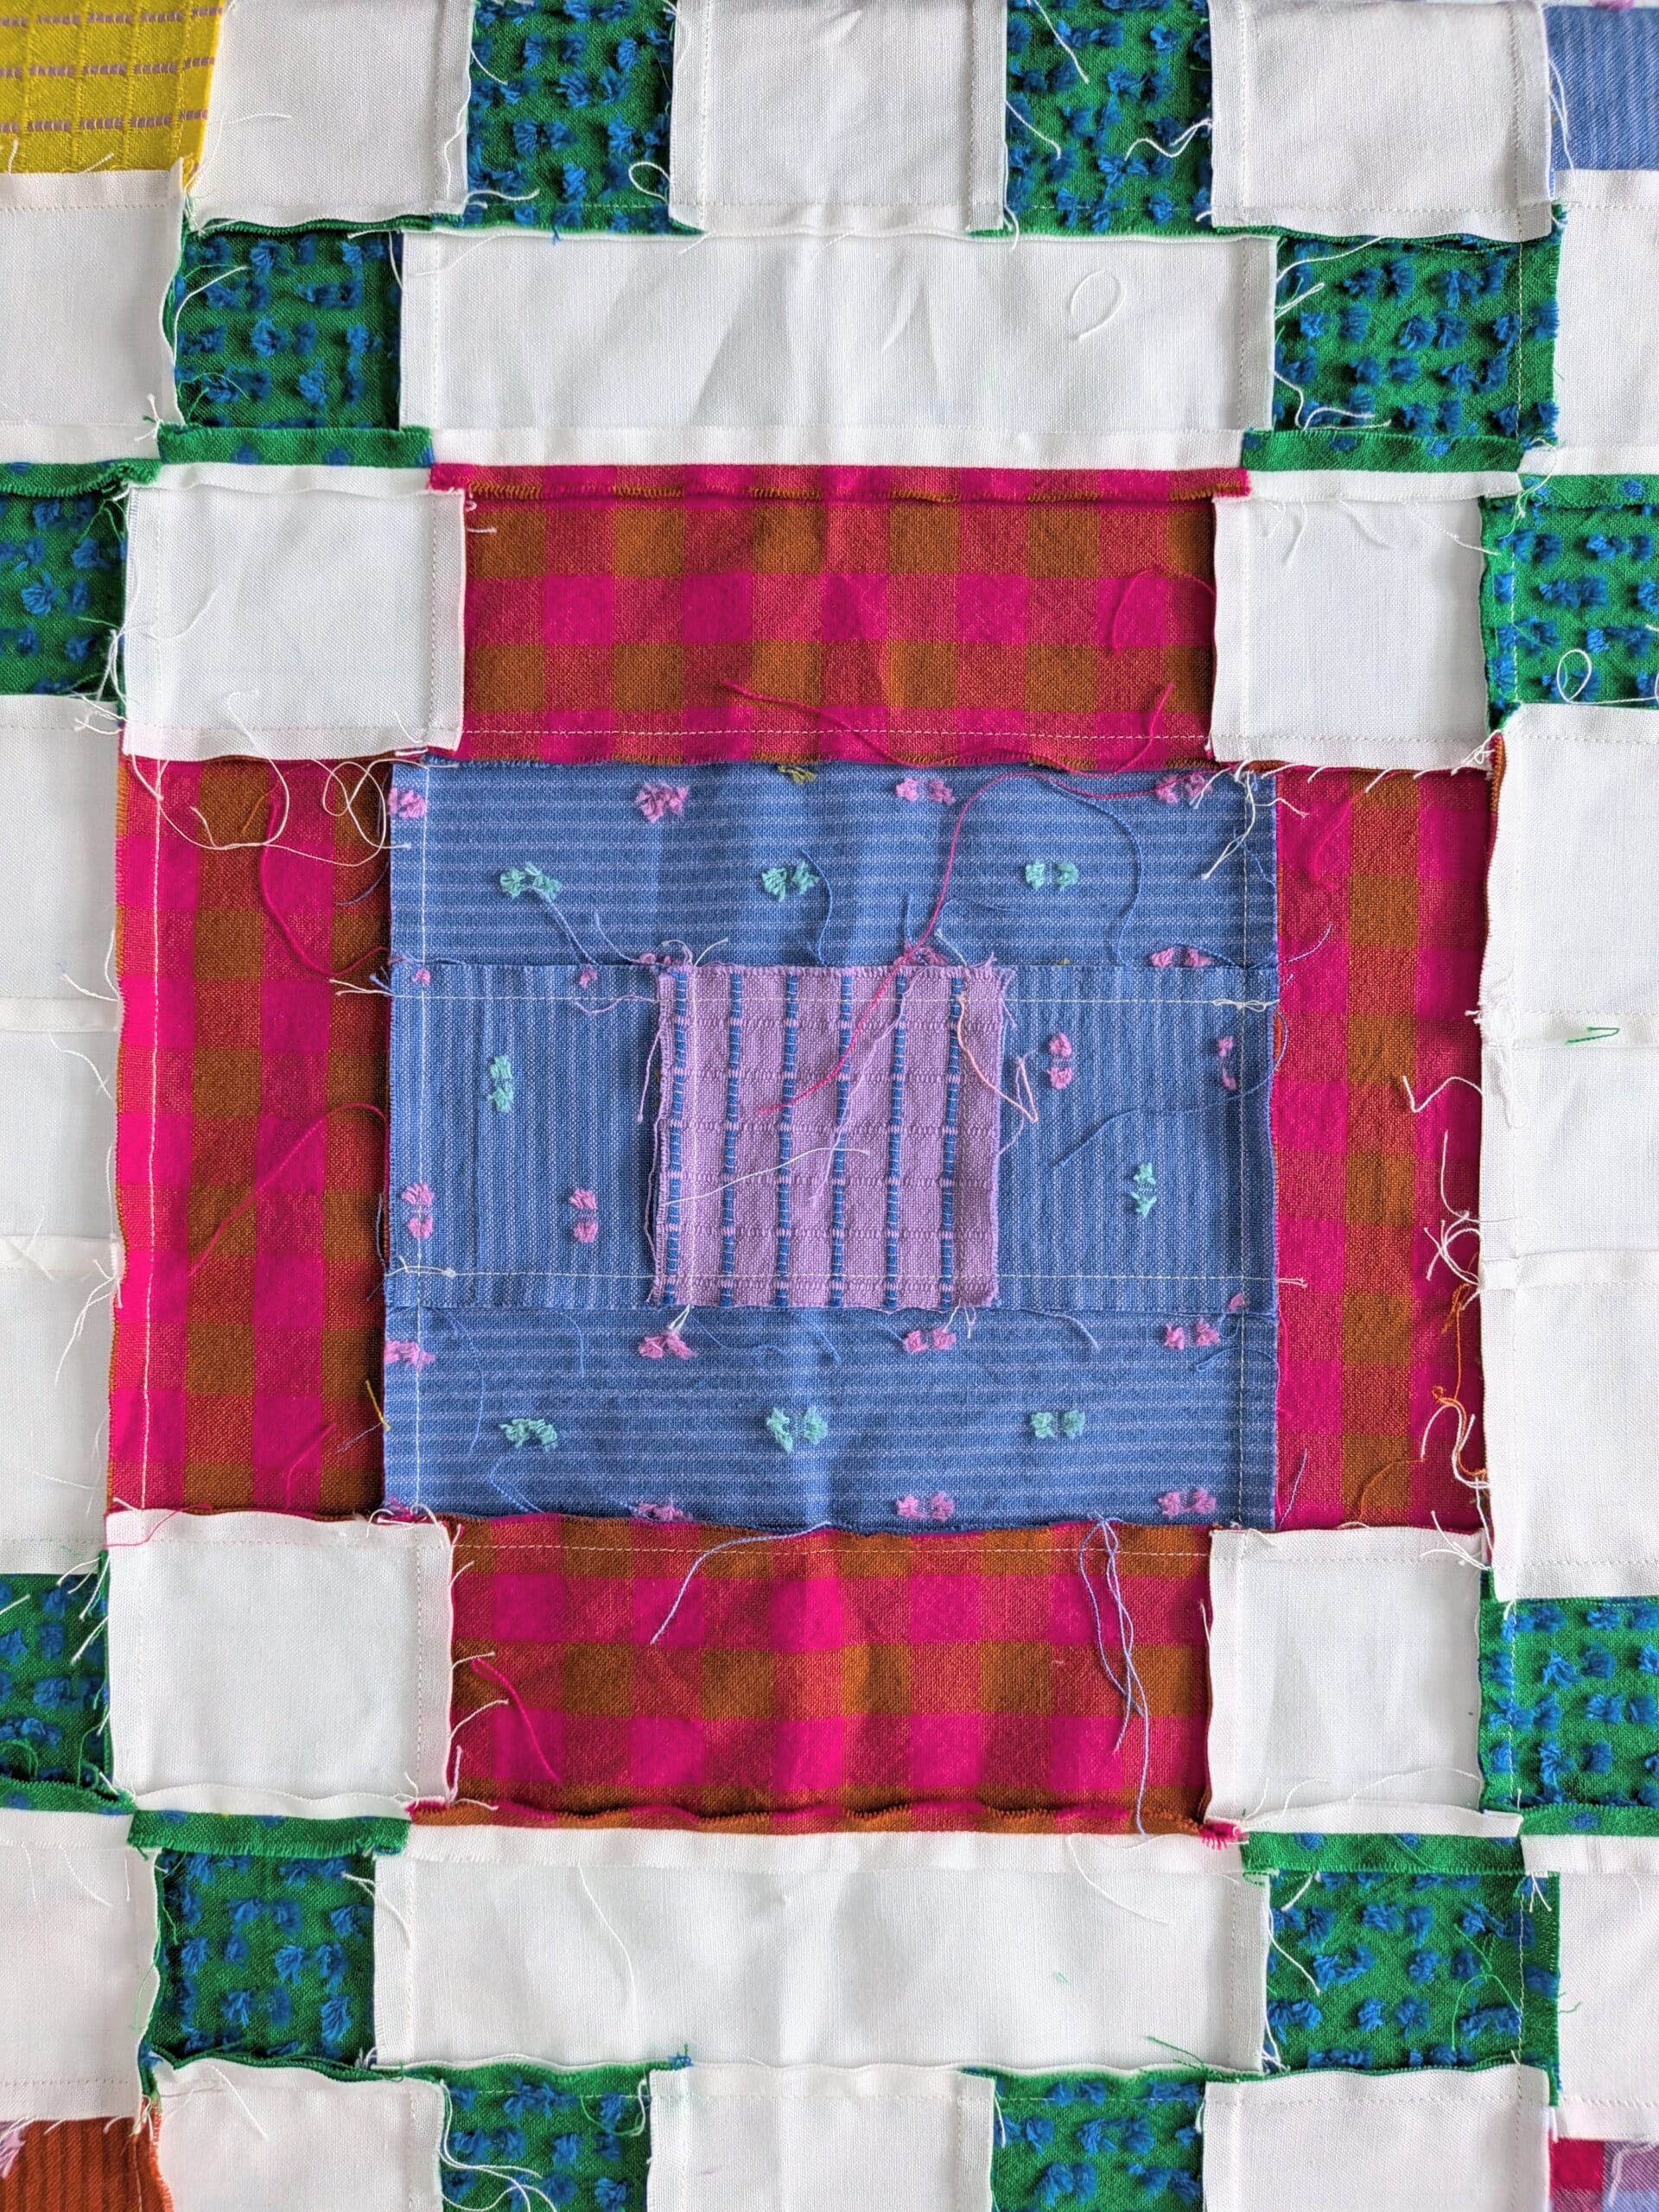
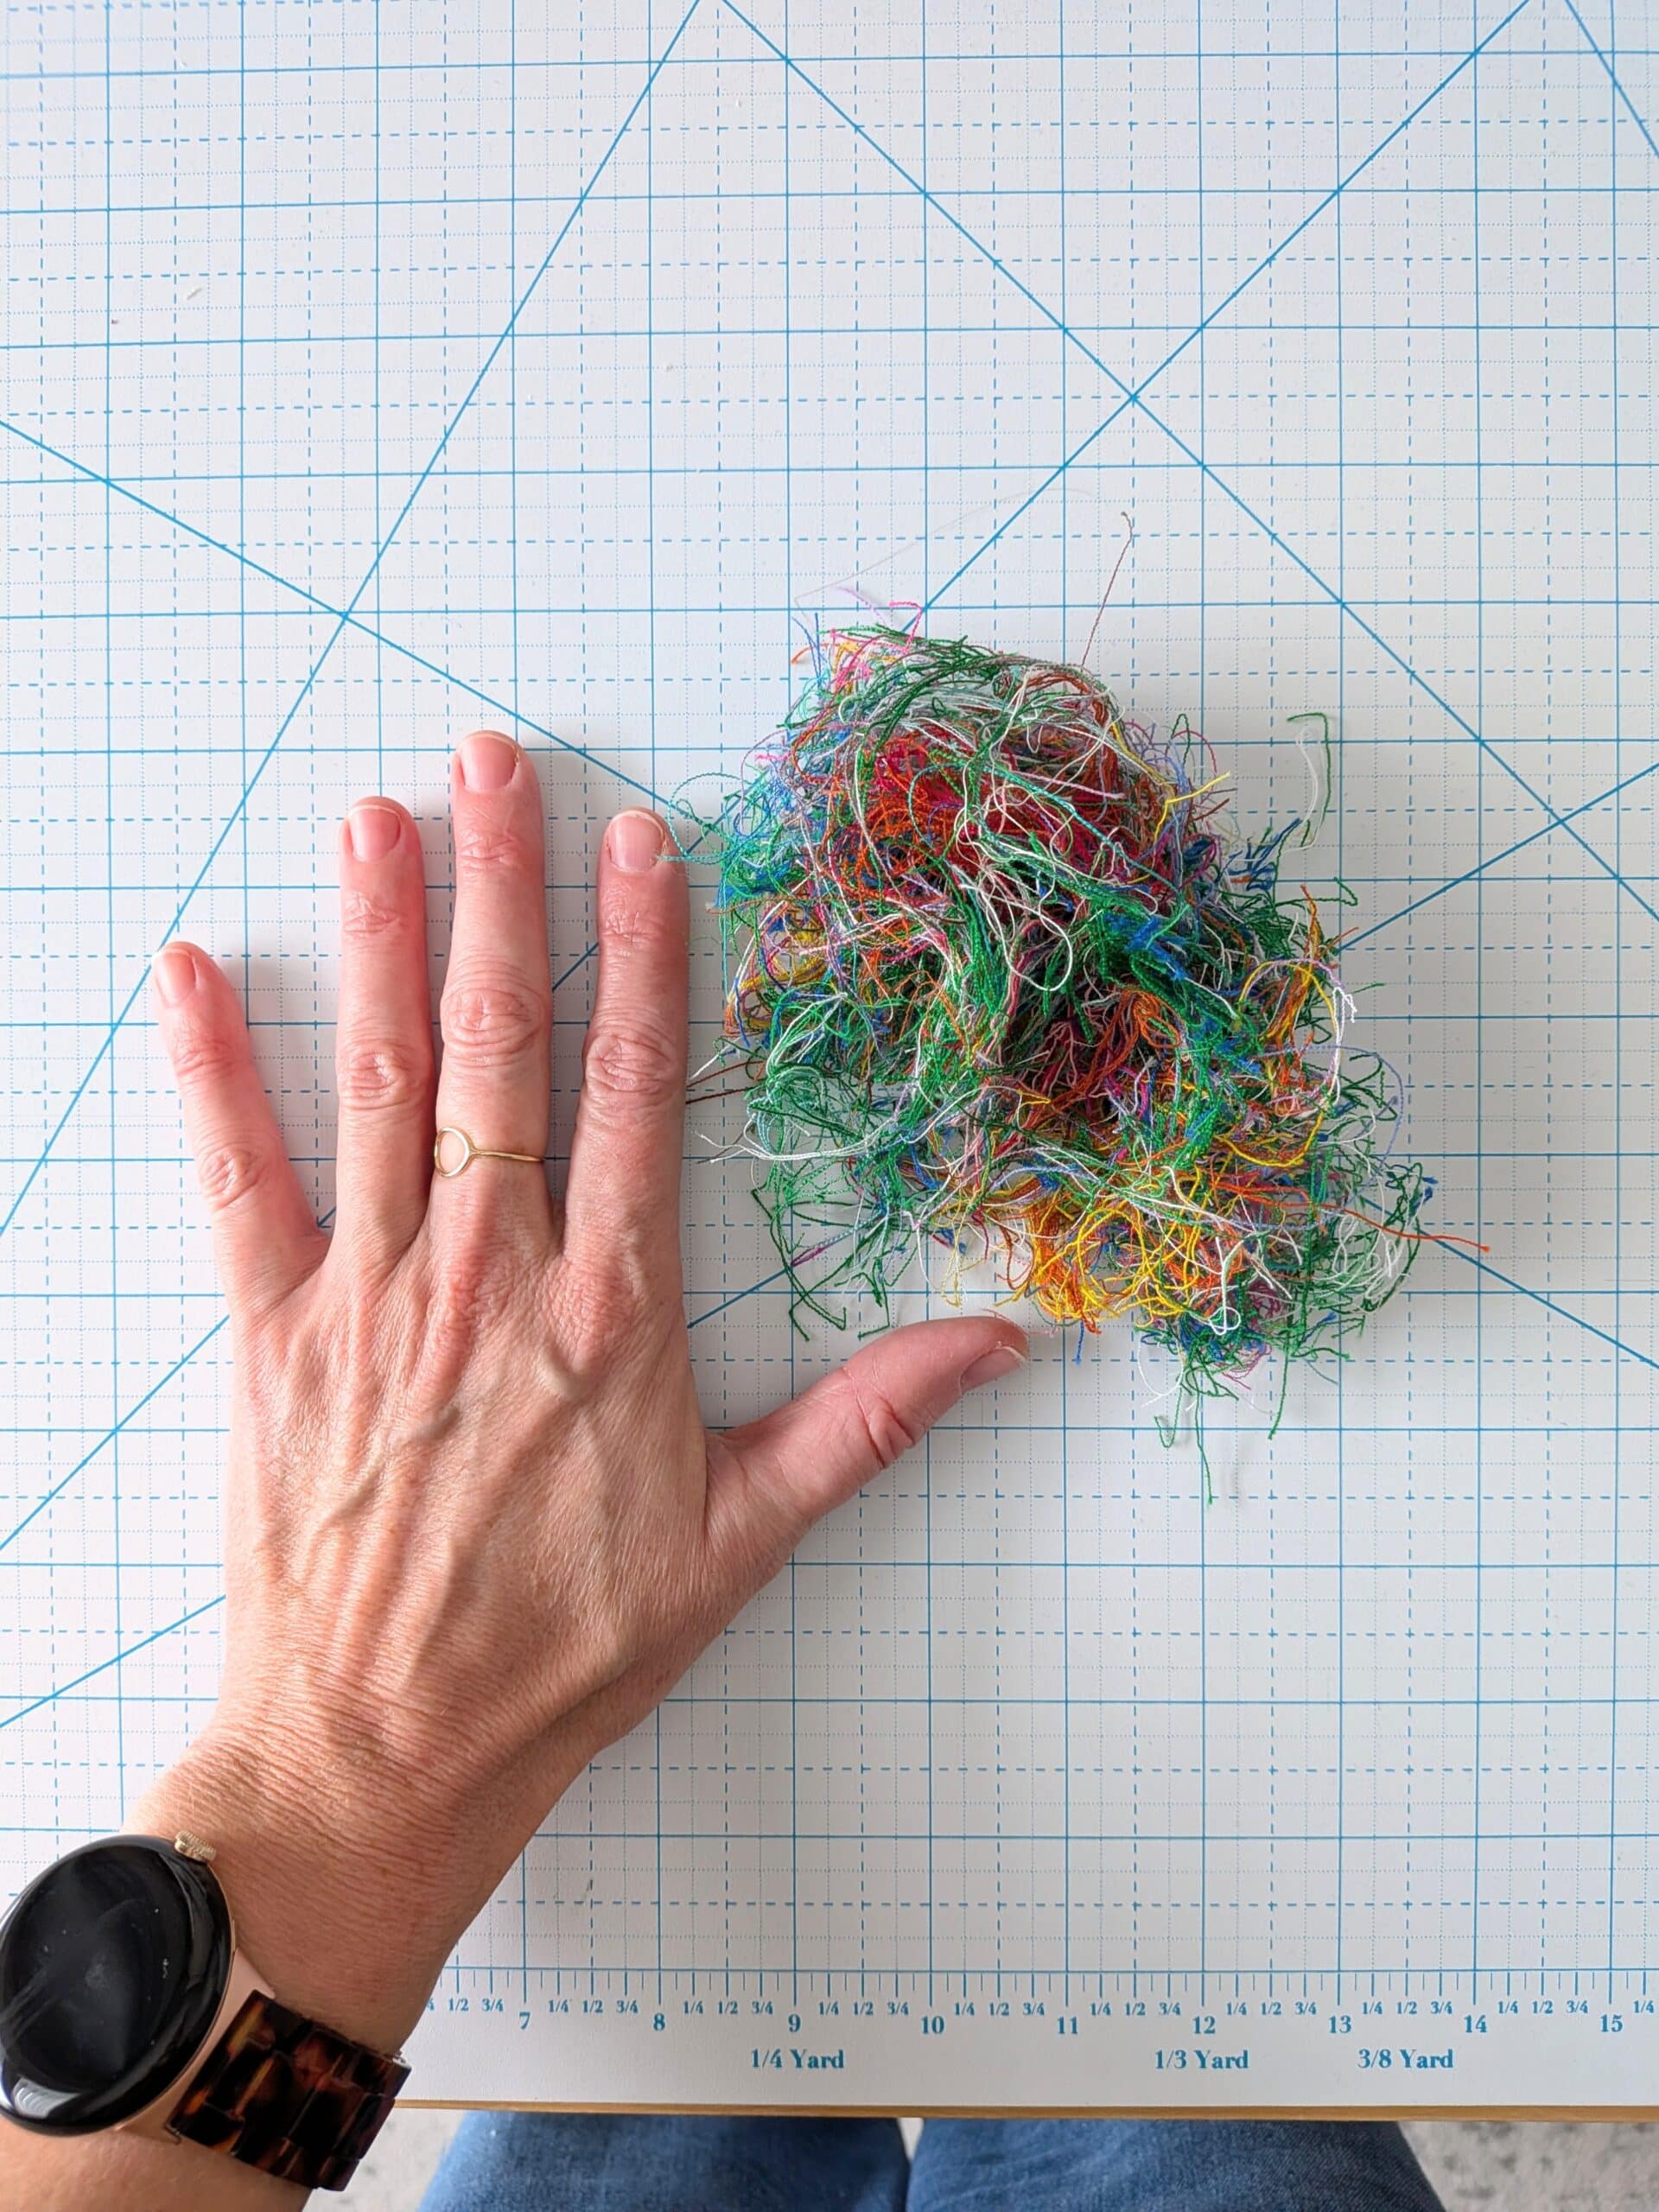
Just after Christmas, I seamed the backing fabric, trimmed the eleventy billion loose threads on the back, tossed the quilt top on the frame with some batting, and let the machine do its thing.
There were no issues whatsoever, and my Gammill stitched out Liquid (a pattern by the Longarm League) without incident.
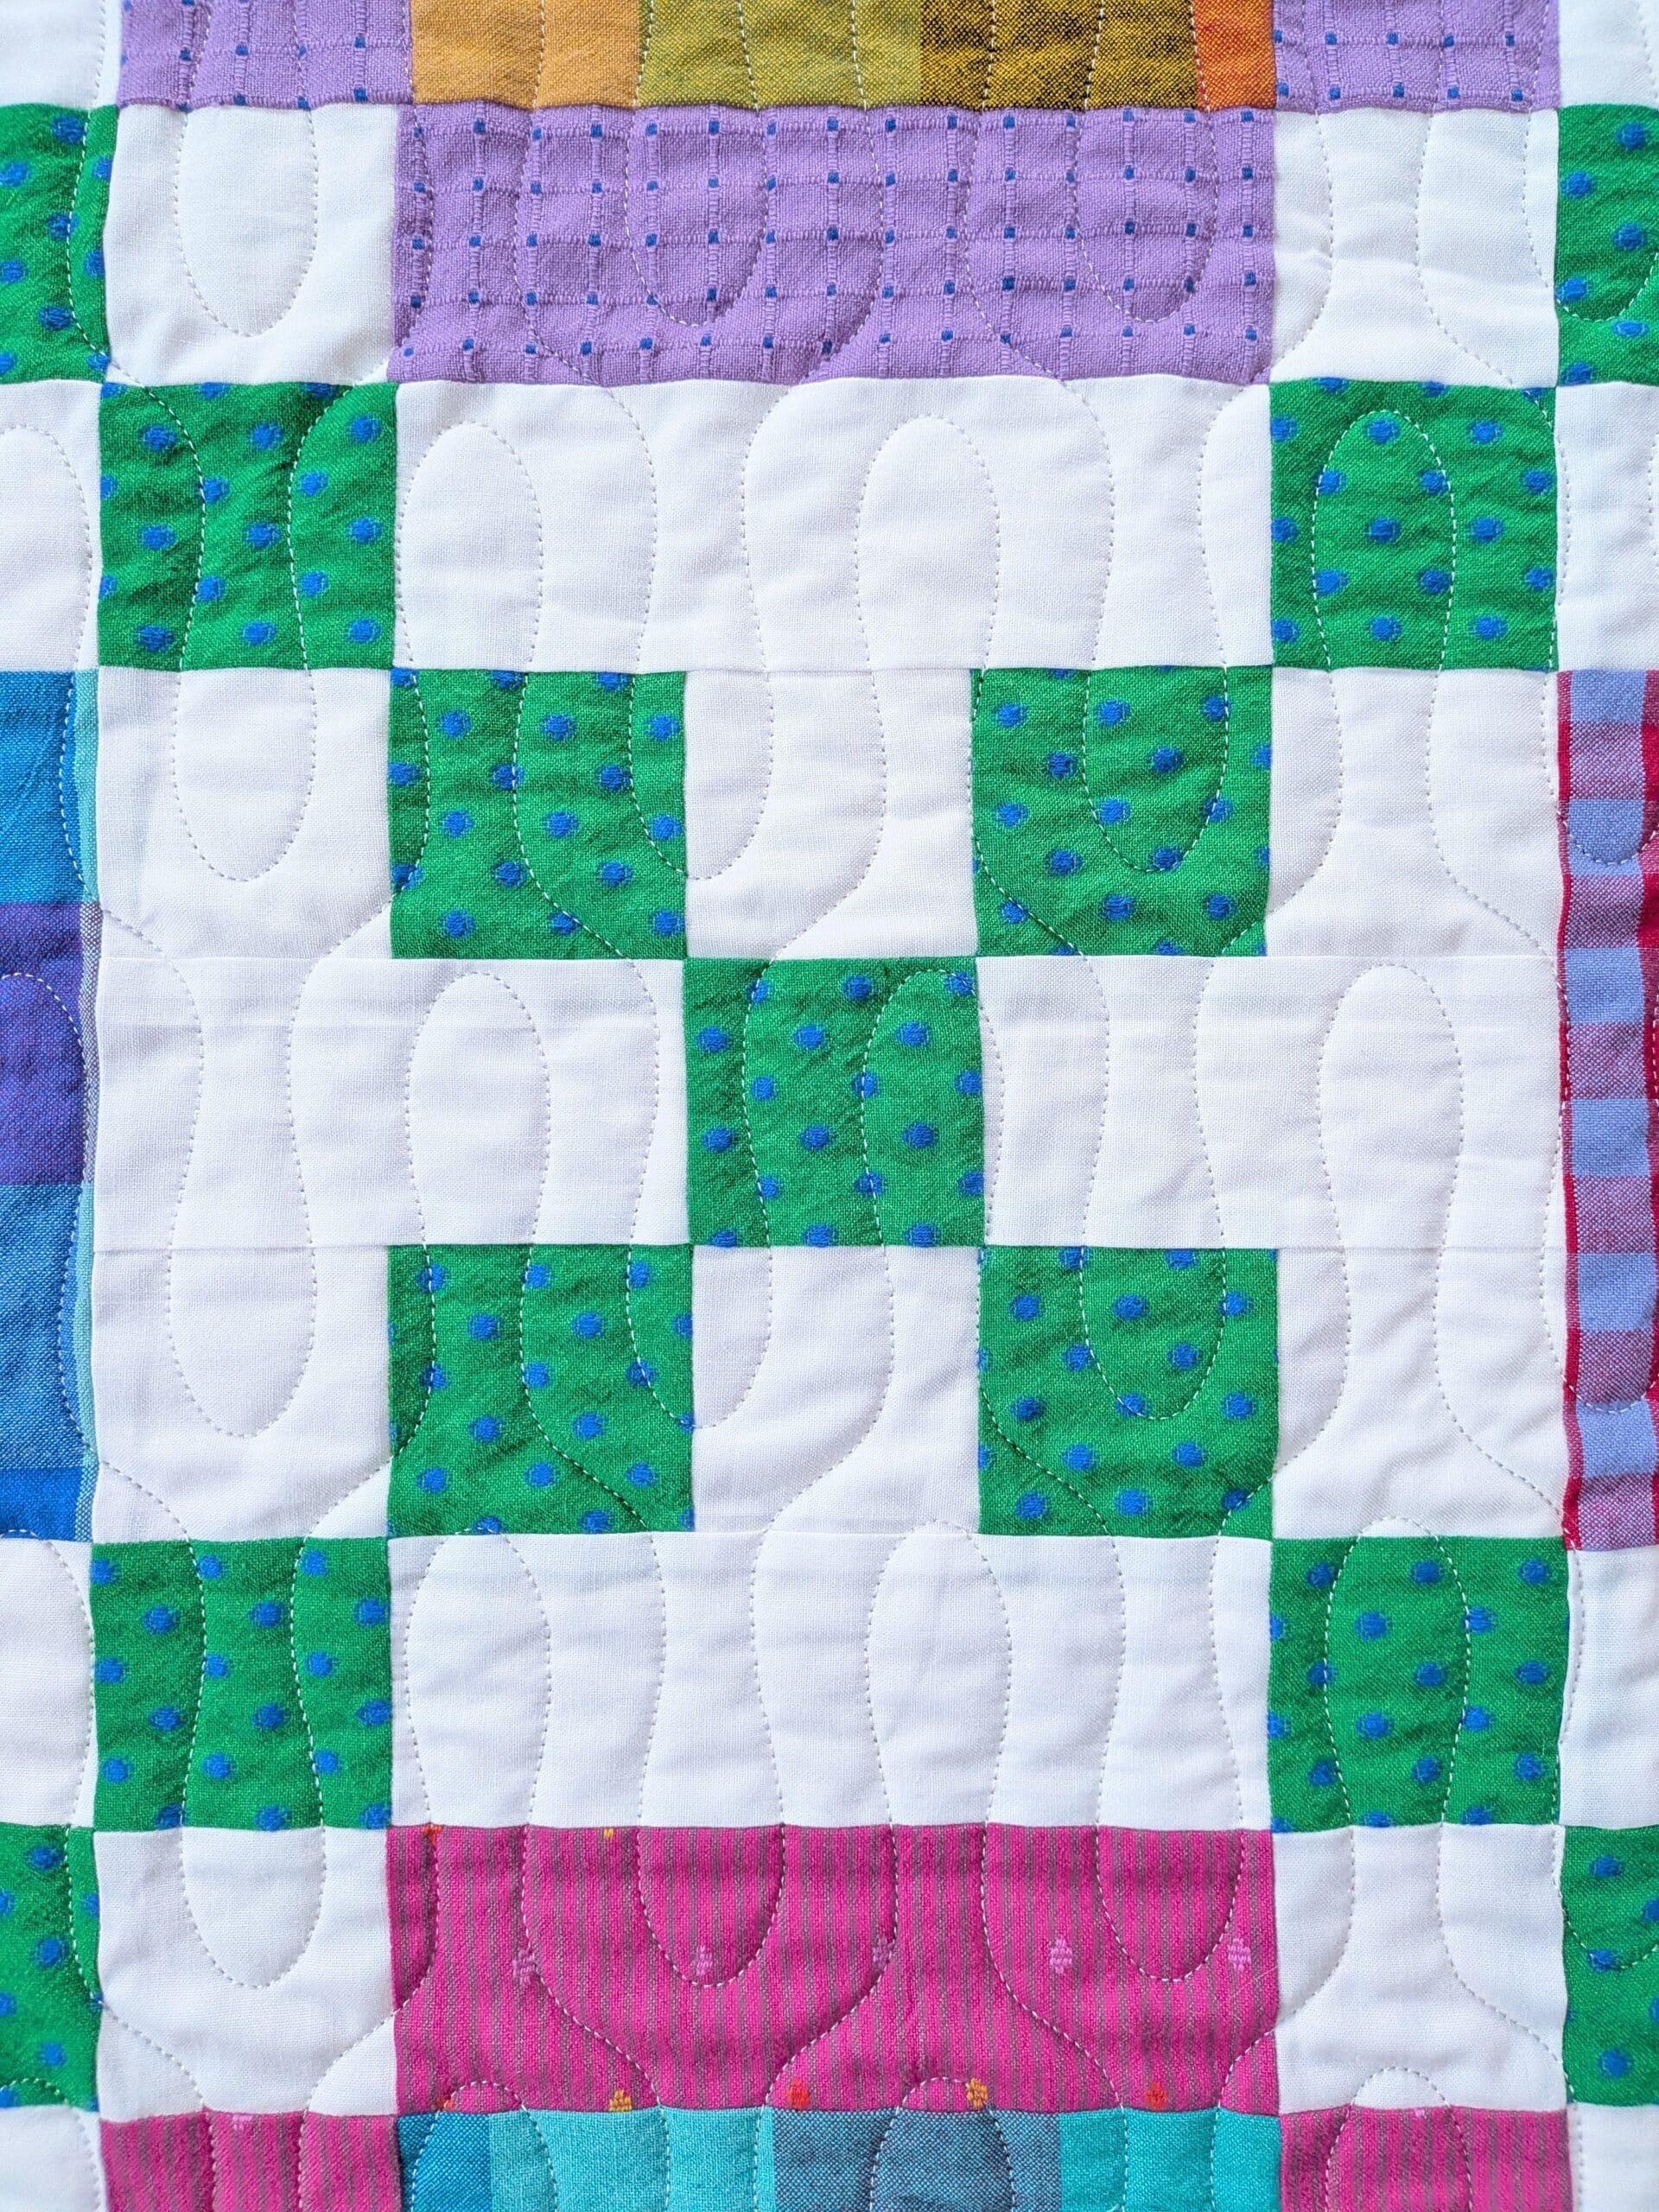

I felt so relieved, (and I’ve since quilted a handful of client quilts with no problems). Phew!
A Happy Binding Surprise
When it came time to attach the binding, I looked in my stash to find the Garden Variety yardage that I vaguely remembered purchasing. I was dismayed when I only found a pink print that was super thick and would be difficult to use as binding.
I started cursing Past Shelly for only buying one binding option, when I realized that’s not like me at all. When shopping online, I usually order at least two different binding options (because sometimes one will match the project much better when I see it in person).
While giving the pink fabric the side-eye, I pulled out my phone and looked up the online order receipt. It said I had bought ½ yd cuts of TWO different fabrics: a pink and a blue option. Huh.
I searched my stash high and low, but could not find the blue yardage anywhere. On a whim I checked my sewing cart, and found the blue fabric which I had already cut, sewn together, pressed in half, and wrapped around a binding spool. Jackpot! I STILL have no recollection of doing this, but I’m glad I did!

Here’s a fun fact: in googling the fabric for this blog post, I see that the striped fabric in this line was meant to have “whiskers” on the right side of the fabric. I must not have not known / forgotten that, because I sewed every colourway of this print with the whiskers on the back of the fabric. Sorry Anna Maria for not respecting your creative vision!
Machine Binding with Wovens
Part of me hoped to get this project finished before the end of the year (so I could add another number to my “2025 finishes list”), but I got distracted by puzzles and only added the binding on January 3 2026. I guess it’s the first finished project of 2026!
I started by sewing the binding to the front of the quilt, and then I wrapped it around to the back, kept it in place with Elmer’s School Glue, and secured it by stitching in the ditch on the front of the quilt (catching it on the back in the process).

I’ve been finishing a lot of my quilts this way lately, and I’ve gotten quite proficient / reliable at this skill. However, the thicker material of the woven fabric meant I had to adjust my seam allowance, and I didn’t apply / wrap it perfectly around the entire perimeter of the quilt. As a result, I had to go back and fix a couple of spots by adding some stitches on the front of the quilt.

I was very glad to have an Aurifil spool in my collection that matched this fabric well, but the stitches are more visible than I’d prefer. Since this isn’t up to my normal standard, I won’t be selling this quilt. That’s fine - it can hang out here and be snuggled on the couch.

Equipment I use for binding:
Sewing machine: Janome MC 6700P
Feet: AcuFeed 1/4″ Seam Foot and AcuFeed Ditch Quilting Foot

The First Finish of 2026
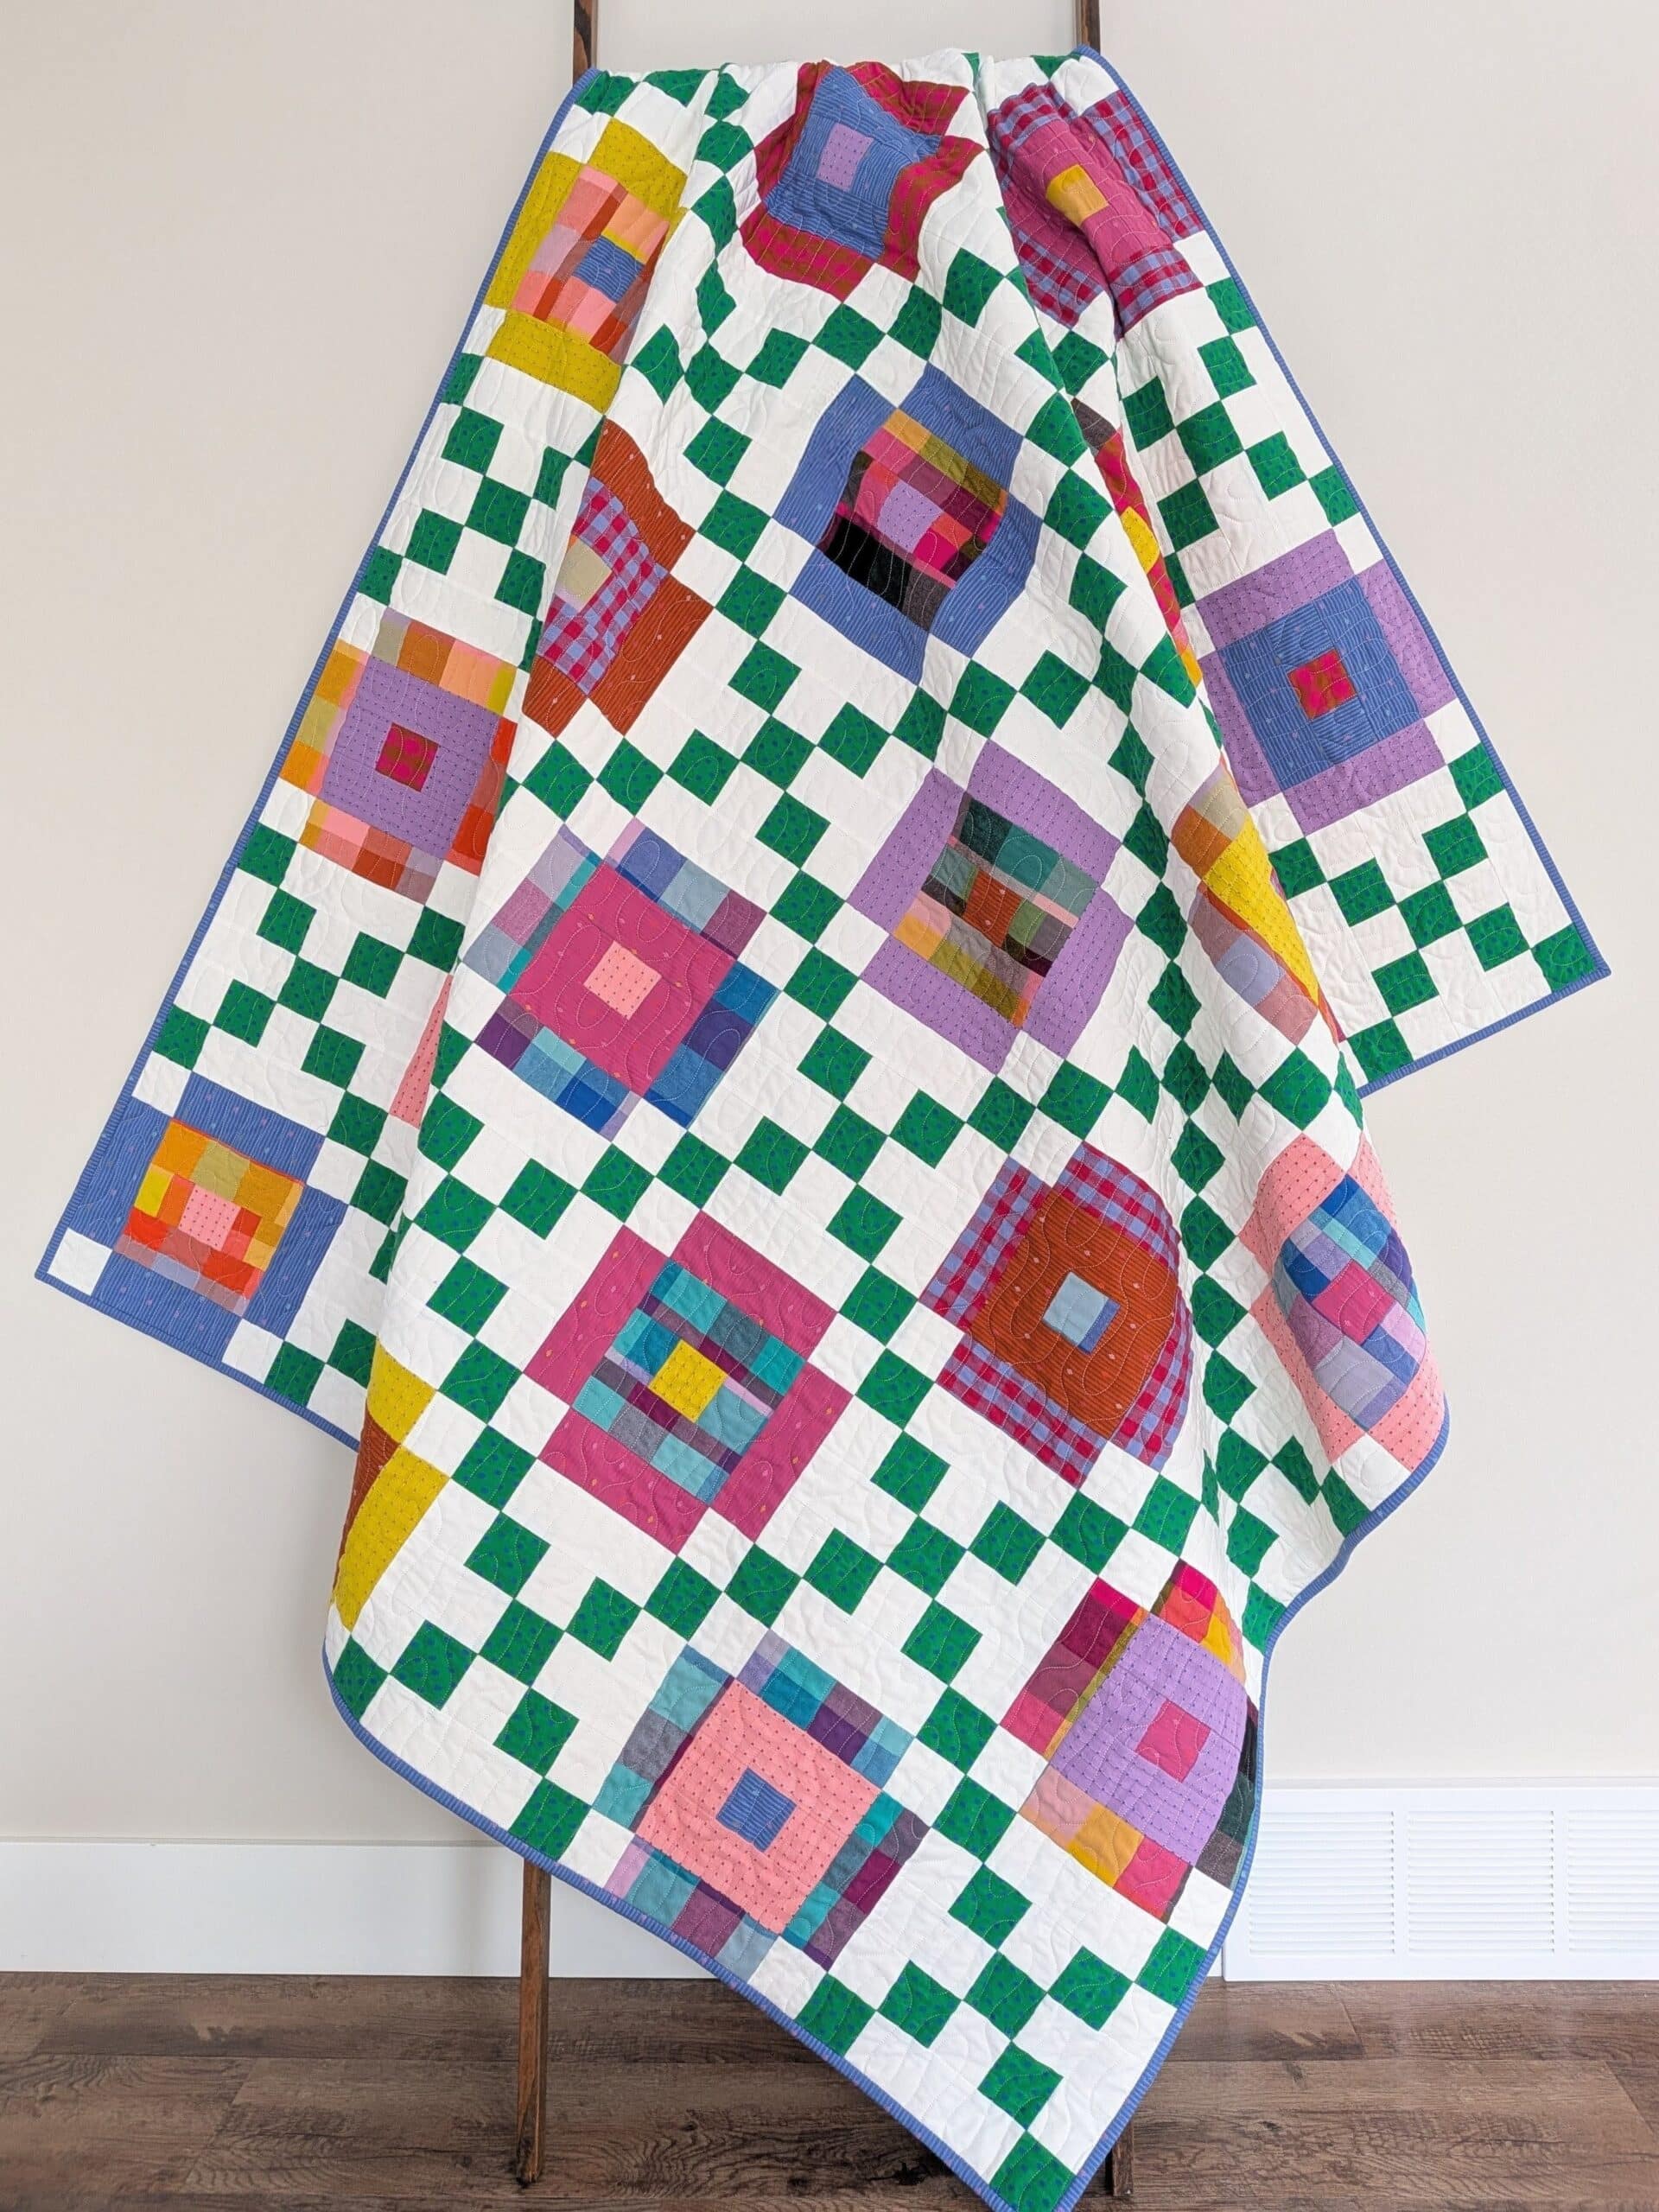
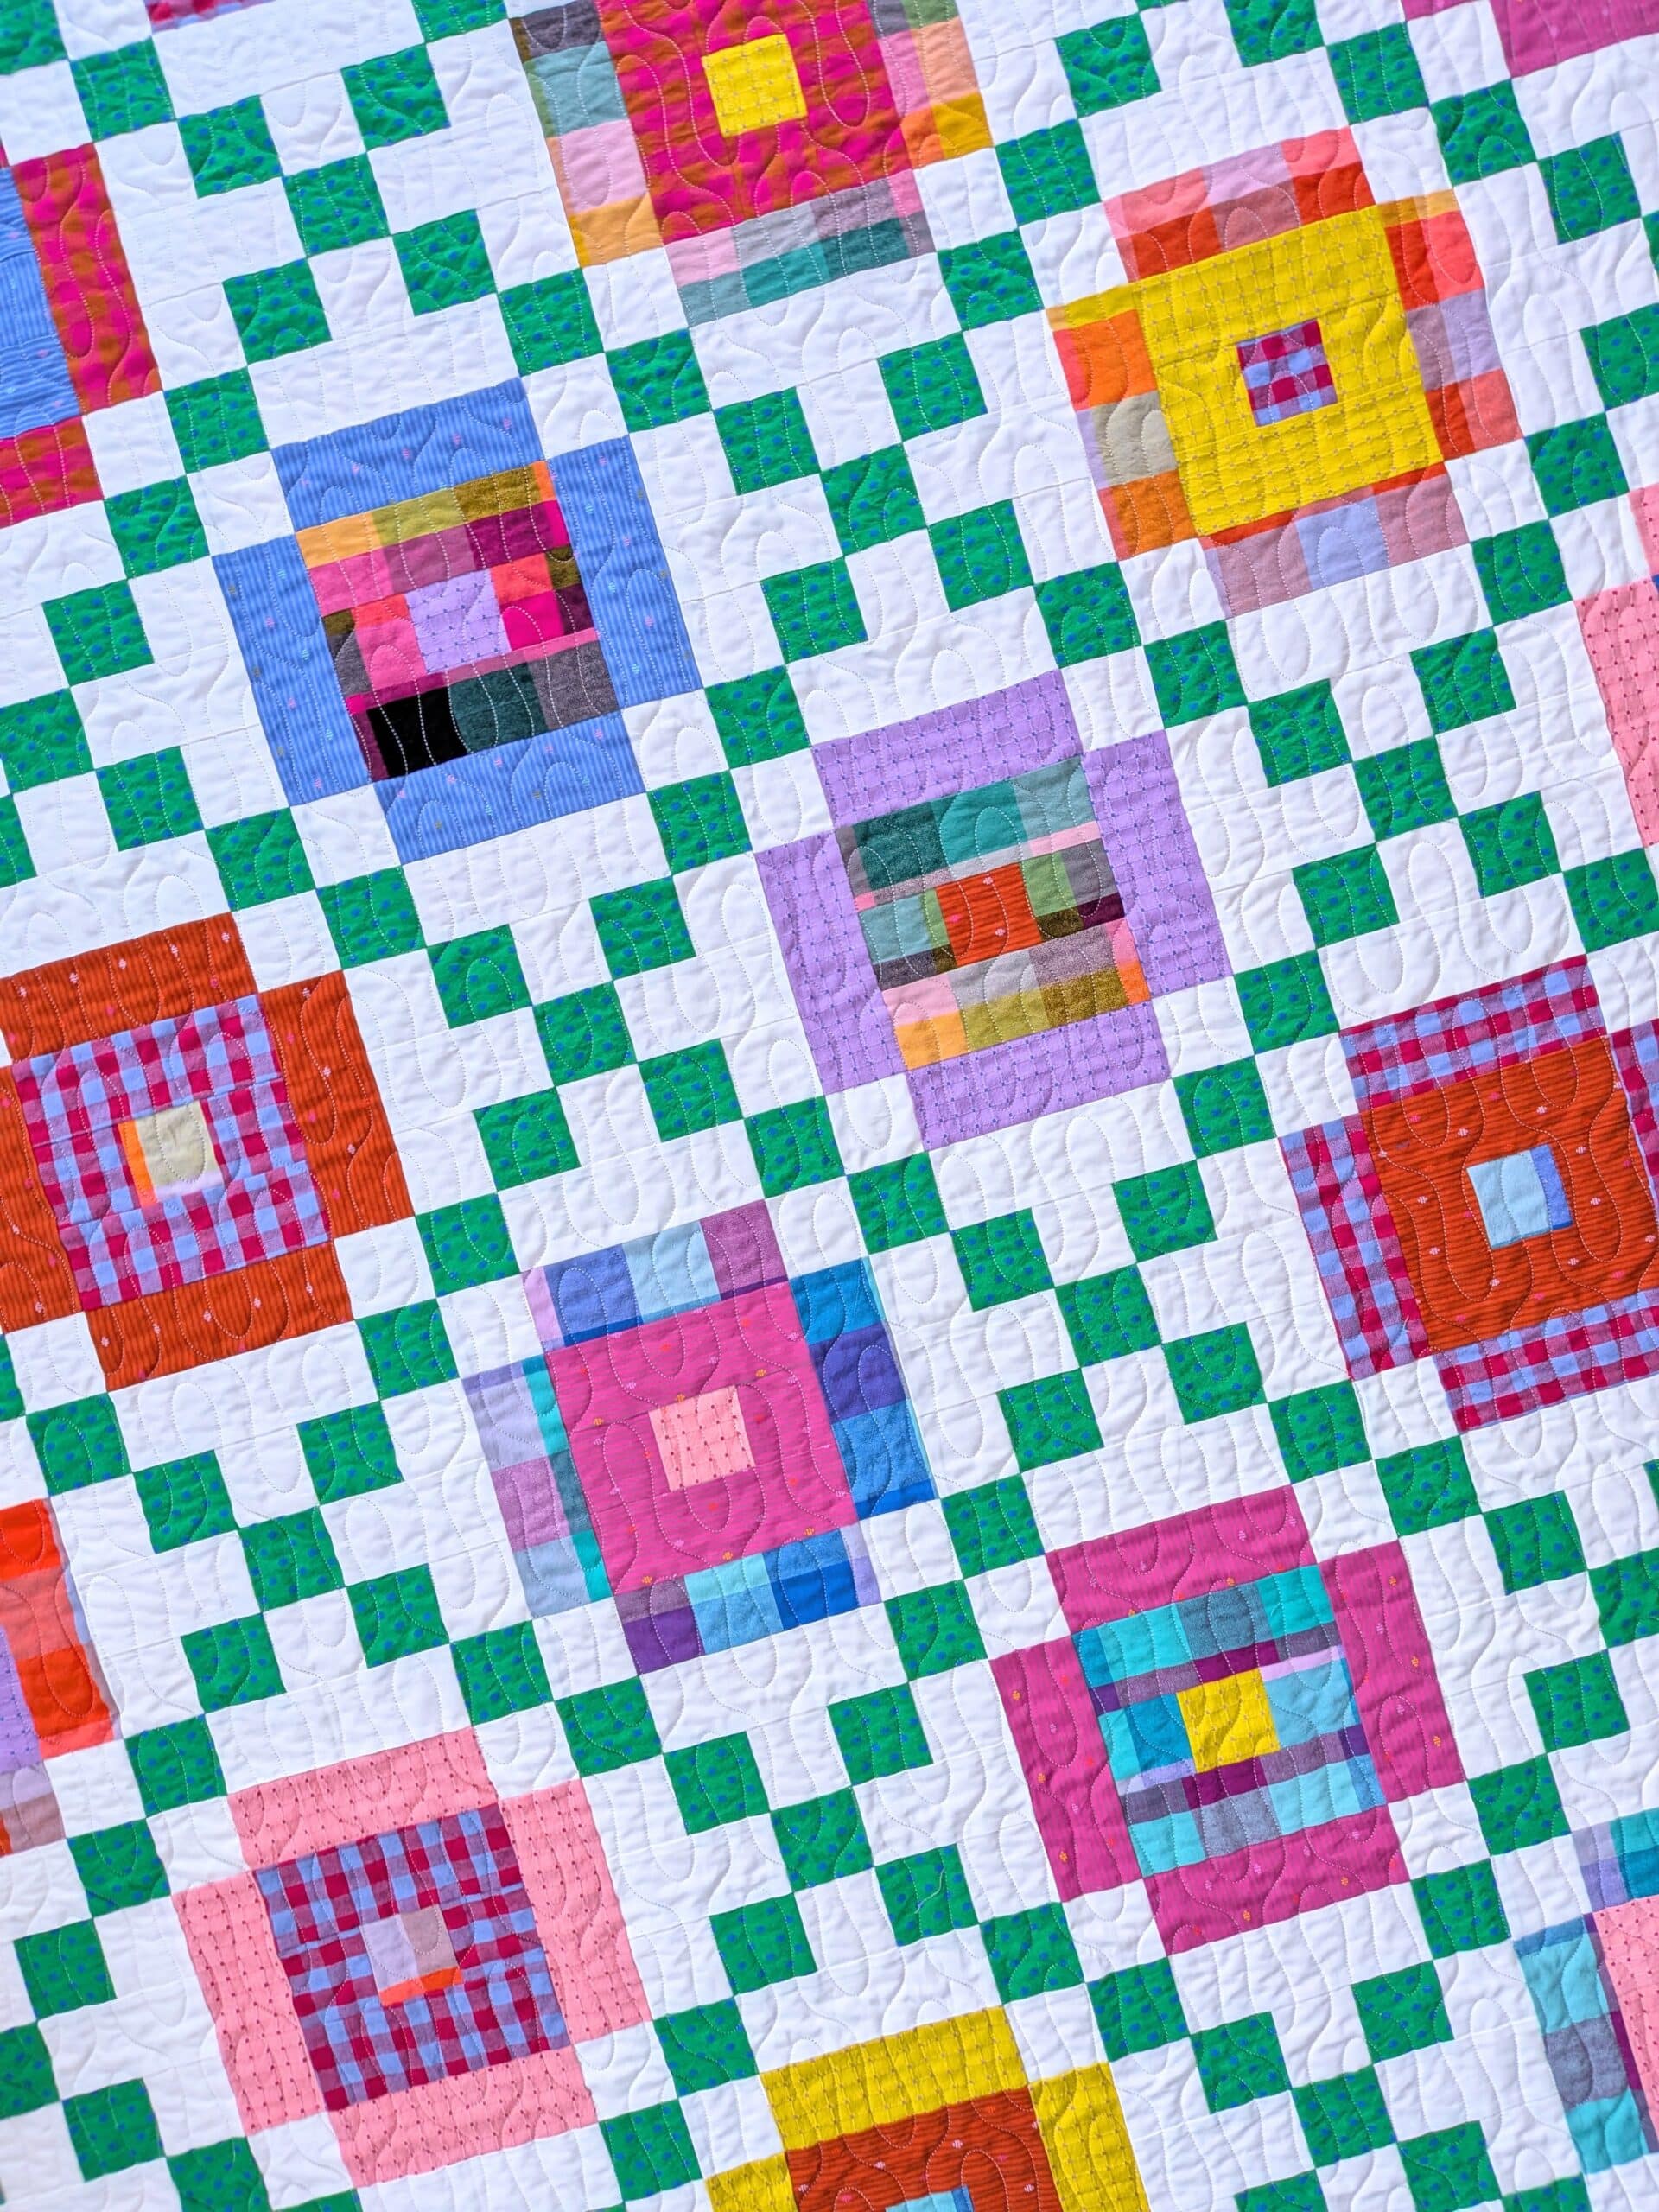
In the end, I’m glad I made this Lucky Links quilt. Even though I had a few moments of doubt (and felt willing to potentially destroy it), it turned out lovely.

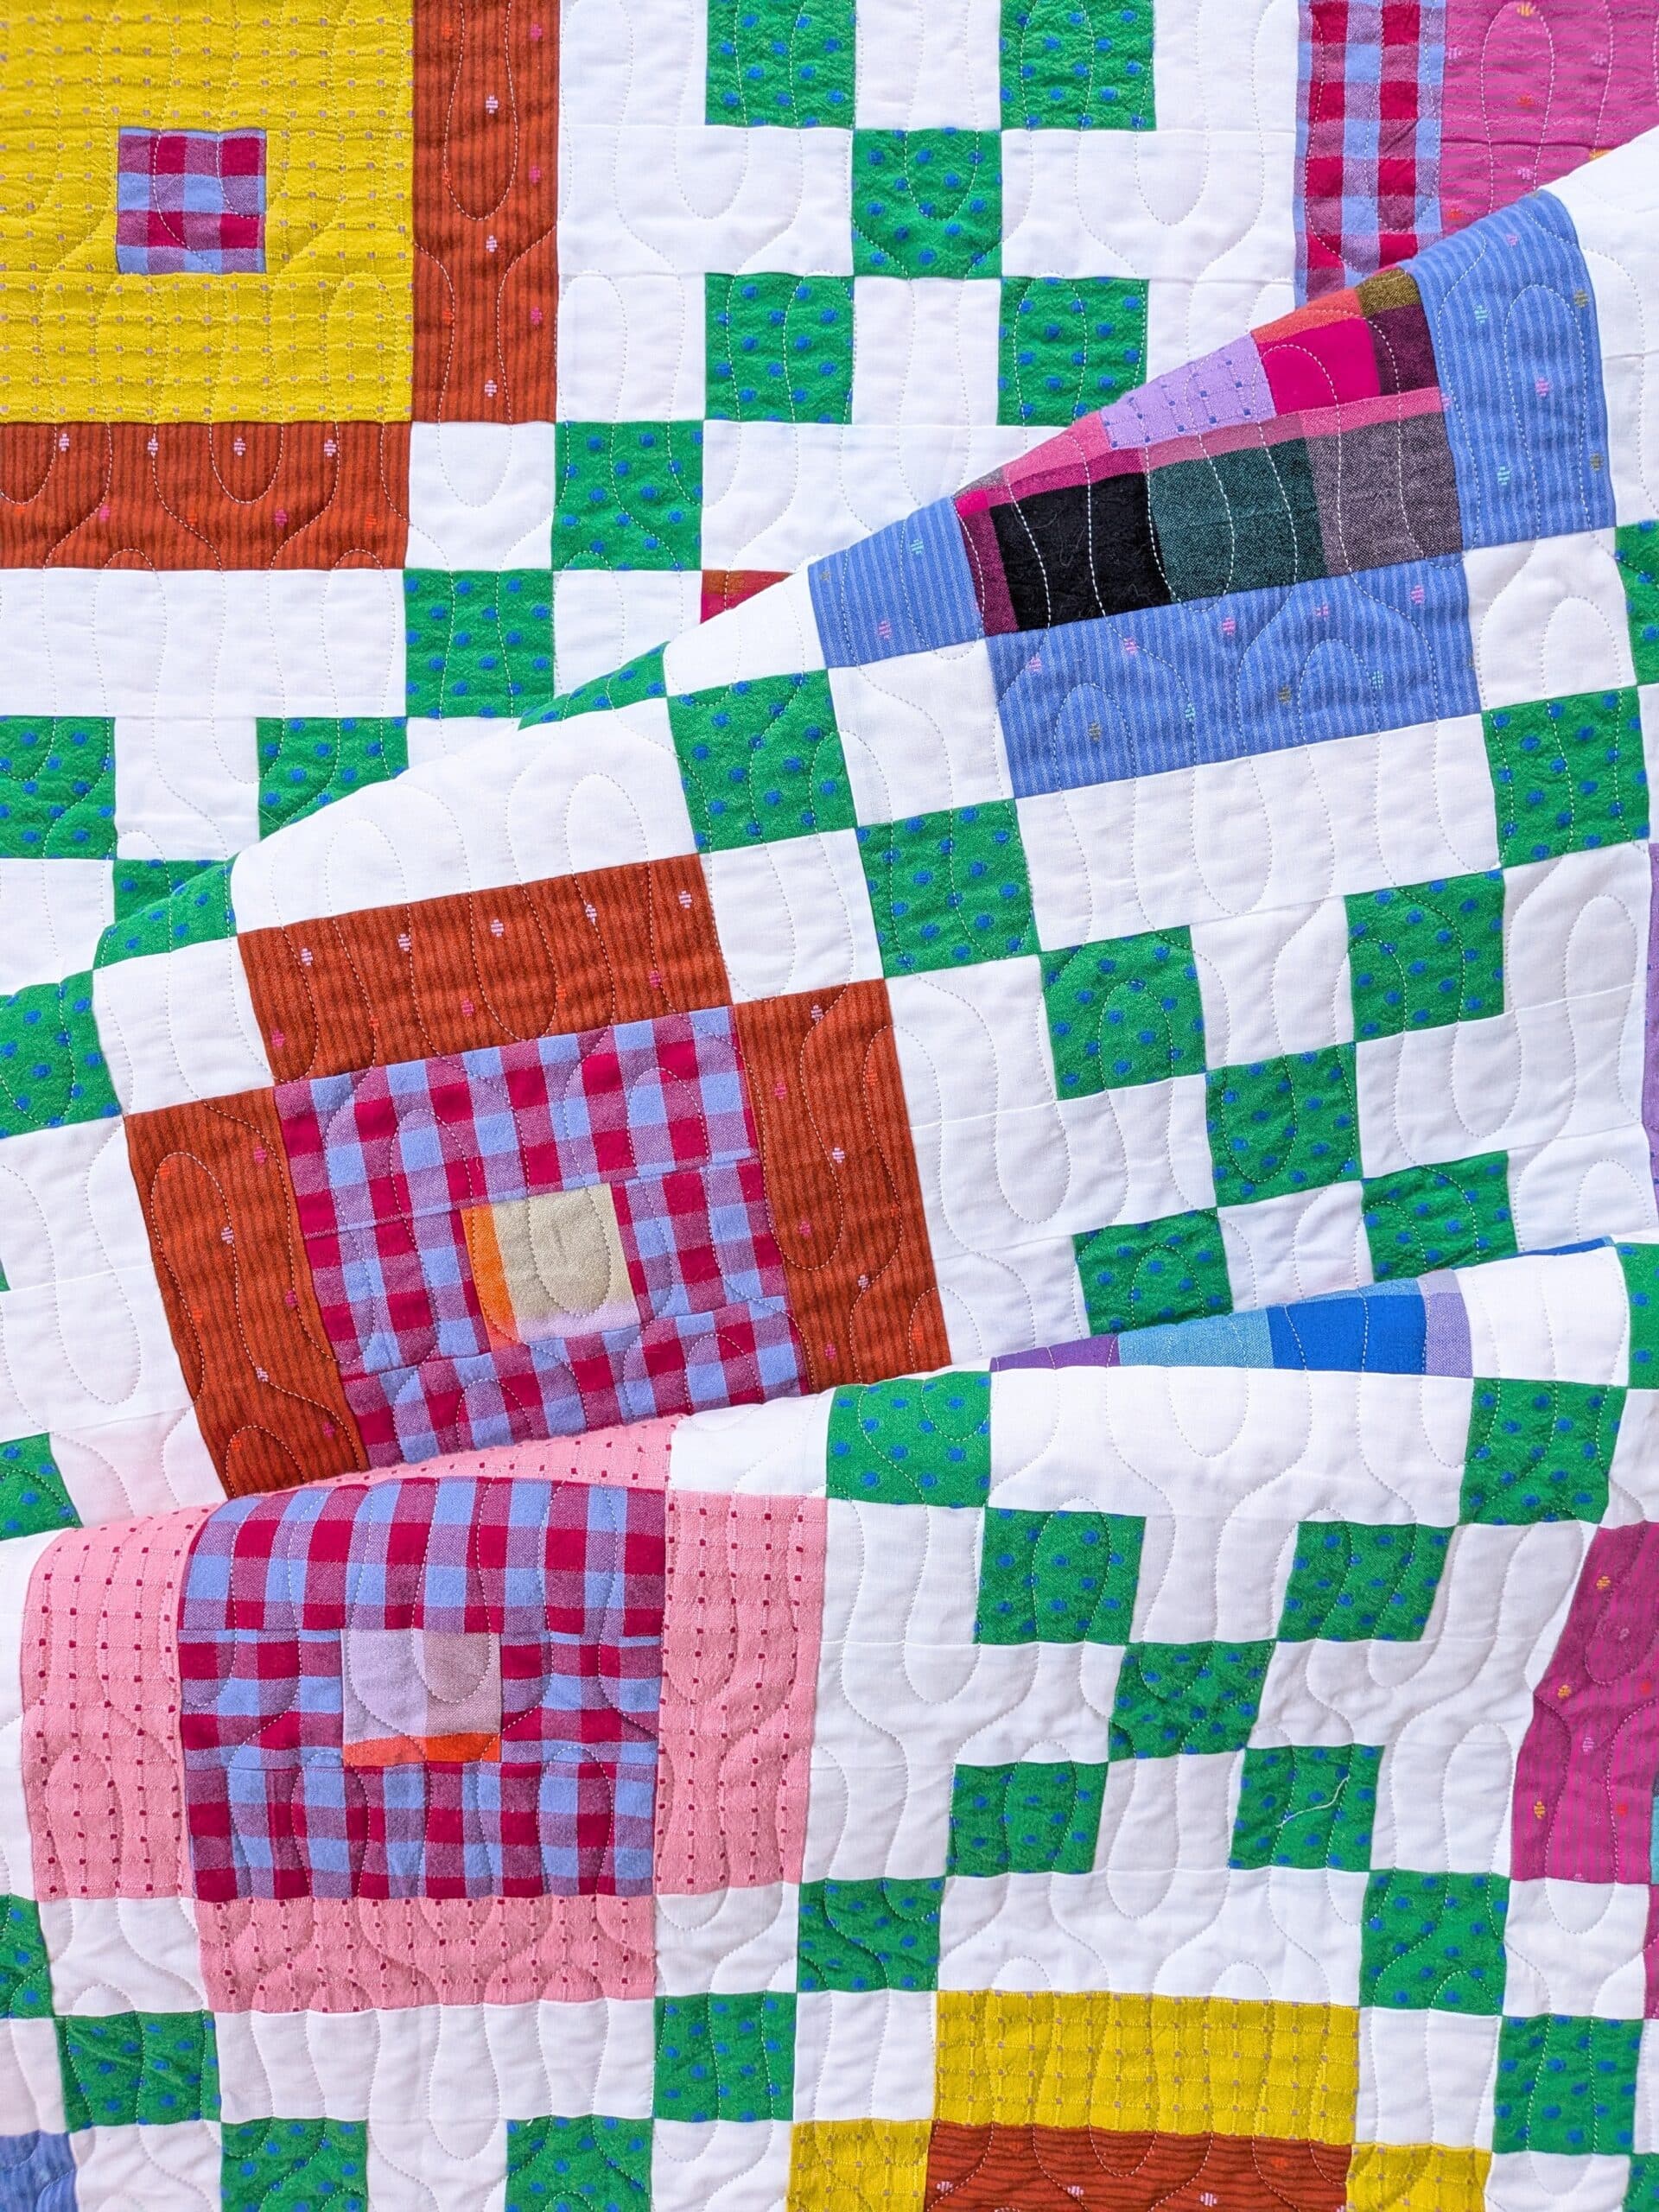
The woven fabric is super soft and drapey, and this quilt will be a snuggly, squishy dream come true.

Please enjoy the many photos of it that I took!!


I love your Lucky Links quilt, Shelly! It's so pretty and homey and inviting.
I made a quilt a year or two ago with the same scenario. I really liked the pattern, but the the fabric was only kind of OK, but I thought, oh, it'll be nice once it's all together. Once it was all pieced, I absolutely hated it! I know that's a strong word, but it's definitely how I felt about it. I even fantasized how to get rid of the finished quit top! But, I had also promised myself that every quilt top I made would get finished, so I chose a backing (a royal blue blender) and a pretty floral quilt pattern that I stitched in a bright yellow Glide thread (it was quite the contrast to the royal blue backing!), and all of a sudden it was one of the prettiest quilts I had ever made!
Like you, I'm so glad I stuck with it!
Thanks so much for sharing your story. It's truly an inspiration to keep going even when we're not that inspired! ;>)
Jane, what a lovely story about sticking with a project. I can totally imagine the yellow thread against the blue fabric, and it looks DELIGHTFUL in my mind’s eye!!
Happy quilting to you! ❤
This quilt is gorgeous, I love the earthiness of the wovens. I have a bundle of similar but different wovens from juicy juice a few years ago, I may try using them now that I see yours. What width did you cut your binding. I want to try this method with the glue. I have tried without glue and had lots of repair to do. Thanks for adding me to your newsletter. I too am a Juki TL lover.
Hello and thank you for the kind comment about the quilt. I’m so glad I stuck with it, despite my many reservations.
I cut all my bindings at 2.5″ which I think would have worked well if I had adjusted my seam allowances when attaching the binding to the front of the quilt. Oh well!
Happy Juki quilting!
I LOVE it. I love all things Irish Chain. I love all things plaid. I love all things bright. This quilt covers them ALL! I am soooooo glad that you finished it.
Marion, thanks so much for the lovely comments about the quilt. I could have used your enthusiasm while I was begrudgingly sewing it together at Retreat! 😆
Hi Shelly. I love the quilt! Spectacular use of fabric for the pattern❤️. Did you prewash all of the Fableism fabrics (binding, backing, etc.,) or just the fabric for the blocks? I’ve made one quilt out of woven fabrics and I had some seams unravel after washing the quilt. However, I did not prewash. Thank you!
Hi Sue!
I pre-washed all of the woven fabric because I didn’t want some parts of it to shrink at a different rate than other parts.👍 I haven’t washed it yet, so it remains to be seen what will happen when I do!
Thank you Shelly! I’ll take the plunge and prewash the woven fabrics!