
Last week I made a big beautiful bow using the Patchwork Quilted Bow pattern and it turned out great! But I couldn’t get the idea of a FOAM patchwork bow out of my head (where I would Soft and Stable instead of batting).
So this week I gathered my supplies and gave it a try!
Let me tell you what I did differently this time, and whether I prefer this version or the original.

Choosing Fabric
While running my weekly errands in Brandon, I popped into Fabriculous and found they had lots of Christmas fabric. Since my last bow was made with “traditional” colours (red and green), I wanted something a bit different for this version.
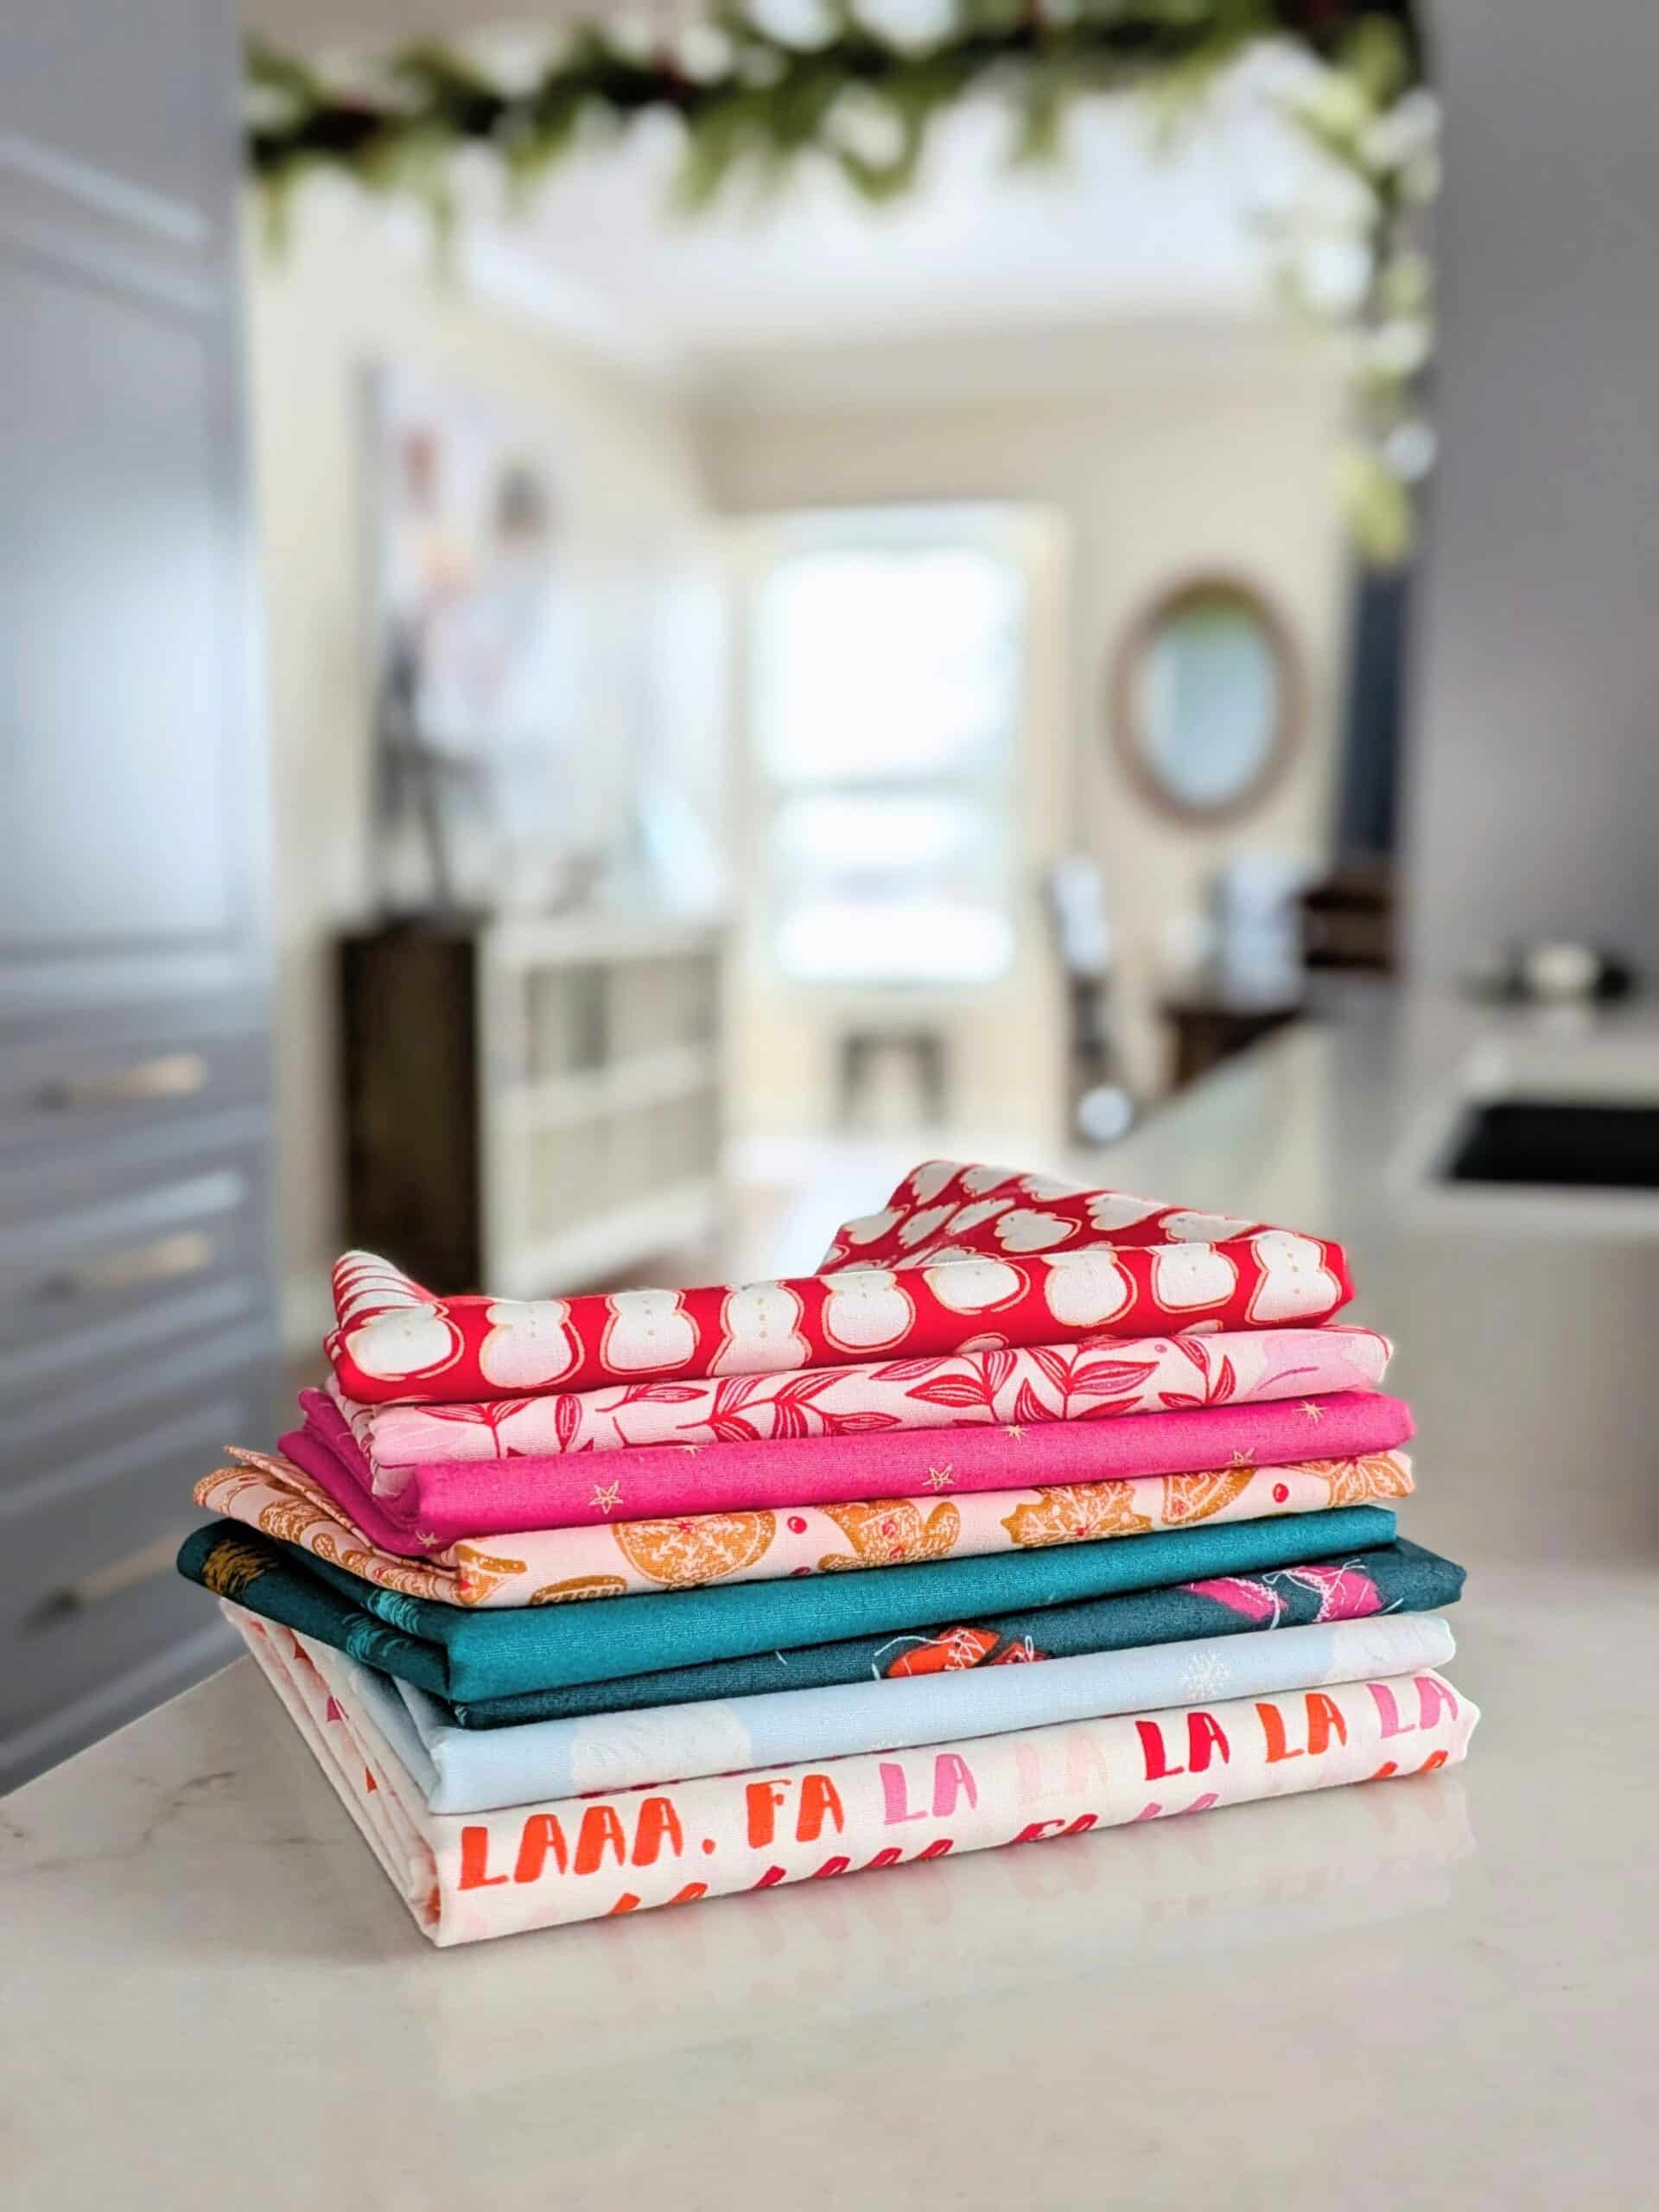
I happened upon nearly the entire Christmas in the City collection from Art Gallery Fabrics and was immediately drawn to the bold pink! It wasn’t a collection I was familiar with, but as far as I can tell it was released in 2022. The online selection is limited, but I found some on Etsy.
I made my last bow using six prints and one solid, but for this foam patchwork bow, I chose seven prints (plus a solid white) for the patchwork and one print (Fa La La) for the back of the ribbon tails. This collection is particularly well-suited for this project because there are so few repeating patterns.
All eight of these are different prints - love that!
Using Foam Instead of Batting
The patchwork came together easily and quickly using strip piecing, and I took the time to swirl my seams on the back. I love how flat the seams turned out, and it always gives me a little thrill to see the pinwheels as I press my work. Do I need to get out more? Possibly.

Instead of using batting, I chose a foam stabilizer called Soft and Stable. I’ve used it in a lot of bag and pouch projects, and I thought it would give my bow a nice shape.
Notice that for this bow, I skipped the SF 101 interfacing. It wasn’t necessary (because the foam gives it so much body), and I was glad for the time I saved by not having to interface all my fabric before cutting.
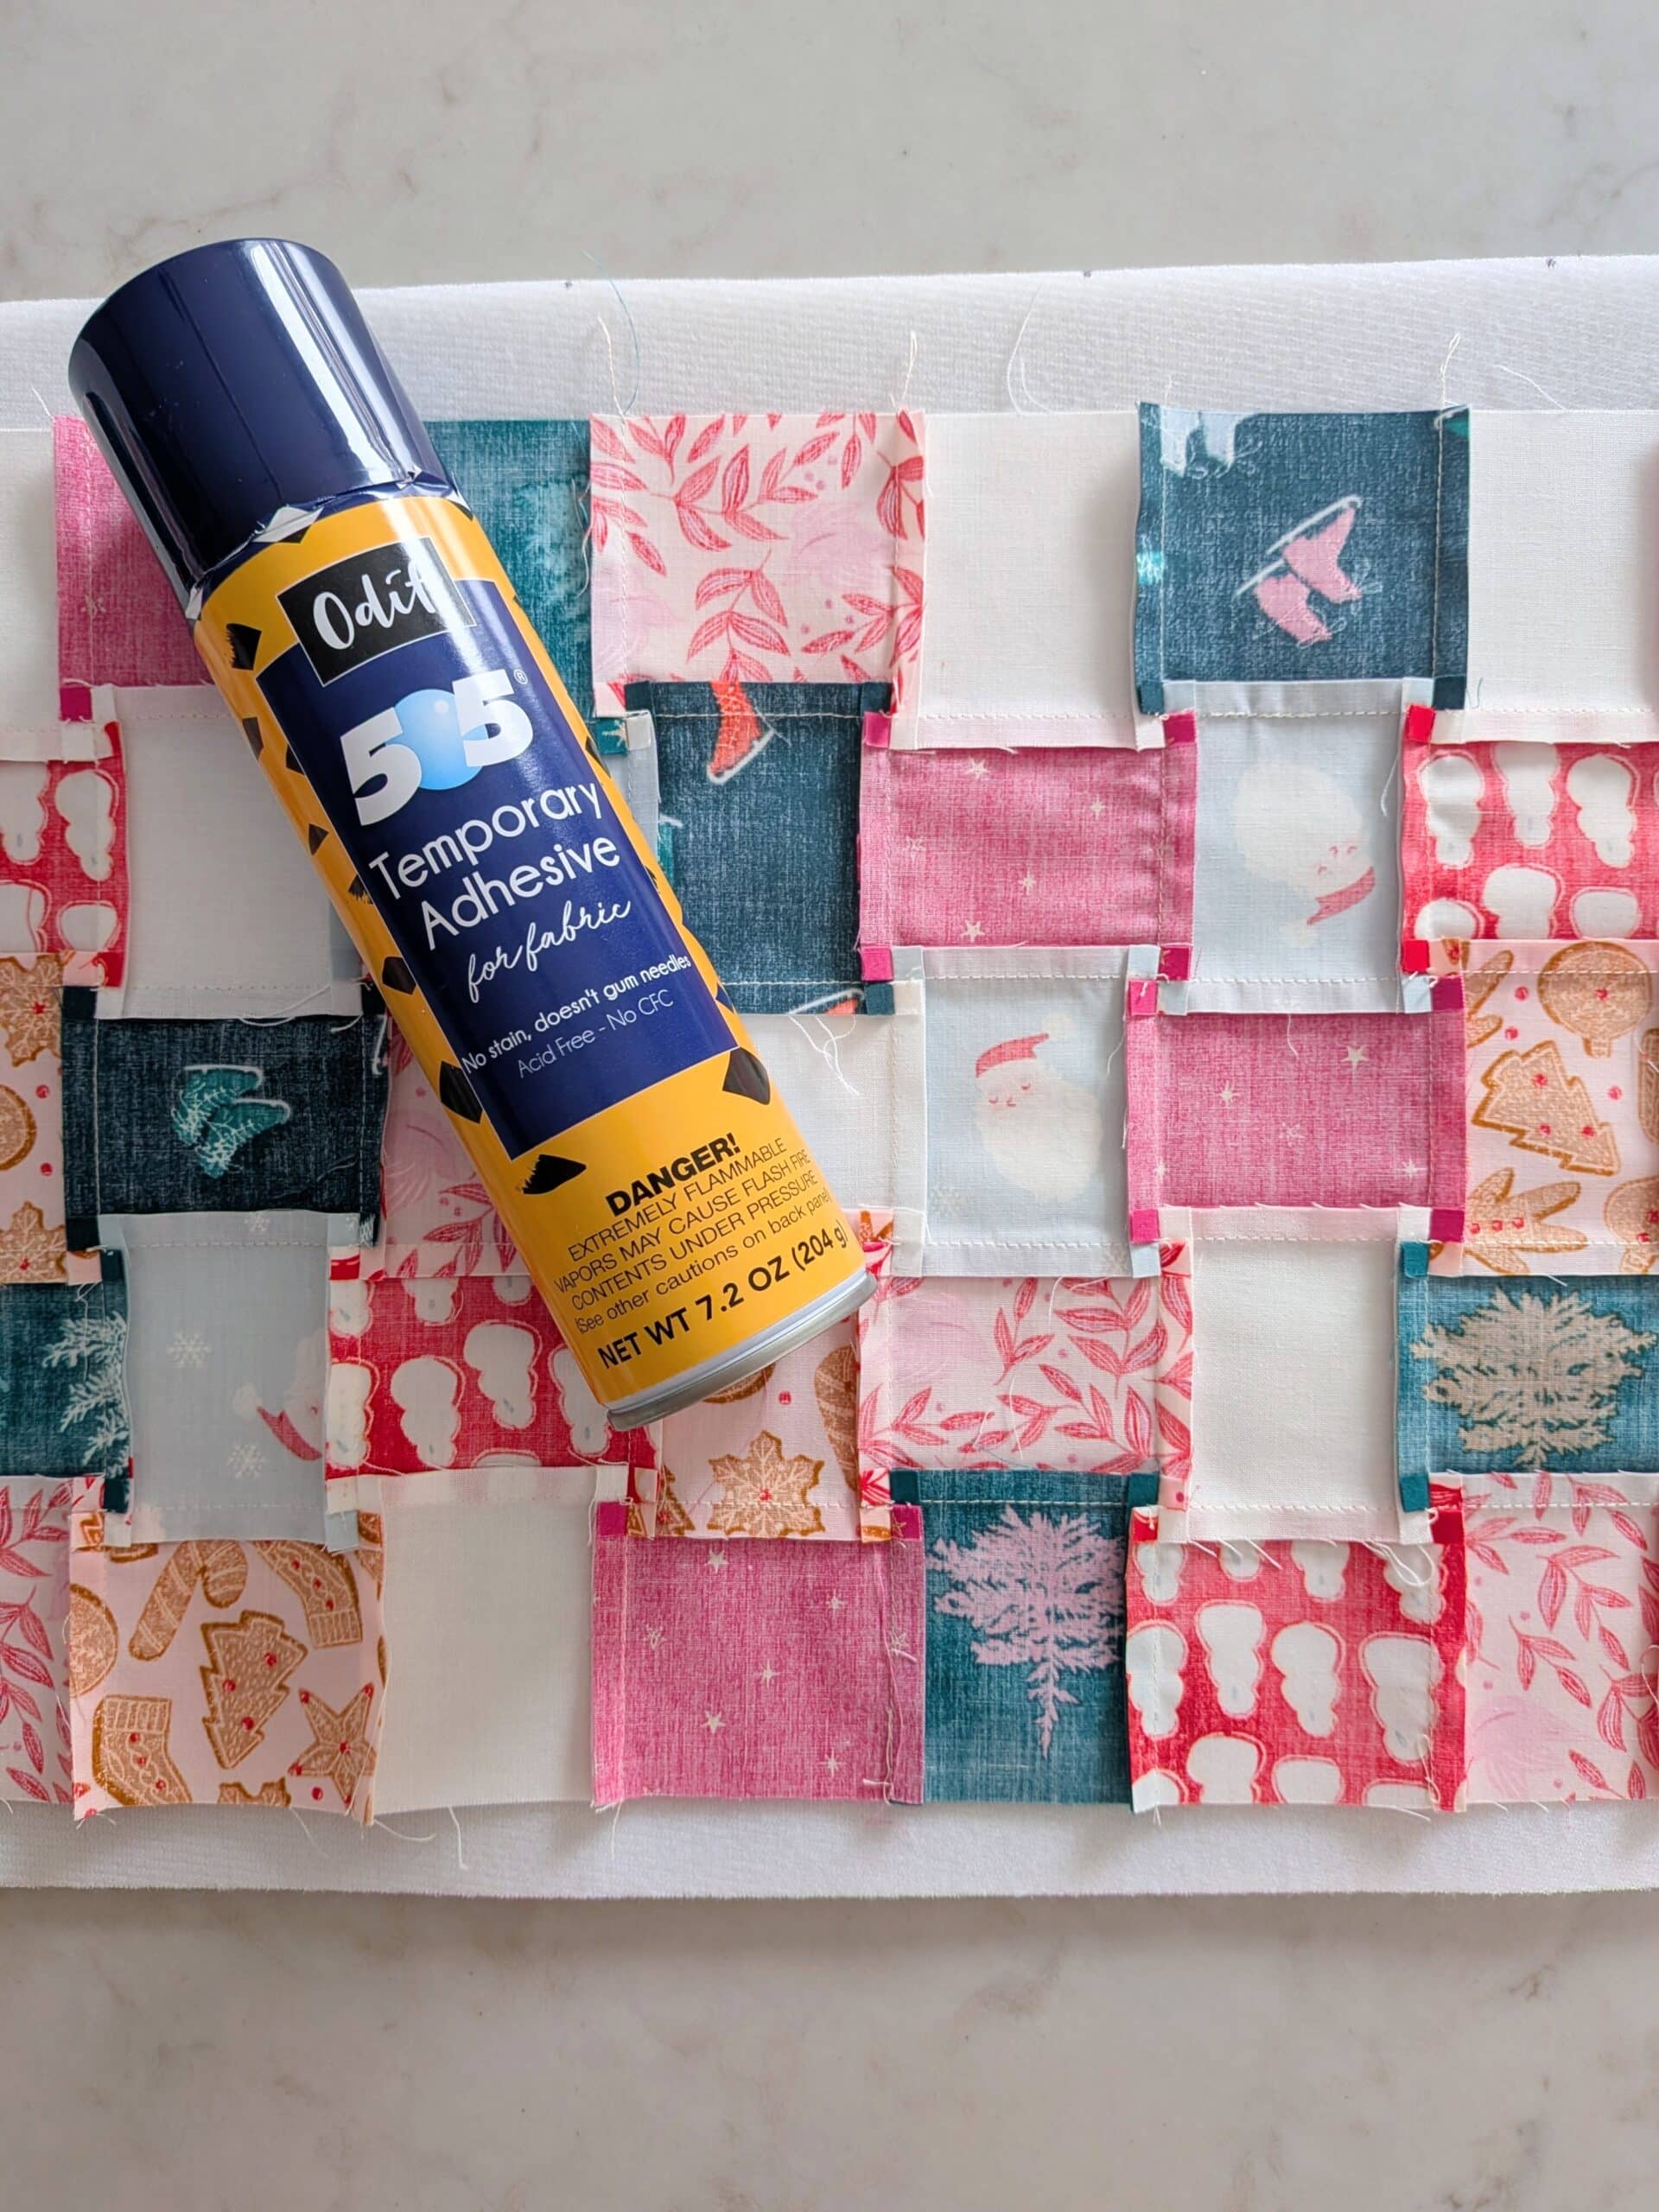
It was super fast and easy to baste my patchwork panels to the foam using spray adhesive. If glue in a can isn’t your thing, it would be easy to pin baste the panels instead.
Quilting my Foam Patchwork Bow
Whenever I mention that I’m using Soft and Stable in a project, I get a lot of questions about how it quilts. The answer is: amazing.
Soft and Stable glides through my machine so easily that I can even quilt it using my Juki TL 2010Q sewing machine (which I famously despise for quilting).

You can even longarm this stuff! Clients will sometimes send me large pieces of fabric, and I’ll quilt them into panels (with Soft and Stable as the “batting”) which they’ll later turn into bags. If you’re making a bag with large pieces, I can 100% recommend getting some panels made up.
Assembling the Bow
Once my quilting was complete, the rest of the bow came together really quickly and easily. I did make one change this time, and that was to clip the inside angle on the bow tails before turning the project right side out.

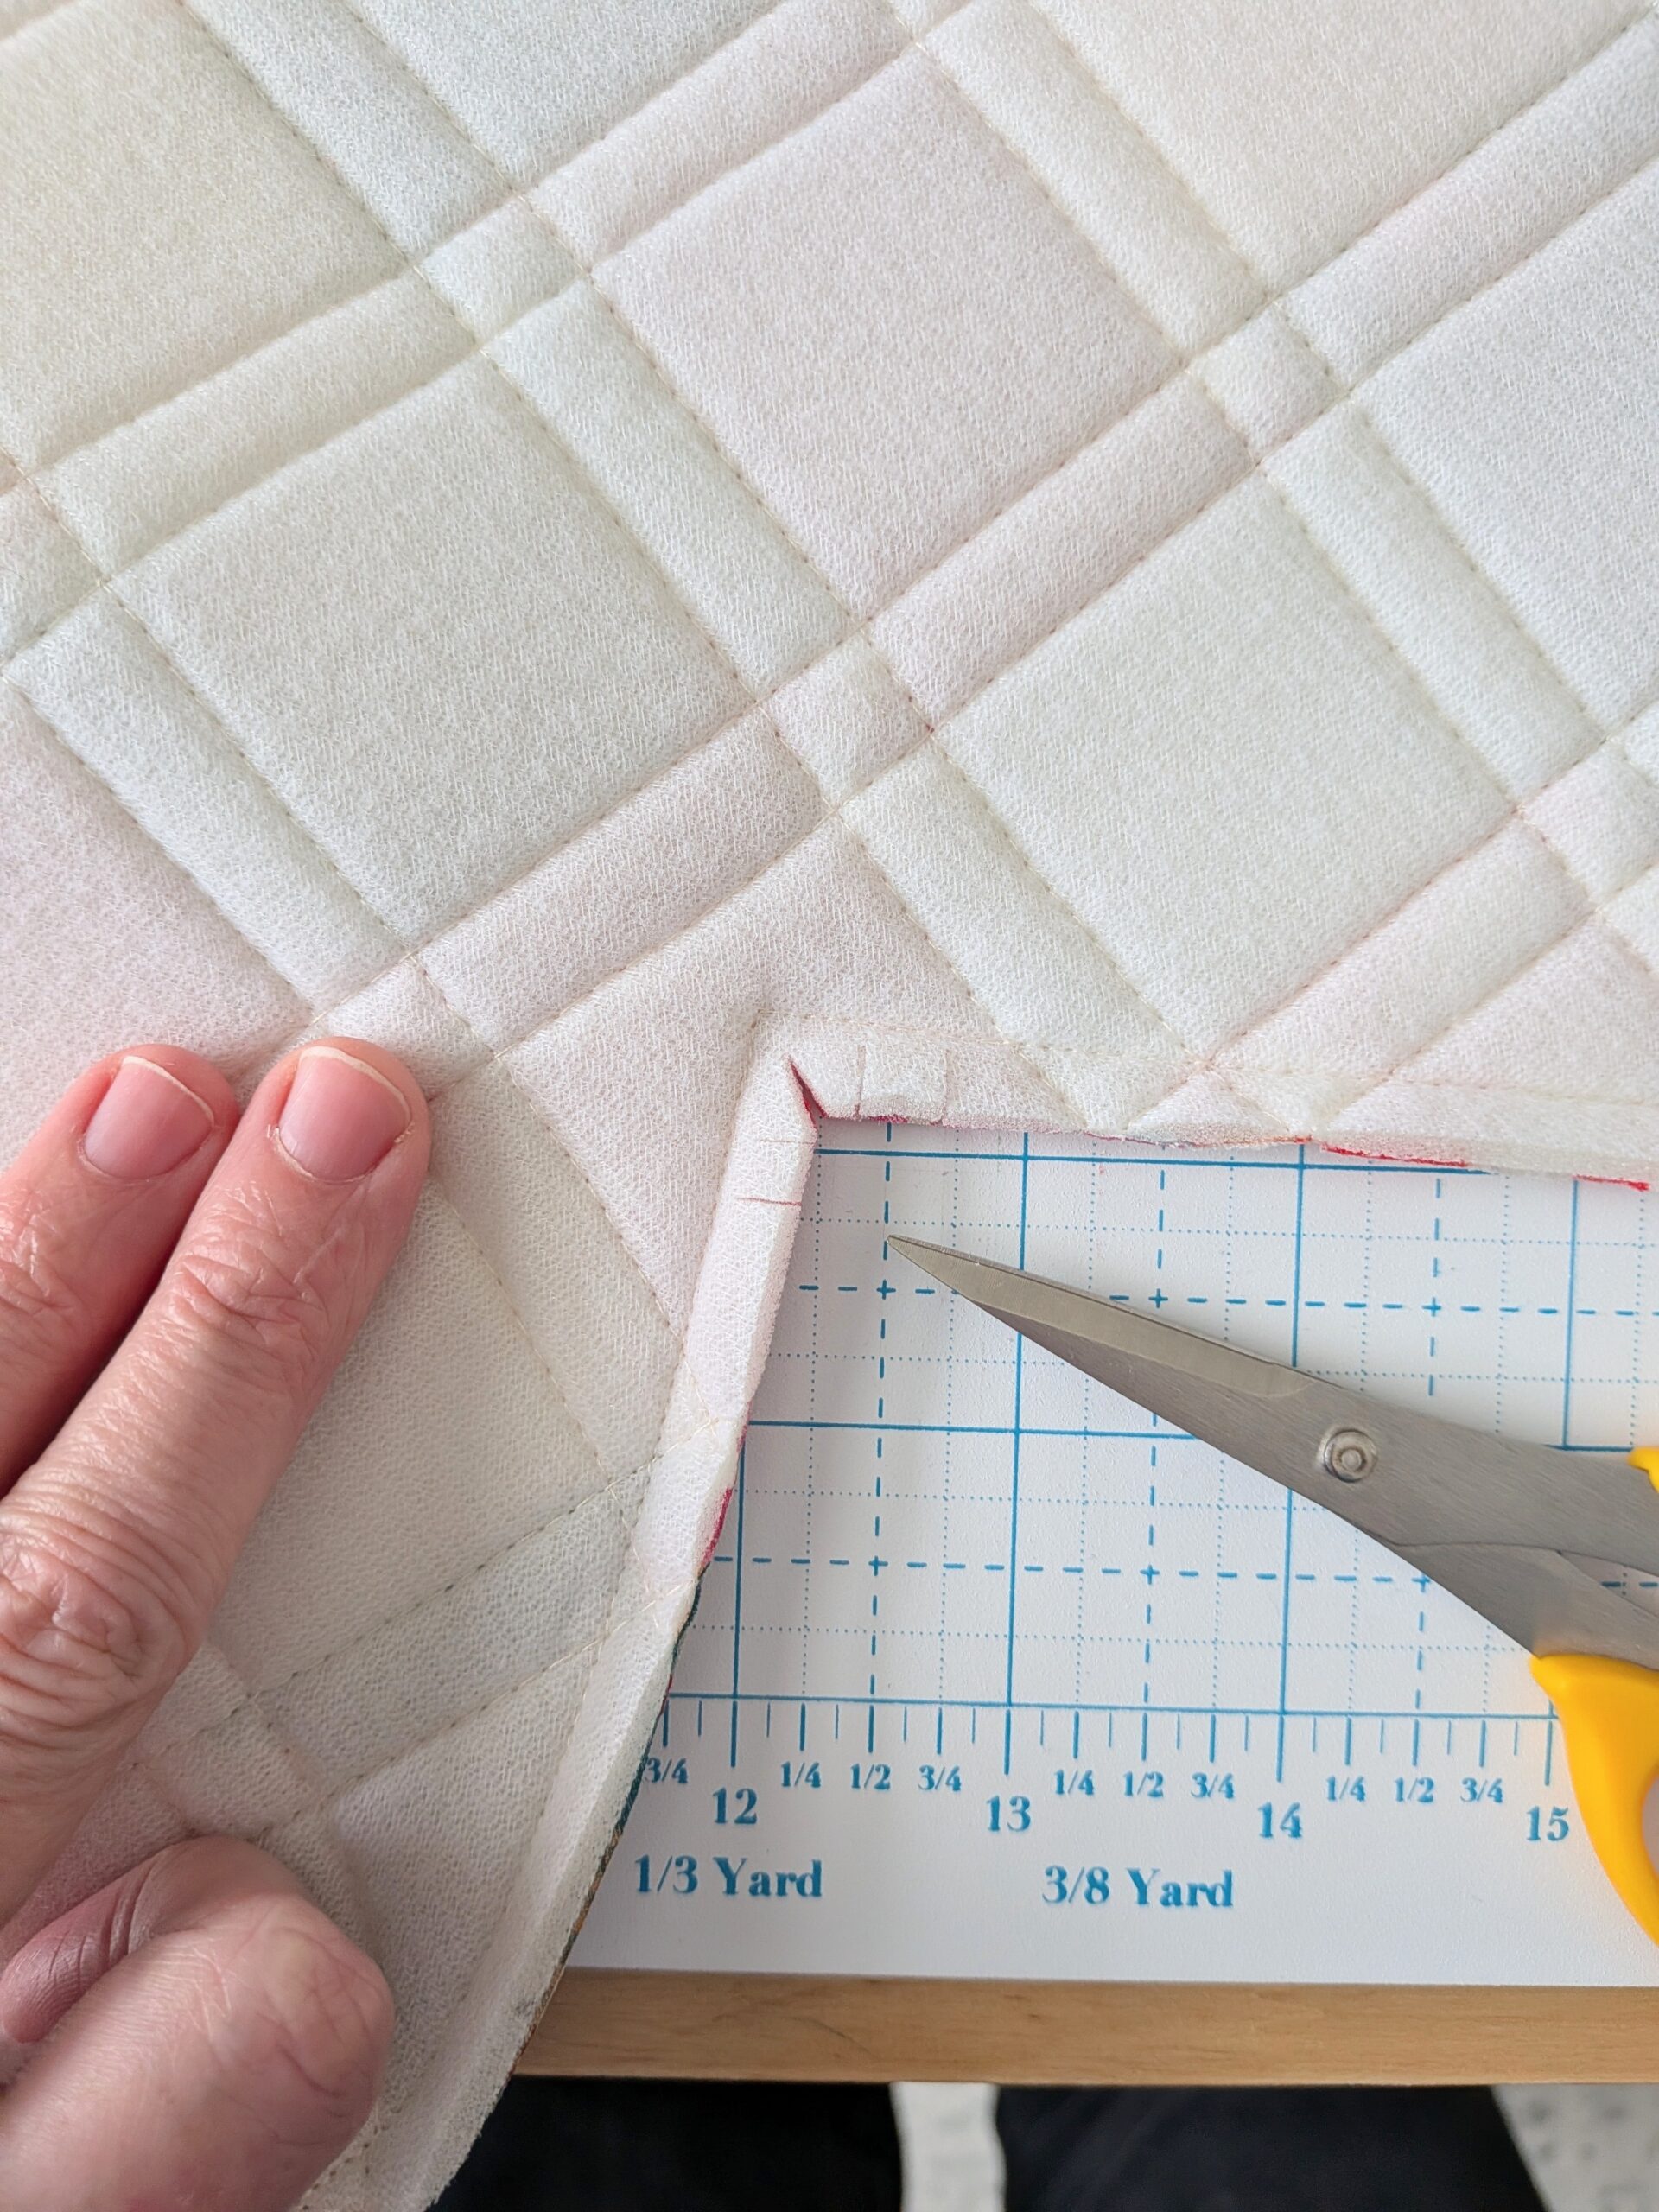
Last time I missed this step, and I do think that the few little snips gave a more professional look to the finished project.
The Verdict
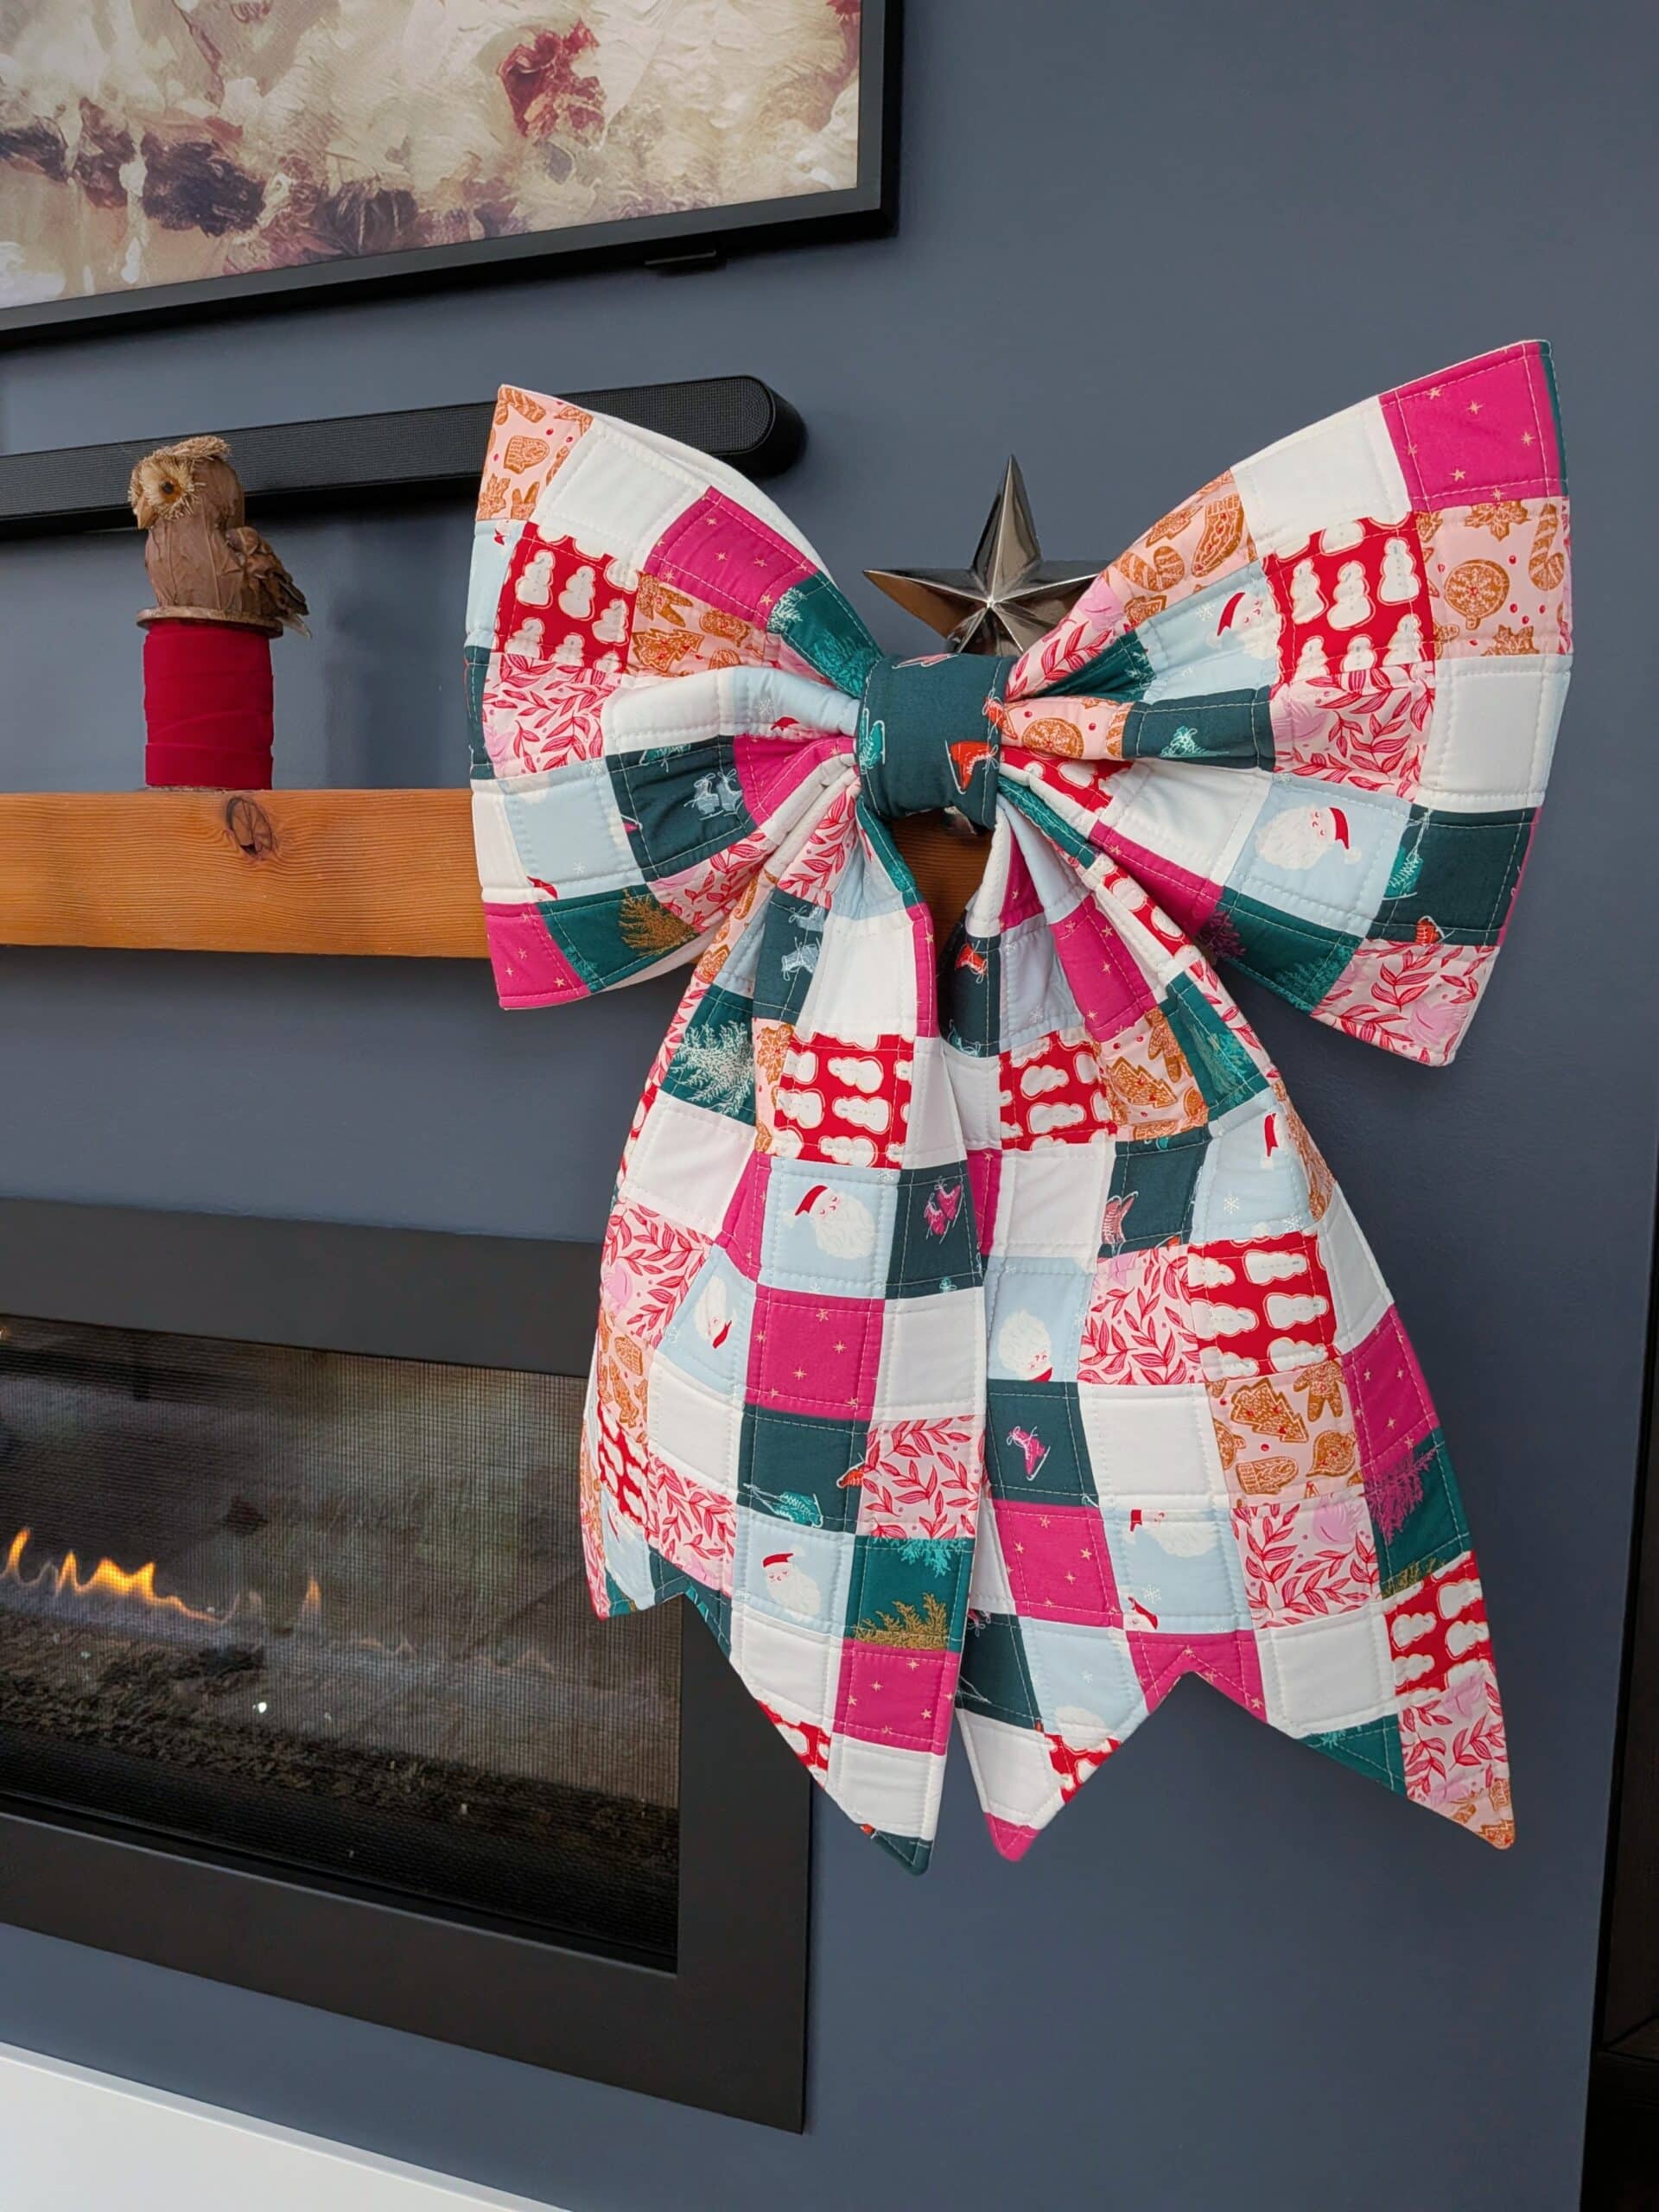
Like Latrice Royale, my foam patchwork bow is large and in charge, chunky yet funky, bold and beautiful. She’s GORGEOUS!

There is not a hint of droopiness nor floppiness about my bow - it stands up beautifully and holds its shape to a tee. Or a bow.
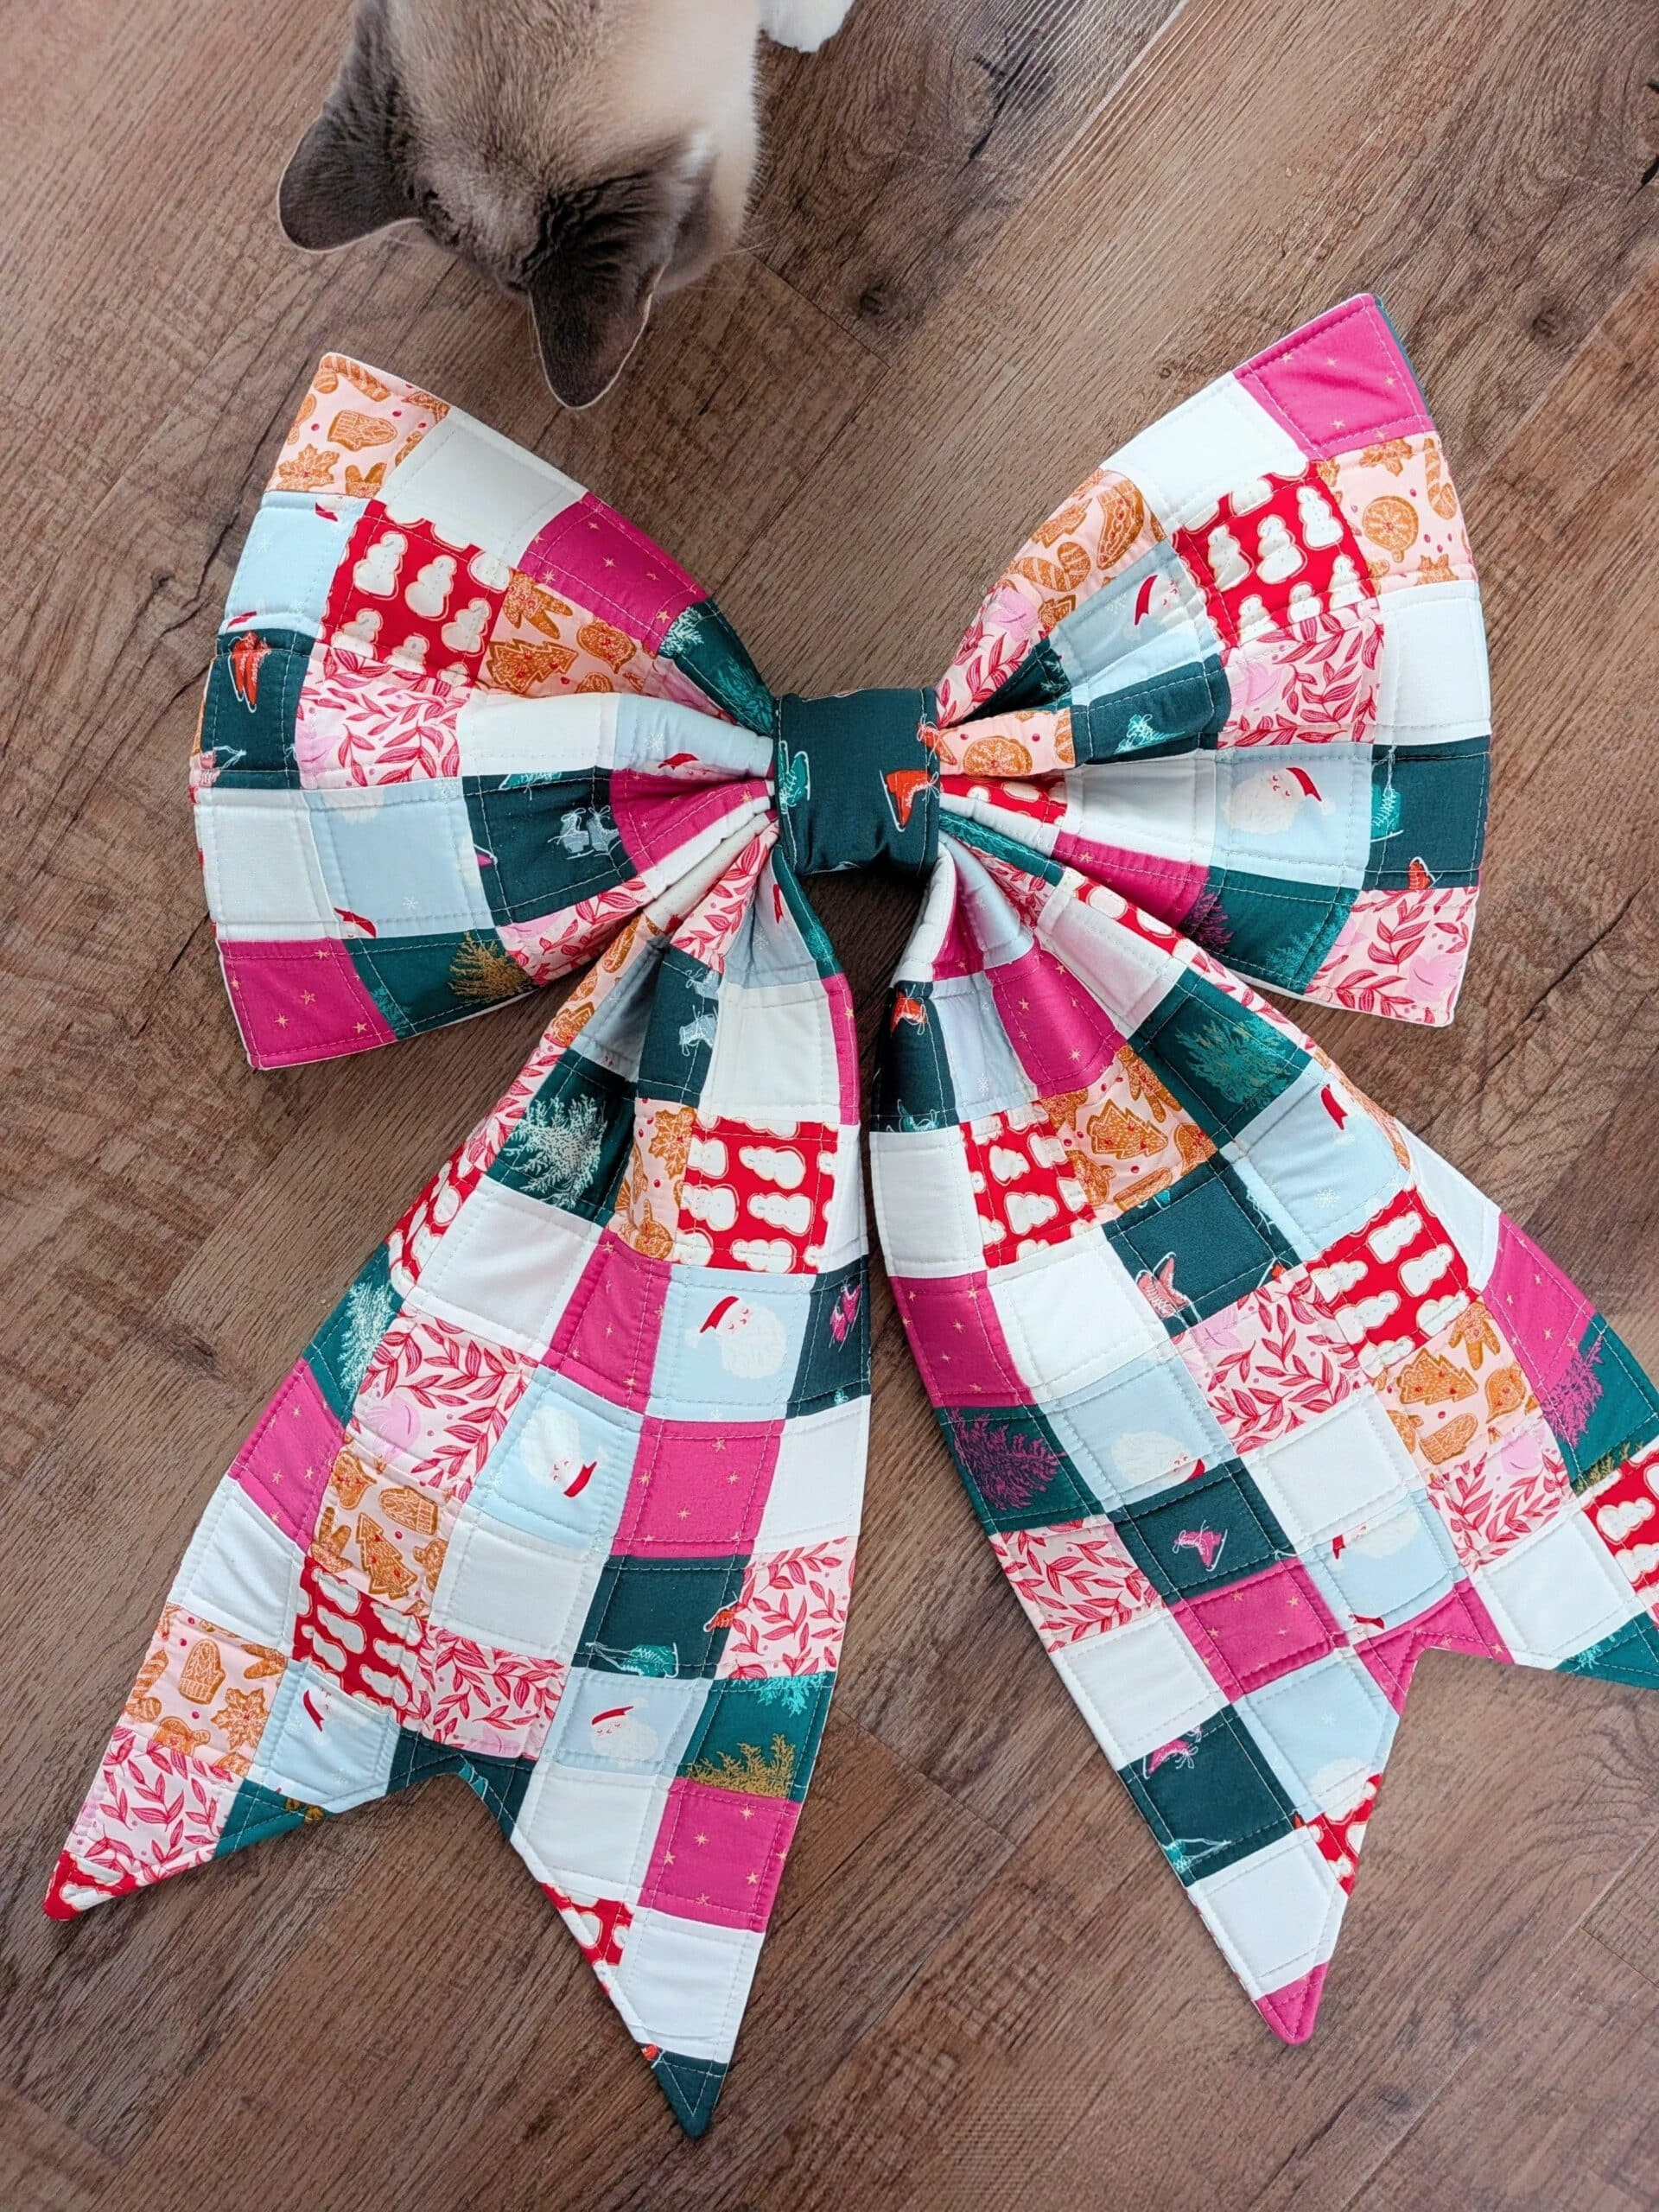
Although the Soft and Stable adds some cost to the project, I think the result is well worth it. I wouldn’t want to make a bow any other way!
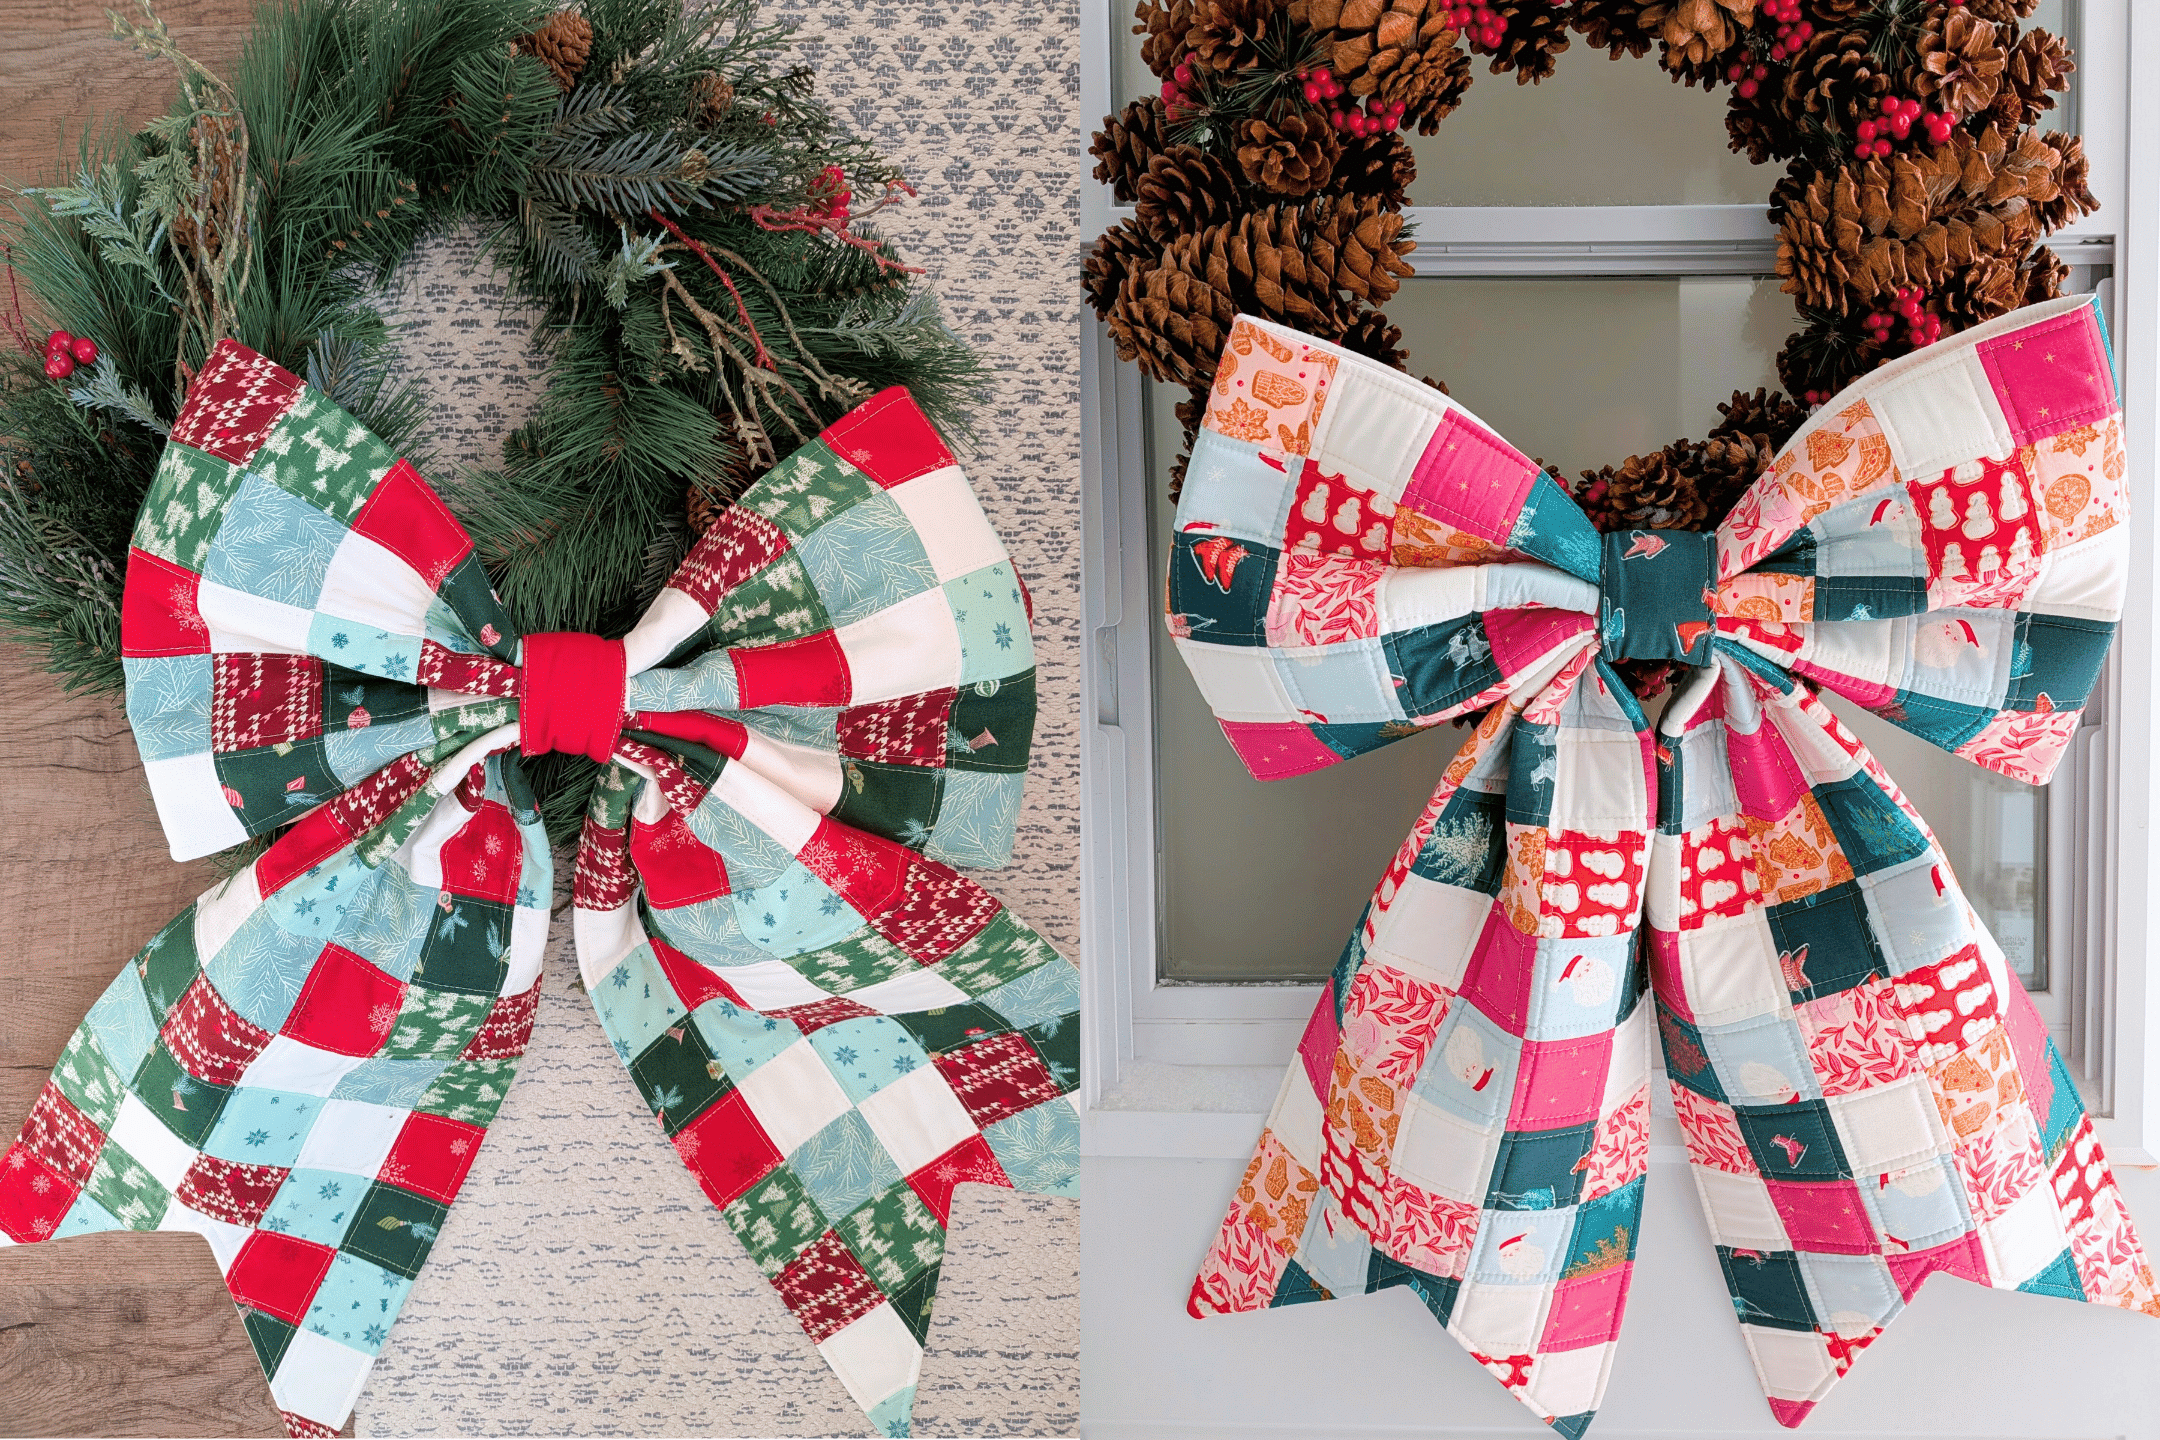
Also, side note: I bought this fabric because I thought it looked soooooo different from the combo I used for my first bow. But when seen side by side, the two are very similar! Whoops - I guess I like what I like! 🤷
Want to make your own Patchwork Quilted Bow? Here's the link for you one more time!

I love this bow so much – thanks for sharing the tip about Soft and Stable!
The bows are gorgeous!!! Nice work! I was thinking a Valentines color way would be lovely too 💗
Oh yes, I can imagine bows for every season and holiday! ❤
Your bow turned out beautifully! Thanks for sharing all the details and photos.
Did you have much shrinkage after quilting the panels? I wasn’t sure if I should add a row each way to allow for trimming to the correct size.
Thanks…Karen
Great question Karen! I didn’t measure before / after quilting, so I’m not sure if there was much shrinkage. The pattern is very forgiving – it doesn’t really matter what size your panel is after quilting. You can just trim it to the edges and proceed. 👍
Thank you! I just received my fabrics and am anxious to get started.