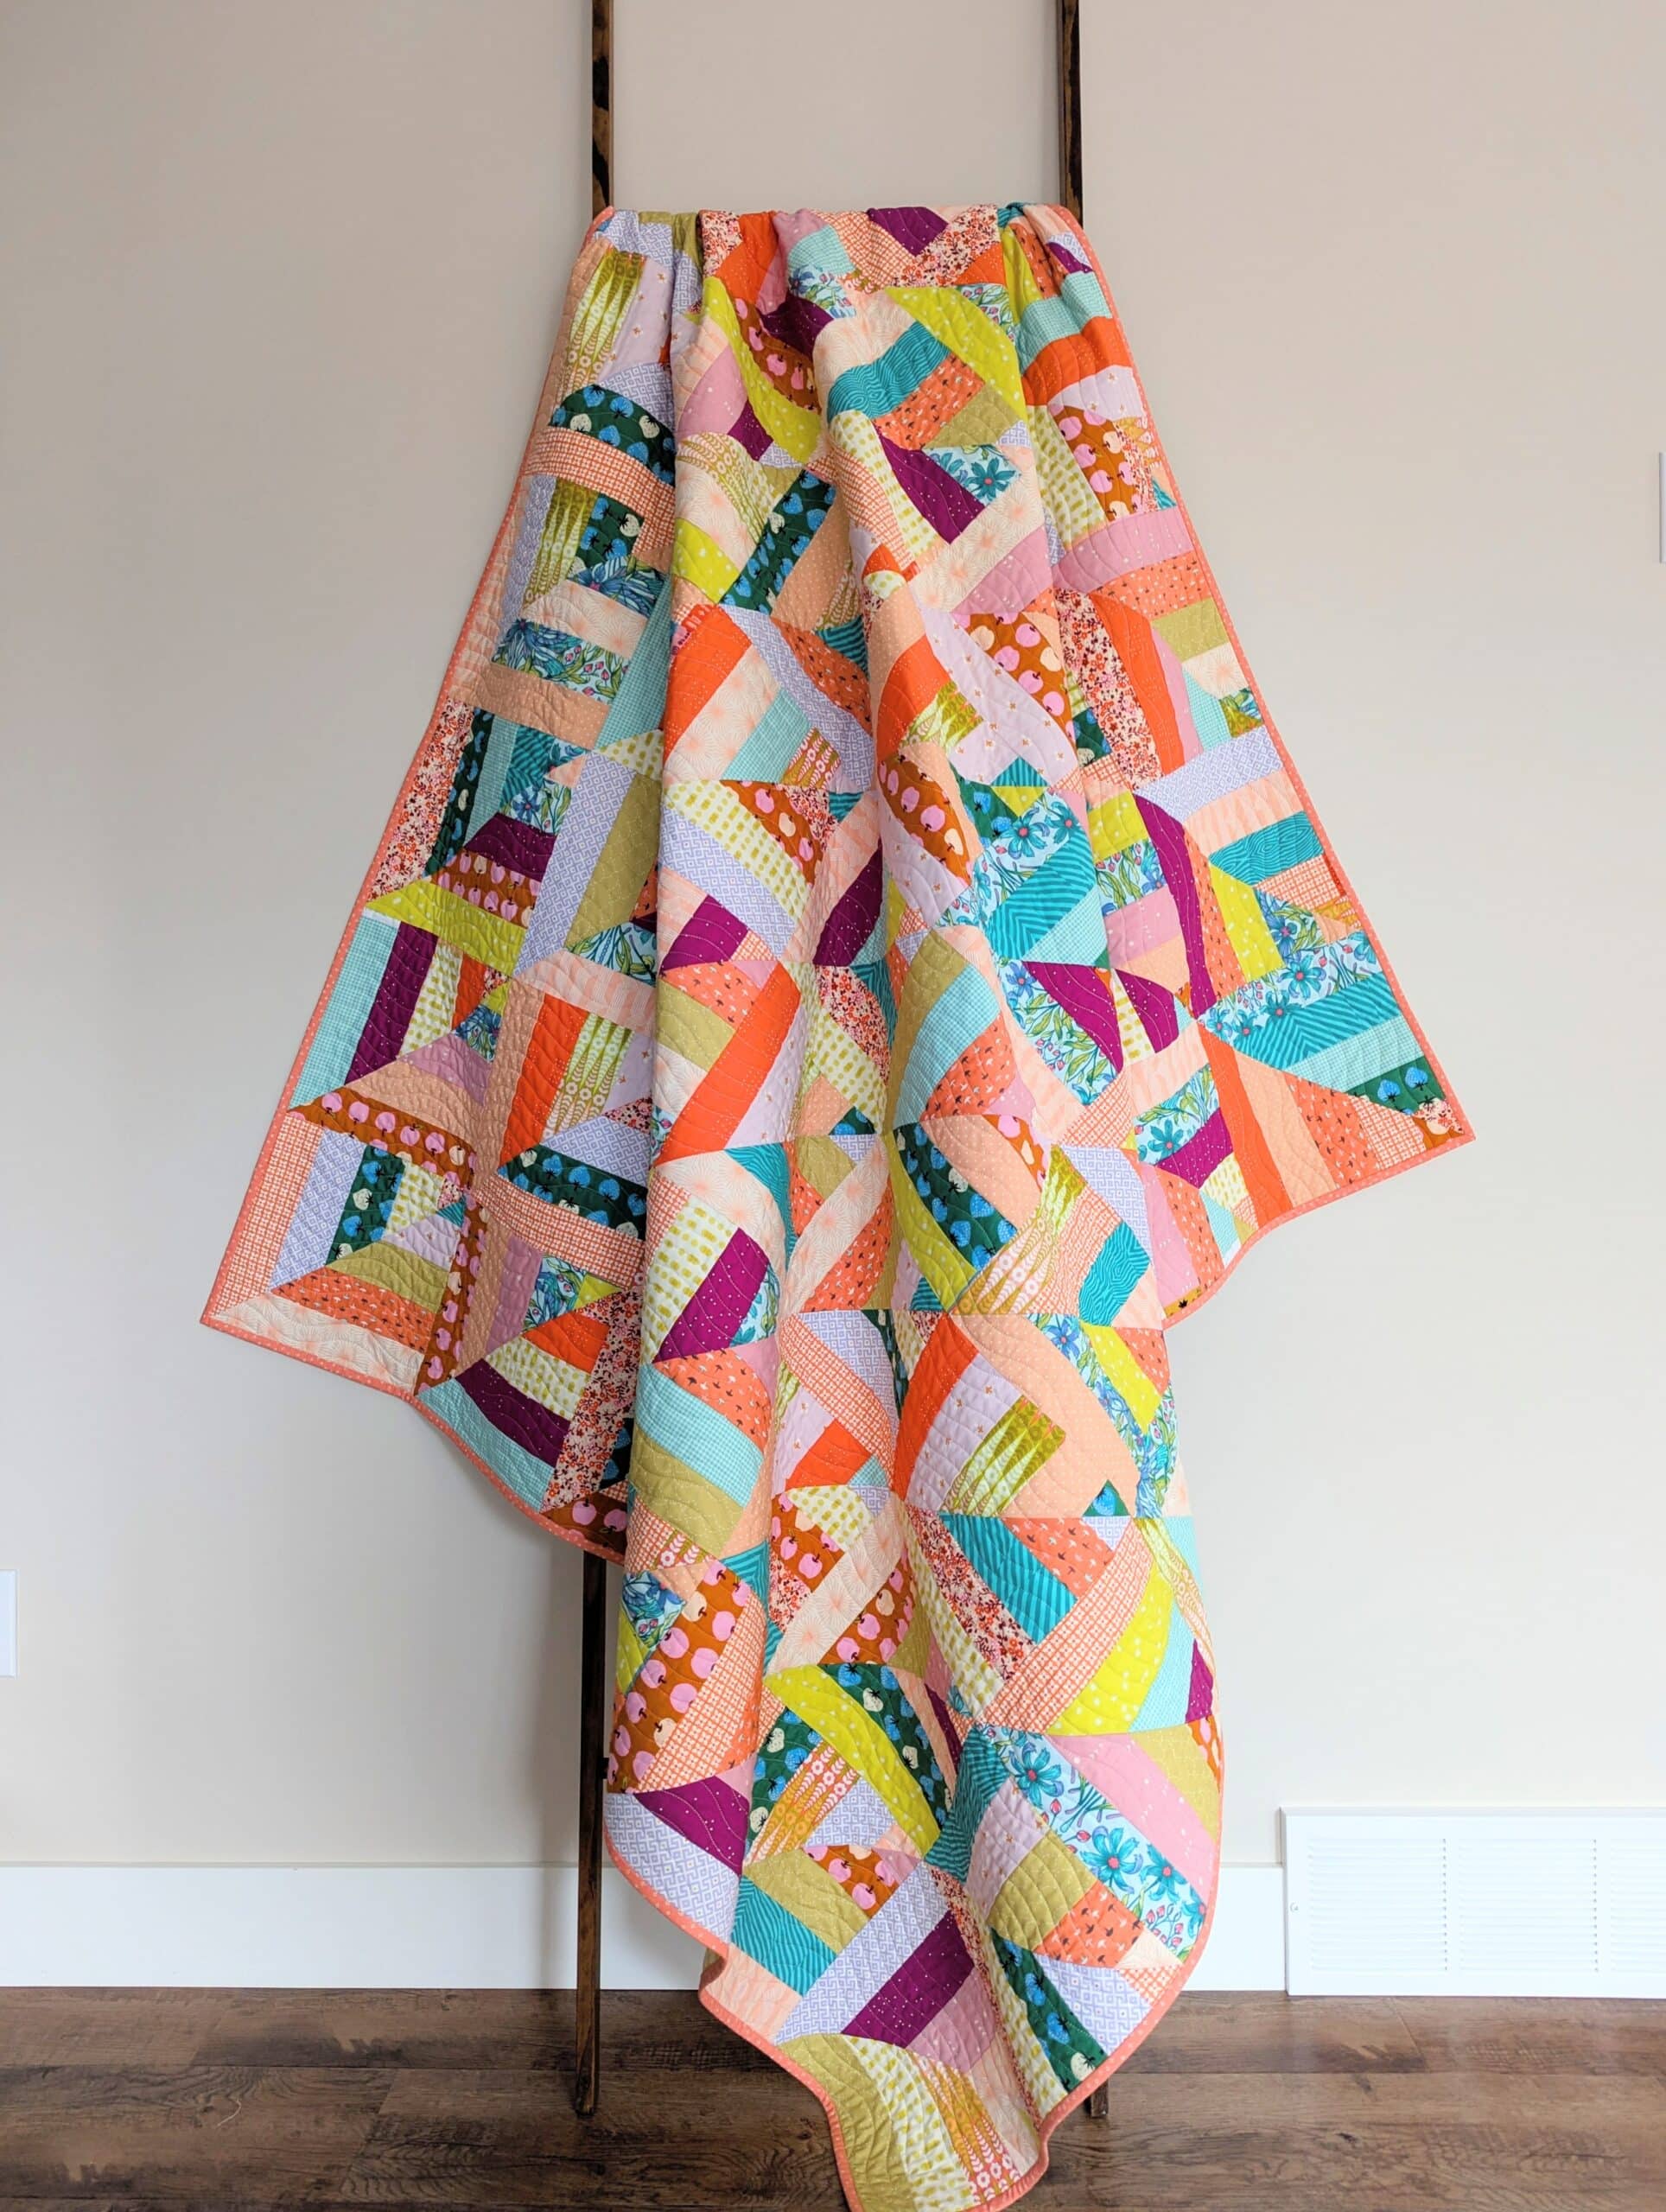
This is the story of a Lucky Log Cabins quilt that came together so quickly that I have almost no pictures of the process.
Choosing this project
The Lucky Log Cabins quilt pattern is a VERY popular design that’s been around since 2020. It was designed by Emily Dennis of Quilty Love, and I’ve seen countless version in my Instagram feed since its release.
After years of hearing how fast it was to make, I finally decided to make one of my own in the fall of 2024.
Fabric Pull
This quilt looks good in almost any colour combination. Want proof? Check out Emily’s blog post about this design. She shares a tonne of inspiration, and has a lot of suggestions on pulling a cohesive bundle together.
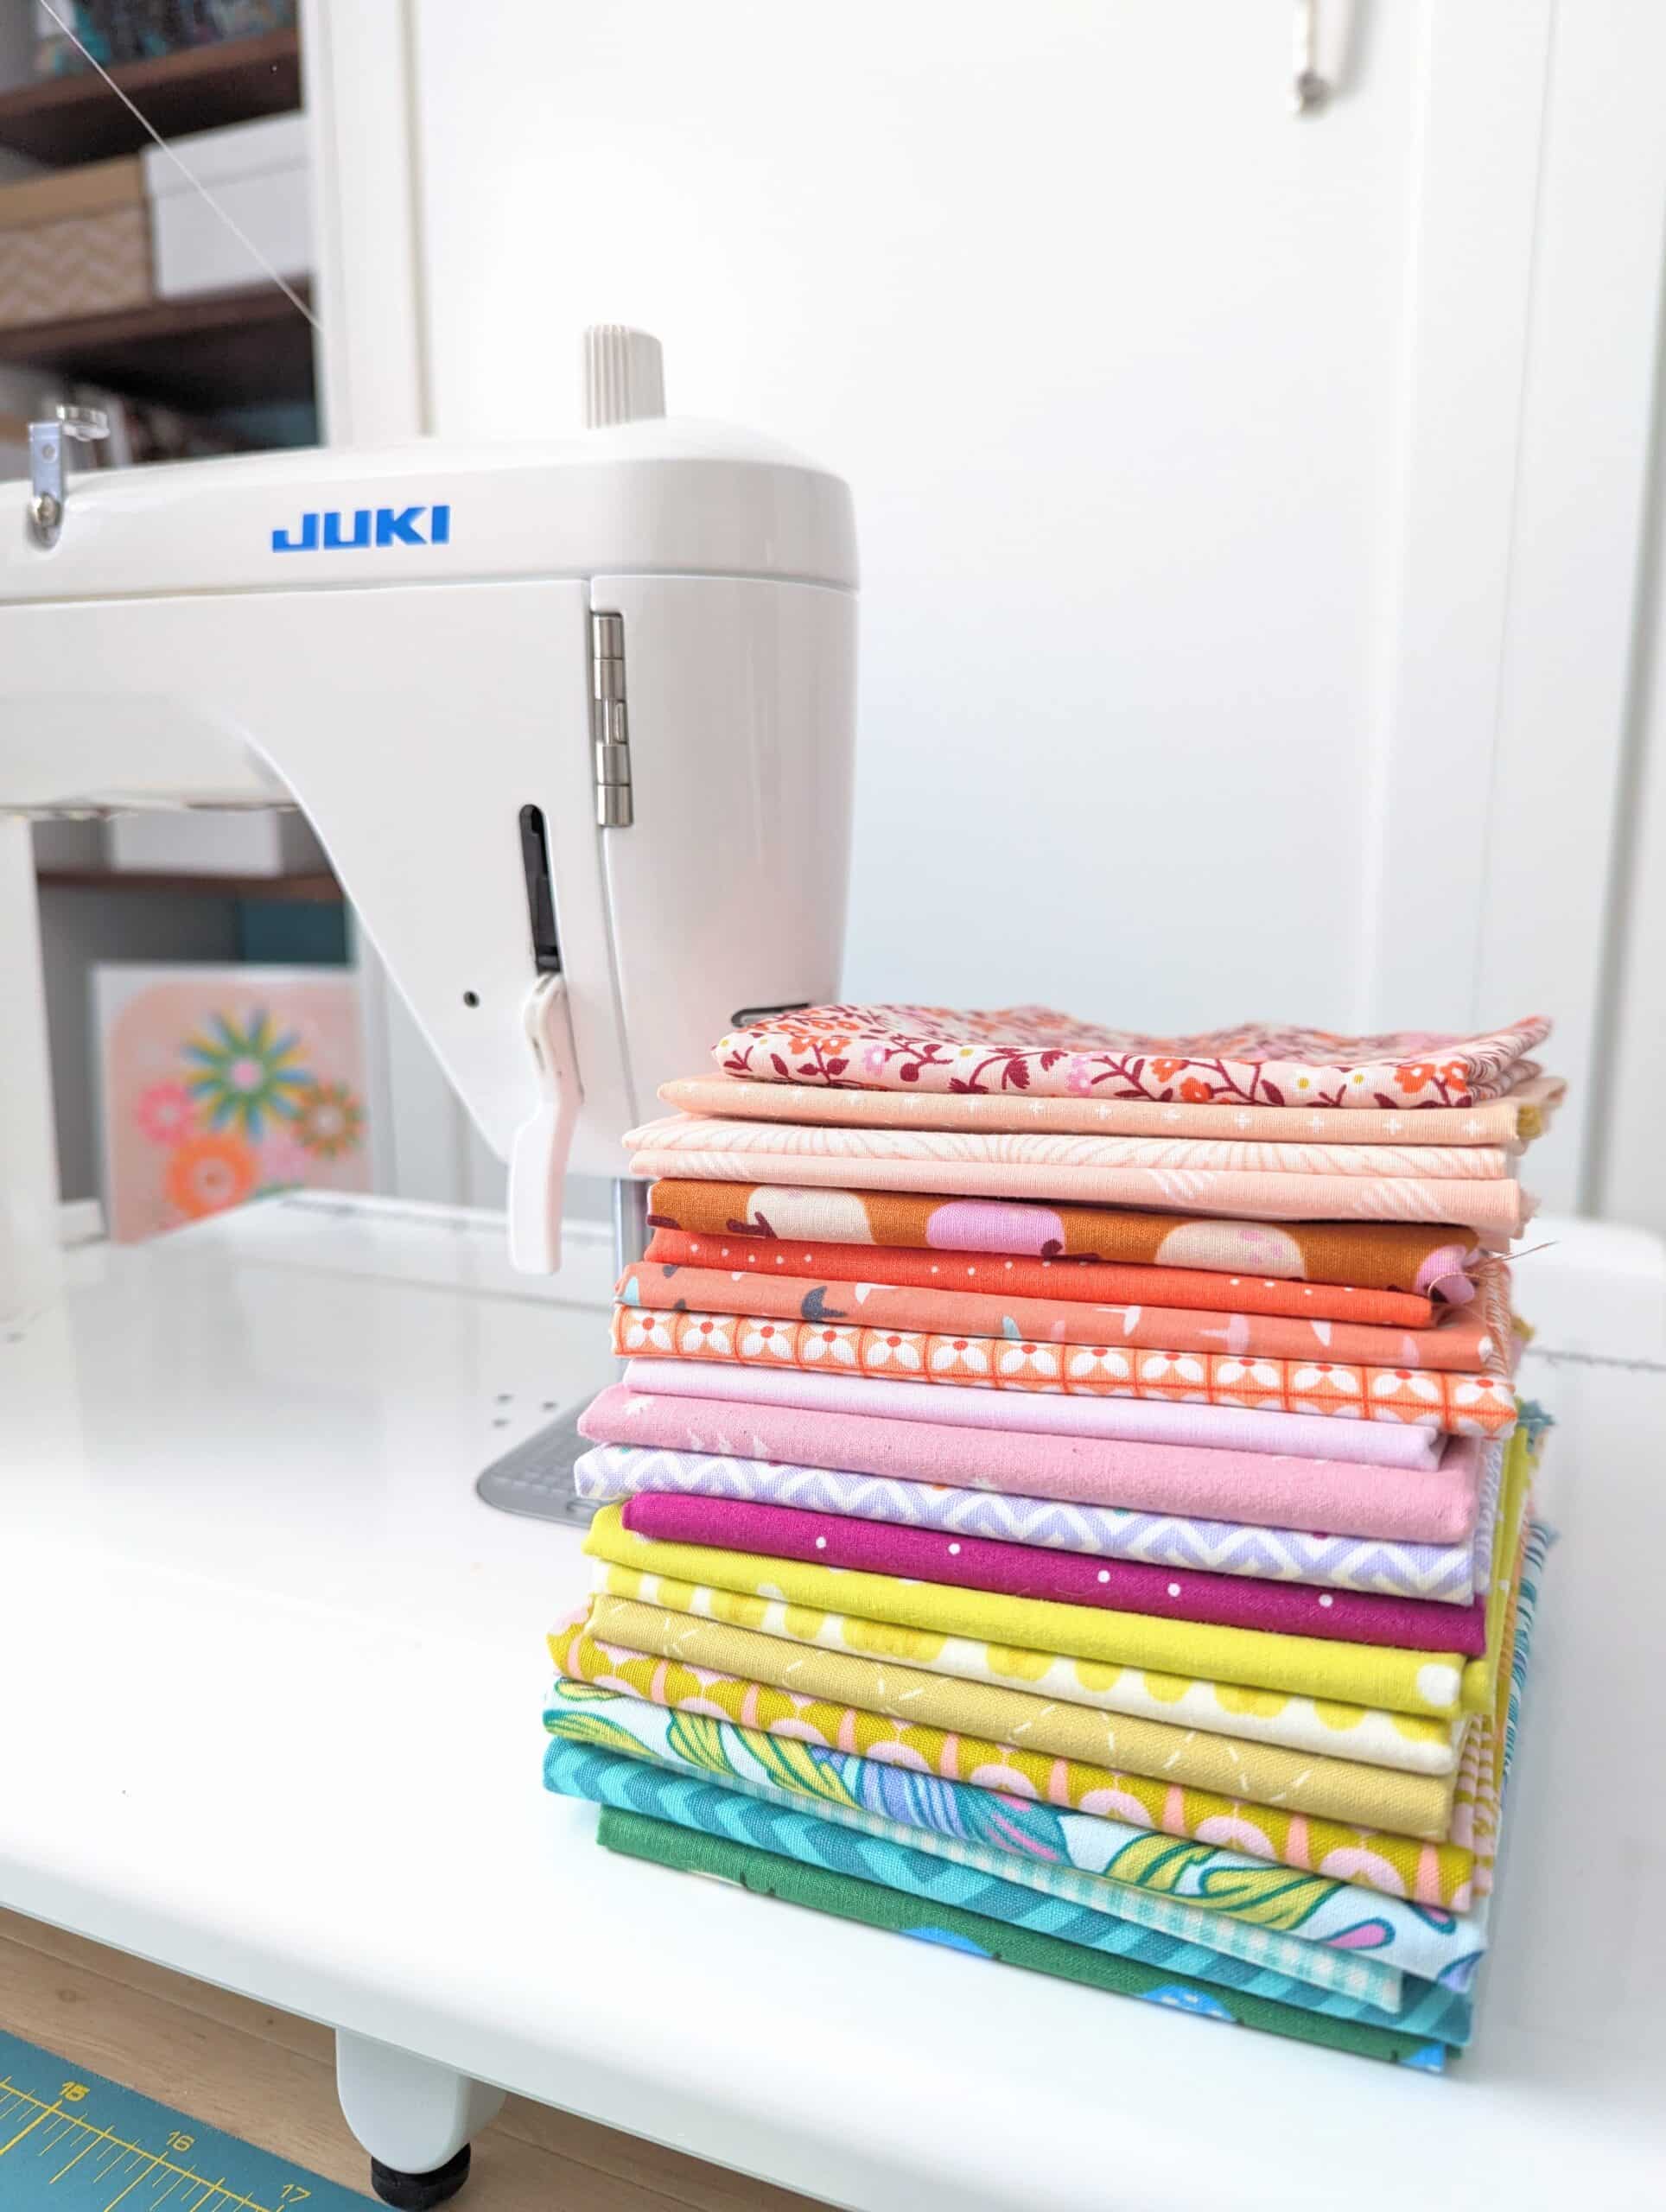
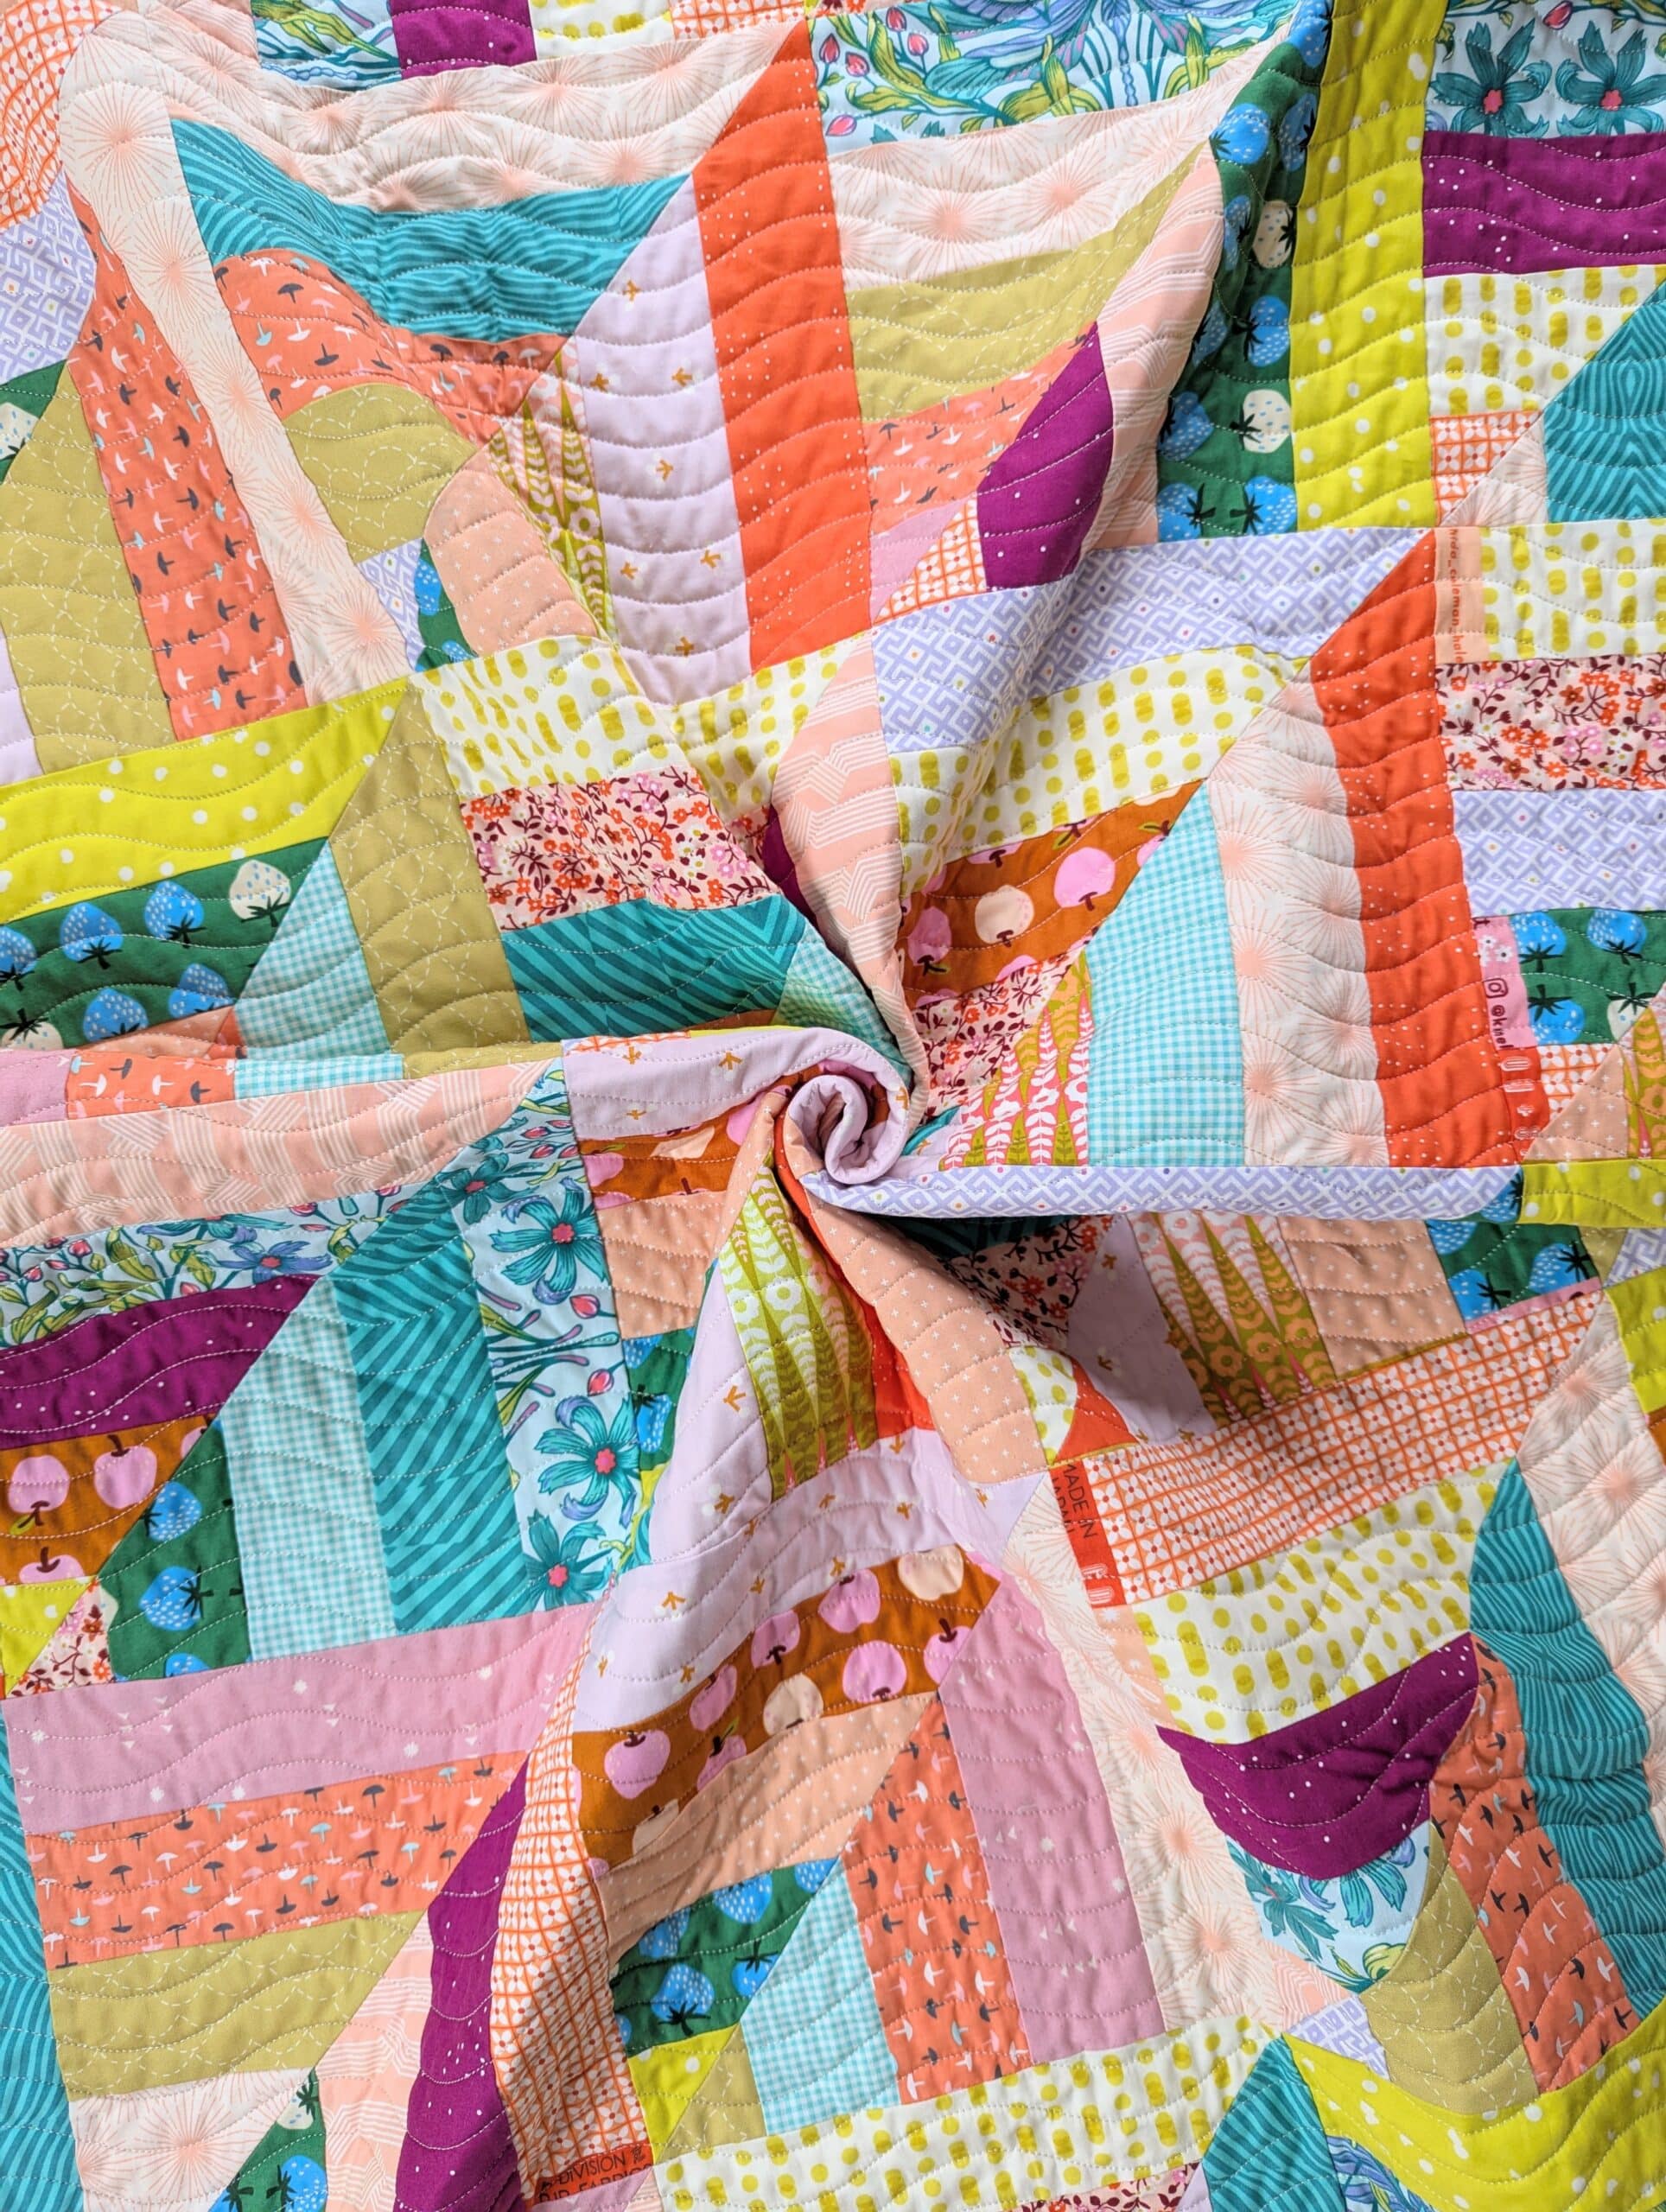
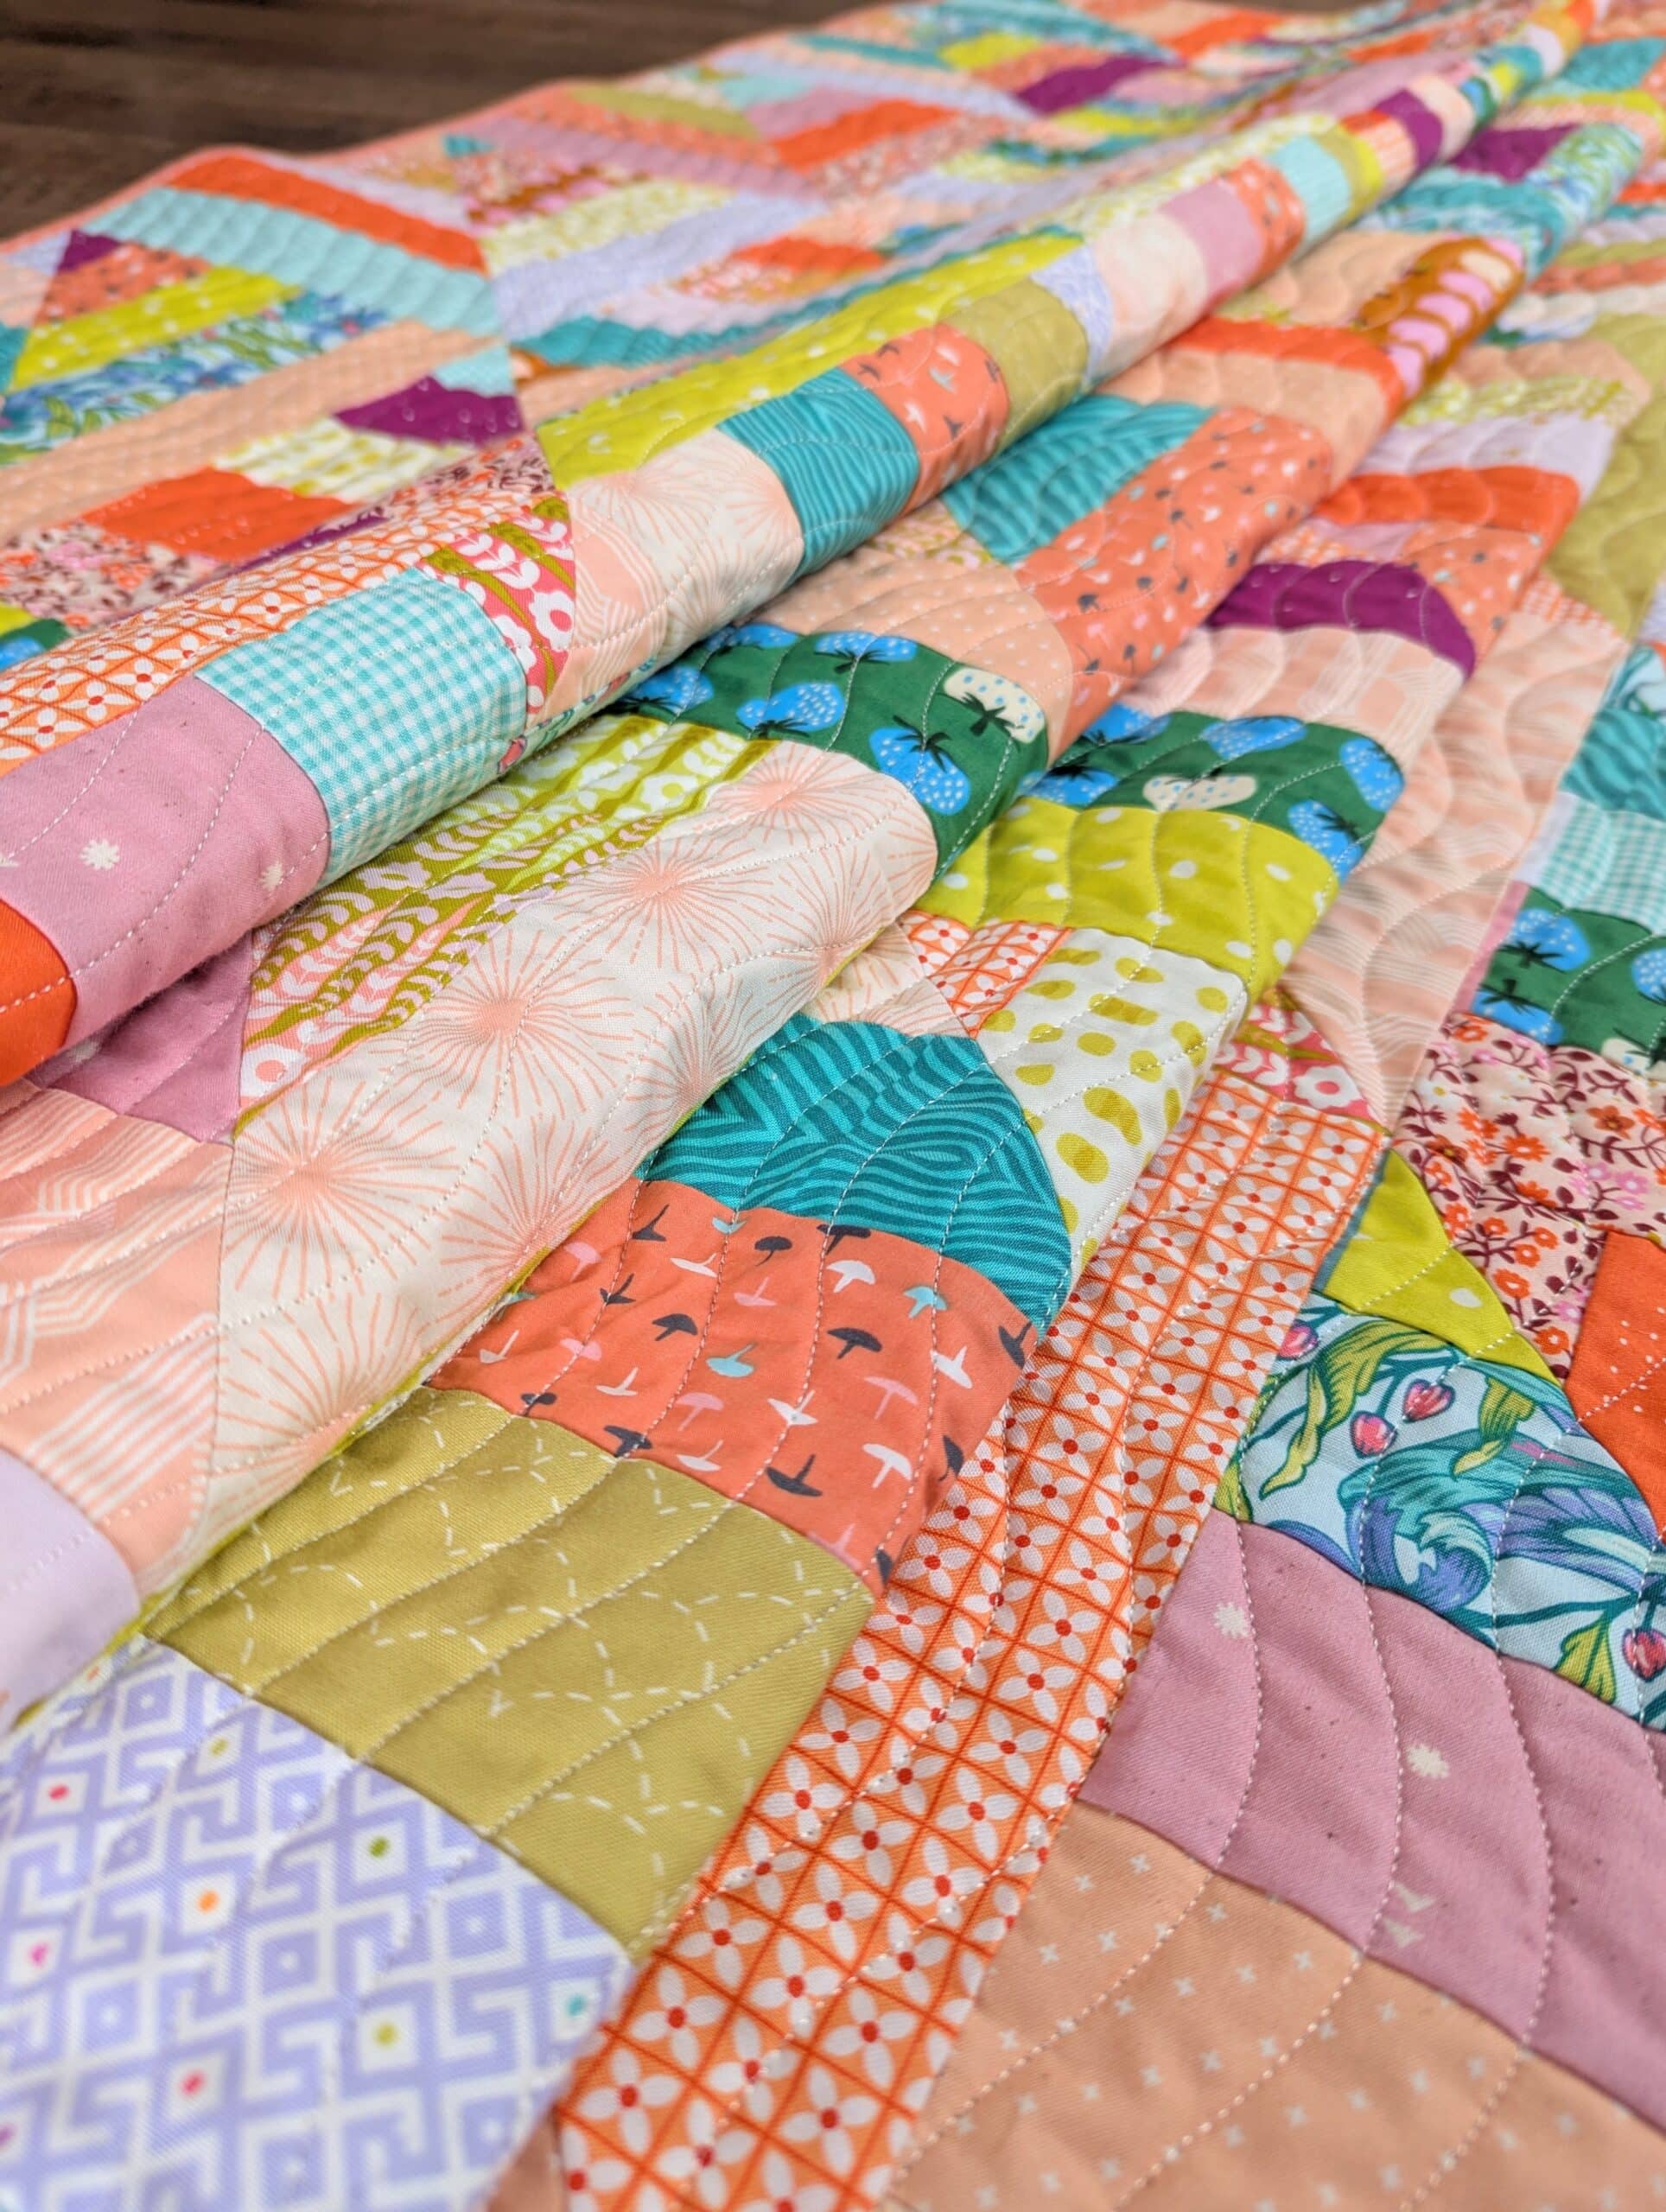
When it came time to pull my fat quarters for this project, I went way outside my comfort zone and created a mix of green, peach, yellow, and orange colours (with a splash of purple). Green and orange are the two colours that I use the LEAST in my quilts, so I’m not sure what possessed me to use them both in the same project.
The pull was vibrant and wild, and definitely stood out compared to my “typical” colours.
You gotta live a little every now and then, don’t you?
Taking to Retreat
I packed up my fabric and headed to a sewing retreat in Altoona, WI. I was so confident that this quilt would come together quickly that I didn’t even bother to cut out the pieces in advance.
In hindsight, this was a mistake, because…
A word of caution about fabric requirements
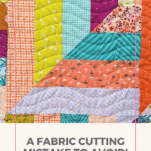
If you use fat quarters for your project, you’ll need strips that are a full 21” long. Most fat quarters are advertised as being 18” by 21”, but the length often includes a printed selvedge that can be quite large (Ruby Star Society fabrics: I’m looking at you).
When I cut out my fabric, a LOT of the strips included chunks of printed designs, and in some cases the pierced edges of the selvedge. That meant they’d end up visible in my finished project. Not ideal.
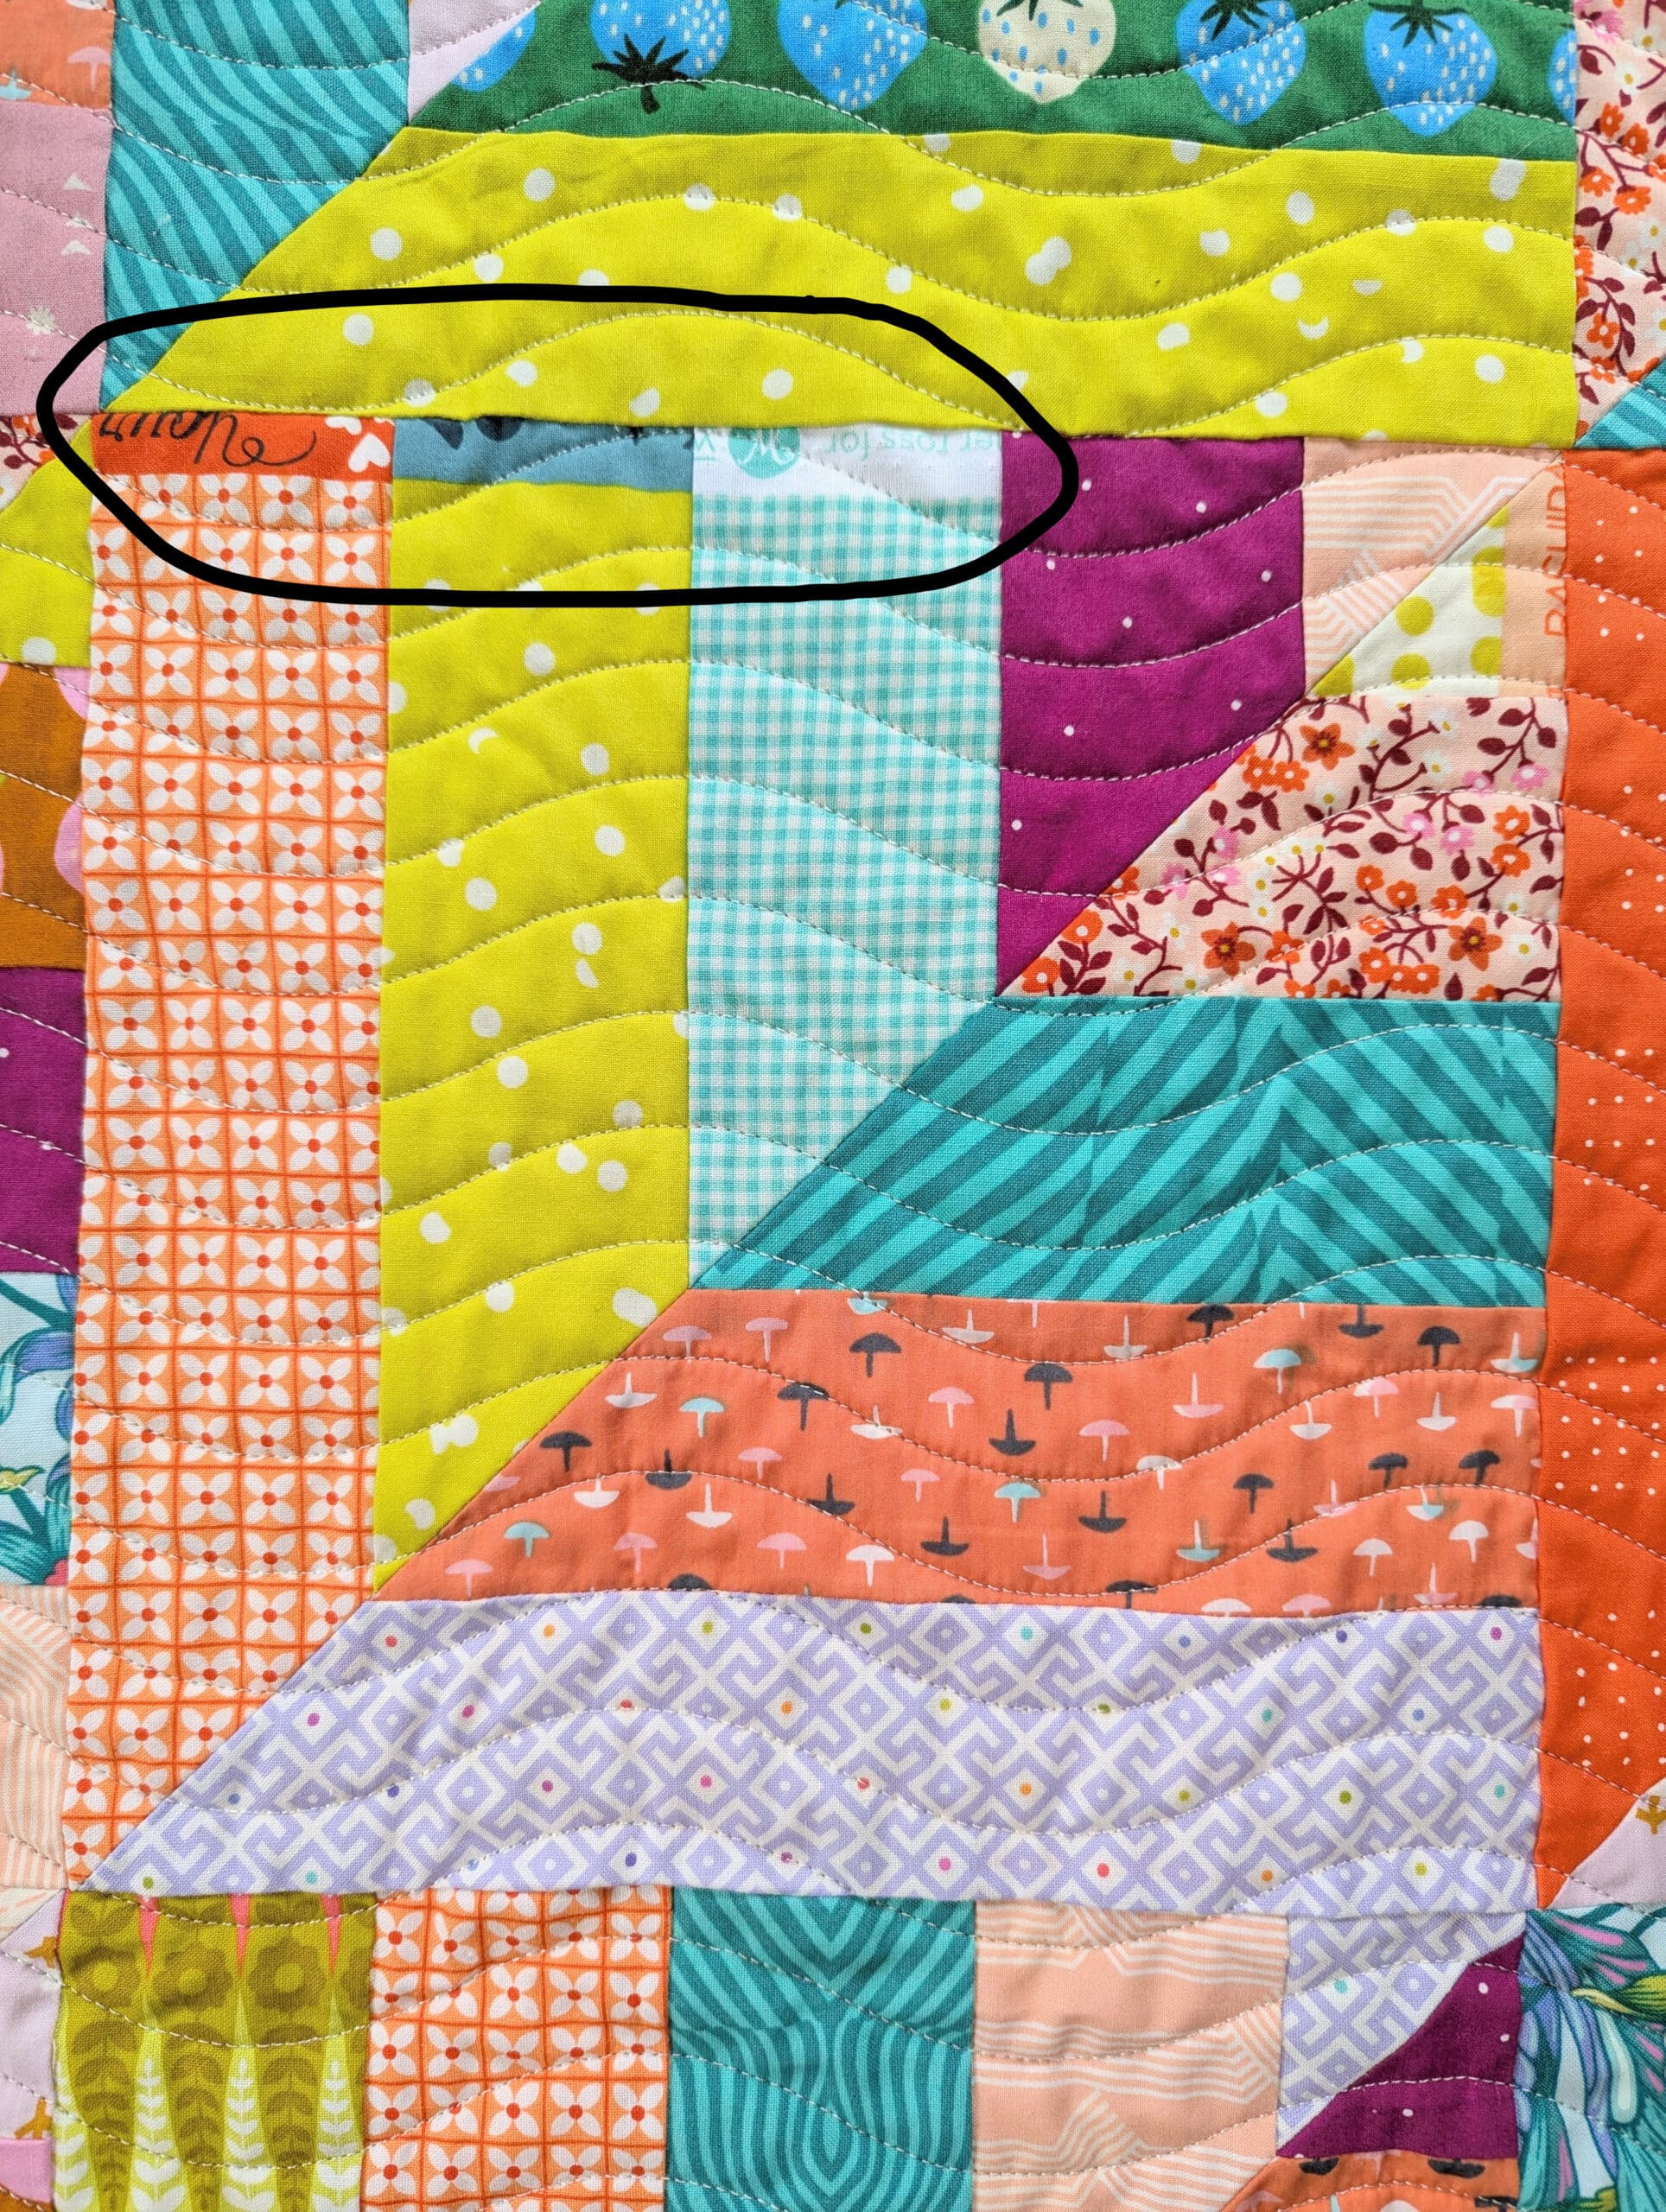
If I had pre-cut the fabric at home (or even consulted the pattern) before packing up and leaving for Retreat, I probably would have chosen different fabrics for this project. I would have picked fat quarters that had “regular” selvedges, or were generally bigger.
But since I was at Retreat and didn’t have any alternative fabric to use, I decided to embrace the printed selvedges. I chose to believe that they added to the overall character of the quilt.
Piecing
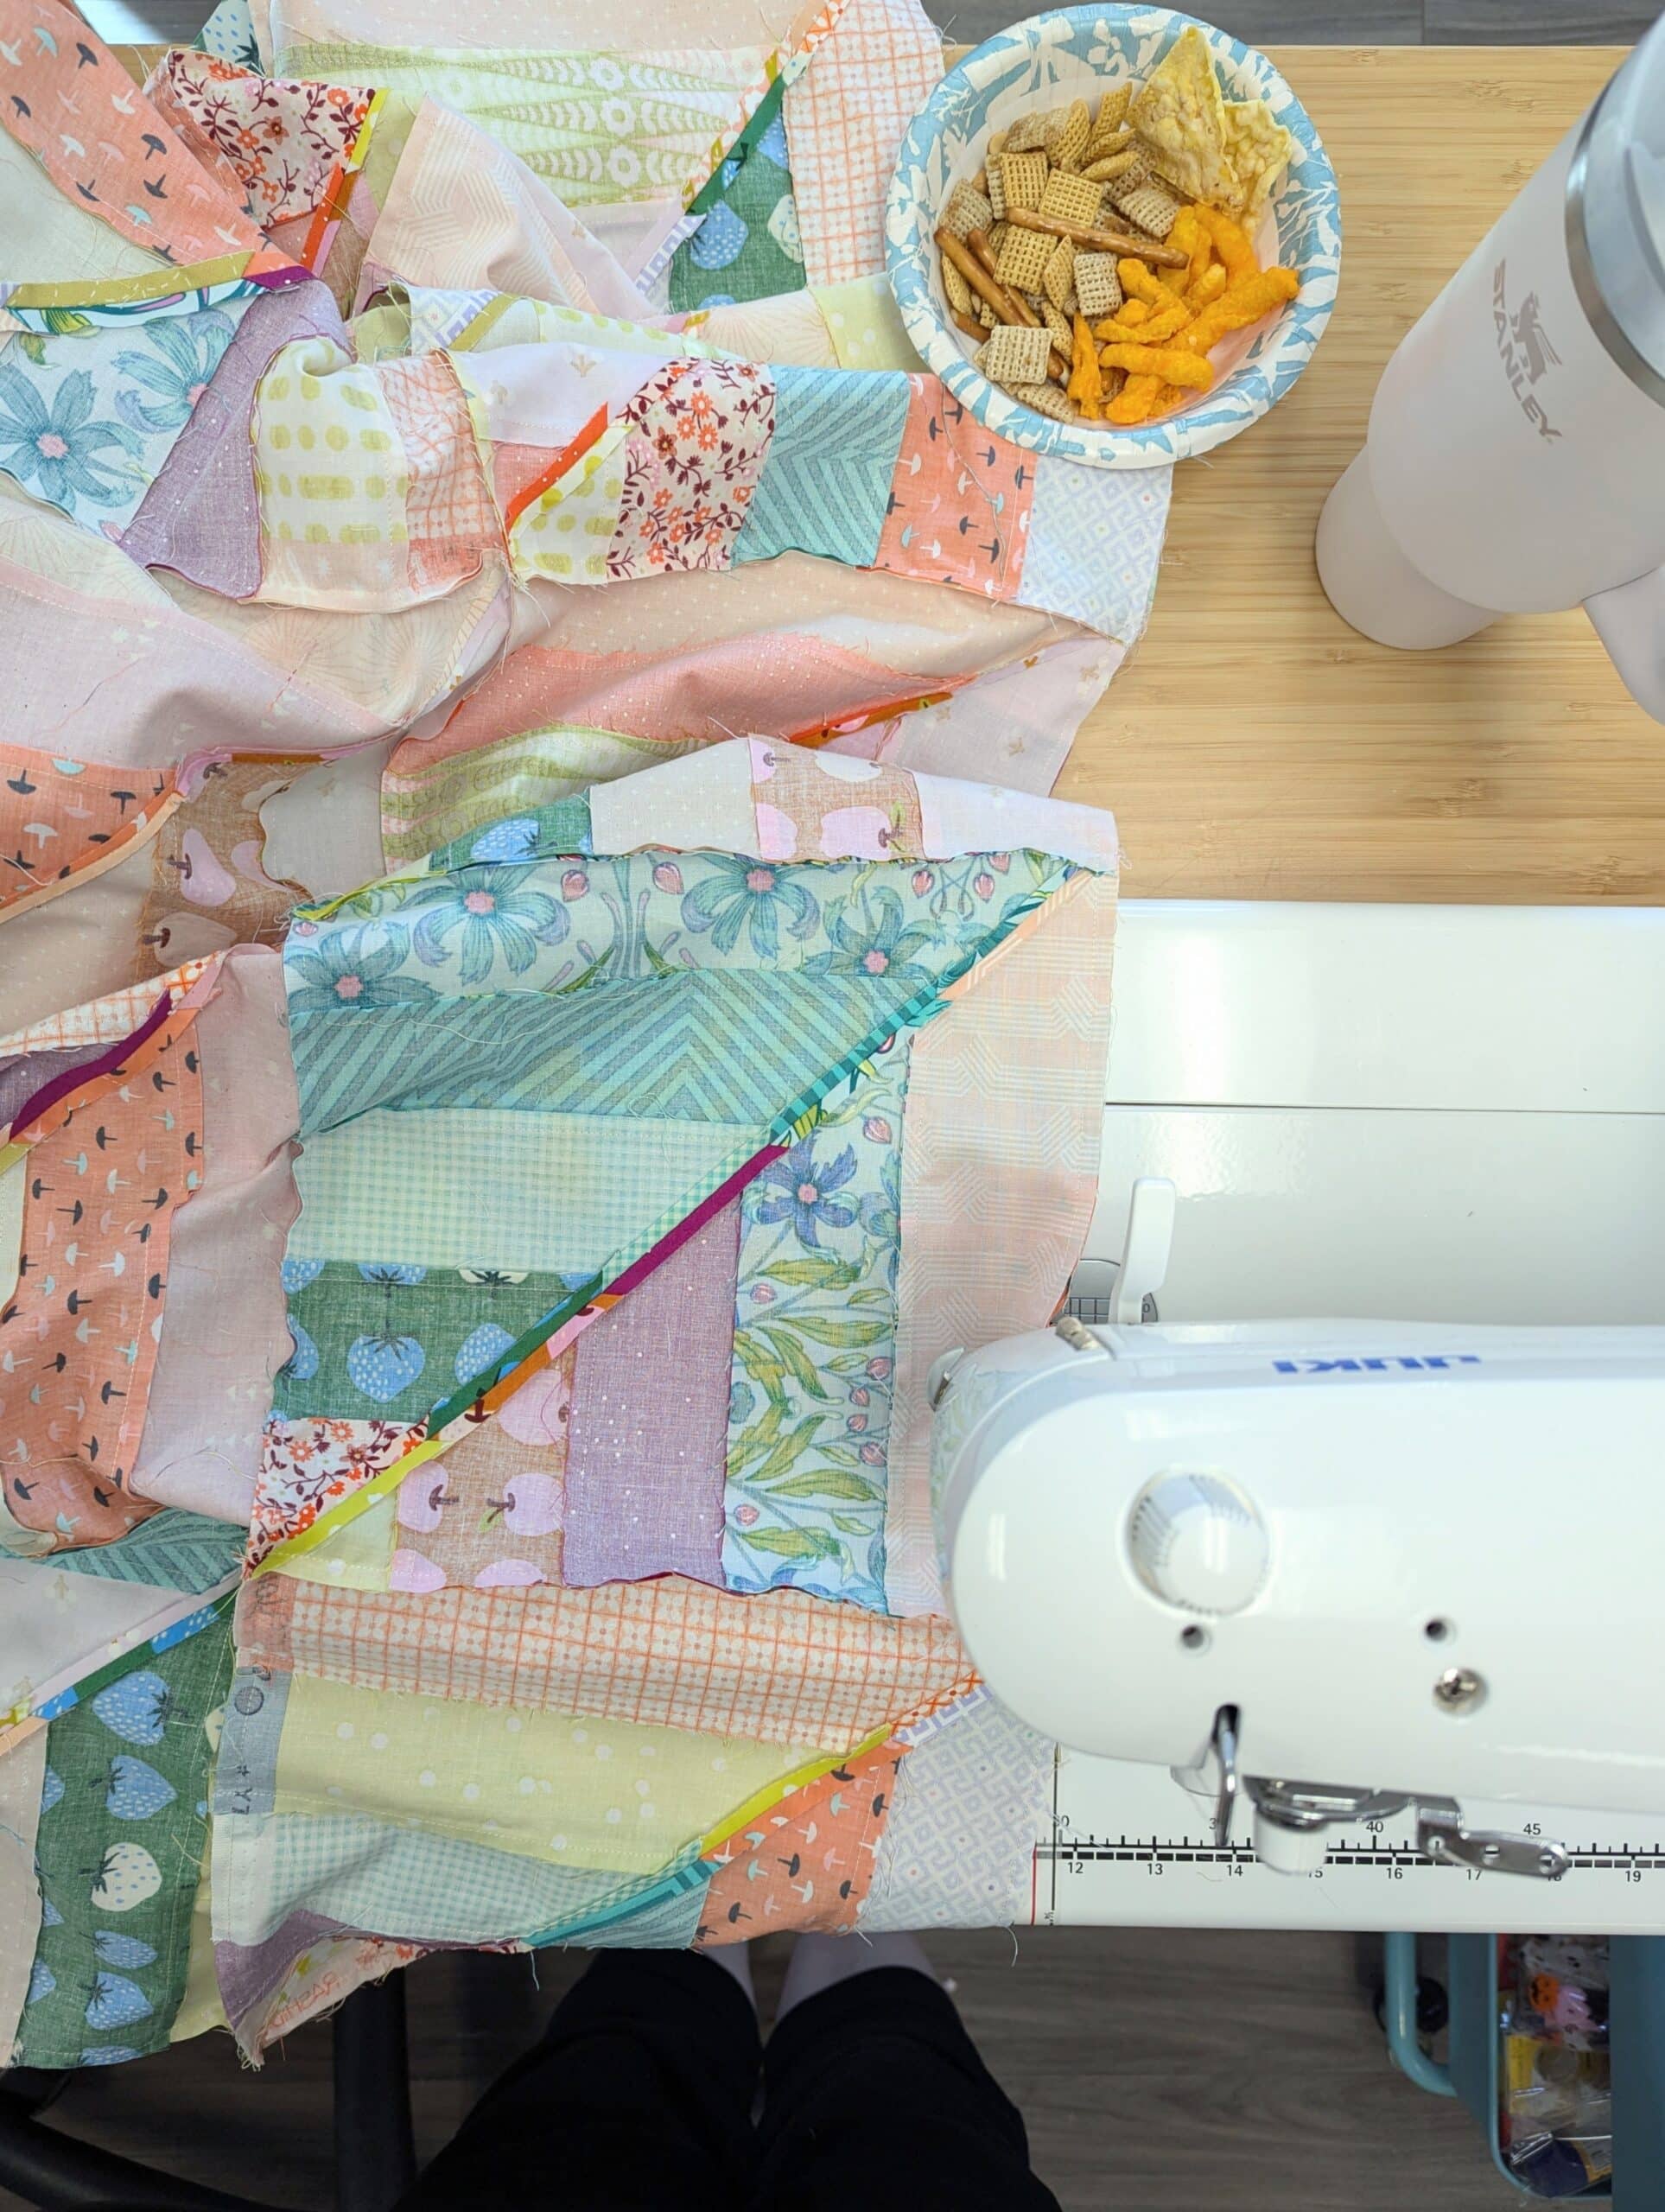
As expected, this Lucky Log Cabins quilt came together QUICKLY. I only snapped one picture during its construction, and I love that it accurately depicts the snack situation at Retreat. As in: I am constantly munching (and hydrating, thanks to my giant water bottle).
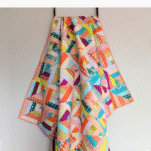
After sewing the final seam, I wanted to capture the quilt with the beautiful fall colours. This isn’t the best photo, but I do like that you can see the vibrant red leaves in the background.

Autumn in Wisconsin is breathtaking!
Making a Backing
I chose a citron yellow backing fabric to keep with the bright and punchy theme of this quilt. Since it had a pronounced design (blouses), I took the time to pattern match the fabric.
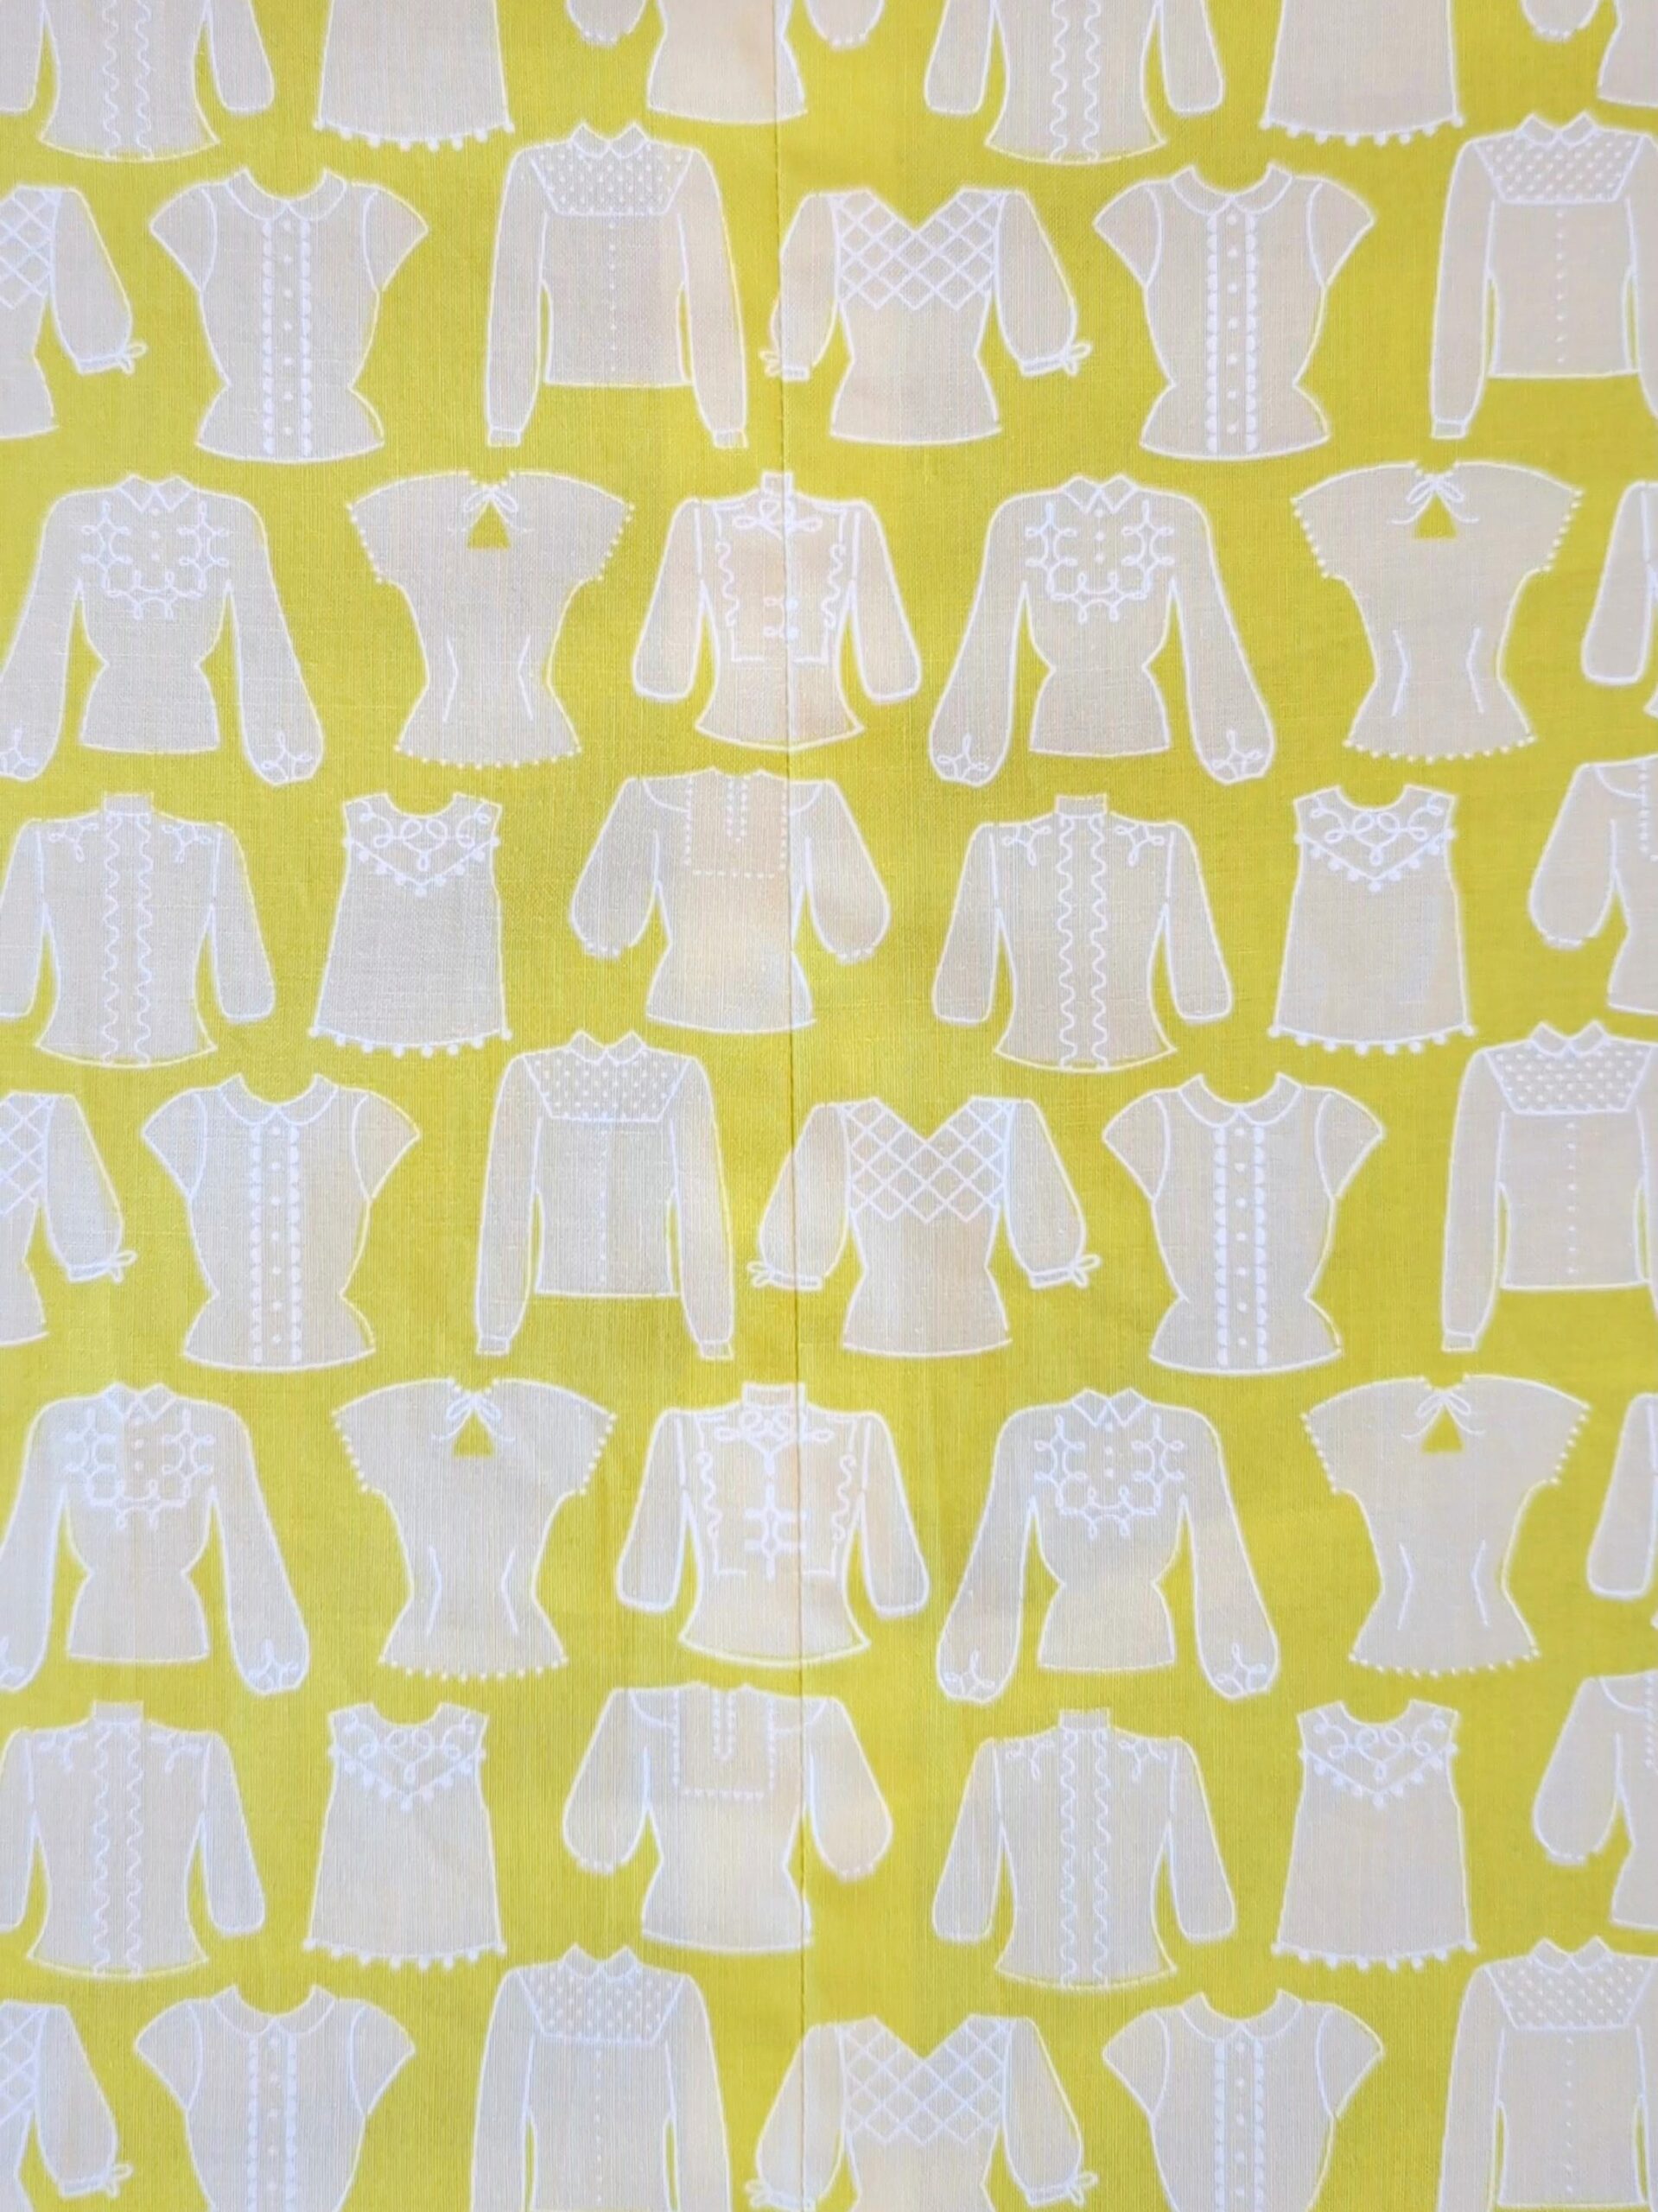
Pattern matching is actually quite simple to do, and produces “wow, I’m proud of that!” results. If you’ve never tried it, I’d recommend checking out my YouTube tutorial which walks you through the entire process from start to finish.
Quilting
After creating the pattern matching video, I let the quilt top and backing languish in my WIP (work in progress) closet for a few months. I used to be more diligent about finishing a project before starting the next one, but I currently have a few quilts waiting for me to finish them.
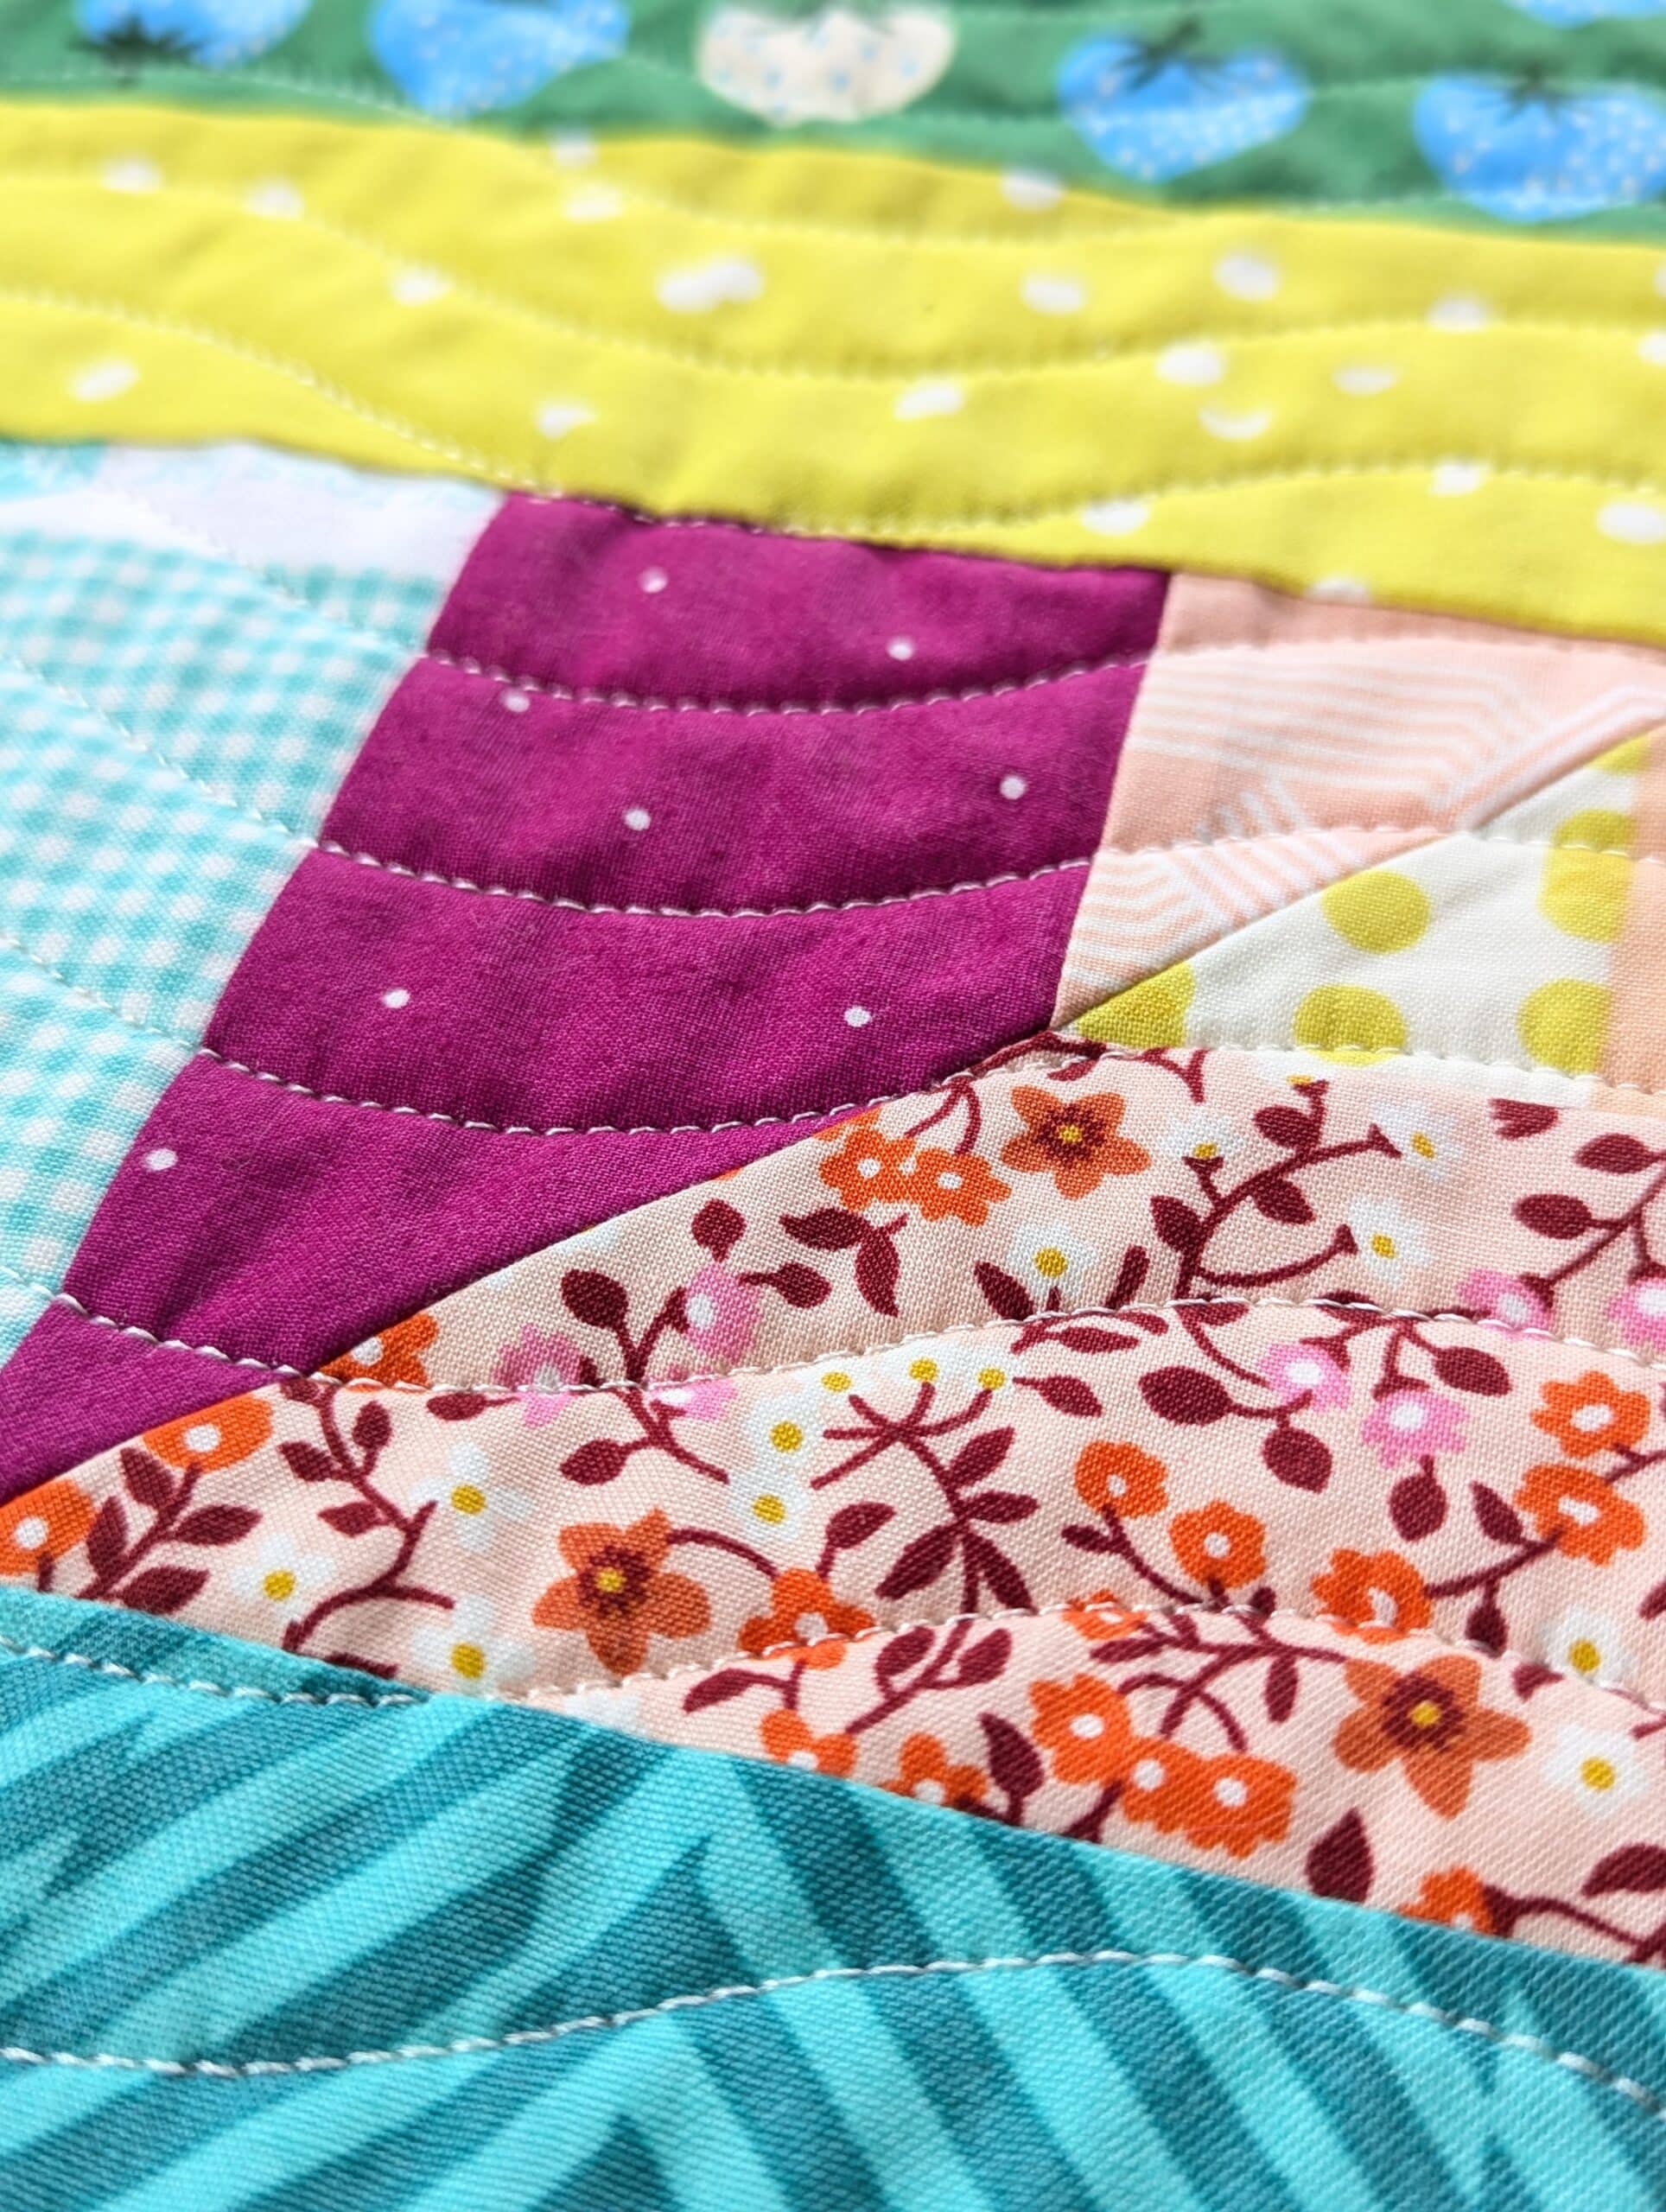
I chose Good Vibrations #1 as the pantograph for two reasons:
1 - It’s a nice, clean, simple design that doesn’t compete with the loud fabric and busy piecing.
2 - My machine had been acting up, and after I felt I had solved the problem I wanted to test out a pantograph that used mostly-straight lines.
Fun fact: long, horizontal-ish lines going from right to left are often the most challenging for longarms. If you're going to have an issue, you'll find out *pretty quickly* if you use a panto like this.
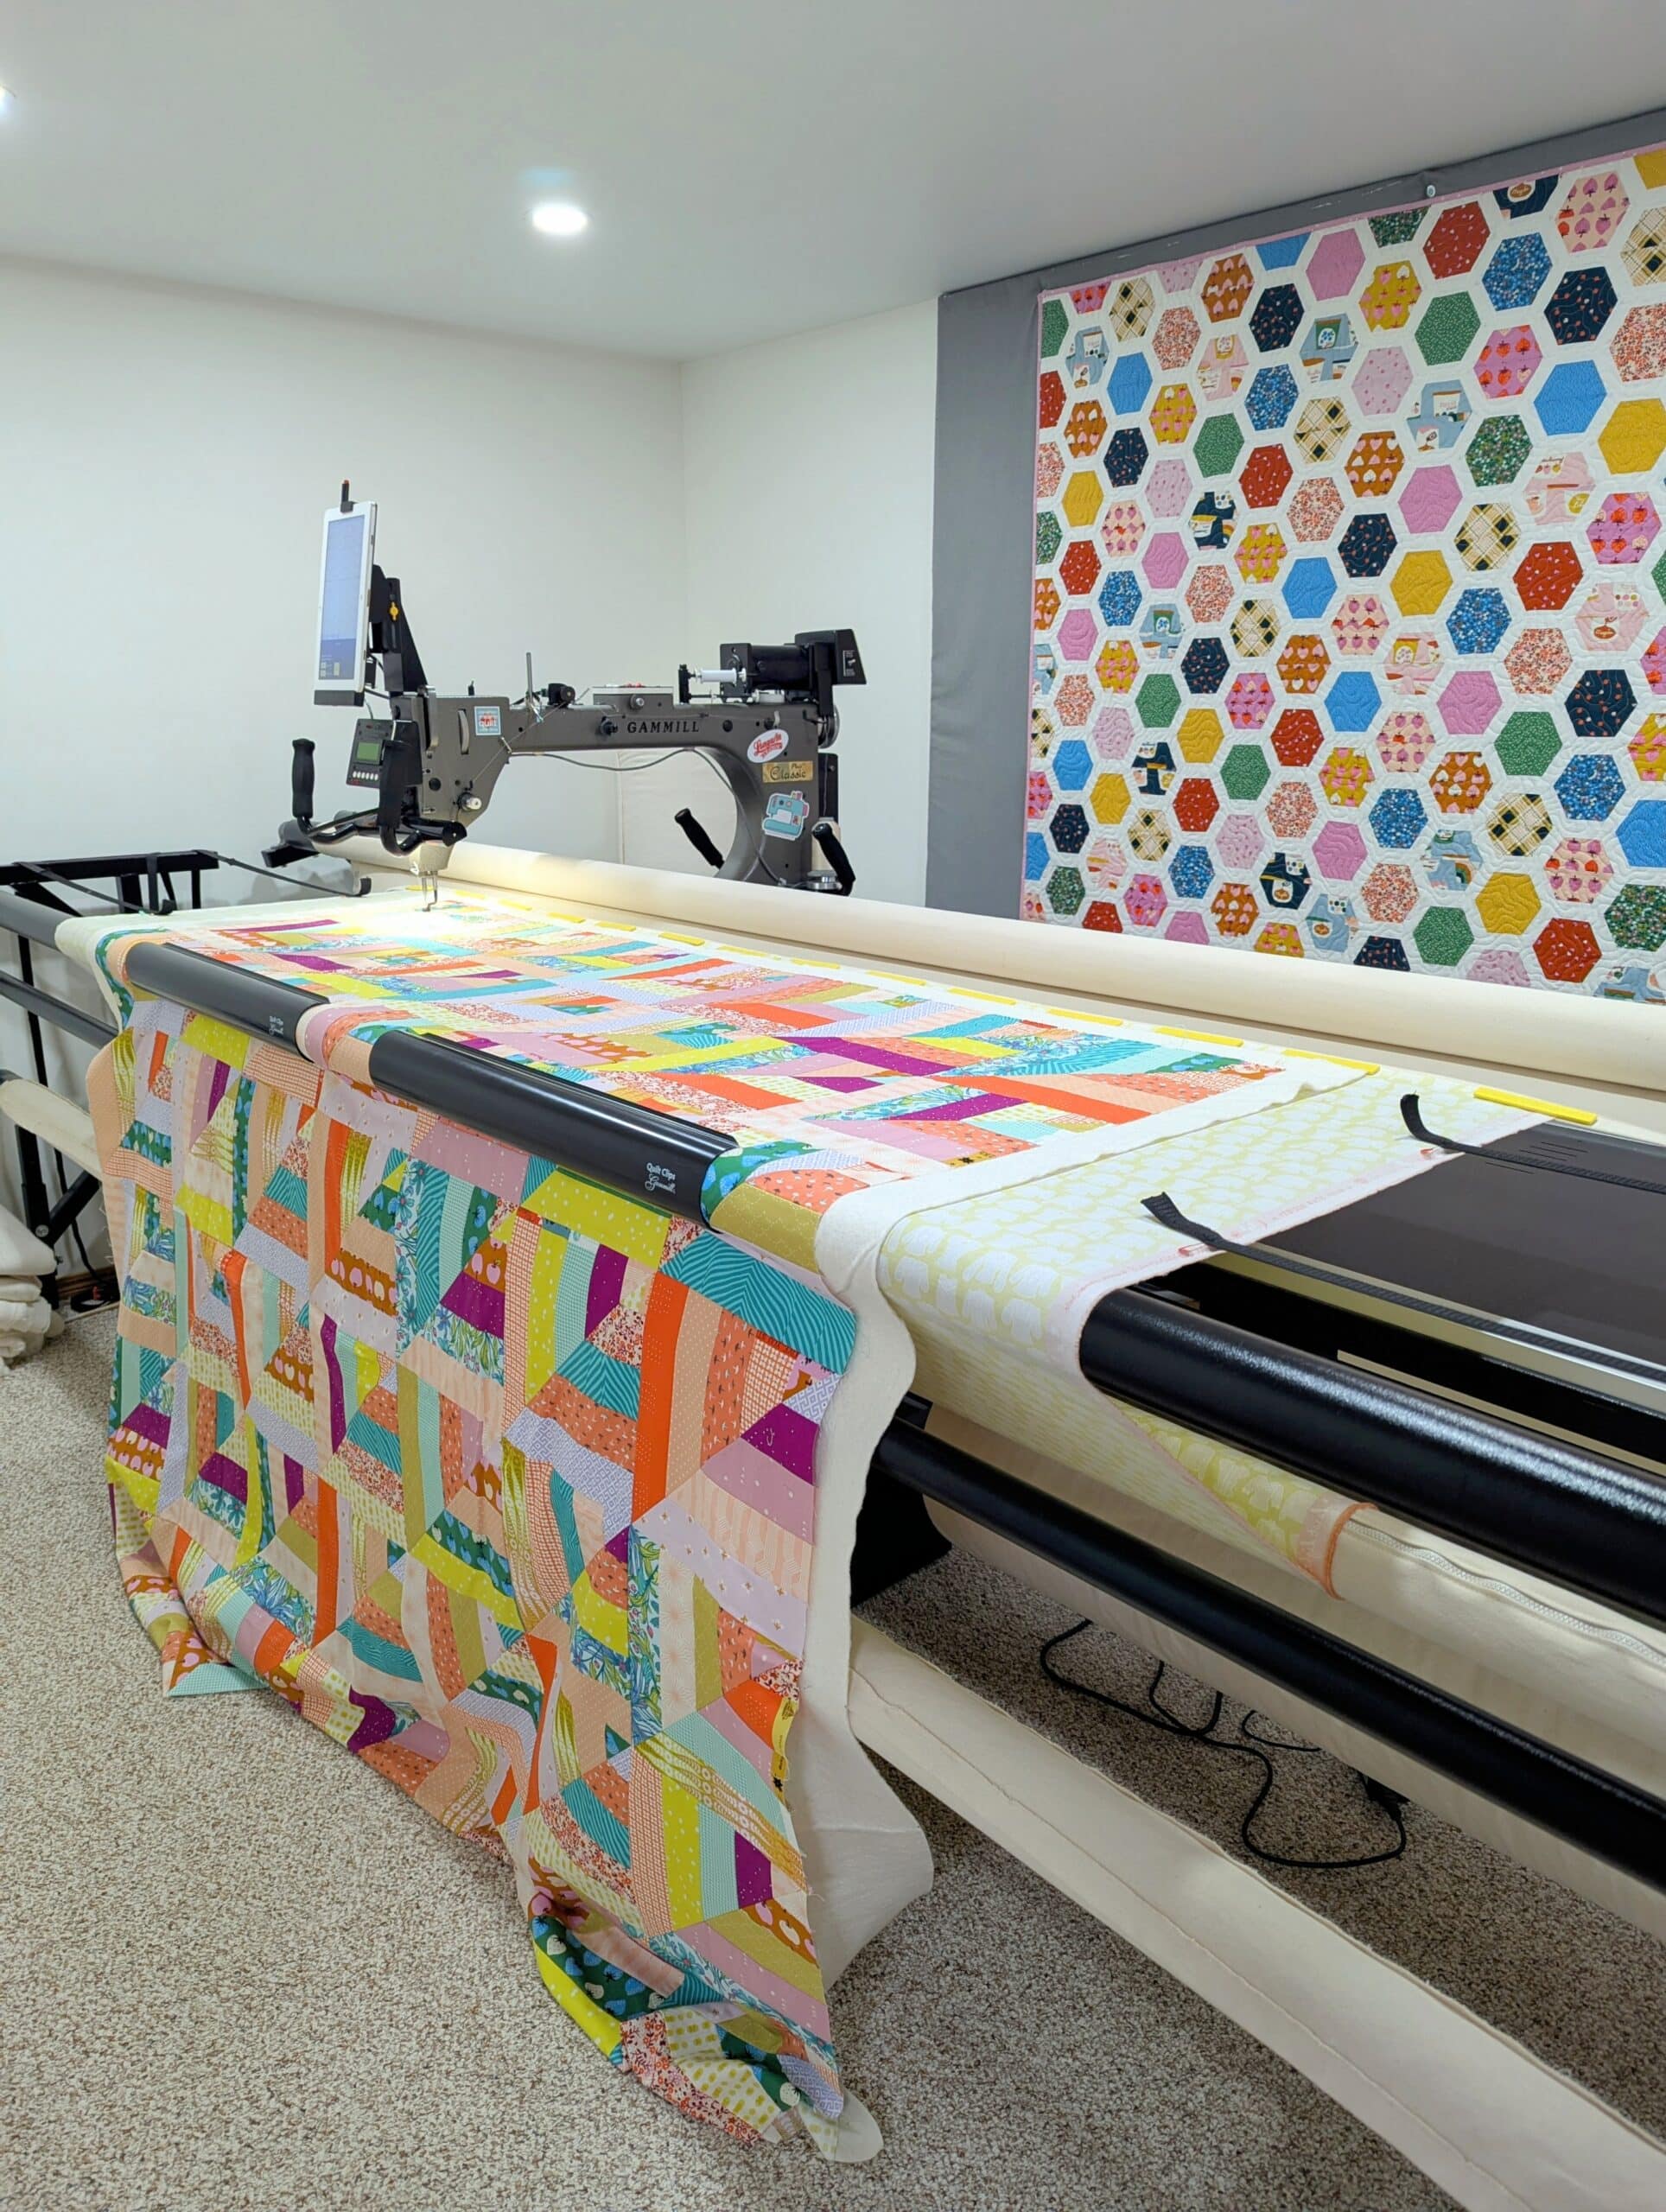
Thankfully my machine did really well (no problems whatsoever), and I love the way it turned out!
Binding
In an effort to use what I have on hand, I chose a peachy fabric that I felt worked well enough for this quilt.
I always attach bindings to the front of my quilts using my Janome MC 6700P because I LOVE the way the AcuFeed system pulls all the layers through the machine evenly.
Over the years I’ve purchased several different feet for this machine, and literally could not attach the binding without the AcuFeed 1/4″ Seam Foot. It gives me such consistent, accurate results.
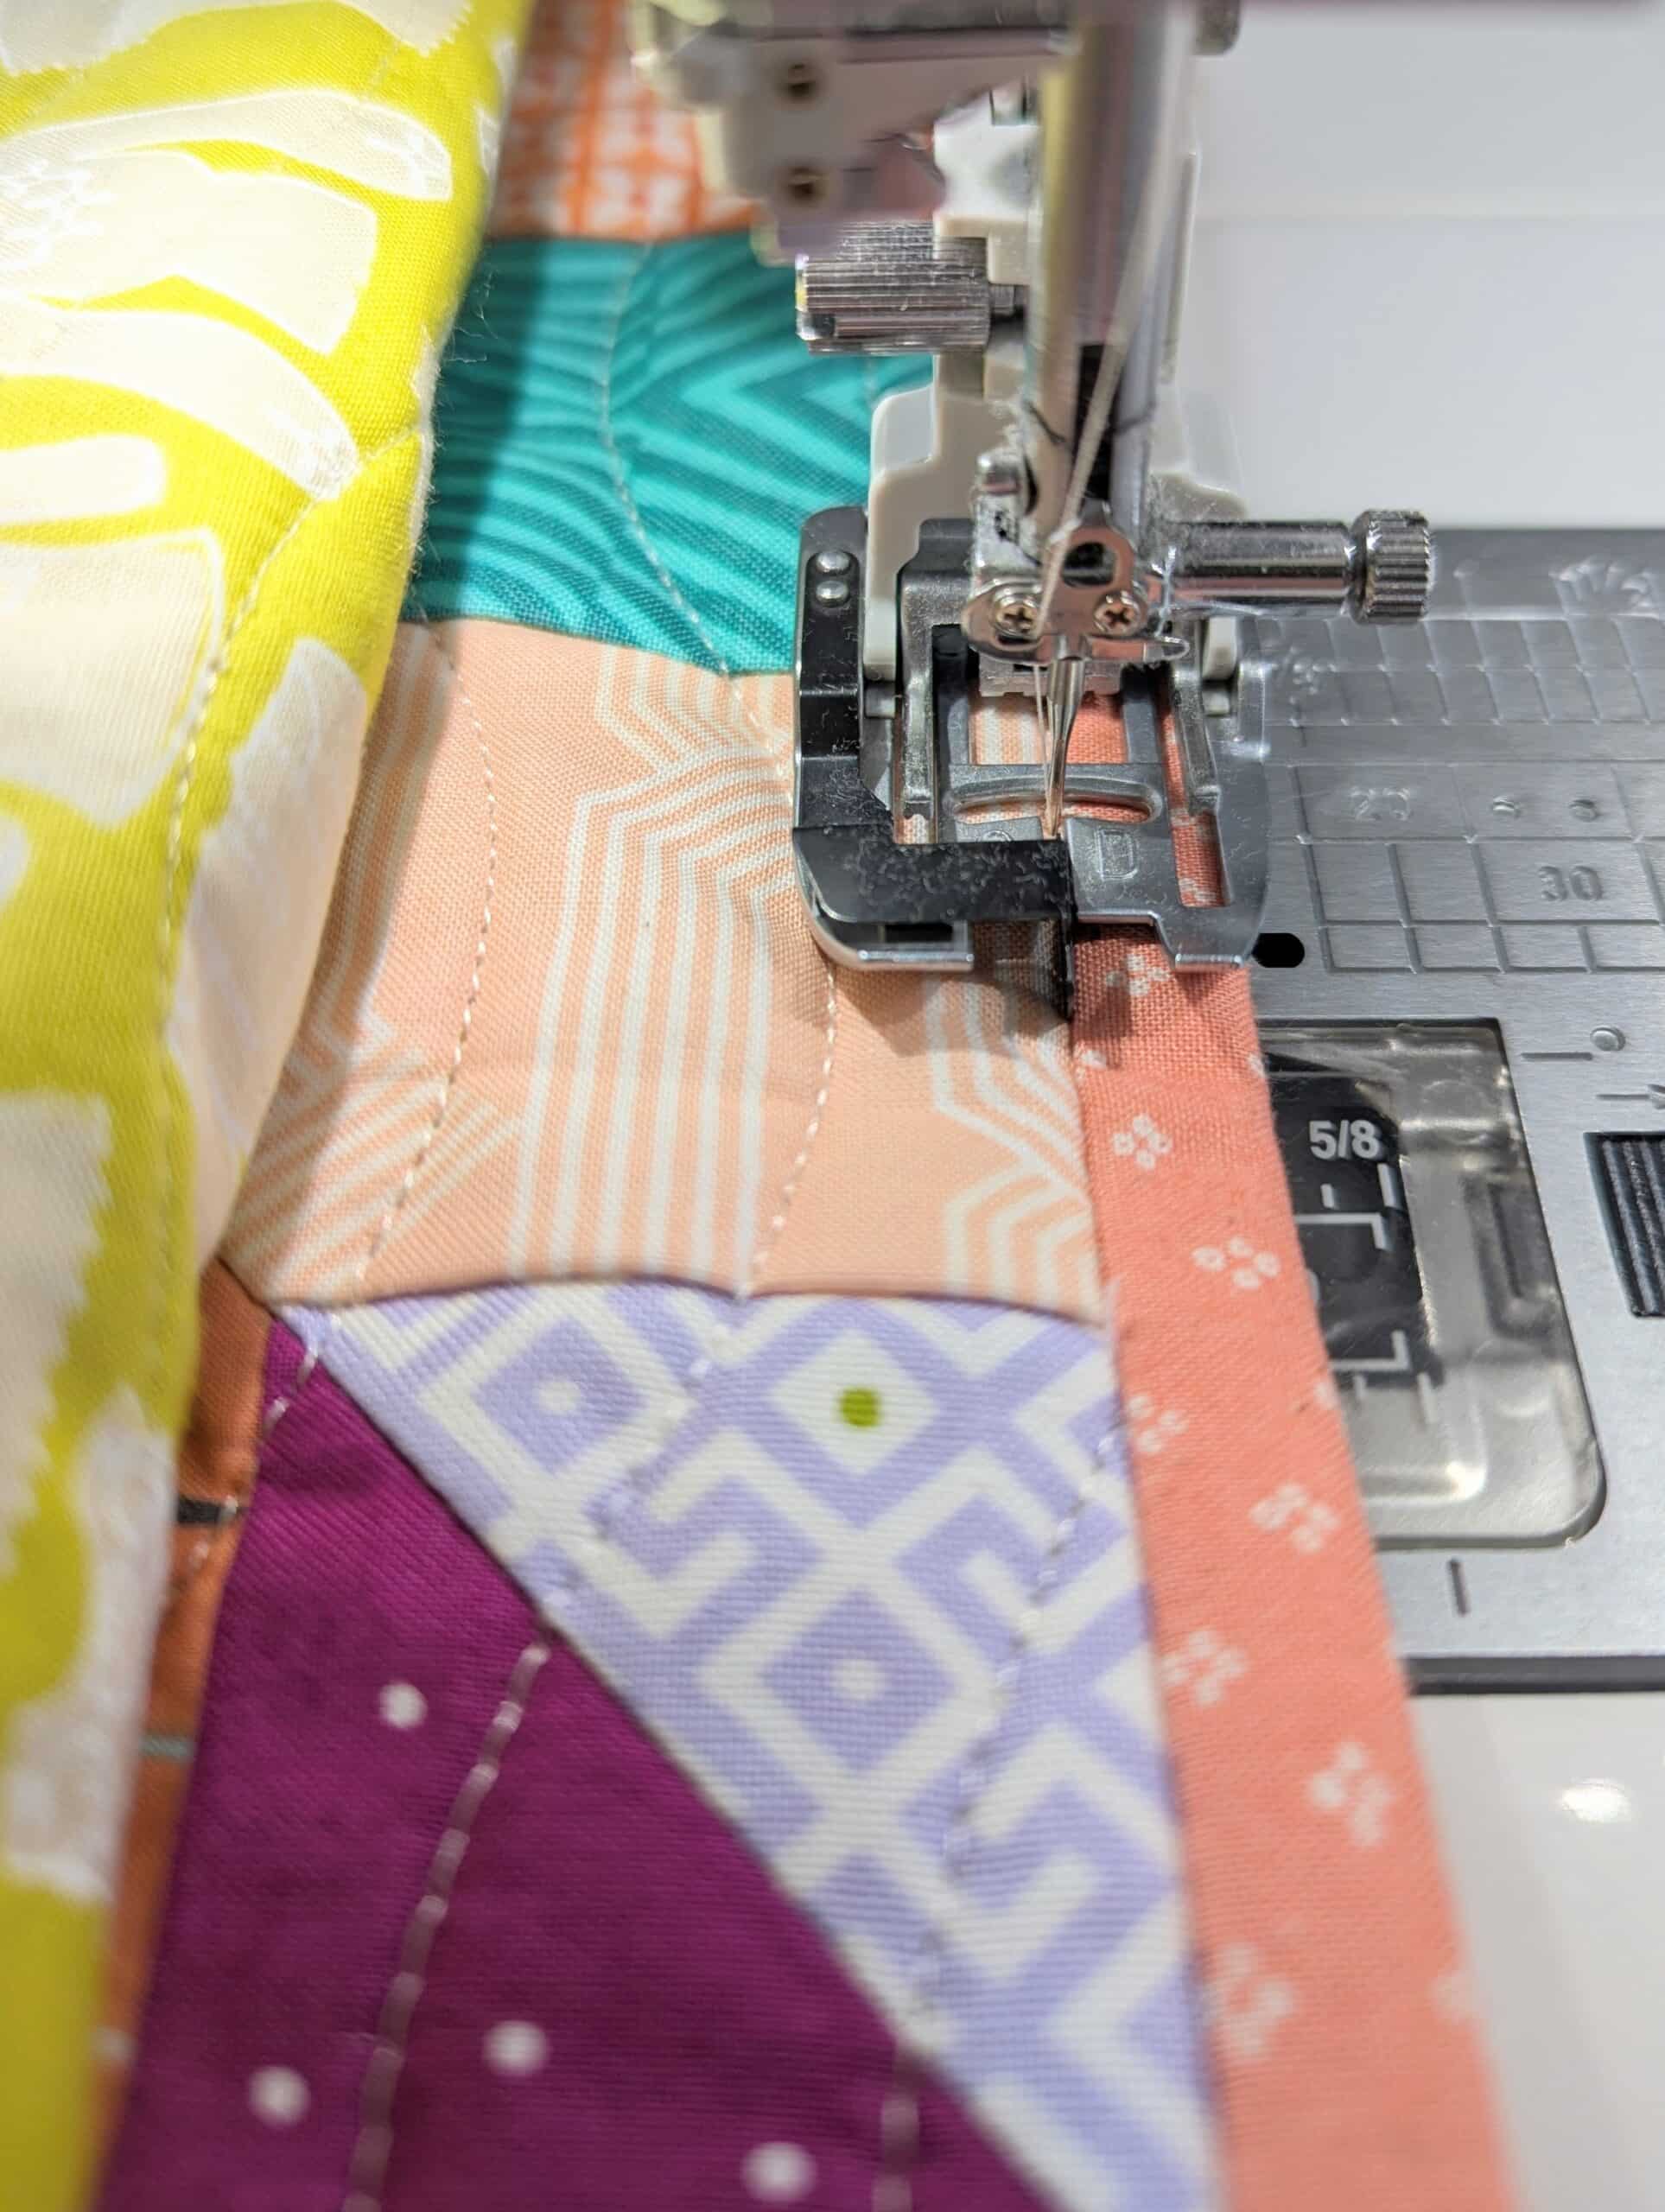
I usually flip the binding to the back of the quilt and then attach by hand using either a typical “invisible” stitch (like I did for this quilt), or the Big Stitch technique (like I did on this, this, and this quilt).
But I wanted to finish this quilt quickly, so I chose to finish the binding by machine. I wrapped it around to the back of the quilt, secured it in place using white glue, and then stitched in the ditch on the front of the quilt, catching the binding on the back. Of course, I used the AcuFeed Ditch Quilting Foot and it worked like a charm!

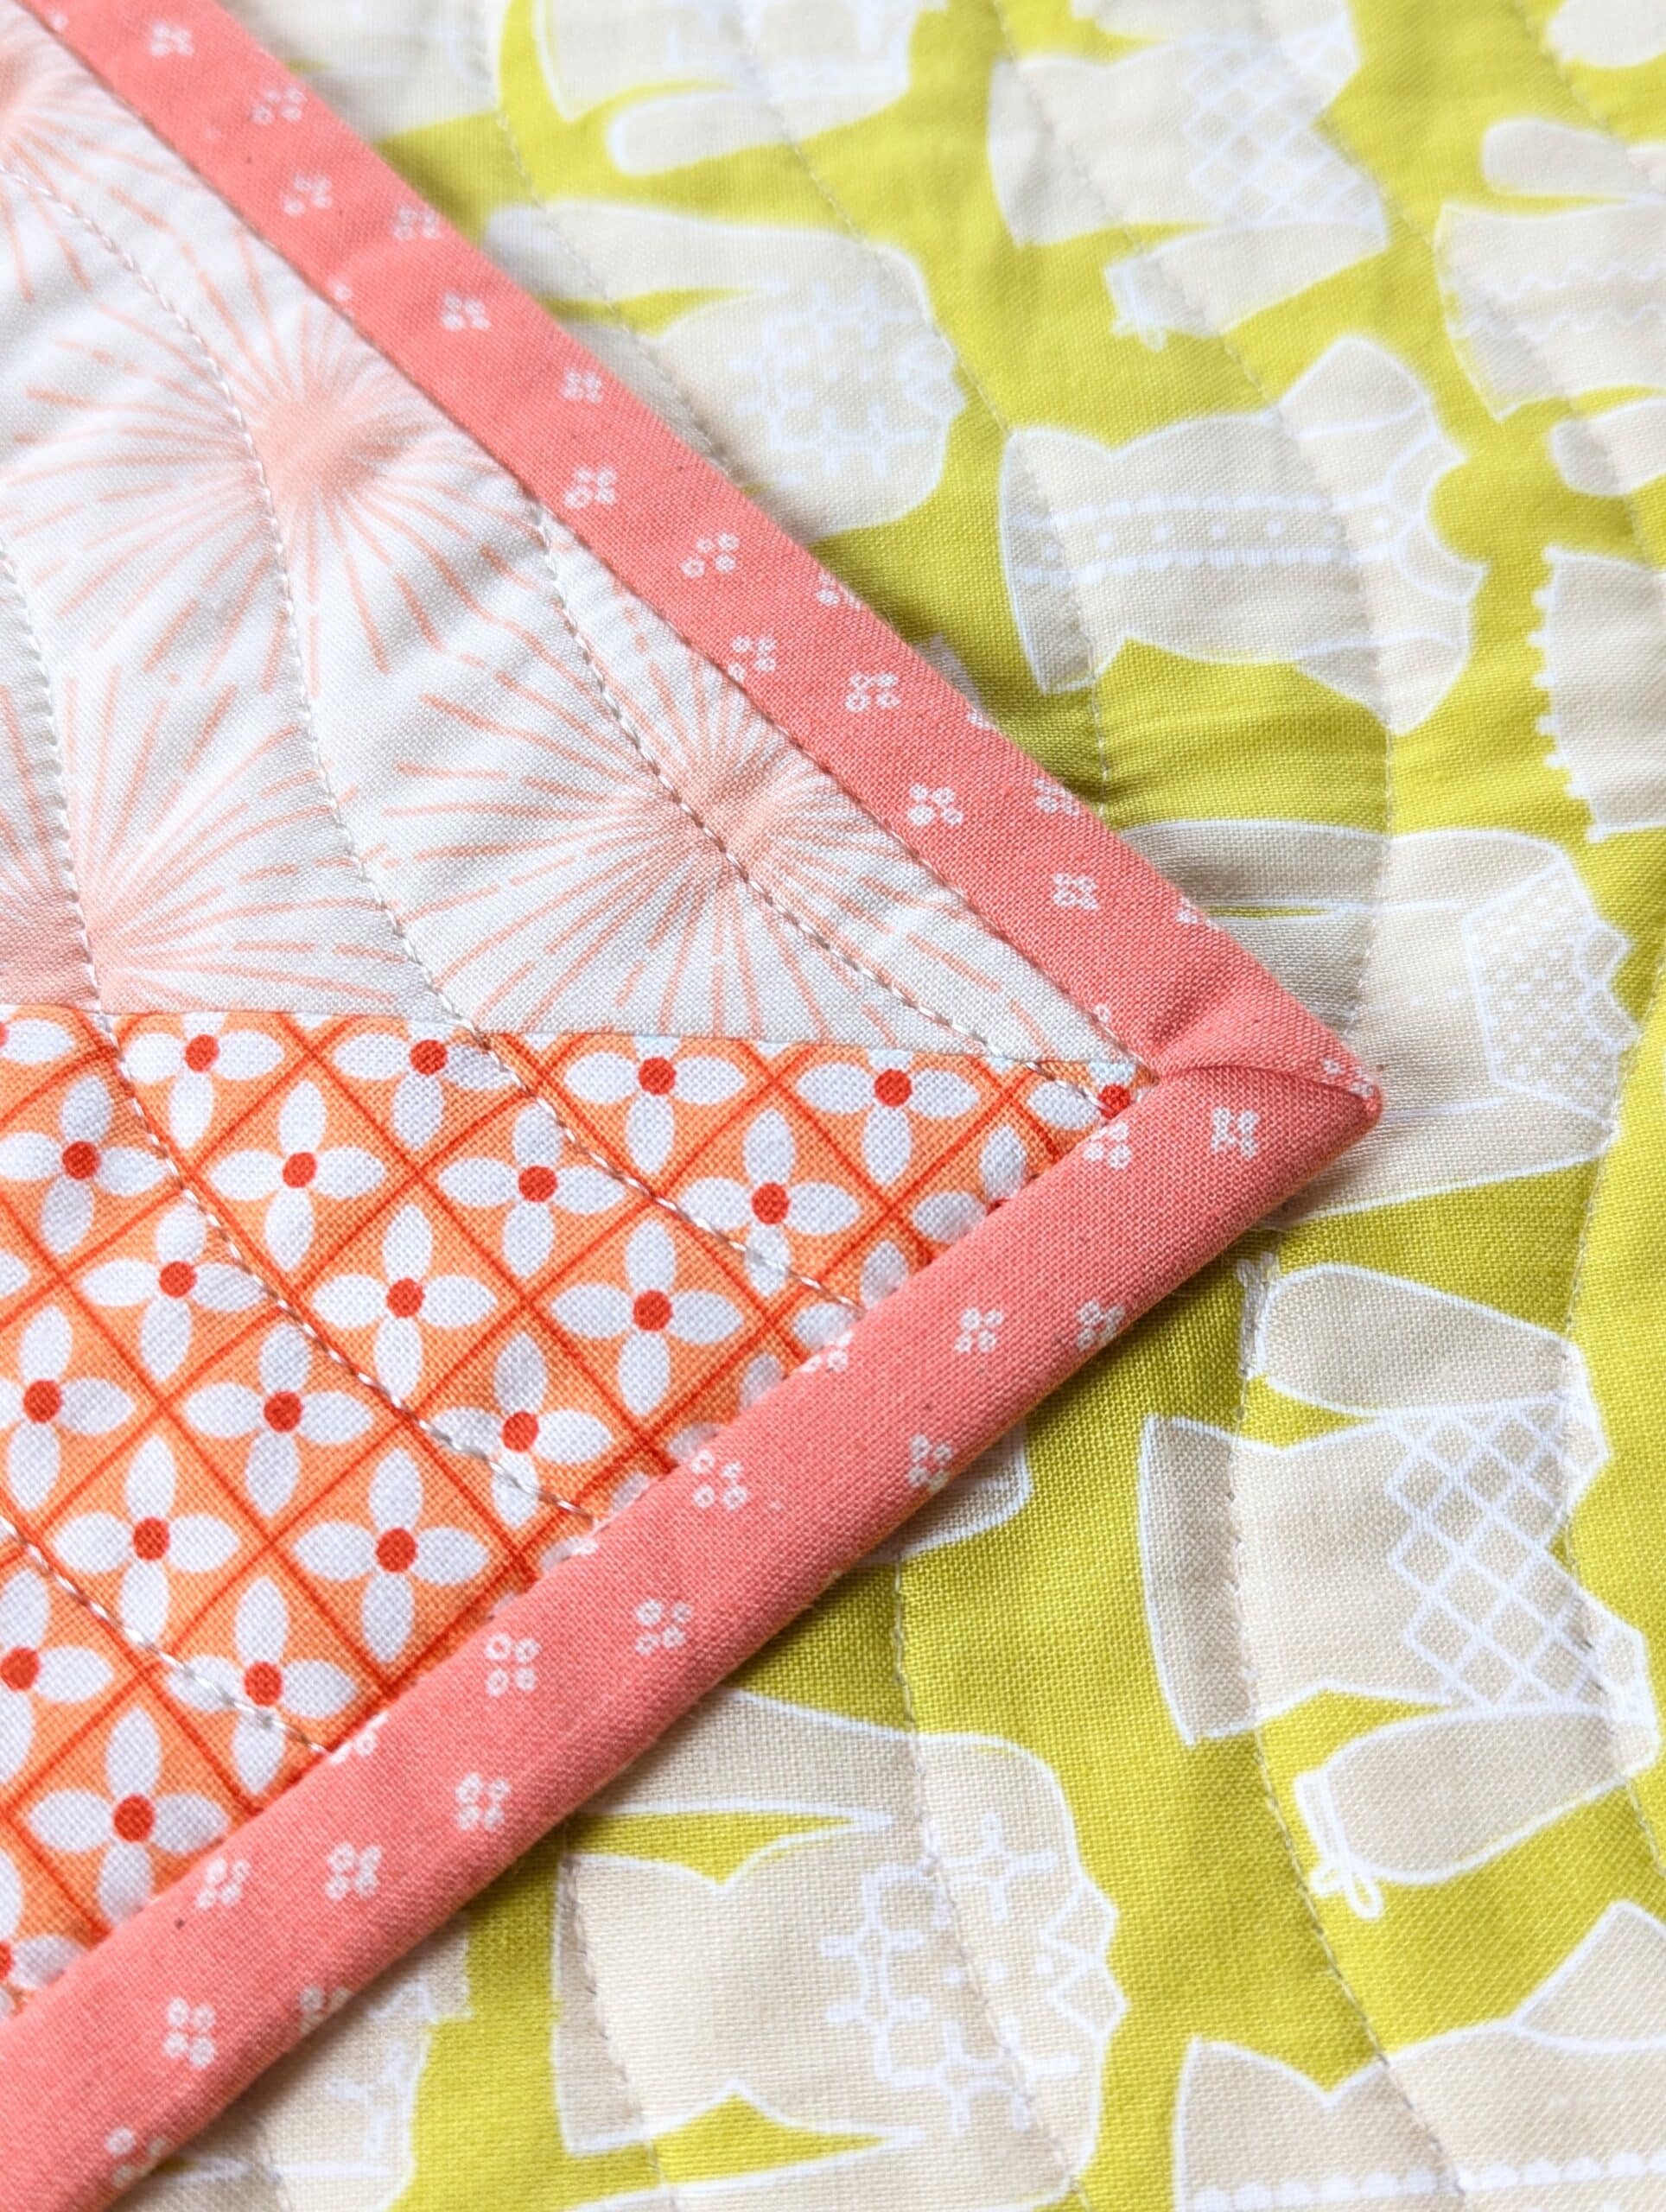
It had been a long time since I finished a quilt this way, so my results were not 100% perfect, but I think it turned out really well. Like with the selvedges in the quilt top, we’re saying it adds “character”.
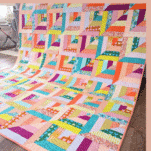
Finished Lucky Log Cabins
Now the quilt is all finished up and ready for duty! I don’t have any plans to use this one or to gift it, so it will be stored away in a cupboard with the rest of my “for no reason” projects.

Would I make this quilt pattern again? Absolutely!

It was really fun and fast, and it’s really efficient at using *every* square inch of the required fabric. I think it would look great in almost any colour combo, and I can think of several others I’d like to try.

Have you ever made a Lucky Log Cabins quilt? Let me know in the comments!




The quilt is lovely! I used your pattern-matching video last weekend to make a backing for a quilt. It was super helpful and the backing looks seamless. Thank you 😊
Thanks so much Maureen! I'm glad to hear that the pattern matching tutorial worked for you!!