
Every now and then a pattern comes along that makes me want to drop everything and start it NOW.
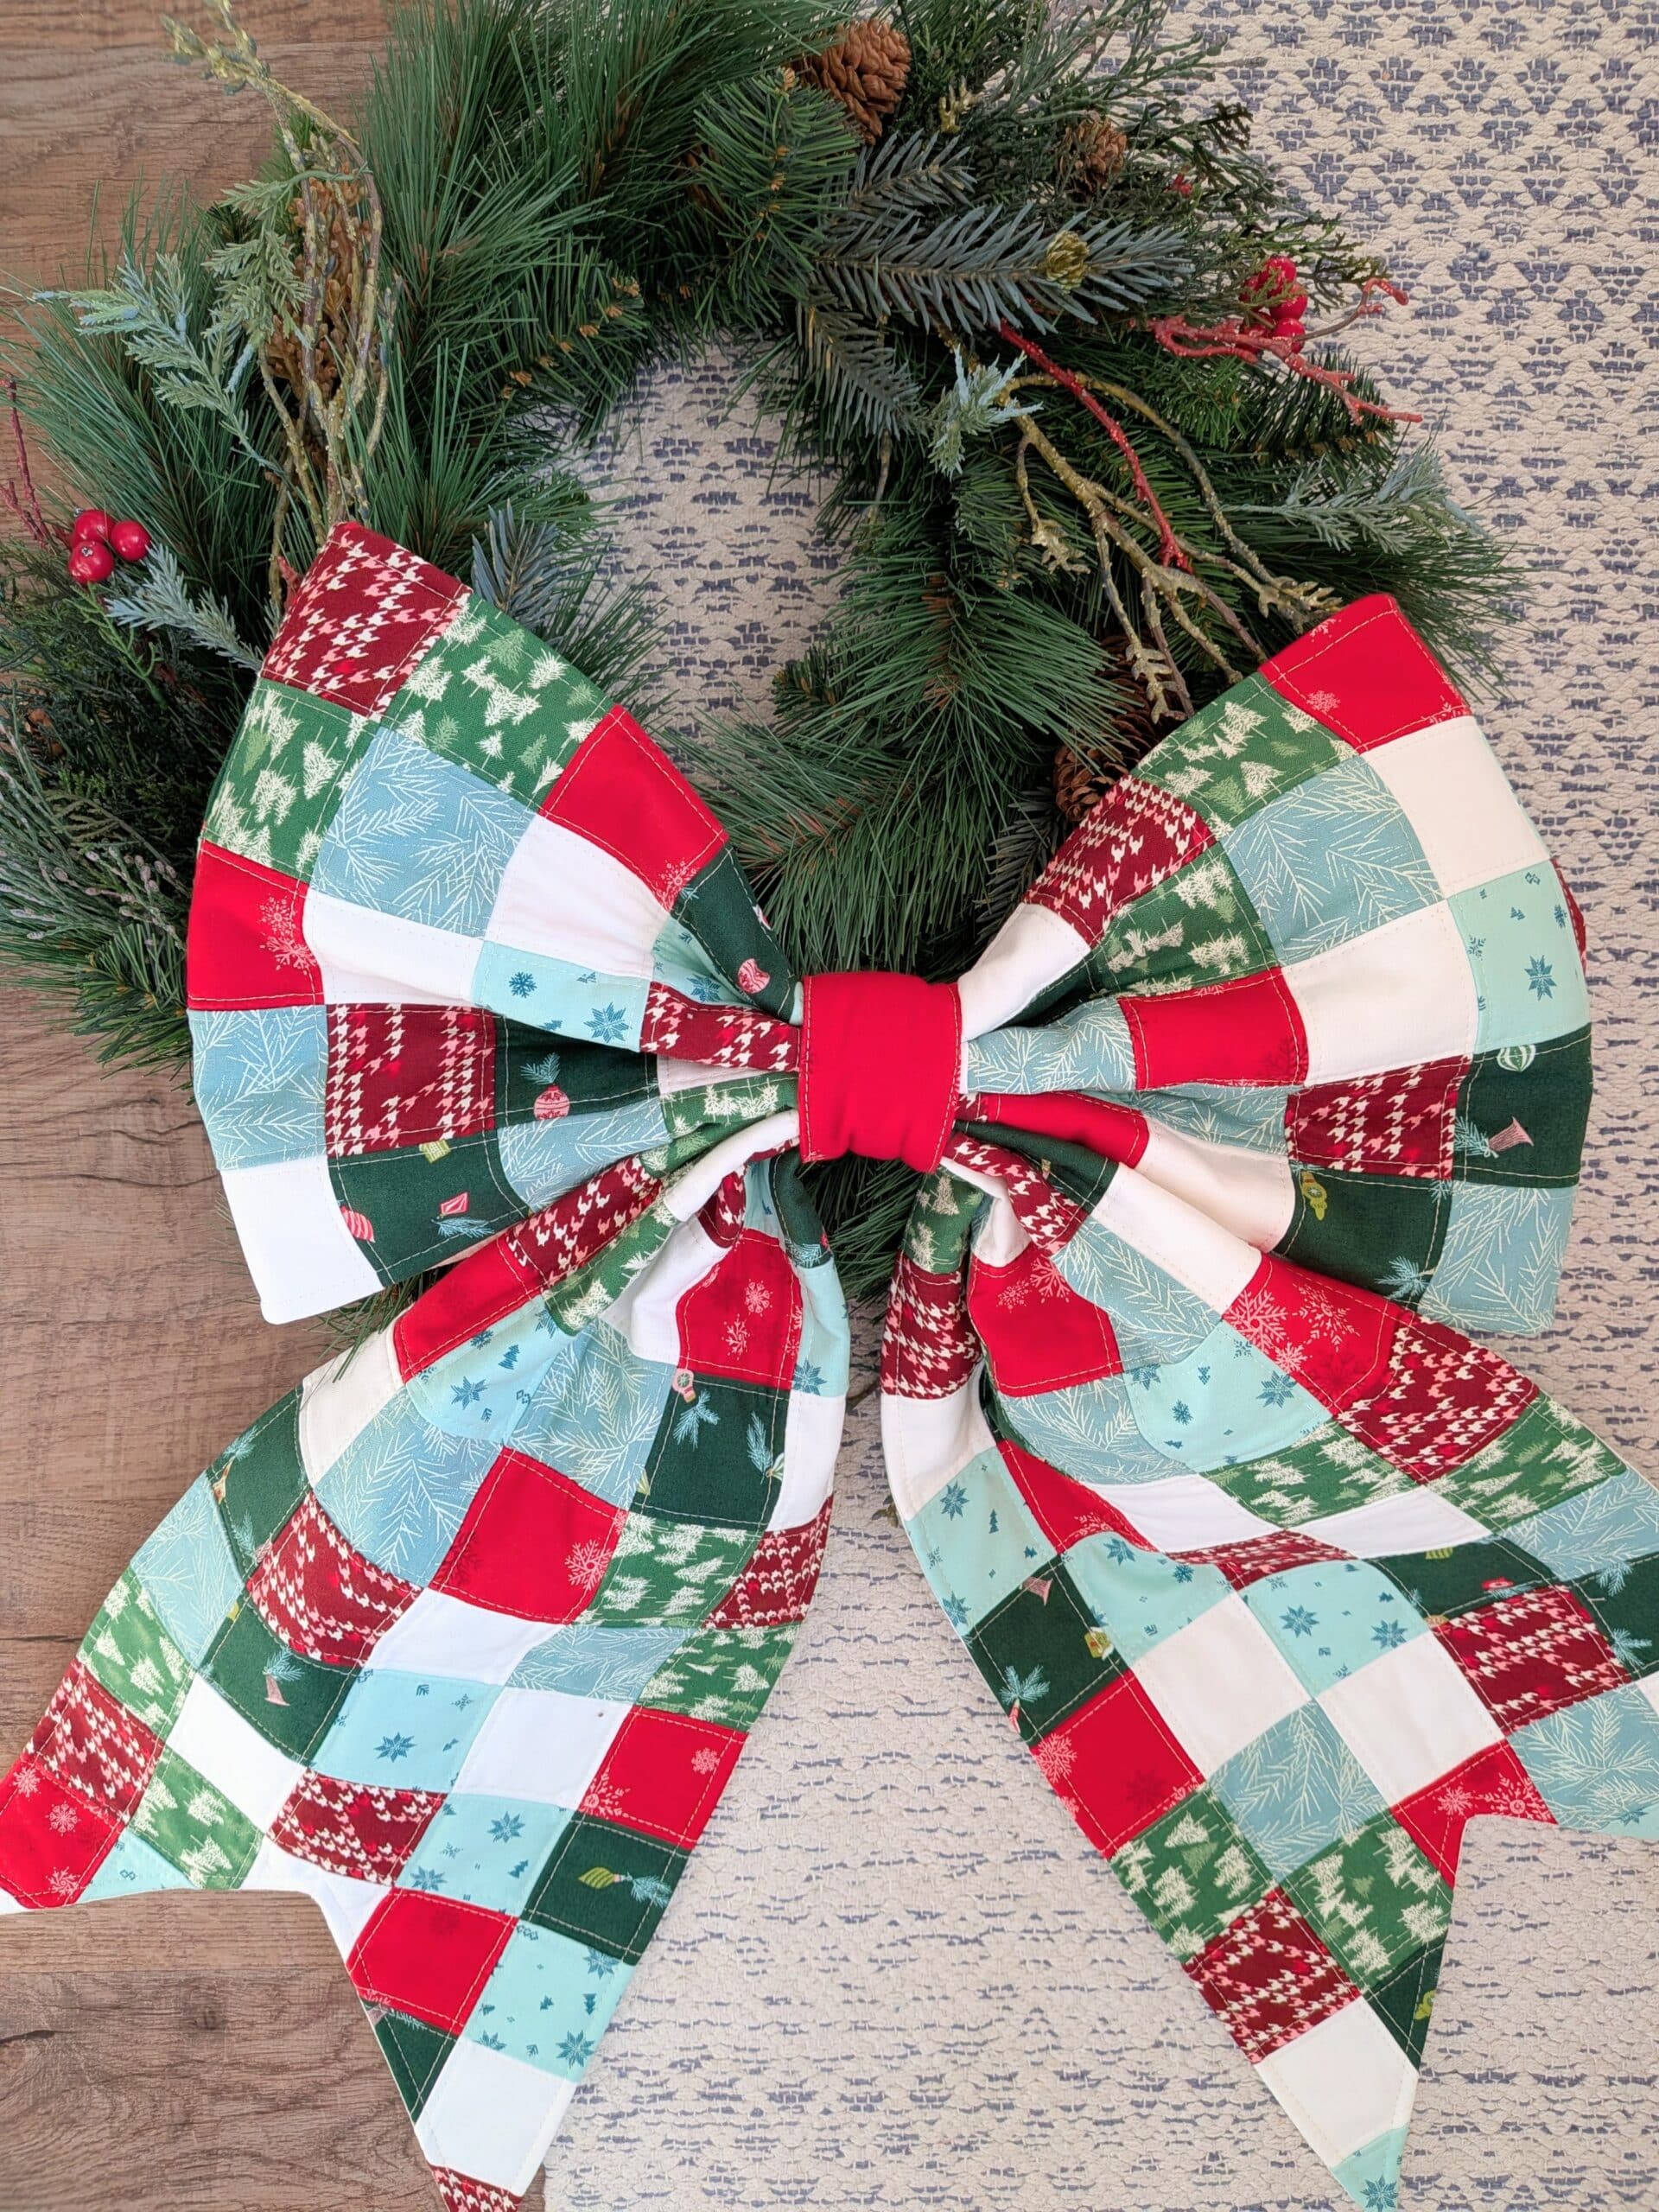
That’s what happened with the Patchwork Quilted Bow - as soon as I saw it, I knew I wanted a big statement bow for the main door of our house.
Bow Mantra
Since I had never made a bow before, I chose to be kind to myself and embrace any “oopsies” along the way. You’re *supposed* to make mistakes the first time you try something new, right? Right.
< Can you tell I struggle with perfectionism??? >
In any case, I consciously decided that there was no wrong way to make this project and that I would just go for it and enjoy the process.
And you know what? I think that attitude served me really well because I had SO MUCH FUN making this bow!
Fabric Selection
Right away, I knew that I wanted to make this bow with a “classic holiday” colour scheme. I was happy to learn that I could make the pattern using fat quarters (of which I have many), but my stash is really light on both red and green fabrics. So off to the quilt shop I went!
I figured that one of the stores in Brandon MB would carry some cute Christmas fabric, and I wasn’t wrong! Mama Bears had a display of the entire line of Cozy Wonderland by Fancy That Design House for Moda at the front of the shop.

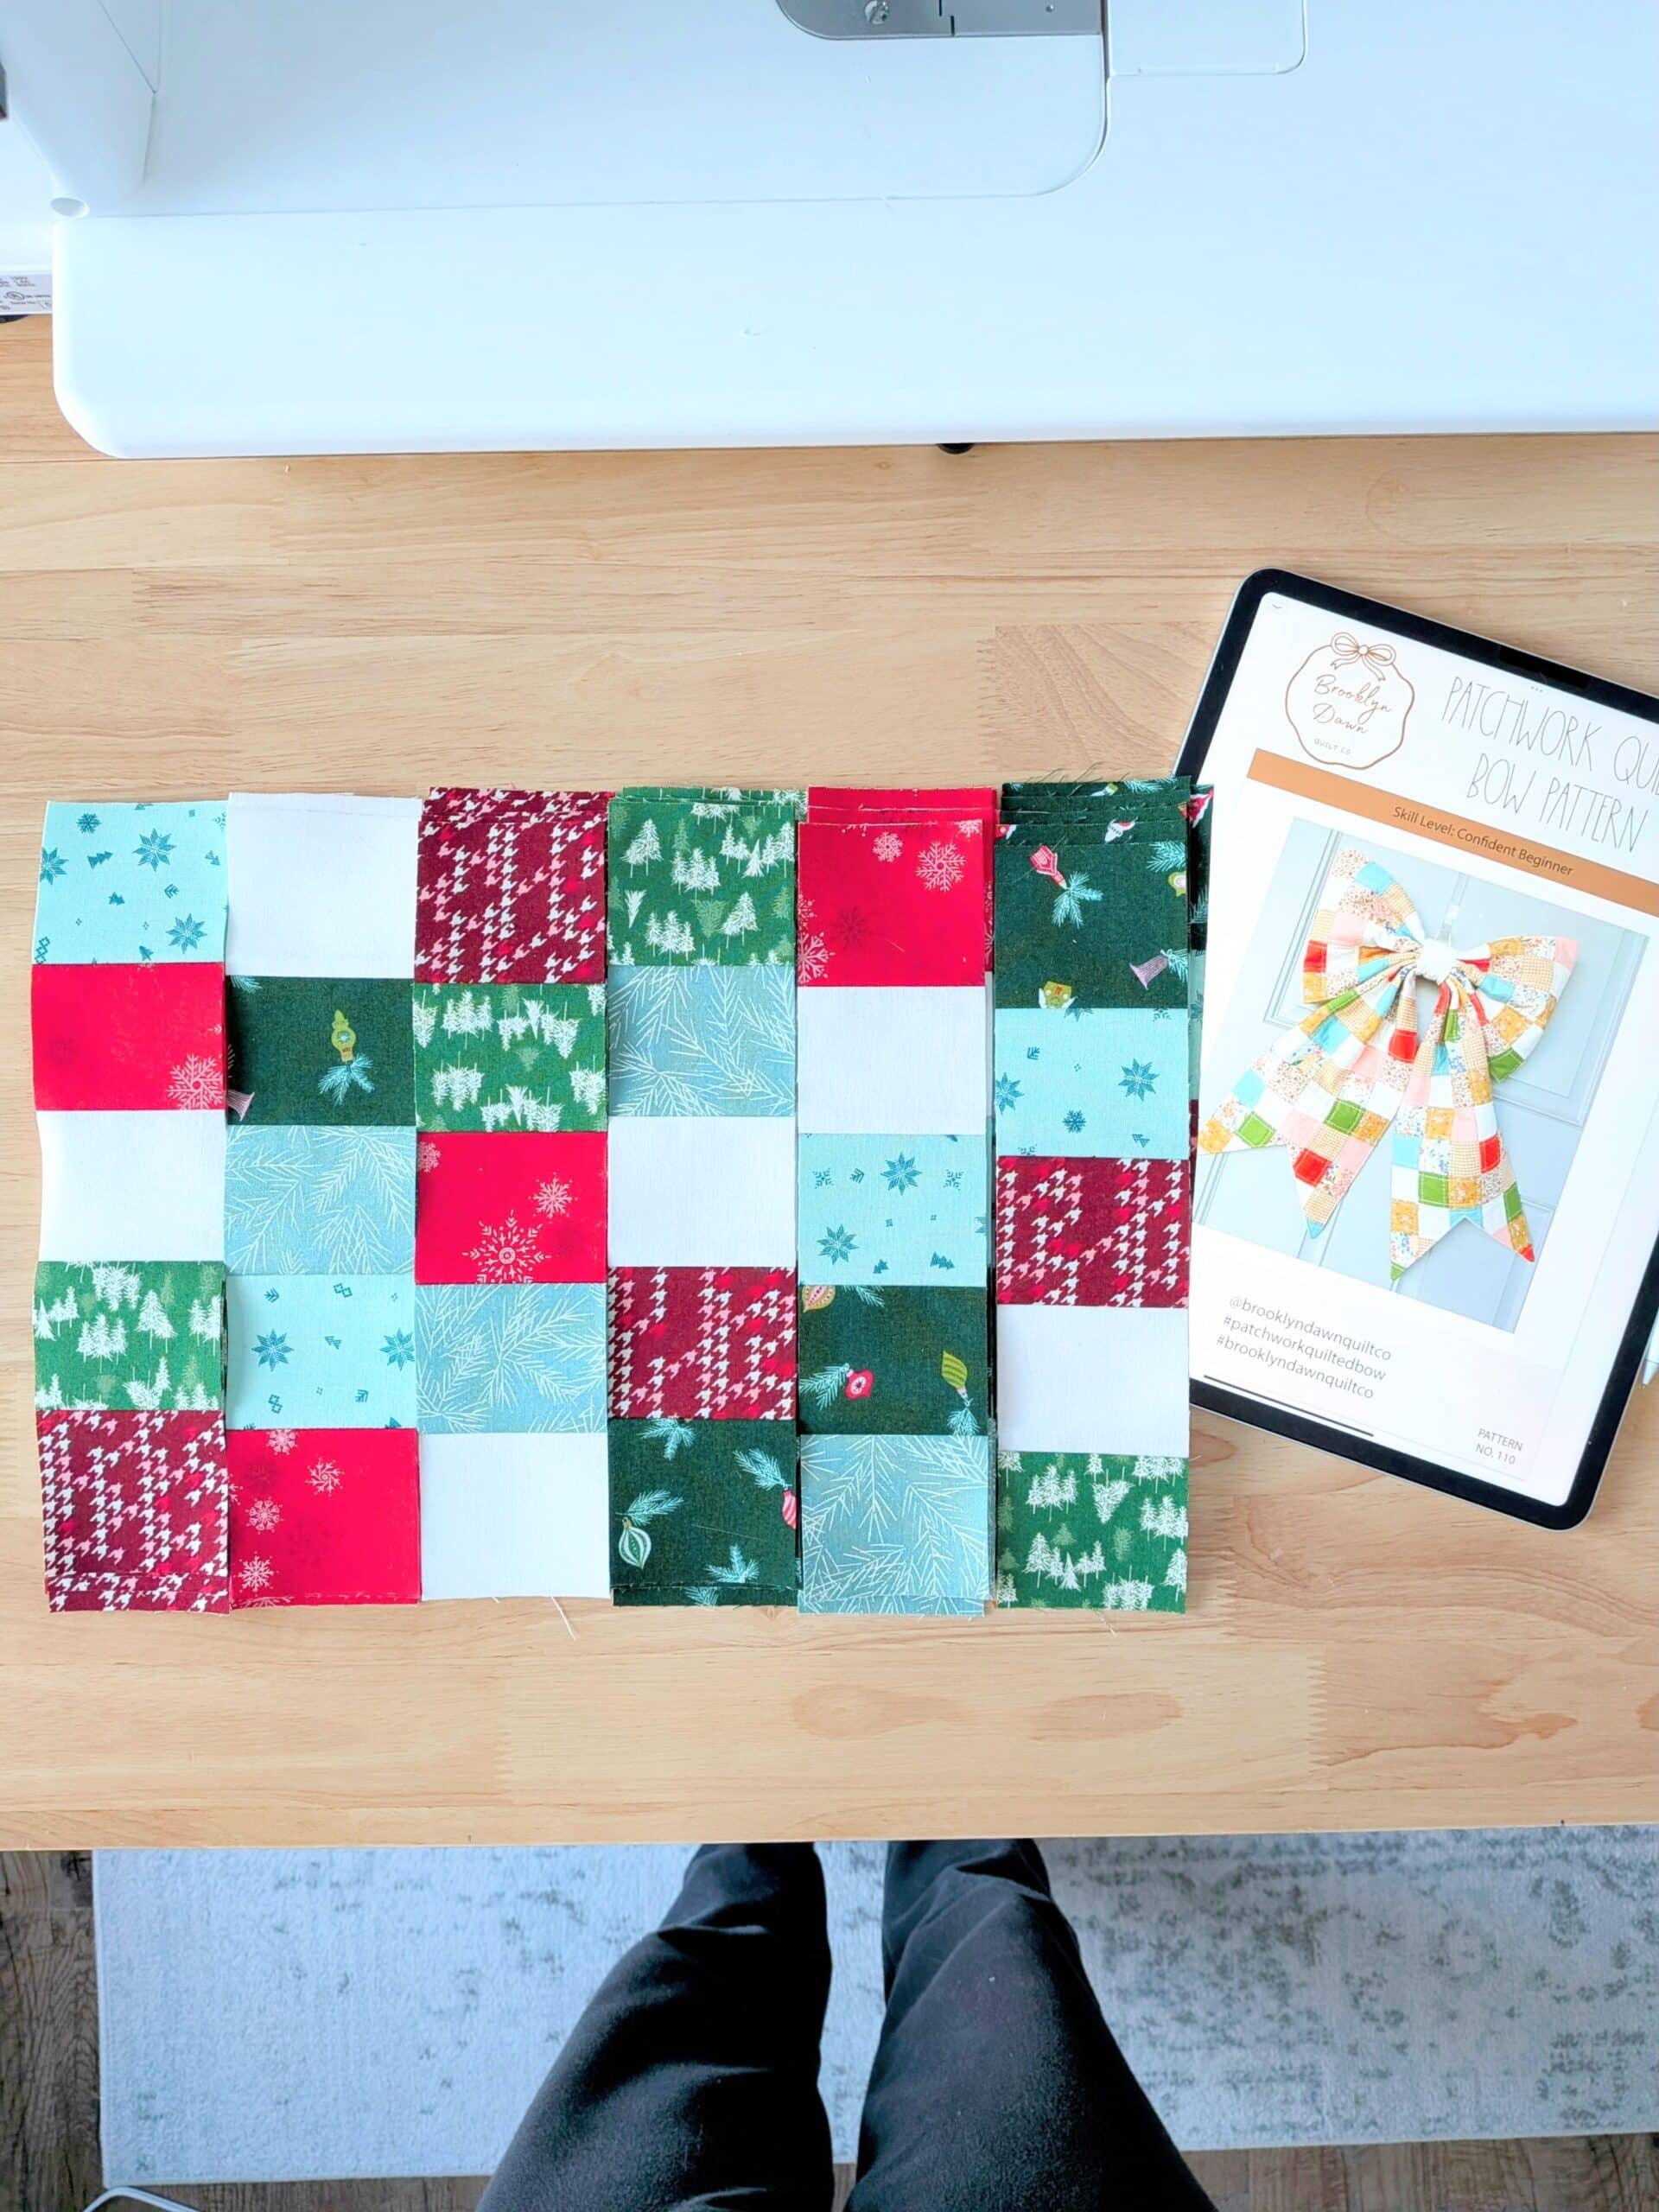
In order to get the maximum visual impact, I chose fabrics that read as mostly-solid. I picked out a lighter and a darker print in the red, green, and blue colourways, and added a pop of white (Moda Bella Solids in Off White - 200). In total, I used seven different fabrics.
They all looked so nice together, I knew I was going to love this project!
Interfacing the Fabric
The pattern indicates that you might want to use EasyPiecing Grid when creating the patchwork. I assume this is to a) speed up the piecing process, and b) add some structure to the finished project.
My biggest concern was making a floppy Patchwork Quilted Bow, so I decided to err on the side of caution and interface the fabric.
I didn’t have any EasyPiecing Grid on hand, but I had plenty of Pellon Shape-Flex (also known as SF101). With a quick pass of my iron, I adhered it to the back of all my fabric before cutting it into strips.
If you’ve never used SF101 before, it’s a lightweight fusible interfacing that gives your fabric a bit more stiffness and body. It’s often used in bag making and garments, and it worked like a treat for this project.
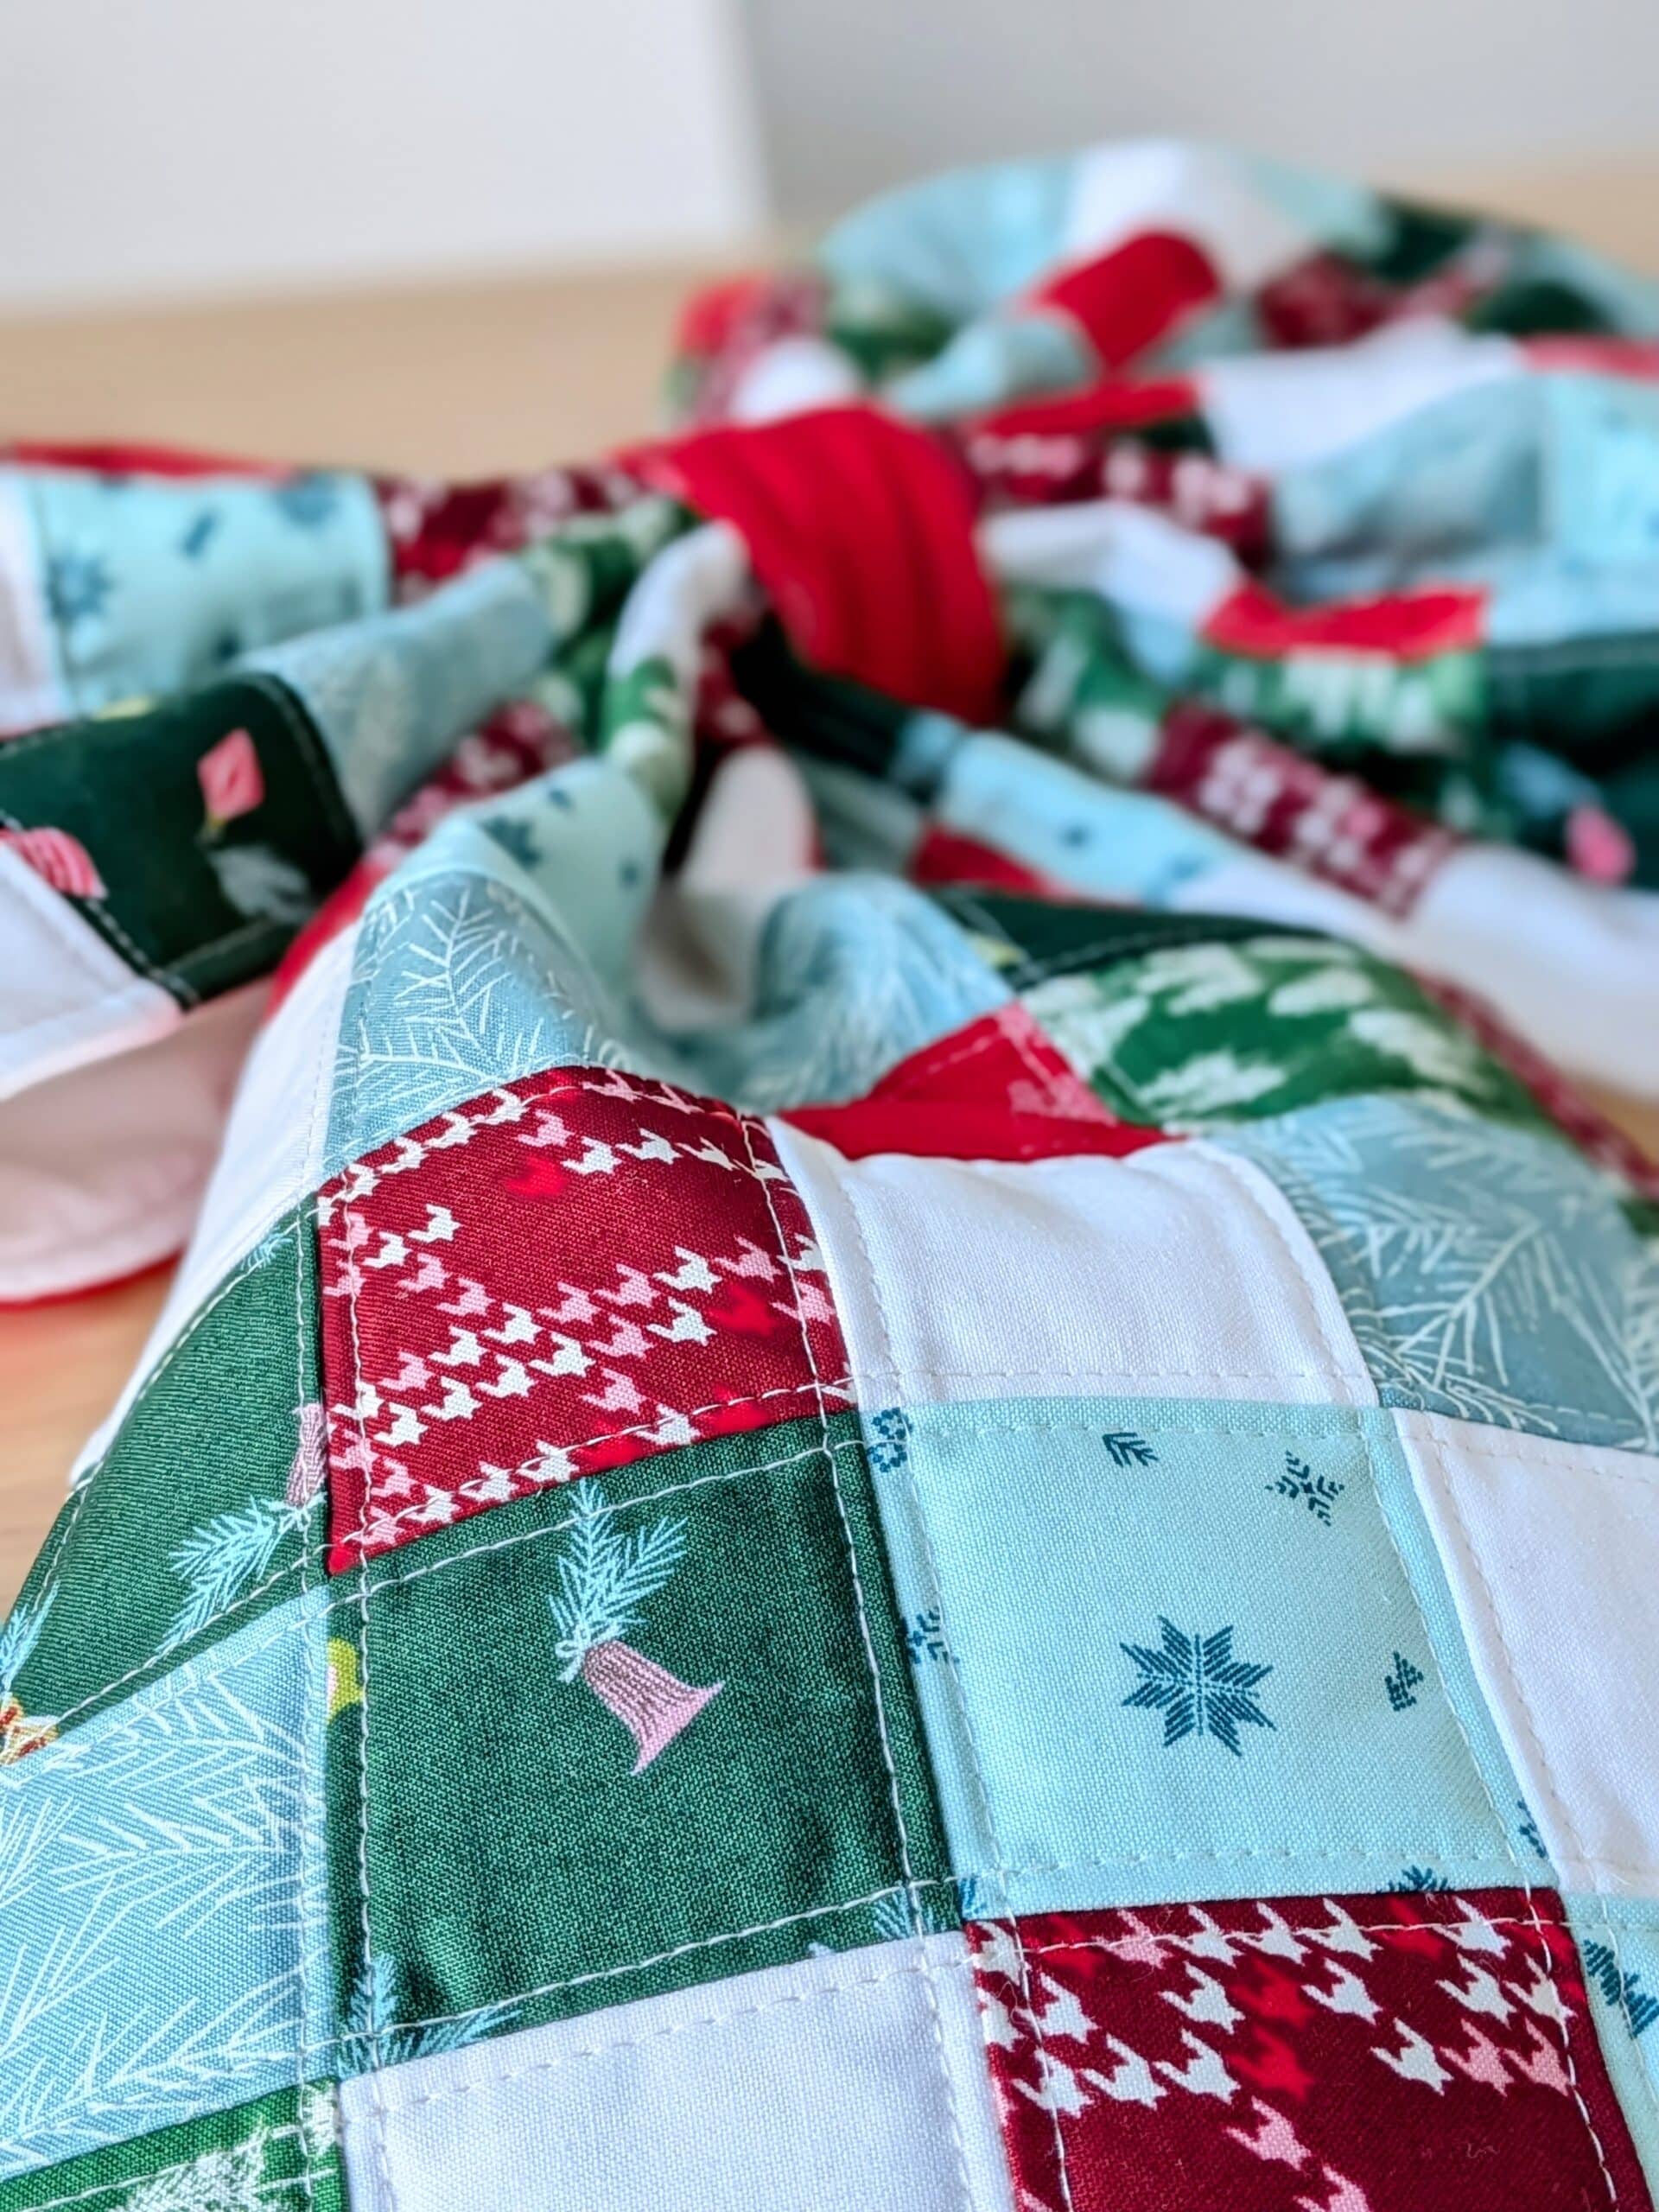
Creating the Patchwork
My favourite thing about this project is that it’s made up of patchwork, just like a quilt!
Since efficiency is my love language, I used strip piecing to speed up the patchwork process. Whenever I found myself agonizing over the placement of a fabric, I told my perfectionist brain to relax and JUST GO FOR IT.
Claire was a big helper at this stage, as you can tell.

In total, I created six different strip sets, then I chopped them up into smaller strips. I pressed all of the seams in alternating directions so they nested perfectly when I assembled them into the panels required for the pattern. It even allowed me to swirl the seams, which made for a (somewhat) flatter panel.
I love it when I can avoid using pins!
Quilting
Since I *really* didn’t want my bow to be floppy, I made sure to use a thicker batting. I debated using Soft and Stable, but didn’t have a big enough piece in my pile of remnants. Then I found a perfectly-sized scrap piece of wool batting, and decided to just go for it and use the (very expensive) batting.

The pattern mentions that Poly-Fil Hi-Loft batting would be a good choice, and I have to agree. This would be a great project to use up any extra scraps you have of this product.
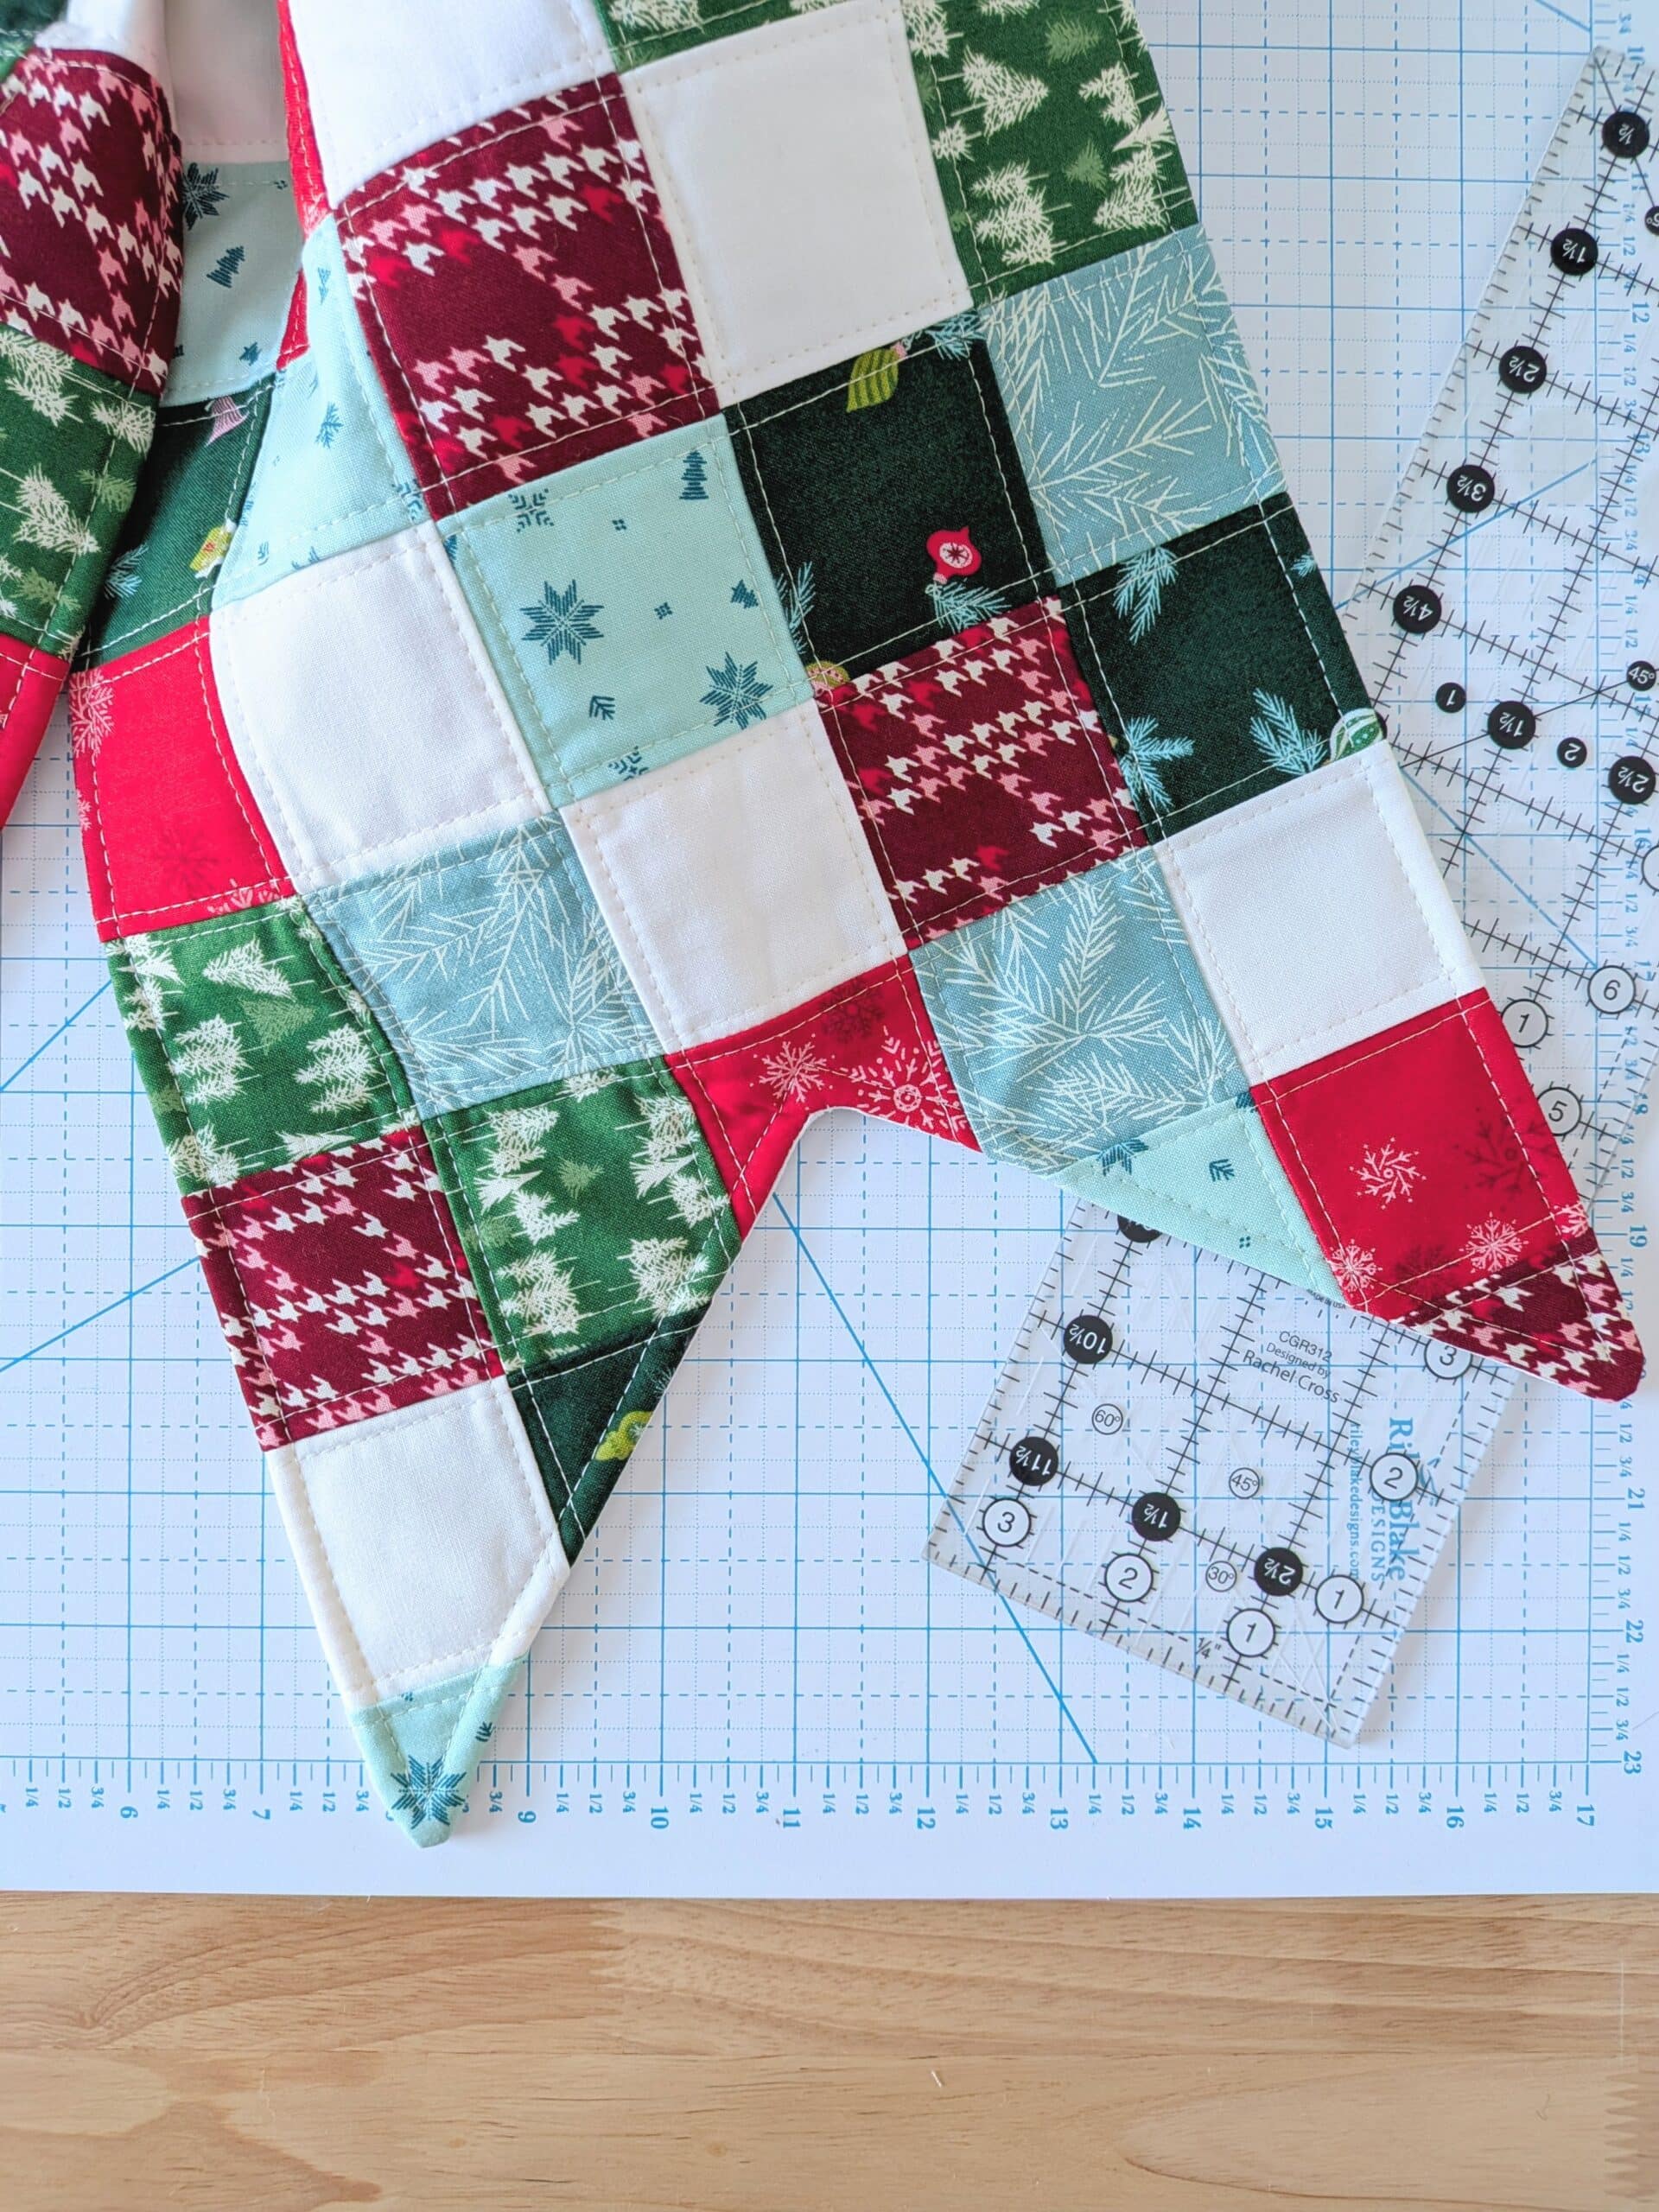
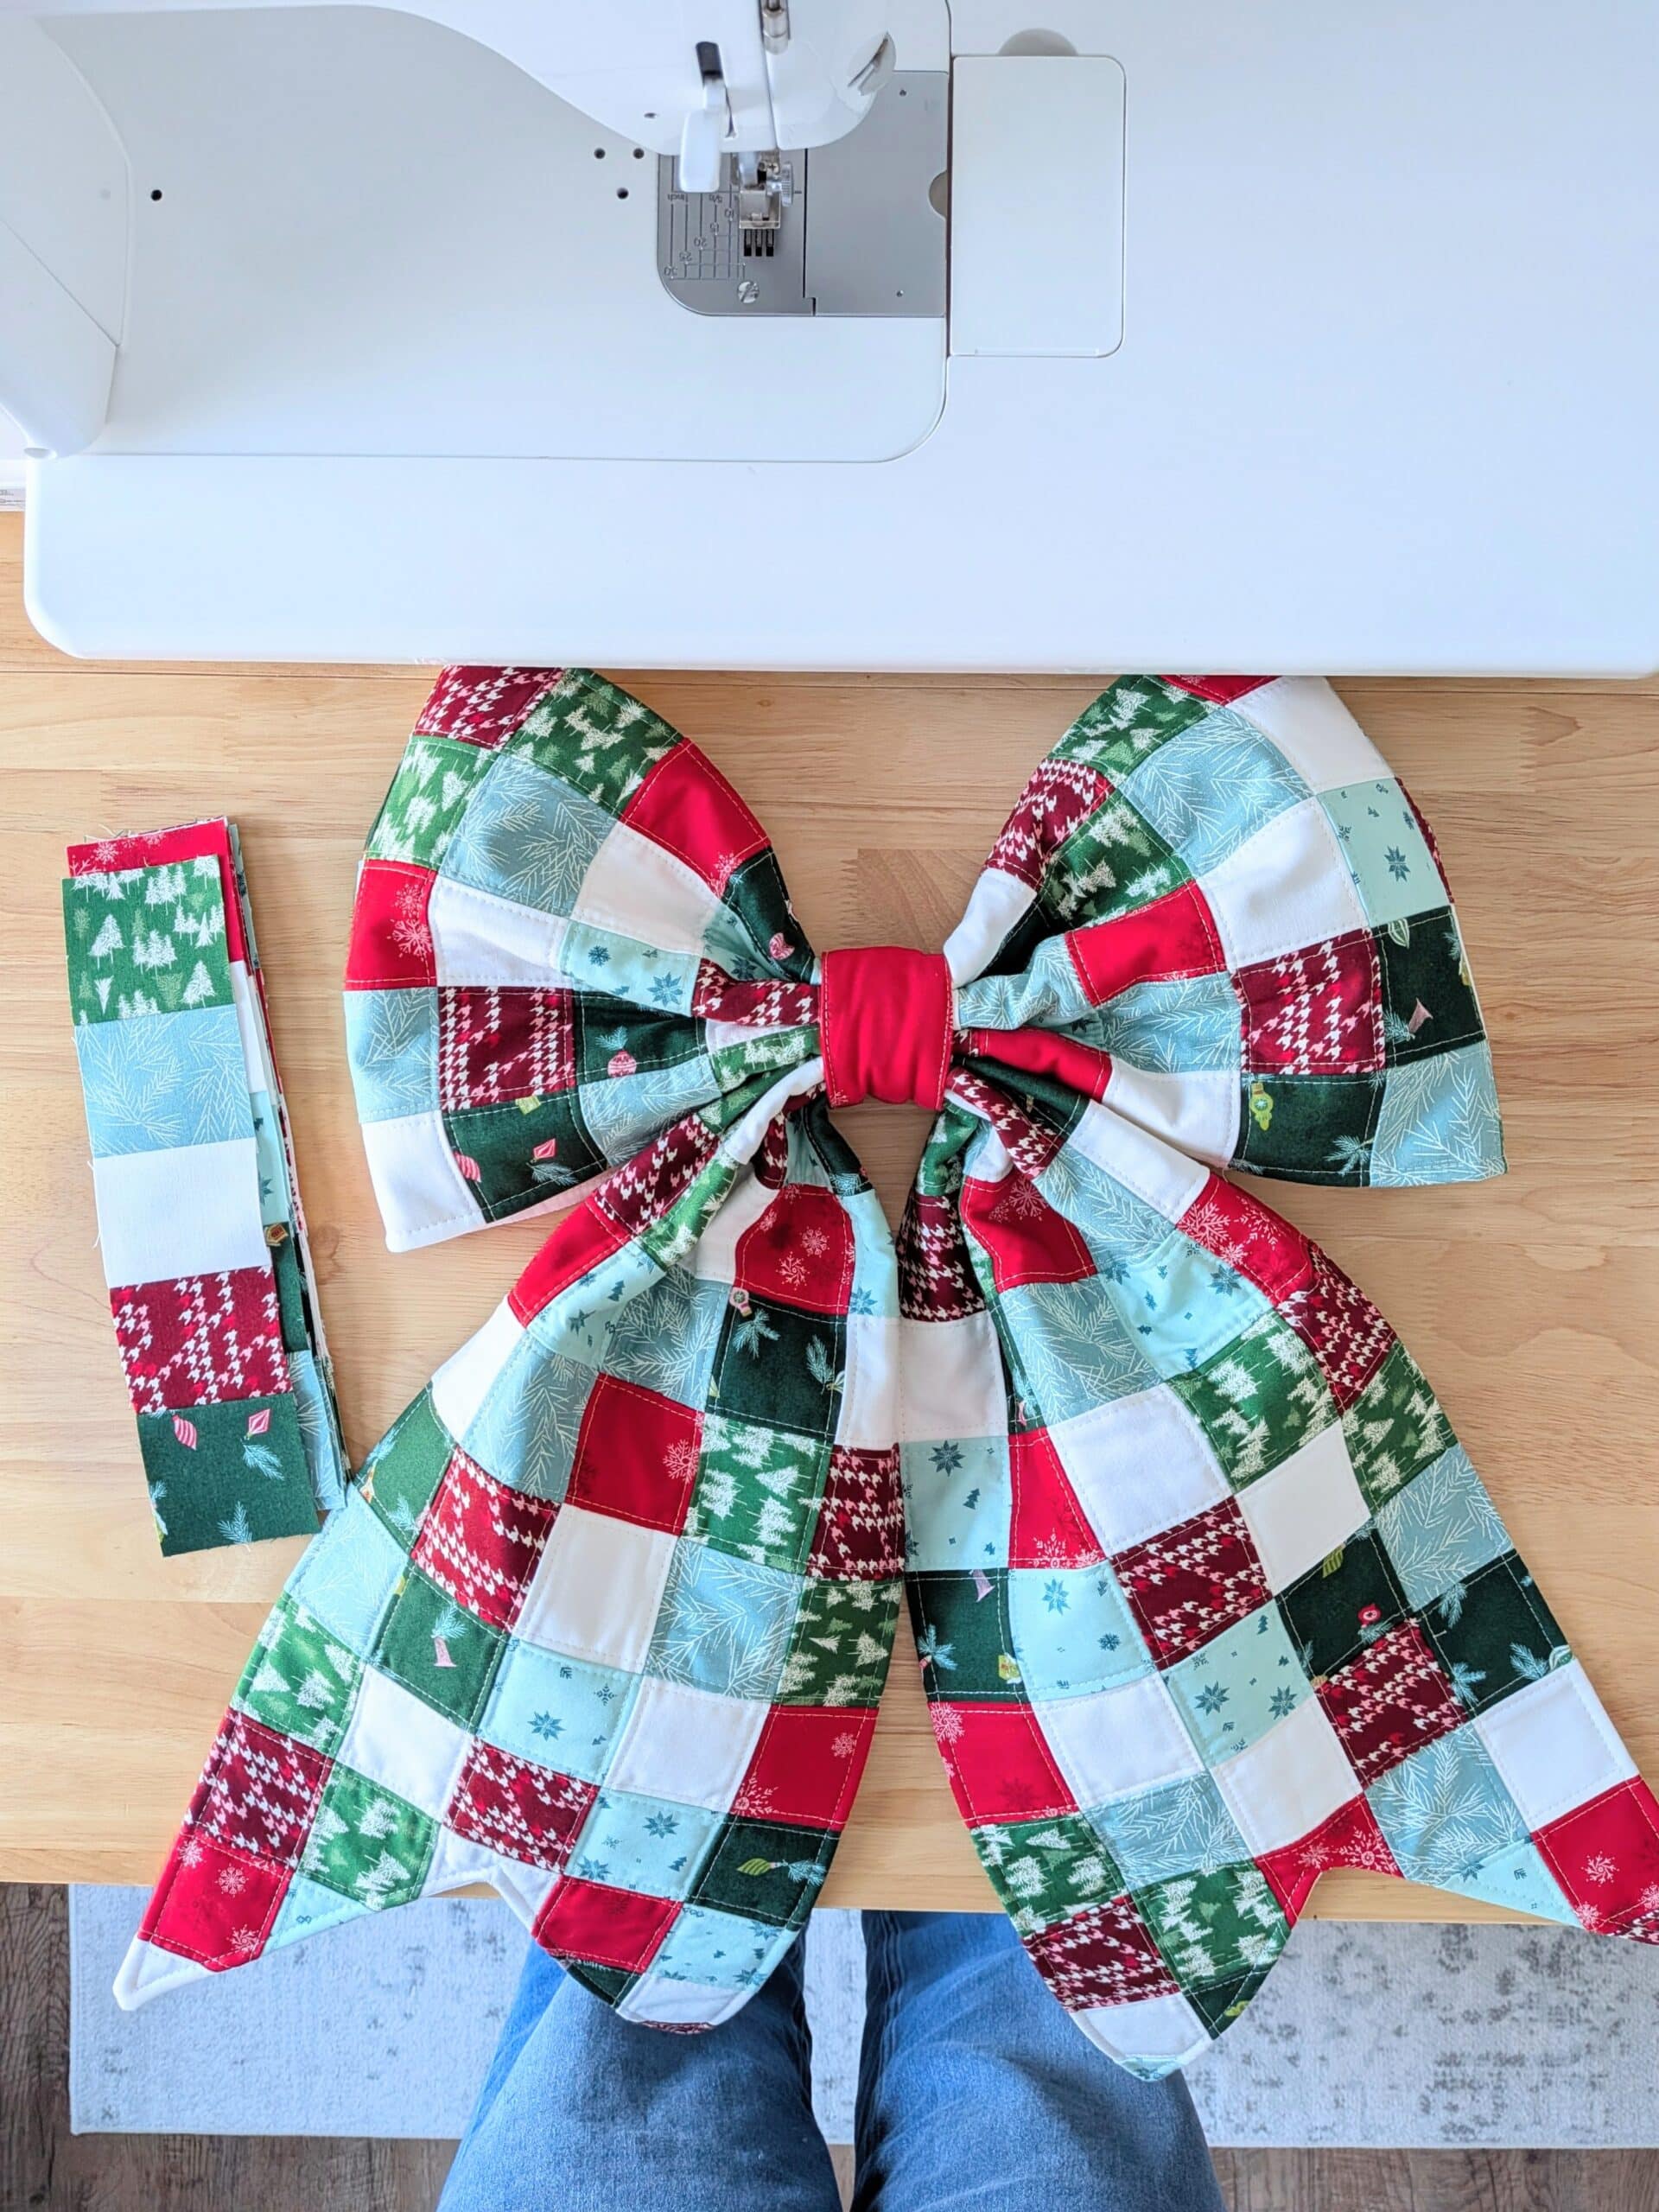
I basted the patchwork panels to my batting using Odif 505 spray, and then quilted them using my Janome MC 6700P sewing machine. I chose to quilt lines on both sides of each seam (I did both horizontal and vertical lines), and I like the overall handmade look.


Finishing the Patchwork Quilted Bow
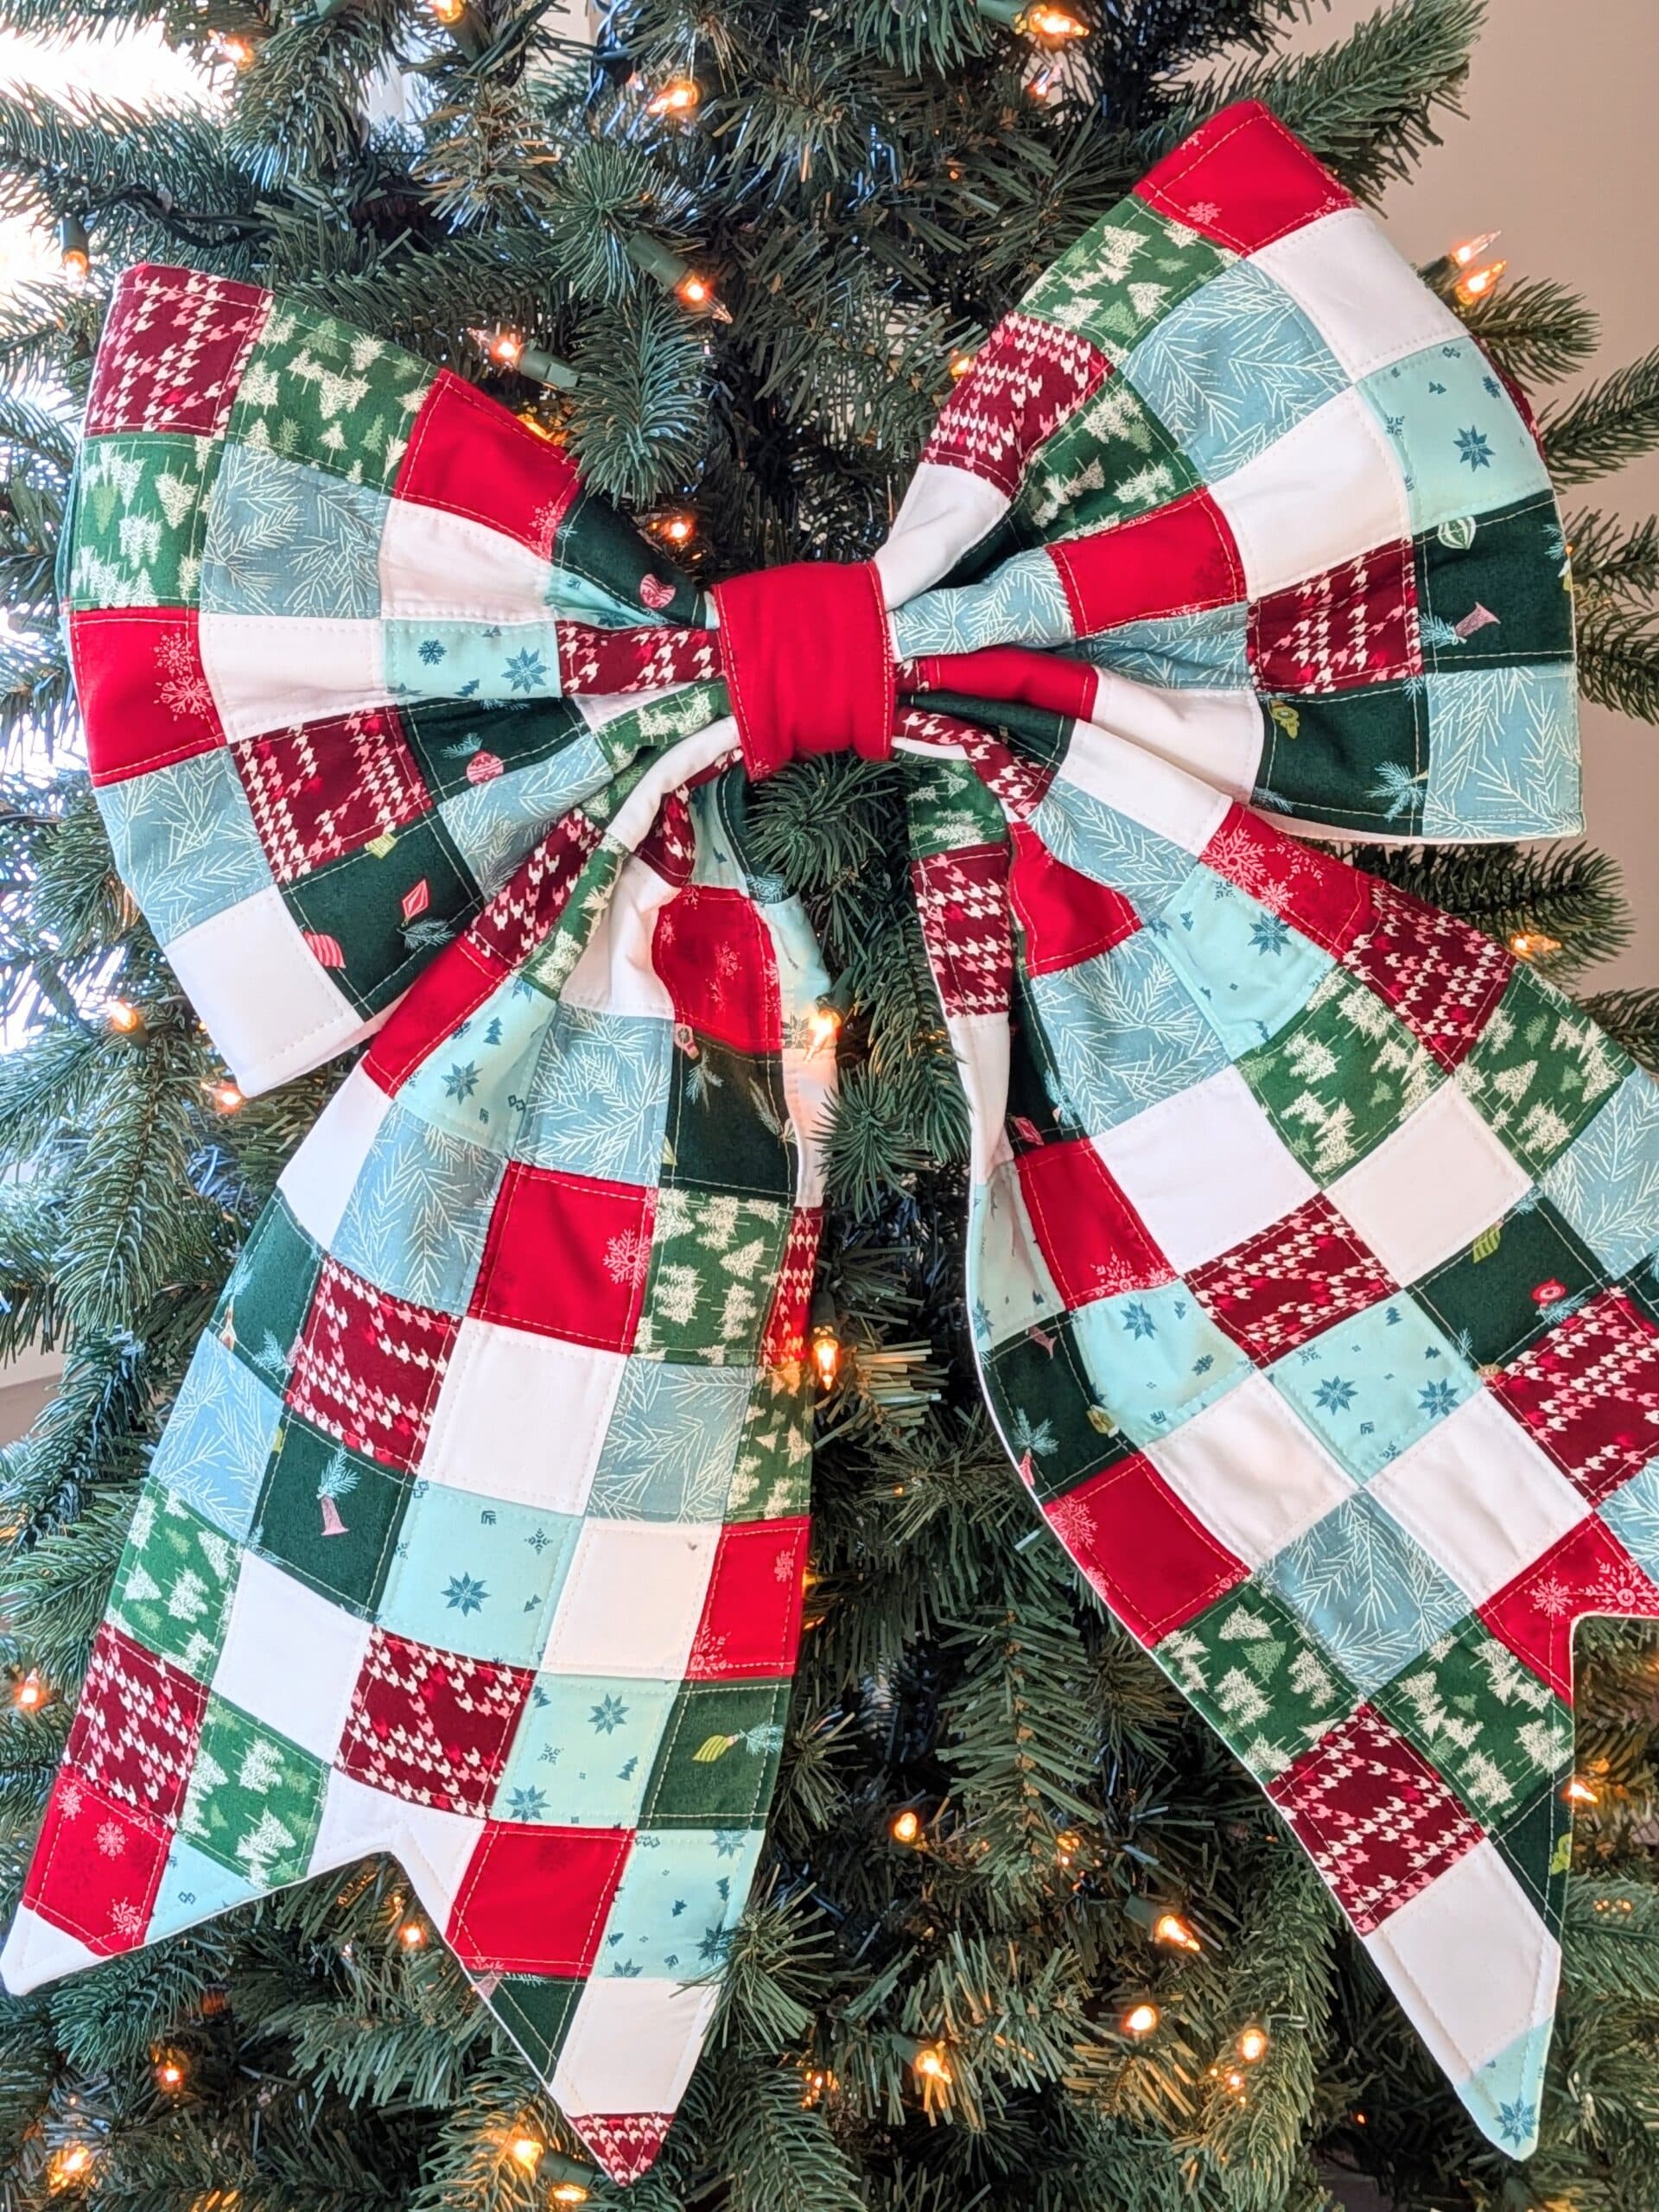
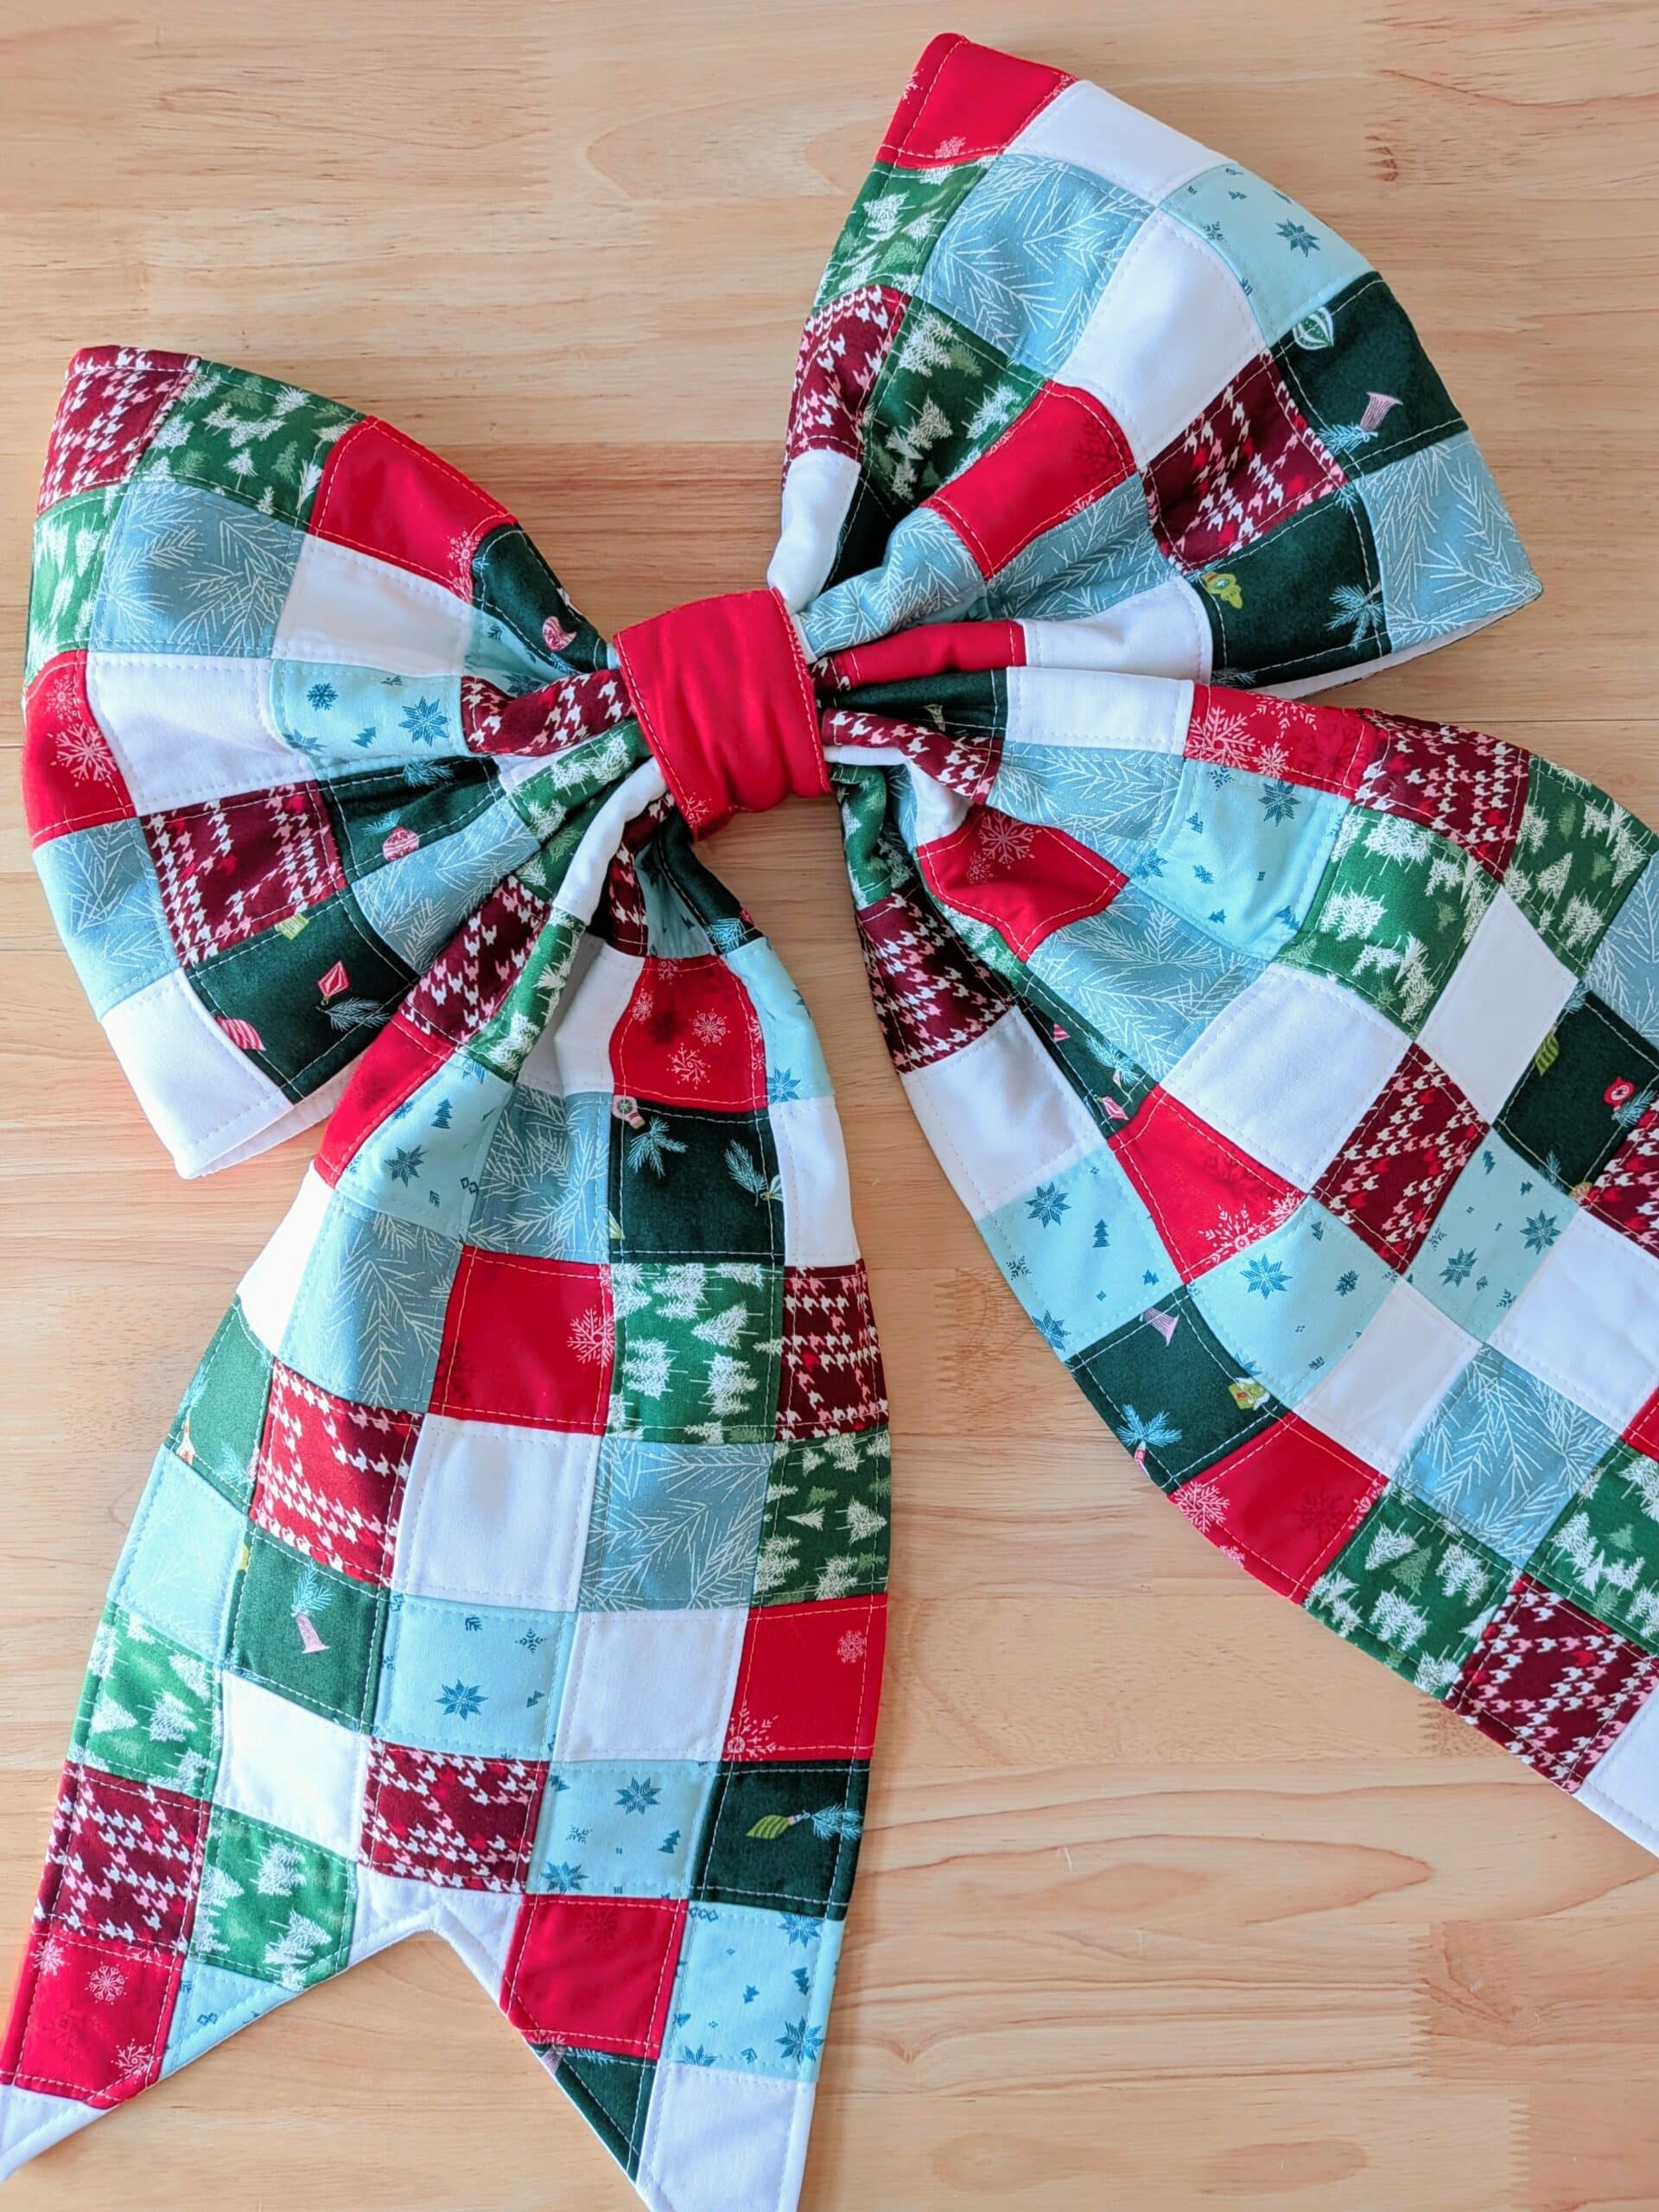
The next steps in the pattern were clear and easy to follow, and in no time I had myself a finished bow. It was a really different construction method, but was fun to do and the finished project looks just like the pattern. #winning
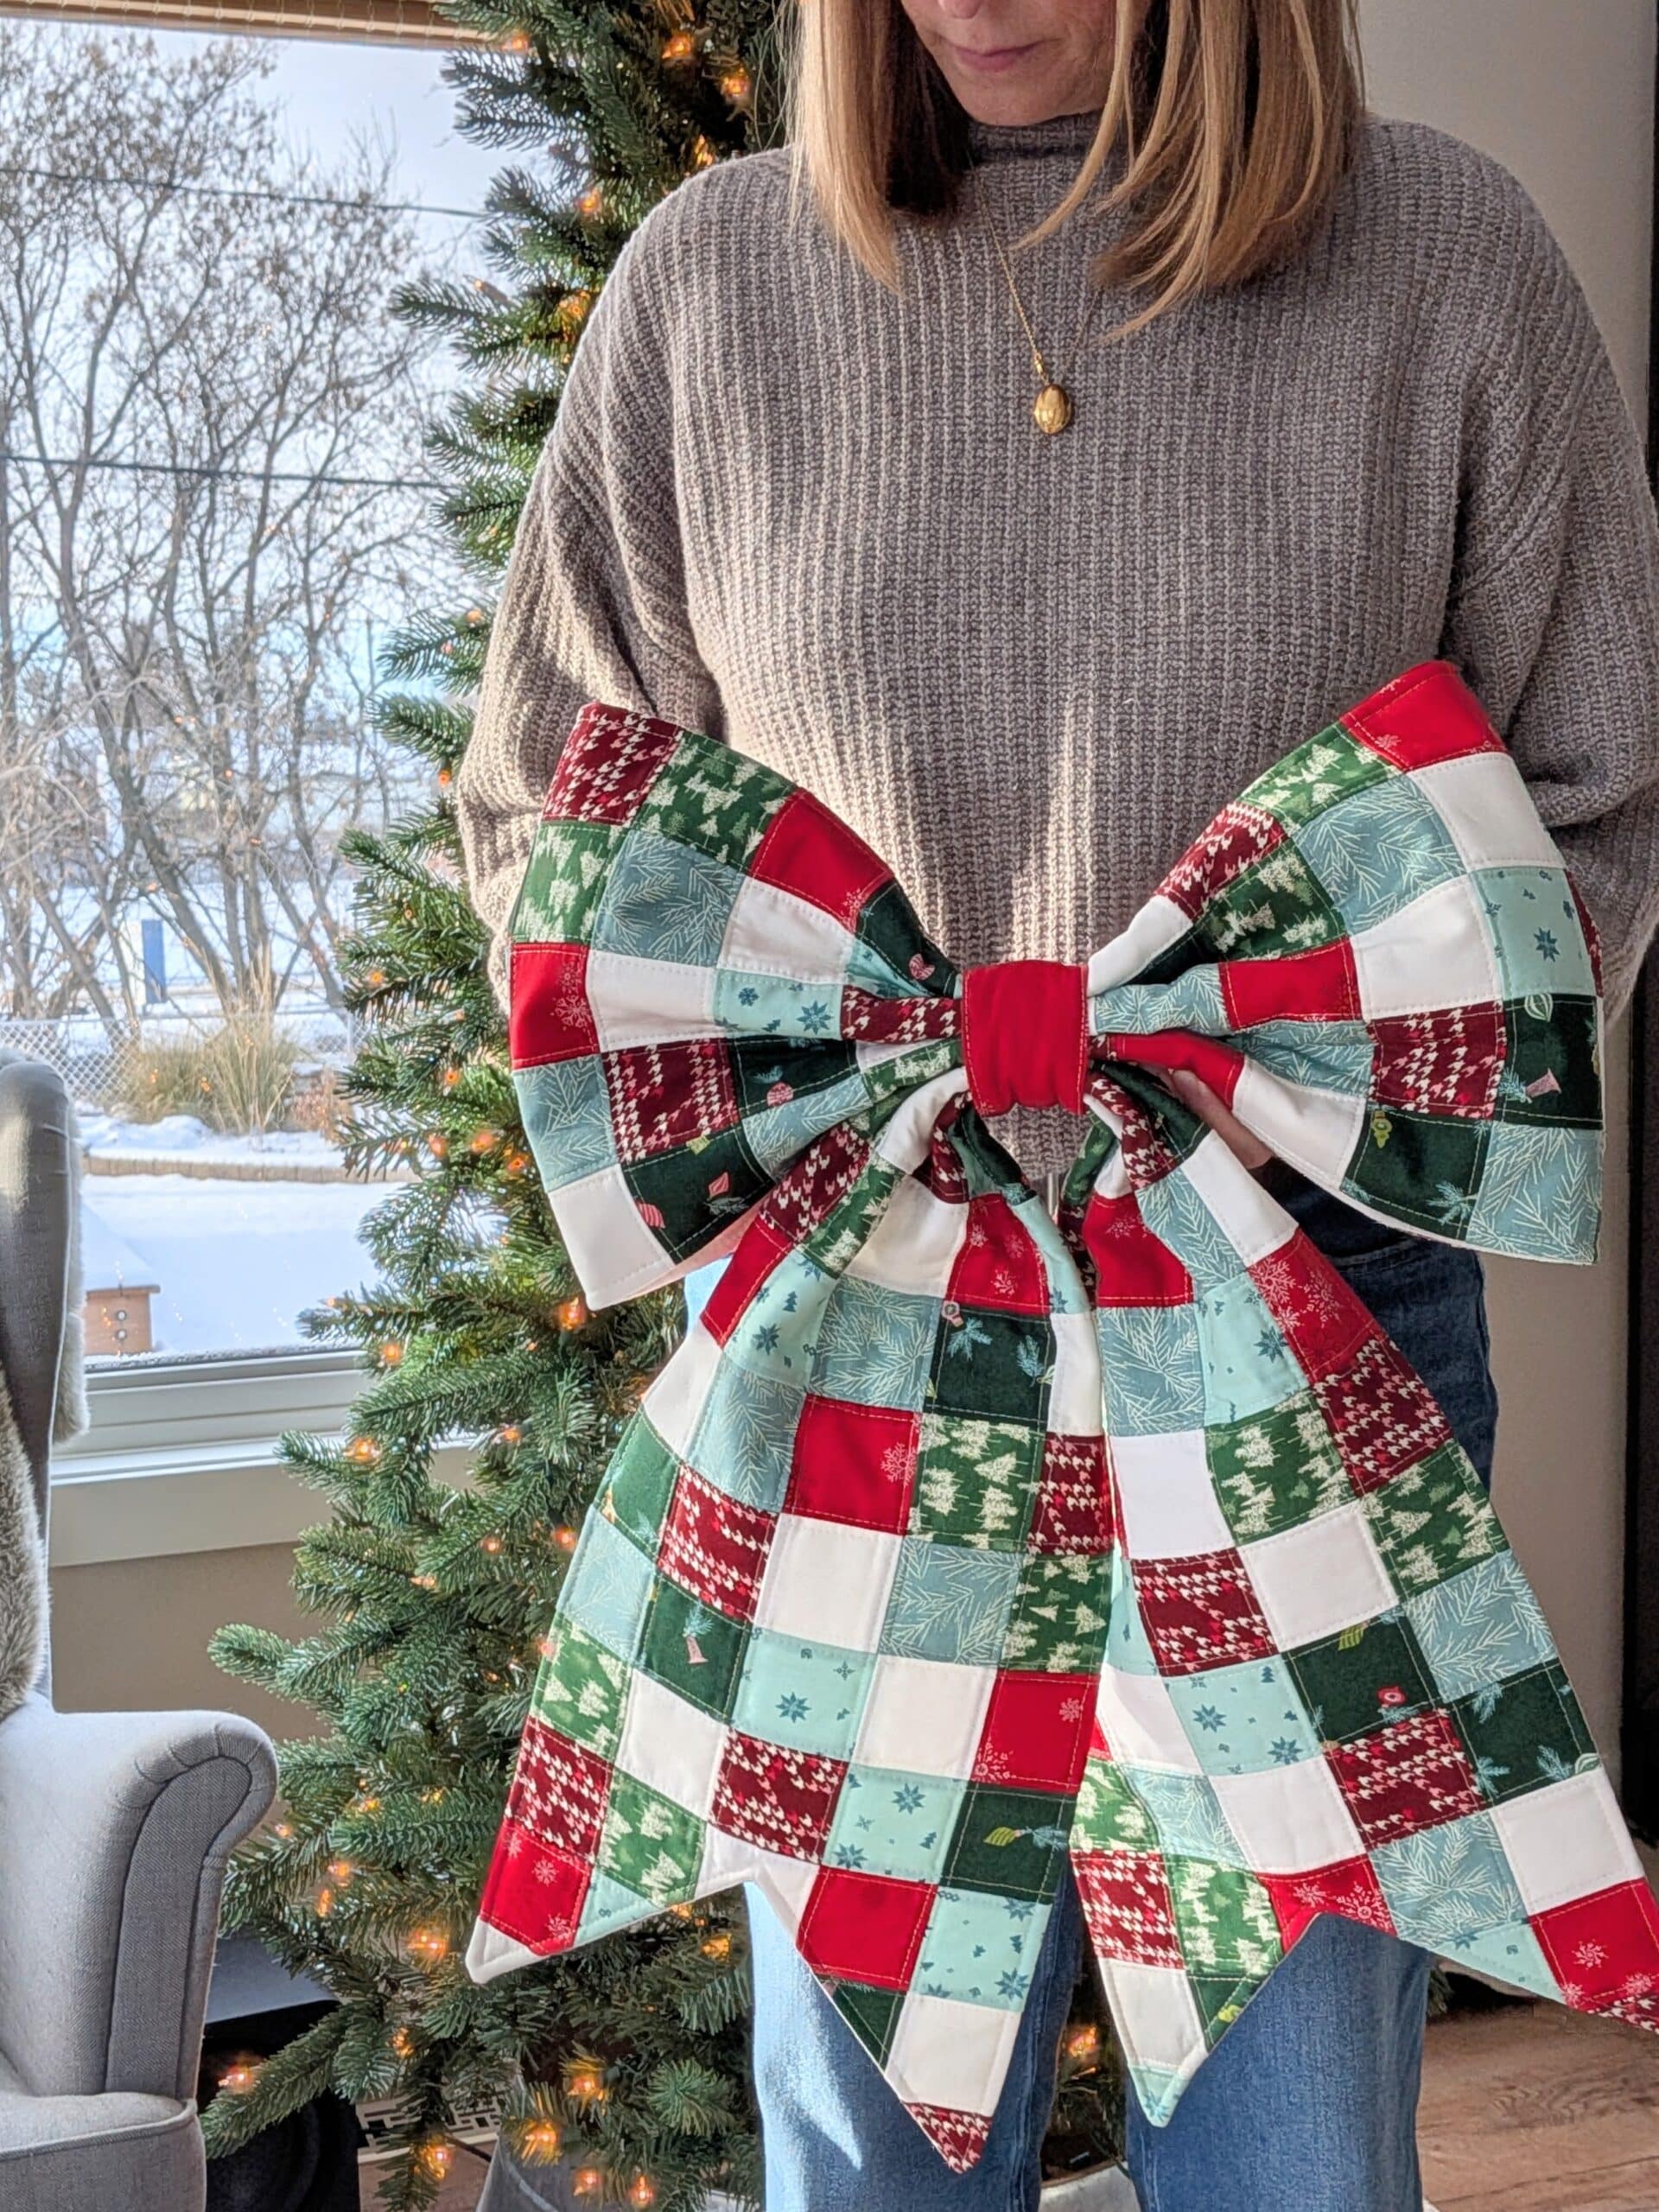
I added the optional piece of string so that I could attach it to the wreath on our door. It was super easy to tie it on, and I love the way the two look together. It would also look great without the wreath, but in this instance I feel more is more.

Every time I come in or out of the house, I give a little squeal of delight. I’m waiting for one of the neighbours to compliment my amazing bow so I can say “Thanks, I MADE IT!!”
Advice for Next Time
My bow is nice and structured, and holds its shape well. No drooping décor at my house! It helps that it’s -15°C (5°F) outside (because it’s frozen solid), but it was looking great before I hung it outside as well. Promise.
The SF101 and wool batting combo might have been overkill, and I’d be curious to see if the following would produce an equally-sturdy bow:
- SF101 interfacing and “regular” (low loft) batting
- No interfacing and Soft and Stable for batting
If I were to make another one (trust me, the temptation is real), I’d probably start with the first option and see how it turned out.
*** UPDATE *** I couldn't help myself. I made a second bow using Soft and Stable instead of batting, and I have strong feelings about it. Check out the blog post here.
This bow took me the better part of a day to complete (although I spread it out over several sessions), but I would imagine the second one could be finished in a morning or afternoon.
I would 100% recommend this pattern to anyone looking to add some handmade charm to their decorations. While I made mine for Christmas, it would look cute for any other holiday as well!

Have you made a Patchwork Quilted Bow (or are you now going to)? Let me know in the comments!

Your bow is DARLING! I love the colors you put together and I love your choice of batting!
Thanks so much, Brooklyn! This was such a fun pattern to make – I’m so glad you shared it with the world!
You calmed my fears in making a bow! Thank you for your inspiration and sharing your detailed post!! 🎅🏻🎅🏻
Merry Christmas 🎁🎄
You can dooooo it!💪
I haven't made it yet, but bought the pattern on your reccomendation! 😊 i love the colors you chose- it looks fabulous!
Thank you so much! Today I bought fabric to make a couple more! 😆
I saw your Insta story on this and 100% am doing my own version sometime this week!
It’s fabulous!
Yay! I hope you have a lot of fun making it!!
Hi Shelly,
Awesome!
I was wondering if you have a fabric backing on the bow, or just the wool batting.
Thanks!
Hi Deb, great question!
I followed the pattern instructions and used fabric on the back, which makes the bow finished from both sides.👍
I hope you have fun with this project – I sure did!